By Design Bundles
Create a Blog Image Template in Canva
This tutorial will guide you through the process of how to create Canva blog templates. Blog posts need some visual imagery for them to stand out but they take time to create. That is why an image template is such an important tool. You can use it over and over while saving time. We will show you exactly how to create a blog template in Canva.
Step 1 - Create a New Document
On Canva’s homepage, type “blog graphics” on the search bar at the top of the page and press Enter.
This will bring up a page of several pre-made blog graphics. If you want to use a template in Canva, you can scroll through and select the one that you like. Since we are creating one from scratch, we will click the “Create a blank Blog Graphic”.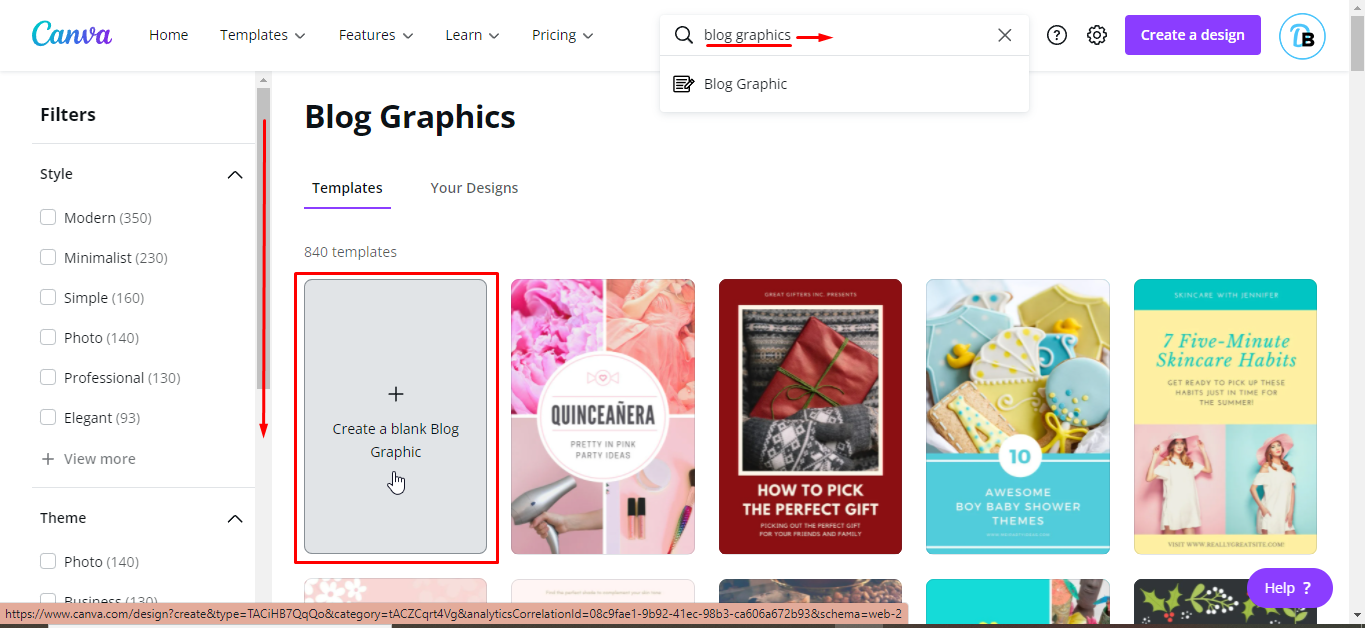
Your design space will appear in a new window.

Step 2 - Add a Background to Template
To add a background to your design, click on the color tile on the toolbar. Then click on any color on the left side panel to apply the color to your background. We clicked Charcoal.
Step 3 - Insert a Shape
From the editor panel on the left, click Elements > Lines & Shapes and choose Square. Your shape will now appear in your design. You can also choose other shapes by clicking See all under Lines & Shapes.
You can adjust the shape and change it to a rectangle. Do this by clicking the white handle on the middle and dragging it out to increase the width.
Alternatively, if you want to start with a set rectangle shape, you can simply click "R". This will add a rectangle that can then be scaled to the appropriate size.
To change the color of the shape, click on the color tile on the toolbar. We chose sky blue.
Step 4 - Add an Image Holder
To add an image holder, we need to add a frame. From the editor side panel, click Elements >Frames > See all.

Scroll down to see all the available frames. We selected this circle frame with a border. We also changed the border color to "sky blue".

Step 5 - Add Text Holder
Next, we will add a text holder. To add text, click Text > Add a heading or just simply type "T" to quickly add a textbox.
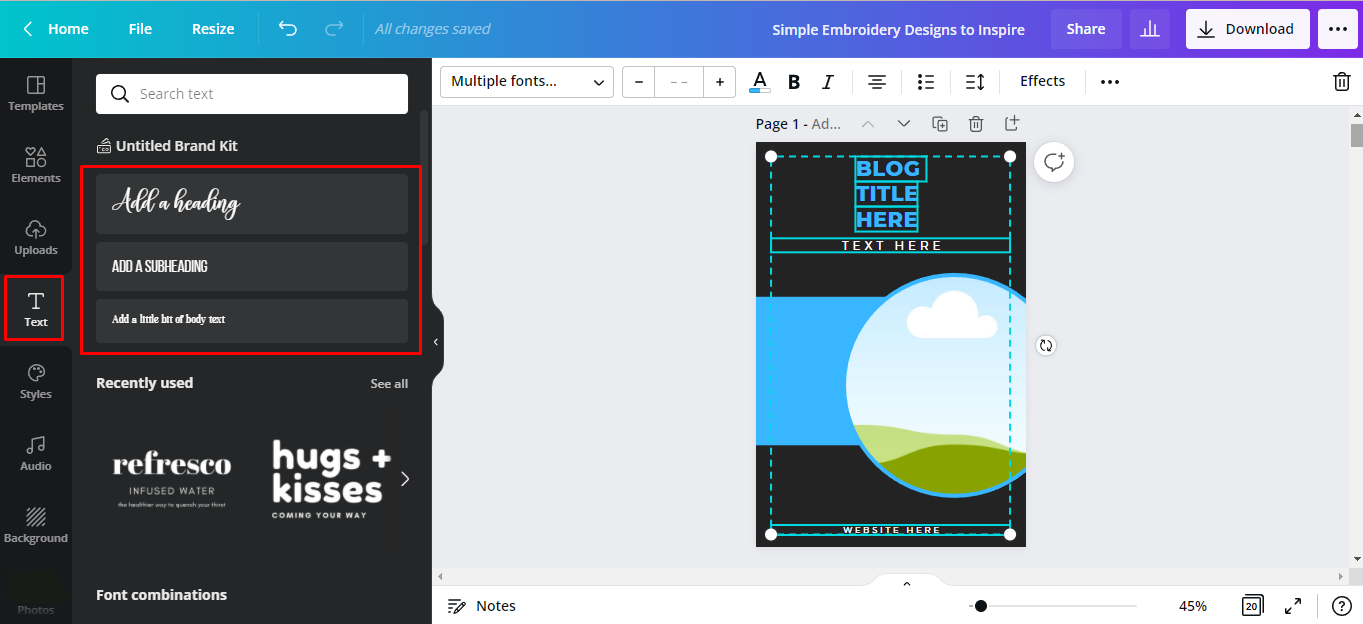
Now that you have created your template design, you can follow our guide and save the design as a Canva template.
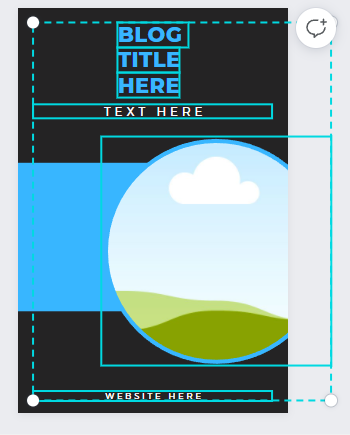
We can now try our blog image template and see how it looks. We added images and changed our texts.

That’s it! You’re done. You have just created an awesome blog image using your Canva blog template. You can now download your image and upload it to your website.