By Design Bundles
Editing Images in Cricut Design Space
In this tutorial we are going to show you how to edit a flat PNG image and separate it so you can combine other elements and create a new design.
Step 1: Upload Your Image
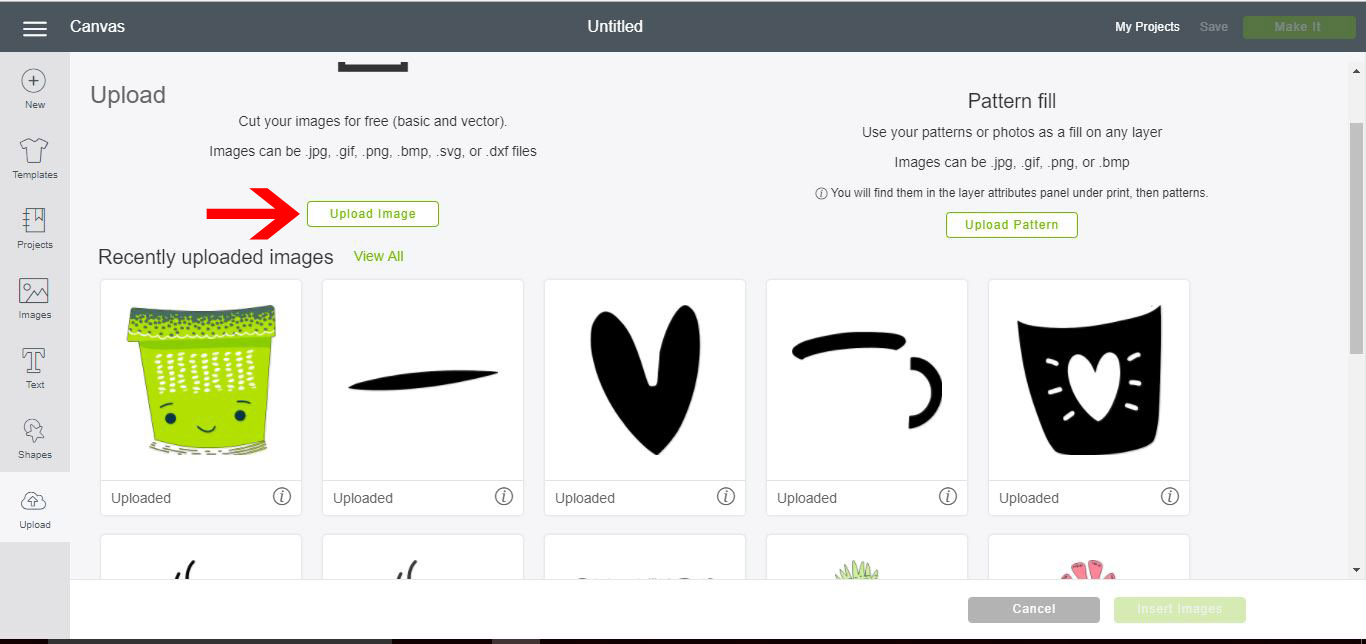
Click New Project. This will open up a blank canvas for you. From here you can click on Upload.
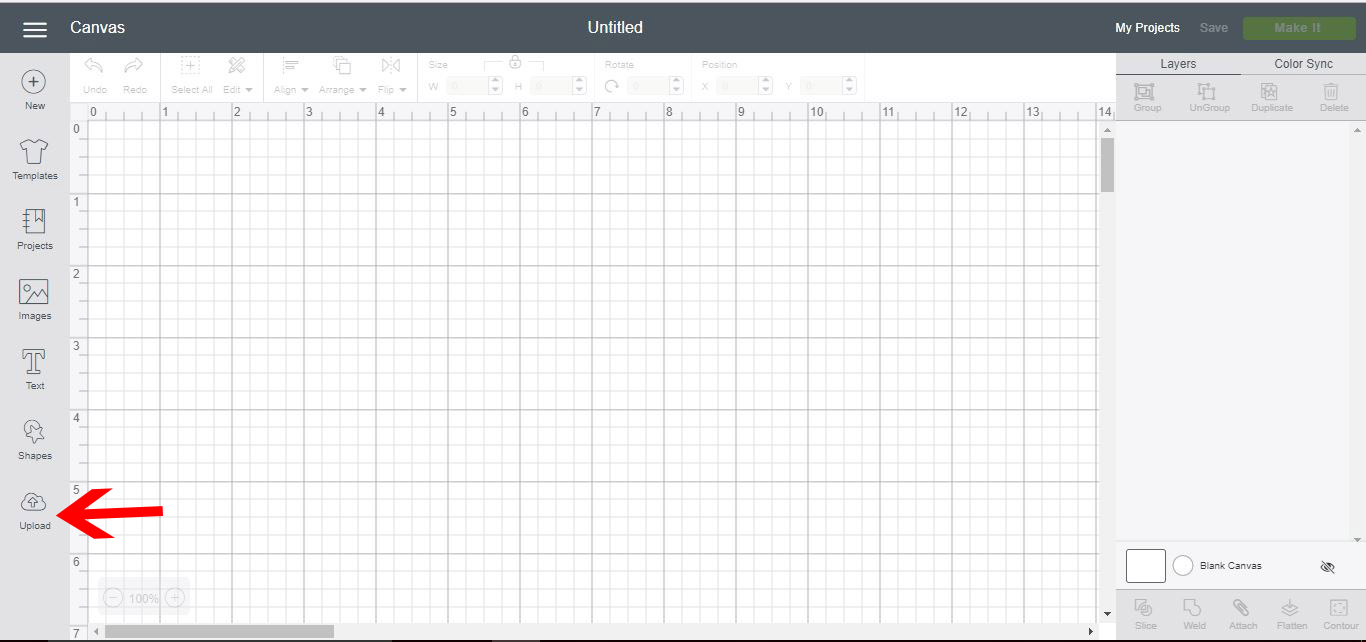
Click on Upload image again
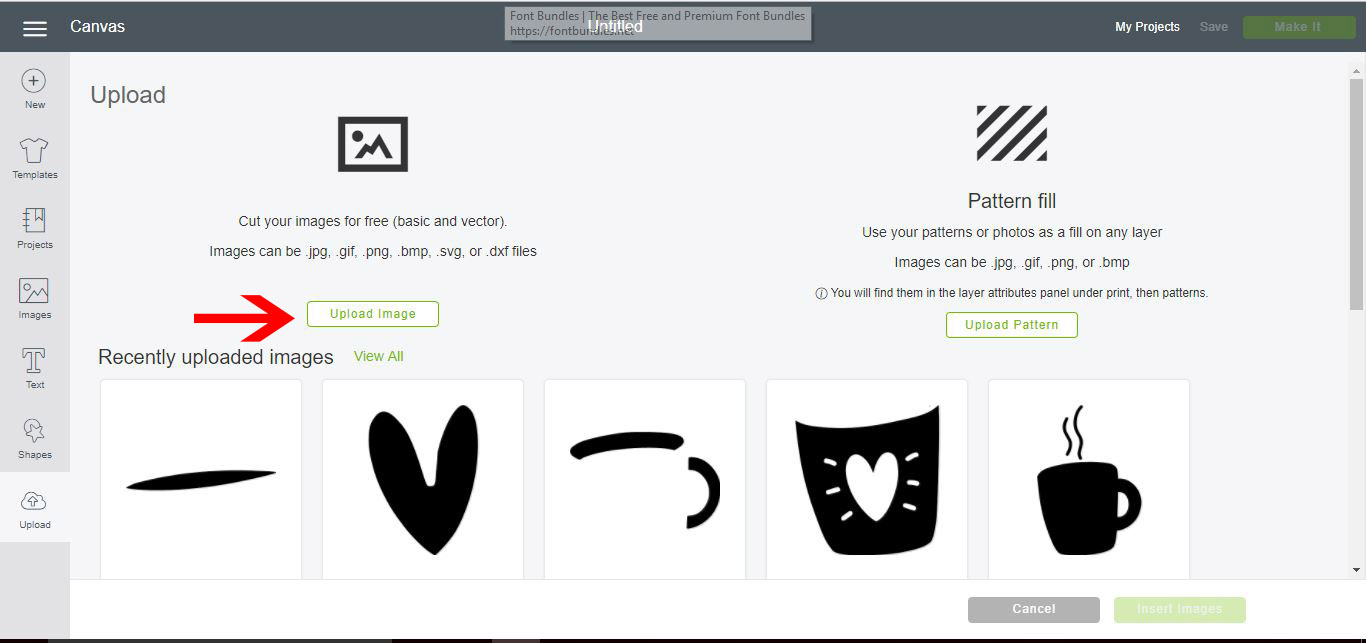
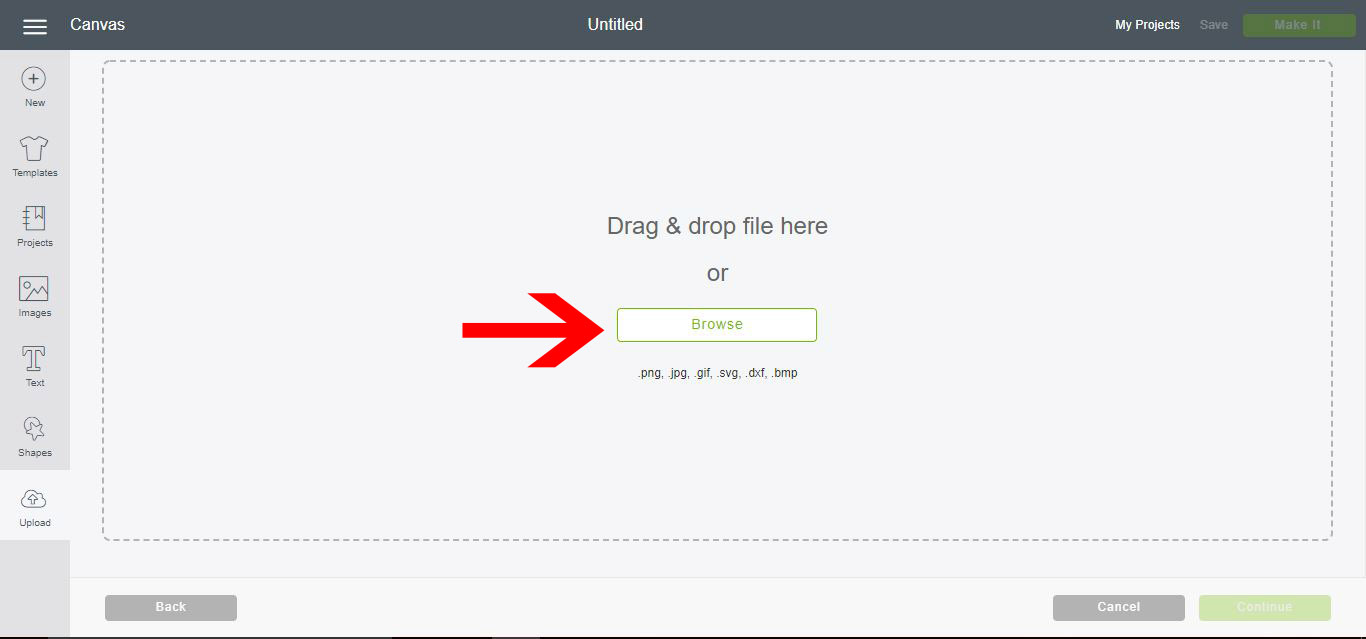
Click on browse
Step 2: Select image type
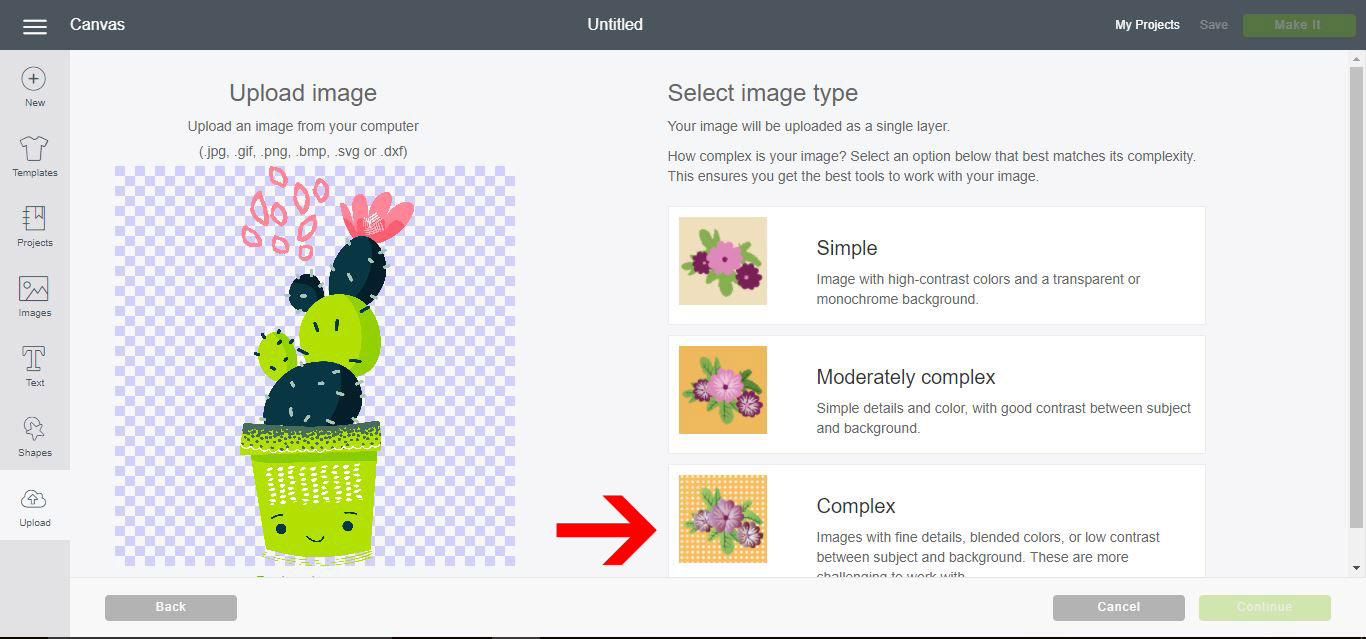
Select the design you want to edit. I am using the Cactus PNG bundle from Design Bundles. Click on the Complex option, then click continue.
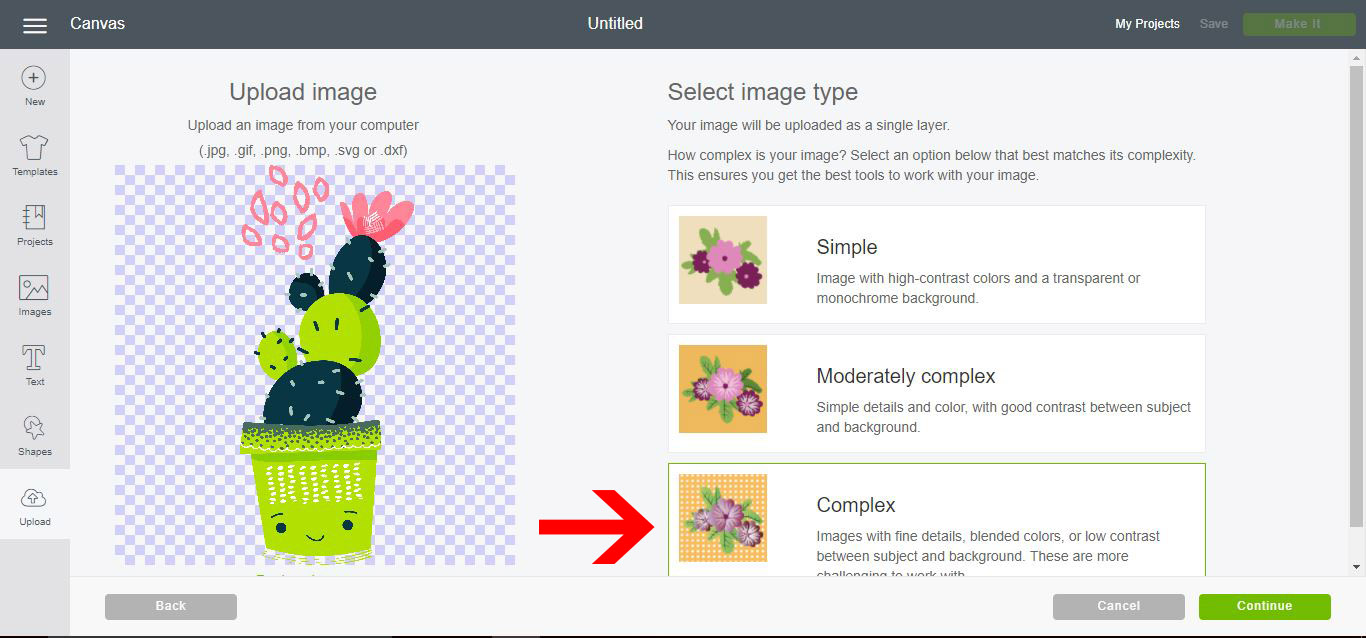
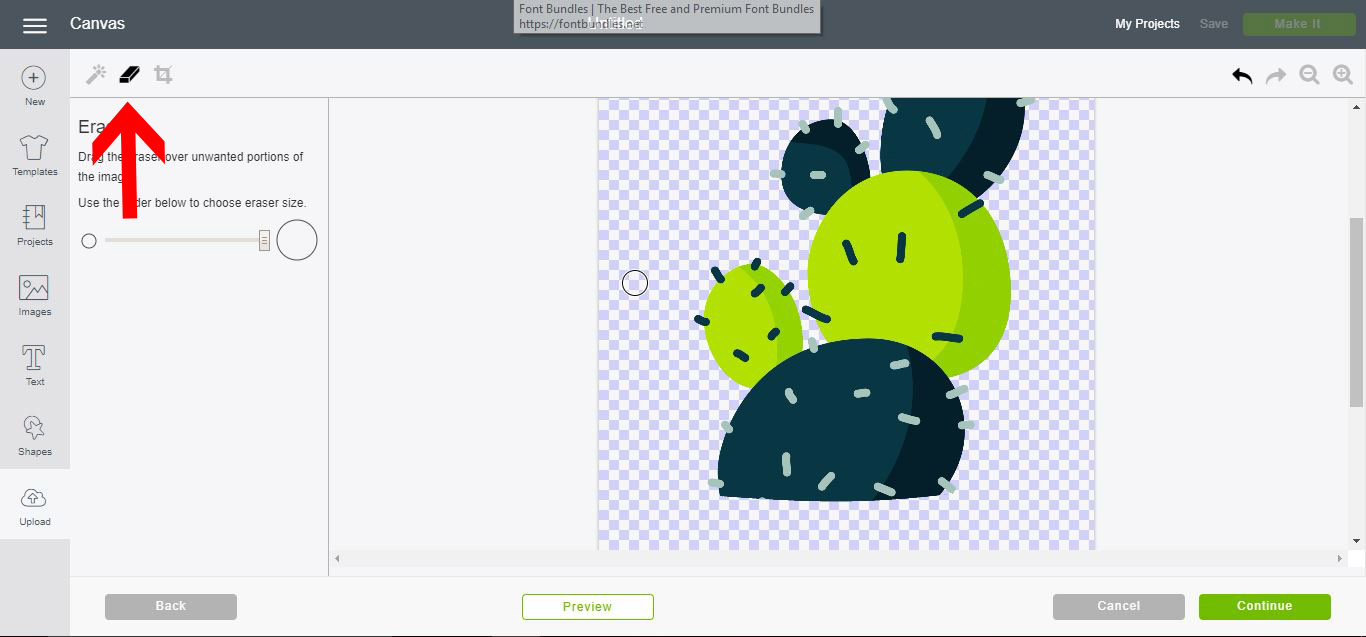
Step 3: Use the Eraser Tool.
Click on the Zoom button (off to the right) and Zoom into the section of your design you want to keep. Then click on the Crop icon and crop the image.
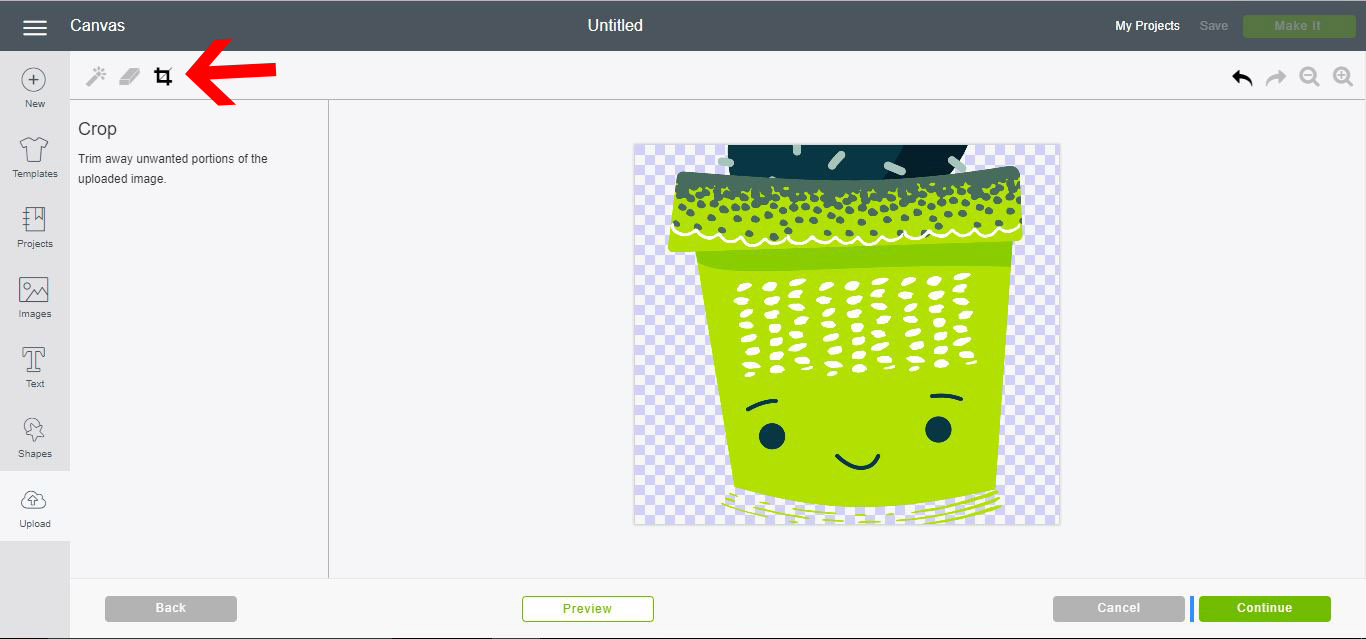
Using the Eraser tool you can remove any extra parts of the design you do not want to keep.

Click preview so you can see if you have removed all the parts you do not need. When you are happy click continue.
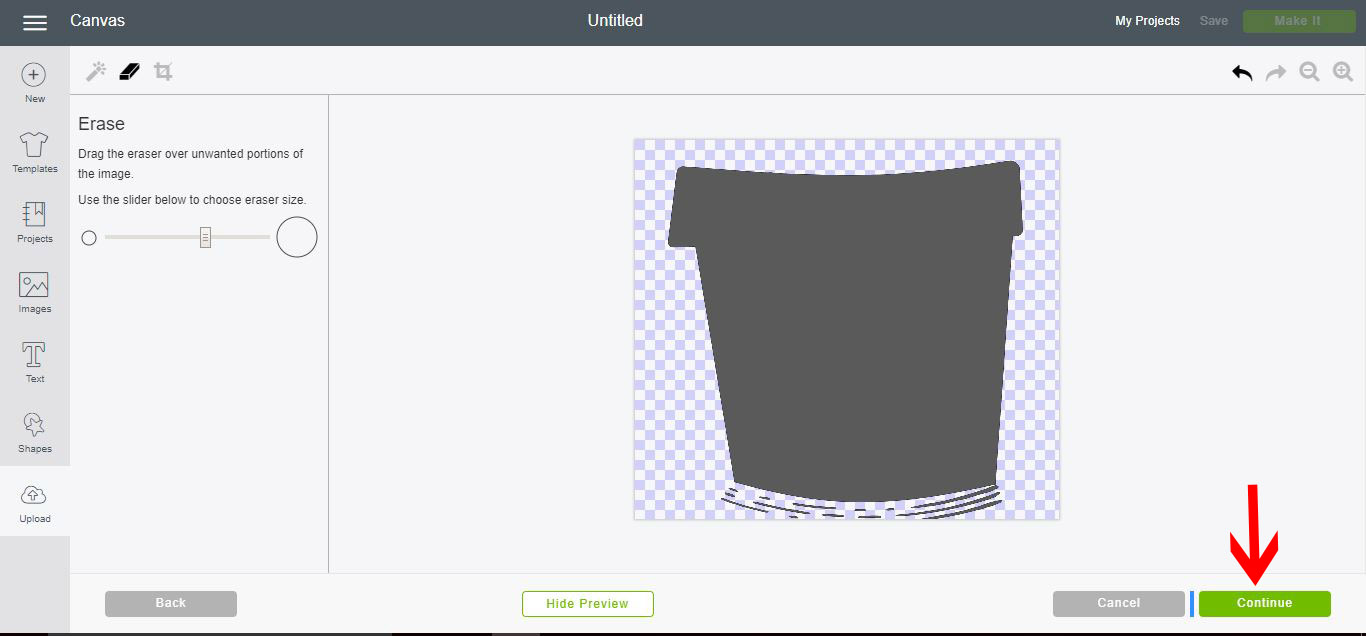
Step 4: Save as a Print then Cut
Save the file as a Print then Cut design, then click Save.
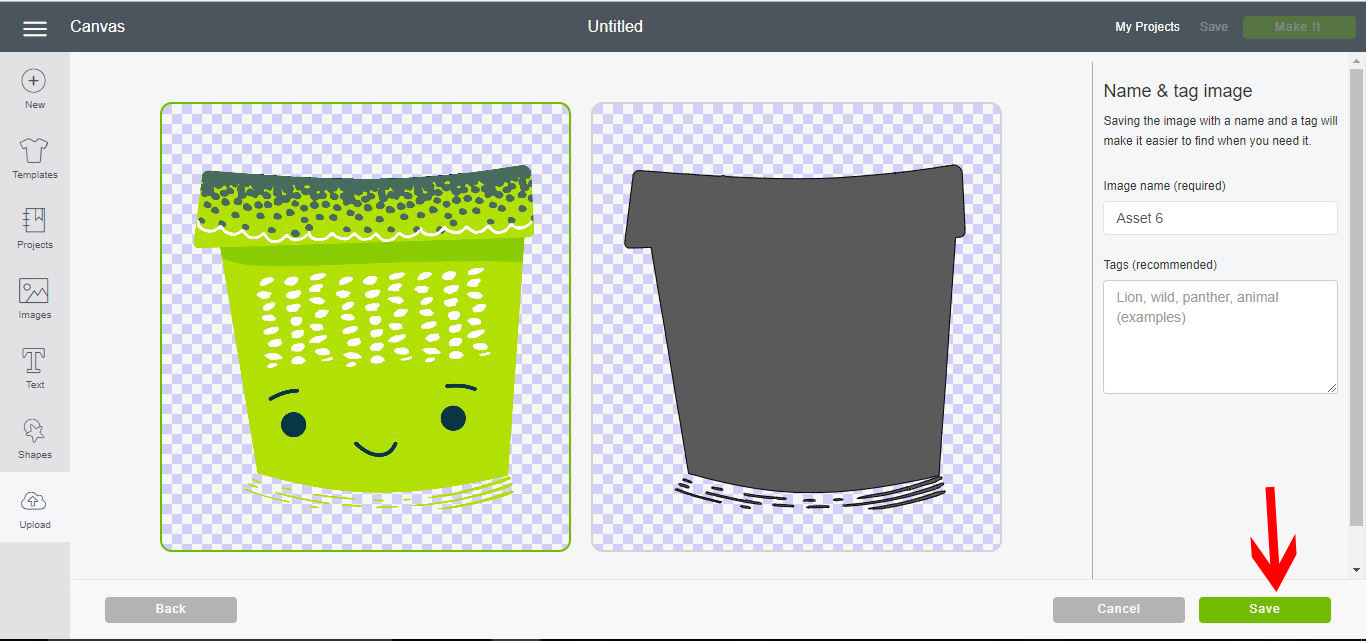
Step 5: Upload Your Image Again
Go back to upload the image and select the image again to upload.
Select your design again and click on complex image, then click on the continue button.
You’ll do the same steps as before, but this time you will remove the pot that the cactus is in.
This is what your design should look like after removing the flower pot with the Eraser Tool. Click continue and save it as a Print then Cut image again.
Step 6: Insert Your Images to Project
Select both pieces of the design you edited and click Insert Images.
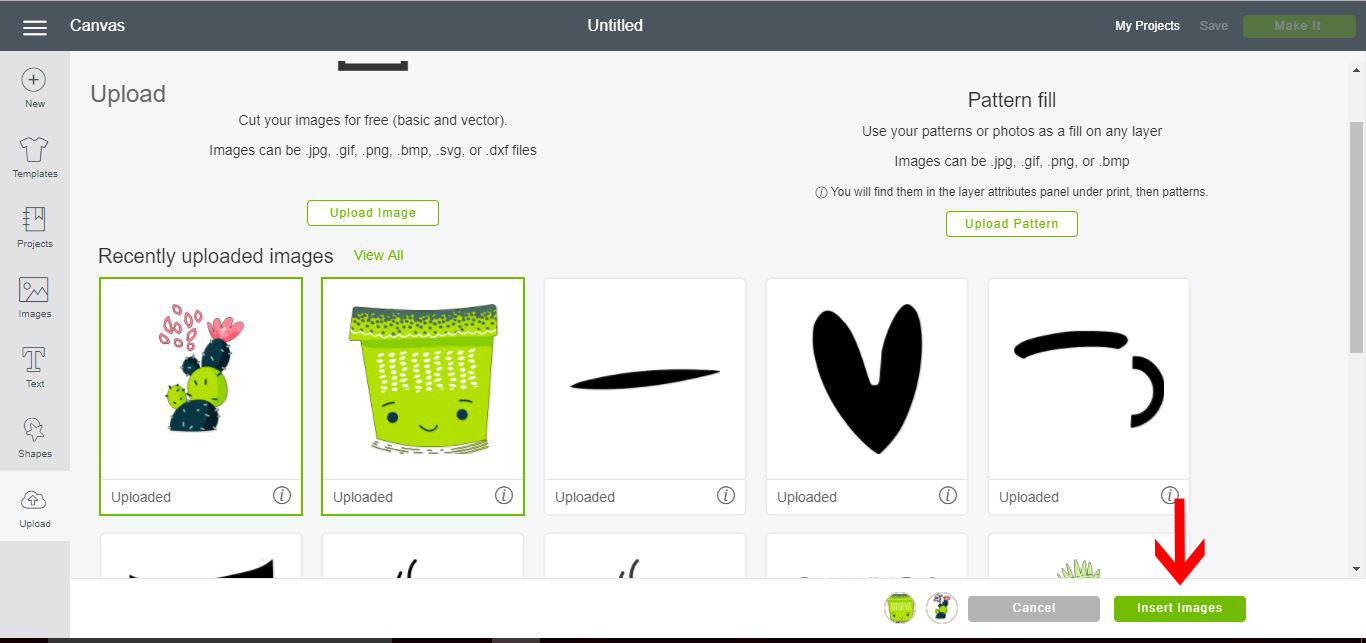
Your images will now appear in your Design Space project canvas.
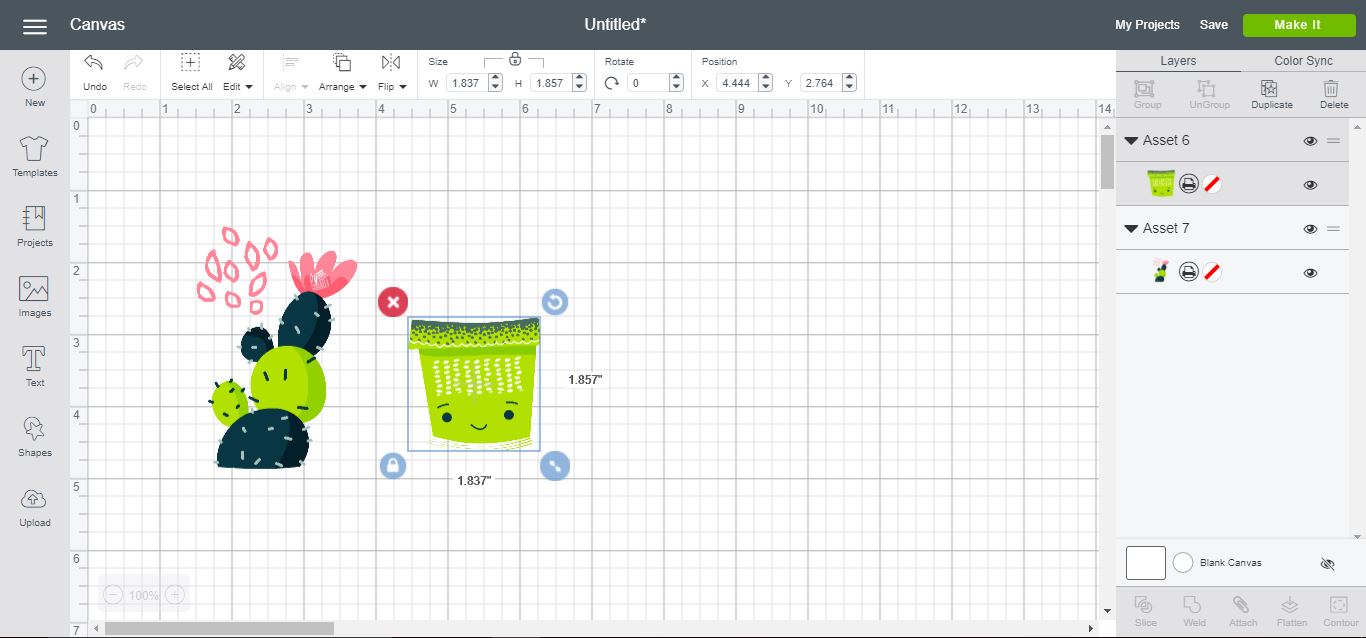
You can take parts from other images and mix and match to create your own designs.
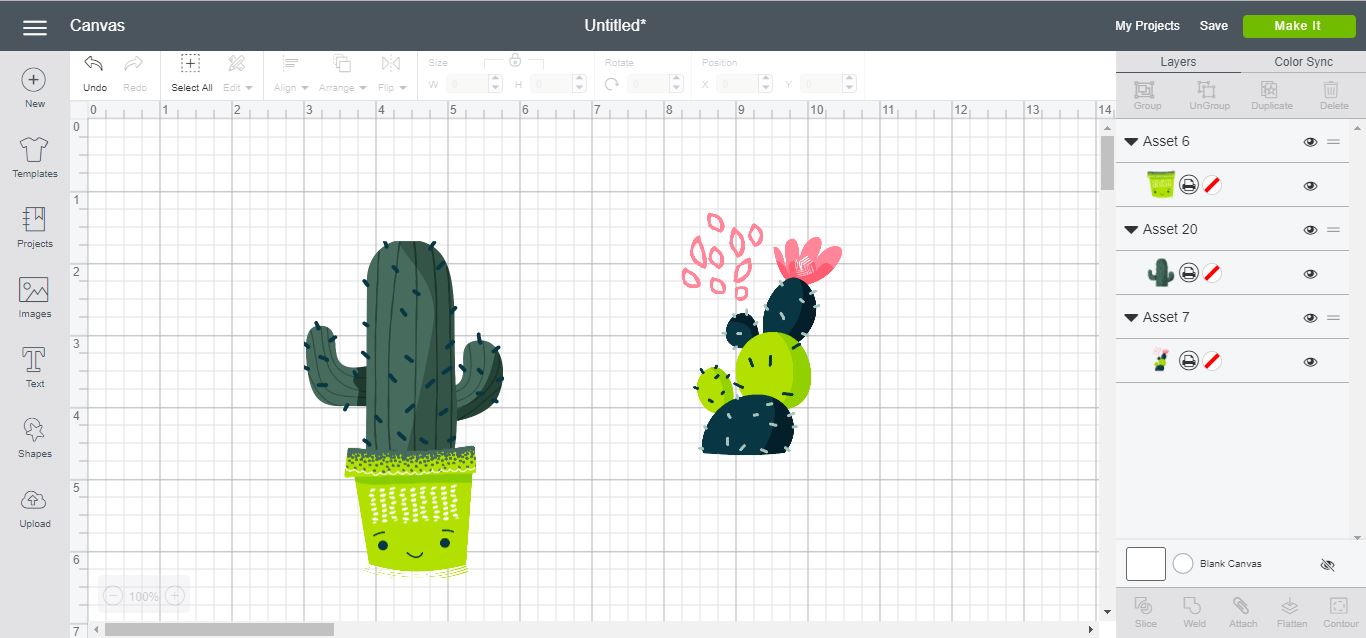
I hope you enjoyed this tutorial and learned something new! Using a similar process, you could turn flat PNG files into Multi Layer Images.