

By Christine Hattingh
How to Draw a Fire Truck
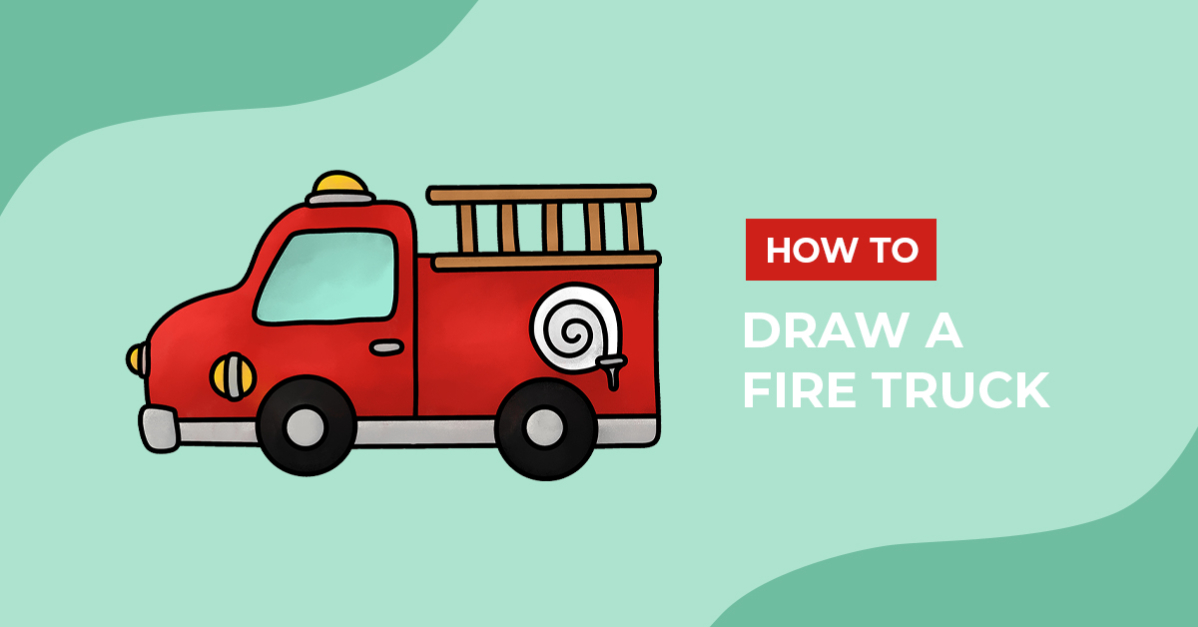
Get ready to draw your very own fire truck with our beginner-friendly tutorial. We'll guide you through each step of the process, from drawing the basic shapes to adding details like the ladder, wheels, and hose. Once you've finished, you can use your fire truck illustration in various ways, such as party decorations, safety clipart, and digital patterns.

Before starting your drawing, you will need to gather some materials. Create your drawing using traditional or digital tools, like crayons or Procreate.
You may also want to use a ruler to create straight lines and a circular object to trace around. If you are using Procreate, you can use the QuickShape Procreate feature to speed up your drawing process.
Step 1 - Create the Shape of the Fire Truck
To start, we need to sketch shapes to create our fire truck. In this step, you should use a sketching medium. This can be anything erasable or light enough in color that you can hide behind outlines or color.
Shape the Truck
Start with the body, which is the back of the truck. Draw a long and large rectangle as we did.

Next, shape the fire truck's cab, which is in the front. Using our image below, through the front part of the rectangle, draw a curved shape at the top with a line through it (shown in red). Then, draw the hood shape at the bottom left with rounding at the top.

Add Wheels
Draw the front and back wheels as a circle along the bottom of the rectangle sketch. Sketch a smaller circle in the center of the wheel for the rim.

Add Elements
On top of the back, sketch the ladder using vertical and horizontal lines. Then, on the top half of the cab, draw the window similar to how we did in our example sketch below.
Next, at the back of the fire truck below the ladder, create a spiral with a nozzle for the hose.

Add Details
You have sketched the base shape and elements and can now add more details to your drawing. Begin by adding the grill and headlights to the front of the cab. Draw a small rectangle for the grill and a circle for the headlights.
Add any extra elements your fire truck sketch might need, such as a door handle and siren lights at the top.

Step 2 - Outline the Fire Truck
With your rough sketches done, you can now begin making your fire truck outlines darker. Create a clean line art style drawing using a black or permanent medium. Tools like pens, markers, and inking brushes are perfect for creating vehicle outlines.
Start tracing your elements and details first. Remember to trace your sketches carefully and don't outline any unnecessary lines.

Then, outline the main fire truck clipart shape. If you want to add any other details, add them now, and erase your rough sketches.

Step 3 - Apply your Fire Truck Colors
Finally, add some color to your drawing using colored pencils or markers. Typically, fire trucks are red, so use a bright shade of red to color the truck's body. Apply yellow to the headlights with gray on the rim, handles, and accents.
Apply shading to your truck with darker colors and blend colors to add depth and dimension to your vehicle clipart.

And in just a few steps, you sketched, lined, and colored your fire truck! Why not add other modes of transportation to your collection of car clipart? Check out our drawing guides on drawing a bike or learn how to draw a car.
Imagine how many cool projects and craft you create using your newly drawn fire truck. Thank you for joining today, and we hope you had a fantastic time following our FREE drawing tutorial for beginners.



