

By Christine Hattingh
How to Draw a Fish
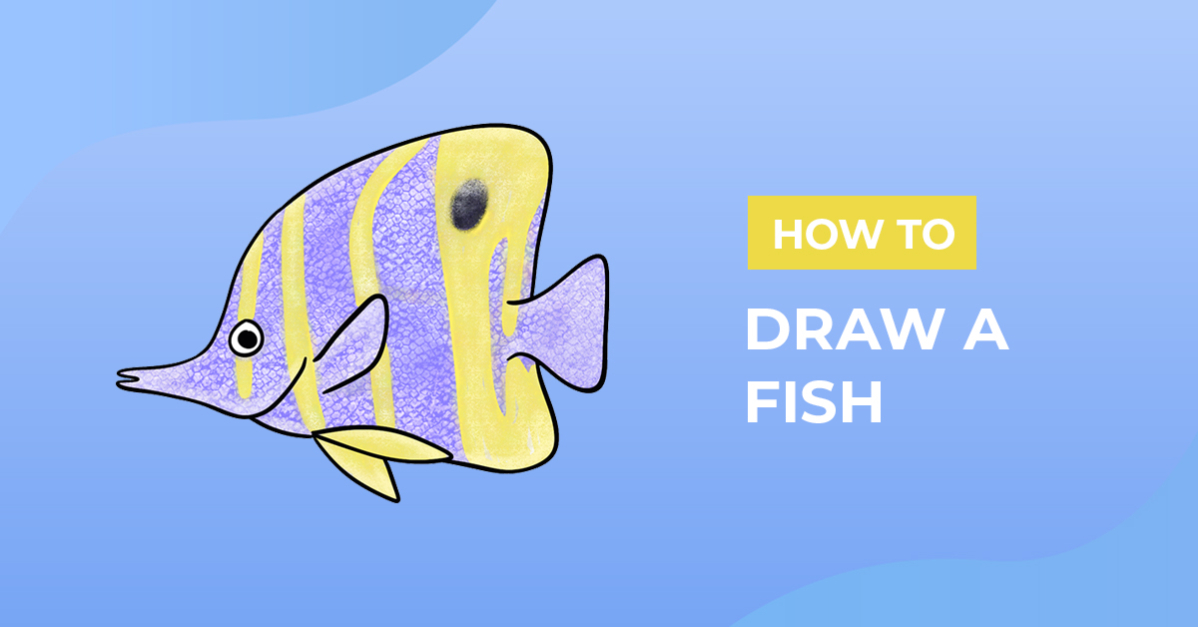
In today's free drawing course, we are going to show you how to draw a fish, specifically a beaked coral fish. Use your sea creature drawing for underwater crafts and projects. This can be clipart, seamless digital paper, or sublimated tumblers. In this drawing tutorial, we will guide you through the steps from sketches all the way to adding color.

To get started you will need to get your drawing supplies together. In this drawing tutorial, you will need any type of sketching, lining, and color medium. Feel free to use colored pencils, crayons, paint, or digital apps like Procreate.
For our fish drawing guide, we are using Procreate and this Procreate texture brush. With this textured brush, we can add a scale texture to our sea life clipart.
Not a Plus Member yet but want to try out the amazing benefits? Be sure to sign up to our FREE 30-day trial of the Gold Membership today!
Step 1 - Create Rough Sketches of your Fish
In our first step, we will be using a sketching medium to create rough sketches of our simple fish design. Start your drawing by roughly sketching a squared shape with a curved line on the left side. This is the body shape of our beaked coral fish.

On the bottom left, draw a pointed shape with a dent in it that curves in on the bottom for the beaked mouth part. See our example sketch below. Then, in the middle of the body shape, on the far left side, sketch a circle with a smaller circle inside for the eye.

Lastly, sketch the fins on your fish. Draw a small fin close to the mouth, with another two right below it. The bottom two fins are more pointed like a leaf shape.
Then sketch the tail fin in the middle at the back of the body shape. This back fin flares out almost like the bottom of a triangle.

Step 2 - Outline your Fish Sketch
Using a lining medium like a black brush, a pen, or a marker, outline your rough sketch. Pay close attention to your overlapping sketch lines. Some lines you do want to keep while others you want to avoid. If you are unsure of which sketches to outline, look at our image below.
You can remove your sketches when you are done outlining if you used an erasable medium. If you can't remove your sketches, you can cover them up with color in the next step.
Here is what our sketch looks like so far. Your sketch can be completely different, drawn exactly however you want.

Step 3 - Add Color to Your Fish
With the rough sketch and outlines complete, you can now move on to adding color. In this step, you have complete creative freedom to add any color or texture to your fish drawing. For our design, we used a color palette of yellow and purple.
Have a look at the collection of Procreate Texture brushes available. You are sure to find something for your brush library.
You can carry on to add solid colors, create a pattern on your fish like we did, or add shading for added depth. It's completely up to you and what your coloring style is. A reference photo always comes in handy when you need to create a more accurate pattern.
If you are using Procreate, be sure to check out our tutorial on how to add a reference photo.

Wow, now that's a cool-looking fish that any design library would be proud of! Create a school of fish with different sizes and colors and extend your illustrations in your design library. We have a brilliant tutorial on how to draw a coral reef to give your new friends a home.
We hope this quick and easy-step-by-step tutorial will inspire you to create even more swimmingly excellent drawings. For more drawing tutorials just like this one, see our other free drawing tutorials.



