By Christine Hattingh
How to Draw a Ghost
This fun and easy drawing guide will show you how to draw a ghost in three steps. This Halloween season, bring some chills to your artwork with a cute or terrifying ghost illustration. Add your spooky drawing to your home décor, create cute clipart, or add it to your paranormal drawing library.

Before you begin this drawing tutorial, get your supplies and tools ready. To create your Halloween clipart, you can use any medium on hand, like paint, chalk pastels, or a digital app such as Procreate.
For our drawing guide, we are using Procreate. If you are following along using Procreate, check out our collection of free Procreate brushes to add a unique touch to your artwork.
Step 1 - Create your Ghost Sketch
In our first step, we will create a rough ghost sketch. Using a pencil for this step is best, as you can easily erase or make the necessary changes. If you do not have a pencil or erasable medium on hand, use a light-colored medium and cover it up with outlines and color.
Sketch the Main Shape
Begin sketching out the main shape of your ghost. This can be an arched shape like our example below, or add a tail and make it wavy.

Sketch a wavy line at the bottom of your main arch shape to close the bottom of your ghost. Then on each side, draw short arched lines to make arms.

Add the Face
Draw your ghost's face on the top half of the main body shape. The face should include the eyes and mouth. Save some time by using ready-made ghost face clipart that you can easily add to your illustration.

Add Details
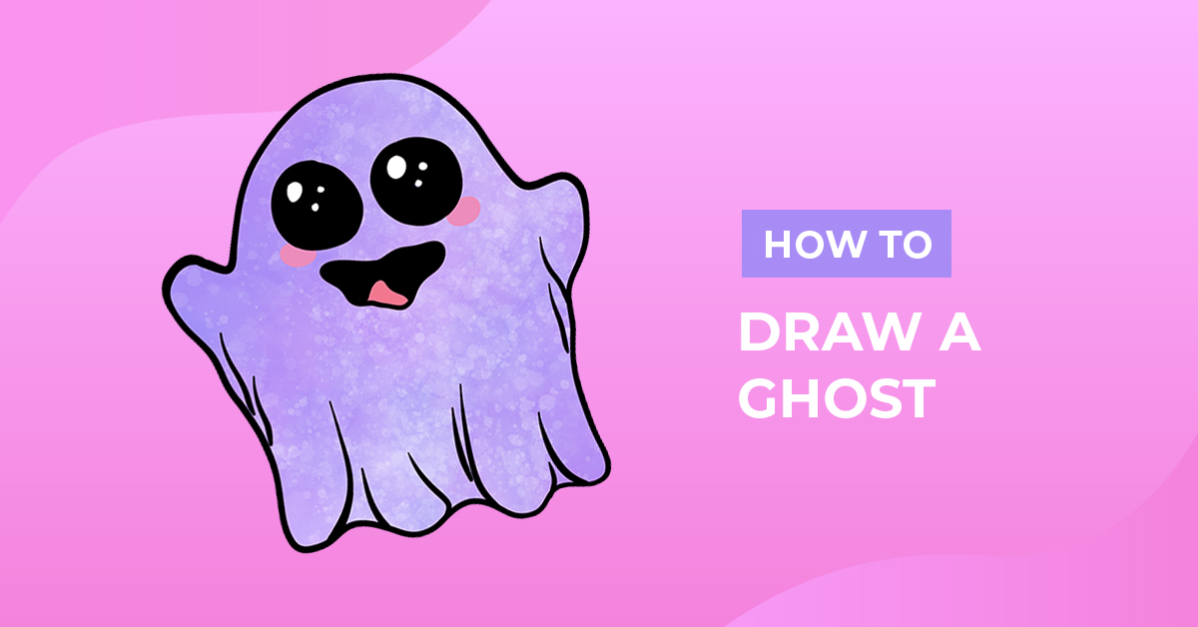
Add the final details to your ghost. For our example, we added dots in the eyes, a tongue in the mouth, and a few wavy lines on the lower half of the body. You can add anything you want here, like drawing a bow to make it cute or including horns and a pitchfork.

Step 2 - Define your Ghost Outlines
When you are happy with your rough sketches, it's time to switch mediums and make your lines permanent. You will need a lining medium such as a pen, marker, or outline brush to define your ghost line drawing. This will darken your illustration and help you see the shape more clearly.
Start your outline by tracing the outer sketch lines of your ghost shape.

Then continue defining the inner sketch lines of the eyes, mouth, and details you added to your sketch.

Step 3 - Apply Color to your Ghost
Add color, texture, or shading to your ghost using a coloring medium in this final step. We used these watercolor Procreate brushes for our ghost clipart to add a purple texture to the body. We added pink to the tongue and below the eyes for blush, leaving the circle in the eyes white.

What a spooktacular drawing you made! Apply these steps to create a haunting of different ghost shapes and colors. Just think how fun it would be to add your Halloween illustrations as sublimations and spooky stickers.
We hope you had a haunting time following along with our drawing exercise and drawing with us. Check out our other Halloween drawing guides and learn how to draw a skull or draw a spider.