By Nadine Spires
How to Draw a Maple Leaf
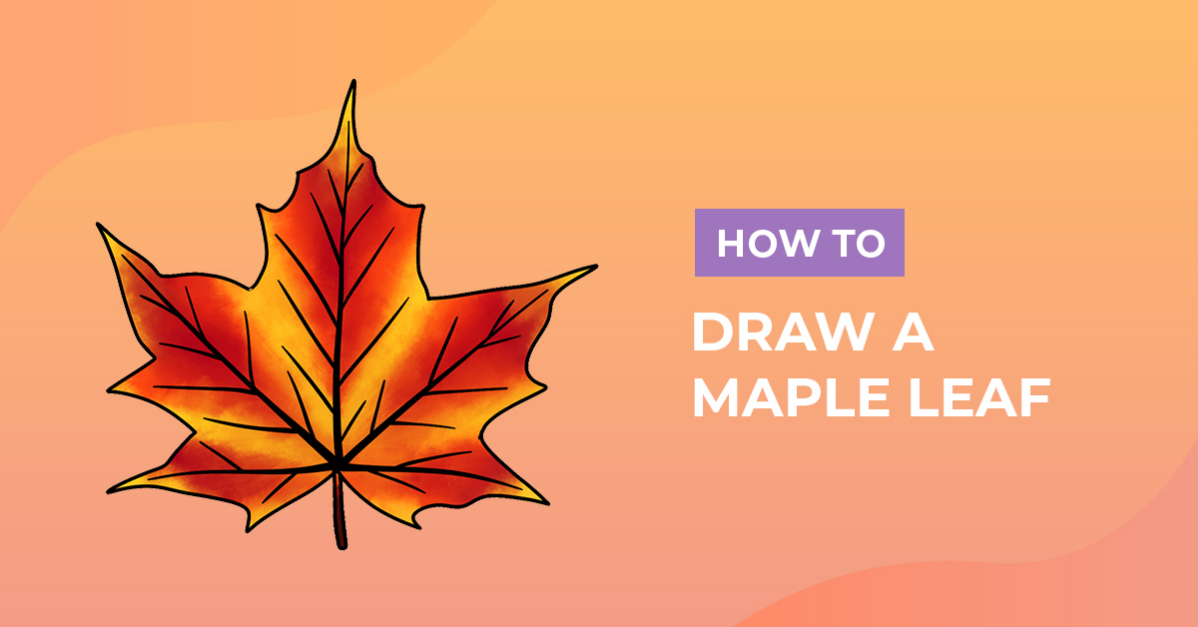
Today we are going to have a look at how to draw a maple leaf with its iconic star shape. Did you know that there are over a hundred species of maple trees? The beautiful colors of maple leaves during Autumn are always an inspiration for artists, designers and creatives. In this drawing guide, we are going to show you how to sketch the basic shapes, add details, color and texture to get the final result.

Go ahead and collect your supplies together, using whatever medium you are comfortable with. Our drawing tutorials are extremely flexible. You can use colored pencils, crayons or even software like Procreate and Photoshop.
For this tutorial we chose to use Procreate. We will also be using a set of Procreate brushes to draw and color the design. Be sure to check out the FREE Procreate brush category on Design Bundles for other brush set options.
Step 1 - Sketch Support Shapes for the Maple Leaf
In the first step, we are going to sketch the basic lines and shapes. These will make up the support shape of the leaf. Try using a medium that can easily be removed or covered up like a pencil or something lighter in color.
Build up the Leaf Shape
A maple leaf has a star-like shape with five distinct sections. We will use long oval shapes to plan and build up the design.
Start by sketching a big, elongated oval in the center of your page. Then, on either side of the first oval, sketch a smaller version at an angle. Place these ovals so they overlap the larger one towards the bottom.
Sketch another set of ovals, smaller than the previous ones. This time, place them horizontally at the base of the larger oval shape. The result should resemble our example sketch below.

Plan the Maple Leaf Points
Next, we are going to sketch guidelines for the maple leaf points and stem.
Start by drawing lines through the middle of each oval shape. Make sure the lines extend past the tops of the ovals. The center oval sketch line should be longer at the bottom. This is where our stem will go.

Sketch the Outline of the Leaf Shape
With our support sketches done, we are going to join them together by sketching the outer line shape. Use each oval sketch to determine the width of the five sections, and the lines as guides for creating the end points.
Draw jagged points going outwards around the sections, with longer points on the tips. To divide the sections or ovals, curve the points inwards. Looking at our example below, we circled the five main points. The arrows show you the divided sections where the points curve inwards.

Step 2 - Outline the Maple Leaf Sketch
Now, we want to permanently outline our sketch using a pen or a marker. We will also be adding the veins to our maple leaf.
Outline the Shape
Begin with the outermost shape of your design and draw over the sketch with the pen or marker. Add a long rectangular shape for the maple leaf stem at the bottom.

Draw the Veins of the Leaf
Next, we are going to draw in the veins of our maple leaf. Using the line sketches as our guide, draw in the five main veins. Then, draw shorter lines branching out at an angle from each main vein. When you are done with the outlines and vein detail, go ahead and remove the rough sketches.

Step 3 - Color in Your Maple Leaf
In this final step, we are going to add color and texture. For our design, we used a palette of yellow, orange and red to make our maple leaf Fall colors. What colors you use are completely your choice, even green leaves if you prefer.
To create dimension and build up color, first fill the leaf with yellow, then use a texture brush to layer with orange. Next, use the texture brush again with red, and add color to the veins and stem. Our maple leaf shape is now fully drawn and colored in.
Create more Fall themed clipart with our tutorial on how to draw a pumpkin. It's just perfect for projects like home décor or porch signs.

You have just created an unbe-LEAF-able drawing! Doesn't it look amazing with the vibrant colors of Fall? This design would be perfect for Fall themed projects like stickers, paper crafts or even sublimation. We hope you enjoyed following along with this sketch tutorial and drawing a maple leaf with us.