By Christine Hattingh
How to Draw a Mermaid
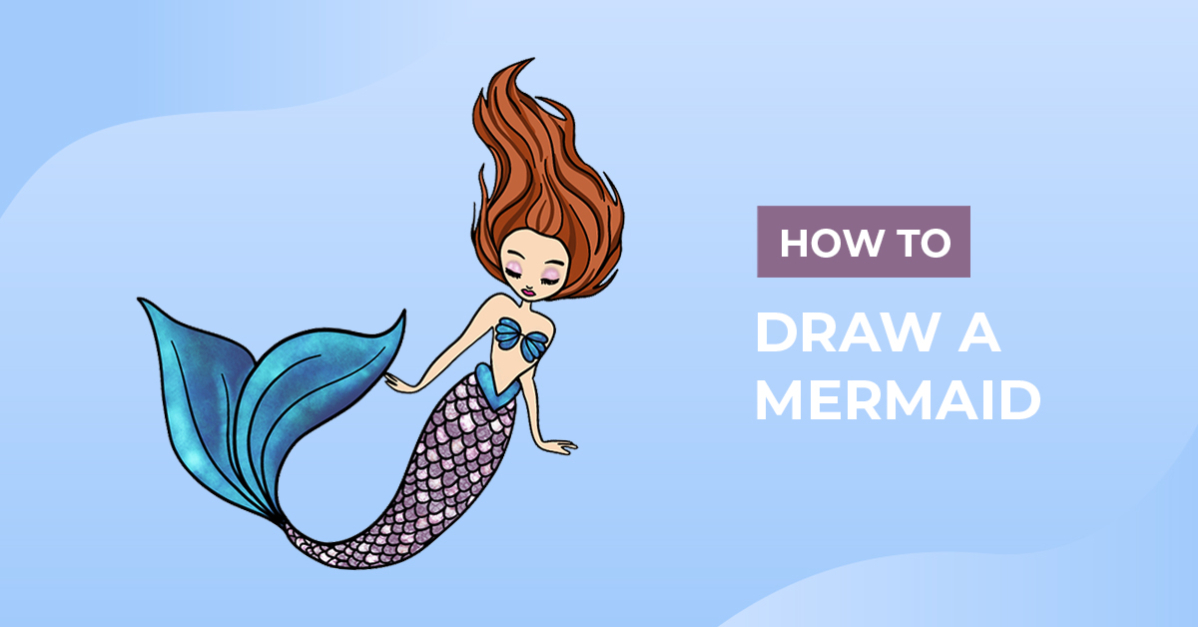
In today’s drawing tutorial, step into the world of magical creatures and draw a mermaid with us. With long majestic tails and flowing hair, you can create your mermaid illustration in just a few steps. Use your sea creature illustration to create custom nursery prints, sublimated decor, and ocean-themed party decor.

Before starting our mermaid drawing, we must get all our drawing supplies together. With our drawing tutorials, you can use any type of medium you have on hand. These can be paint, glitter pens, or Digital drawing programs.
For our drawing guide, we are using Procreate. You can use any brushes or download free Procreate brushes to make your mermaid drawing.
Step 1 - Create your Mermaid Sketch
Let us begin our mermaid drawing by creating rough sketches. For your rough sketches, we recommend using a pencil or light-colored medium.
Sketch the Body of Your Mermaid
Starting with the head, roughly sketch a circle. Then below it, draw an upside-down triangle shape with two lines toward the head for the body. See our example sketch below.

Sketch the arms and hands on the left and right sides of the body. Our mermaid's left arm is visible from the elbow, and we started our sketch at the center-left side of the body. The right arm is visible, so we started drawing at the body's top right side.
As we did below, you can make the hands tilted upward and add the thumps at the bottom.

Sketch the Tail of Your Mermaid
At the lowest point of the body, sketch a heart shape. See our red sketch line in the image below. Then below that, draw a long, pointed, curved shape for the rest of the tail.

At the edge of the tail, point sketch the two fins. We made our mermaid fins large and pointed curves for the ends.

Step 2 - Sketch the Hair and Details
With our base shape sketched, we can add the hair, face, and shell details. You can create your mermaid to look any way you want to. So feel free to change up the style from our example sketches.
Add the Hair
Above the head, we will create wavy flowing hair going up. Draw the hair sketches close to the bottom of the neck, going upwards using wavy lines. Add a few wavy lines inside to create a flowing effect.

Add the Face and Shells
Add the eyebrows, eyes, and mouth inside the mermaid's head. For our mermaid's eyes, we made them closed by drawing a lash line only. Then add the sea shells to the chest of your mermaid.

Step 3 - Outline Your Mermaid Rough Sketches
For this step, switch to a defining medium to create our mermaid outlines. You could use a black color of your chosen medium or marker to define your sketches.
Pay close attention to which sketch line you want to make permanent. Start outlining your mermaid's hair, head, body, and tail.

Then outline your hair lines and seas shells. On the tail, add a scalloped design to create scales and draw a few lines at the bottom of the fins. You can remove your rough sketches when you are done outlining.

Step 4 - Add Color to Your Mermaid
In this step, add color to your mermaid. For your mermaid colors, you will need hair, skin colors, and colors to add to the tail and sea shells. Procreate users, we have a bunch of premade Procreate color palettes you can use.

To finish off your mermaid art, add some darker shades to the hair. Add a shimmering effect with glitter, or use this holographic Procreate brush.

Great work, you have just created a magical mermaid! Why not make custom illustrations for family and friends by changing the hair, skin, and tail colors? We hope our drawing exercise has inspired you to create more ocean clipart.