By Nadine Spires
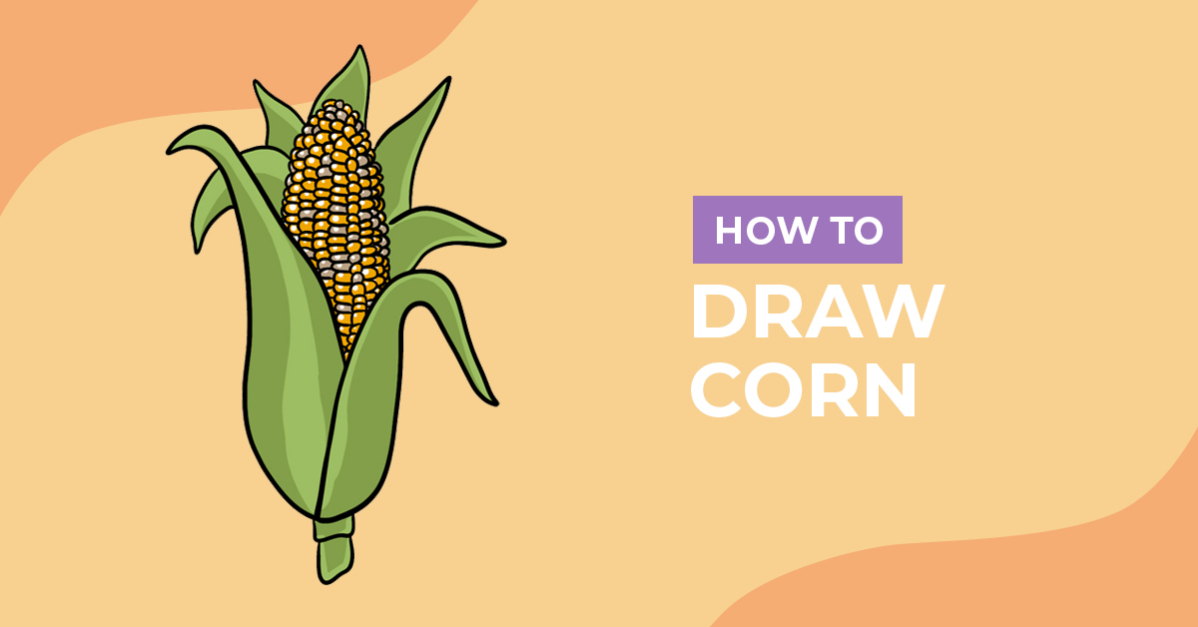
How to Draw Corn
On the cob, popped, or sweetened, today we are showing you how to easily draw corn. With the drawing exercises in this tutorial, you can create a clipart for your craft projects and ideas. Create country fair decorations, food packaging, and even make designs to sublimate. The possibilities are endless!

Our drawing tutorials can be used with any medium you have available. You can use crayons, paint, Procreate or Photoshop. From sketching to adding color, we will guide you step by step. During this tutorial, we will make use of Procreate with these ink Procreate brushes.
Feeling inspired and looking for more food drawing tutorials like this one? Check out these tutorials on how to draw a carrot or draw a pumpkin.
Step 1 - Roughly Sketch the Corn Shape
Using a sketching medium that is removable or can be hidden, draw a long vertical oval for the base shape. We made the bottom of our corn more rounded with a slightly pointed top.

Right below the long oval, sketch an irregular rectangular shape as we did in our image below. This will be for the stem.

Step 2 - Add the Husk and Corn Detail
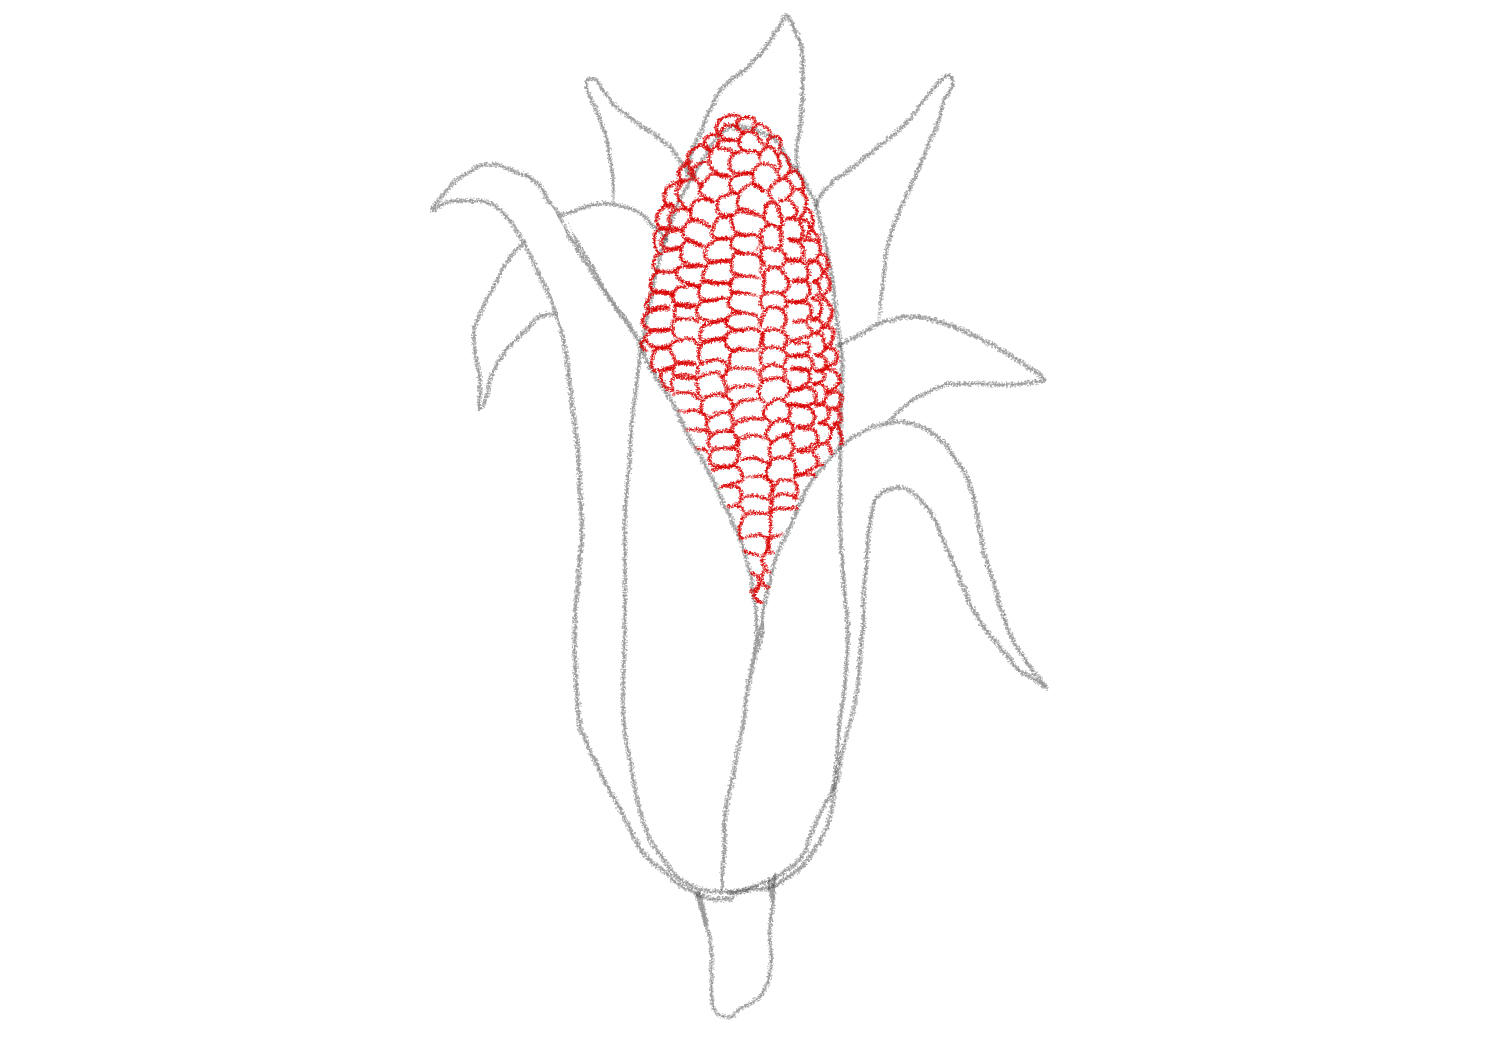
With the base shape done, we are going to sketch the husk leaves and make the corn rows. You can add as many or as few details as you want in this step.
Add the Husk Around the Corn
Two husk leaves were sketched at the front, covering the lower half of our corn. At the back of our corn, we added five more husk leaves.

Sketch in the Corn Rows
On the top half that is visible, we are going to draw the individual kernels to make the iconic cornrow. We used squared and rounded shapes, going vertically in a row. See our example below.
Step 3 - Outline Your Corn Rough Sketch
For this step, change over to a more permanent medium to make the final outline of your sketch. Outline your rough sketches, making sure to skip any overlapping lines, like the corn shape in the husk.

Once the outline is complete, you can clean up the drawing and remove the rough sketches you made. To complete our outline, we went ahead and added a few line details on our husk and stem.

Step 4 - Add Color to Your Corn Drawing
In the fourth and final step, we are going to add color to our drawing. For the design colors, you can use shades of yellow and green. Begin by adding your base colors of yellow to the corn and green to the husk and stem.

Add details to your illustration such as highlights, shadows, or even textures. For our drawing, we added a light green on areas of the husk. For extra character, you can use a pale yellow or gray for individual kernels. Complete the design with white dots on each kernel.

In just a few easy steps you have learned how to draw your very own corn clipart. This design would be perfect for your food-themed projects. Why not change up the colors and create rainbow corn? We hope this guide has inspired you to explore and follow more drawing tutorials like this one.