By Design Bundles
Bokeh Effect in Illustrator
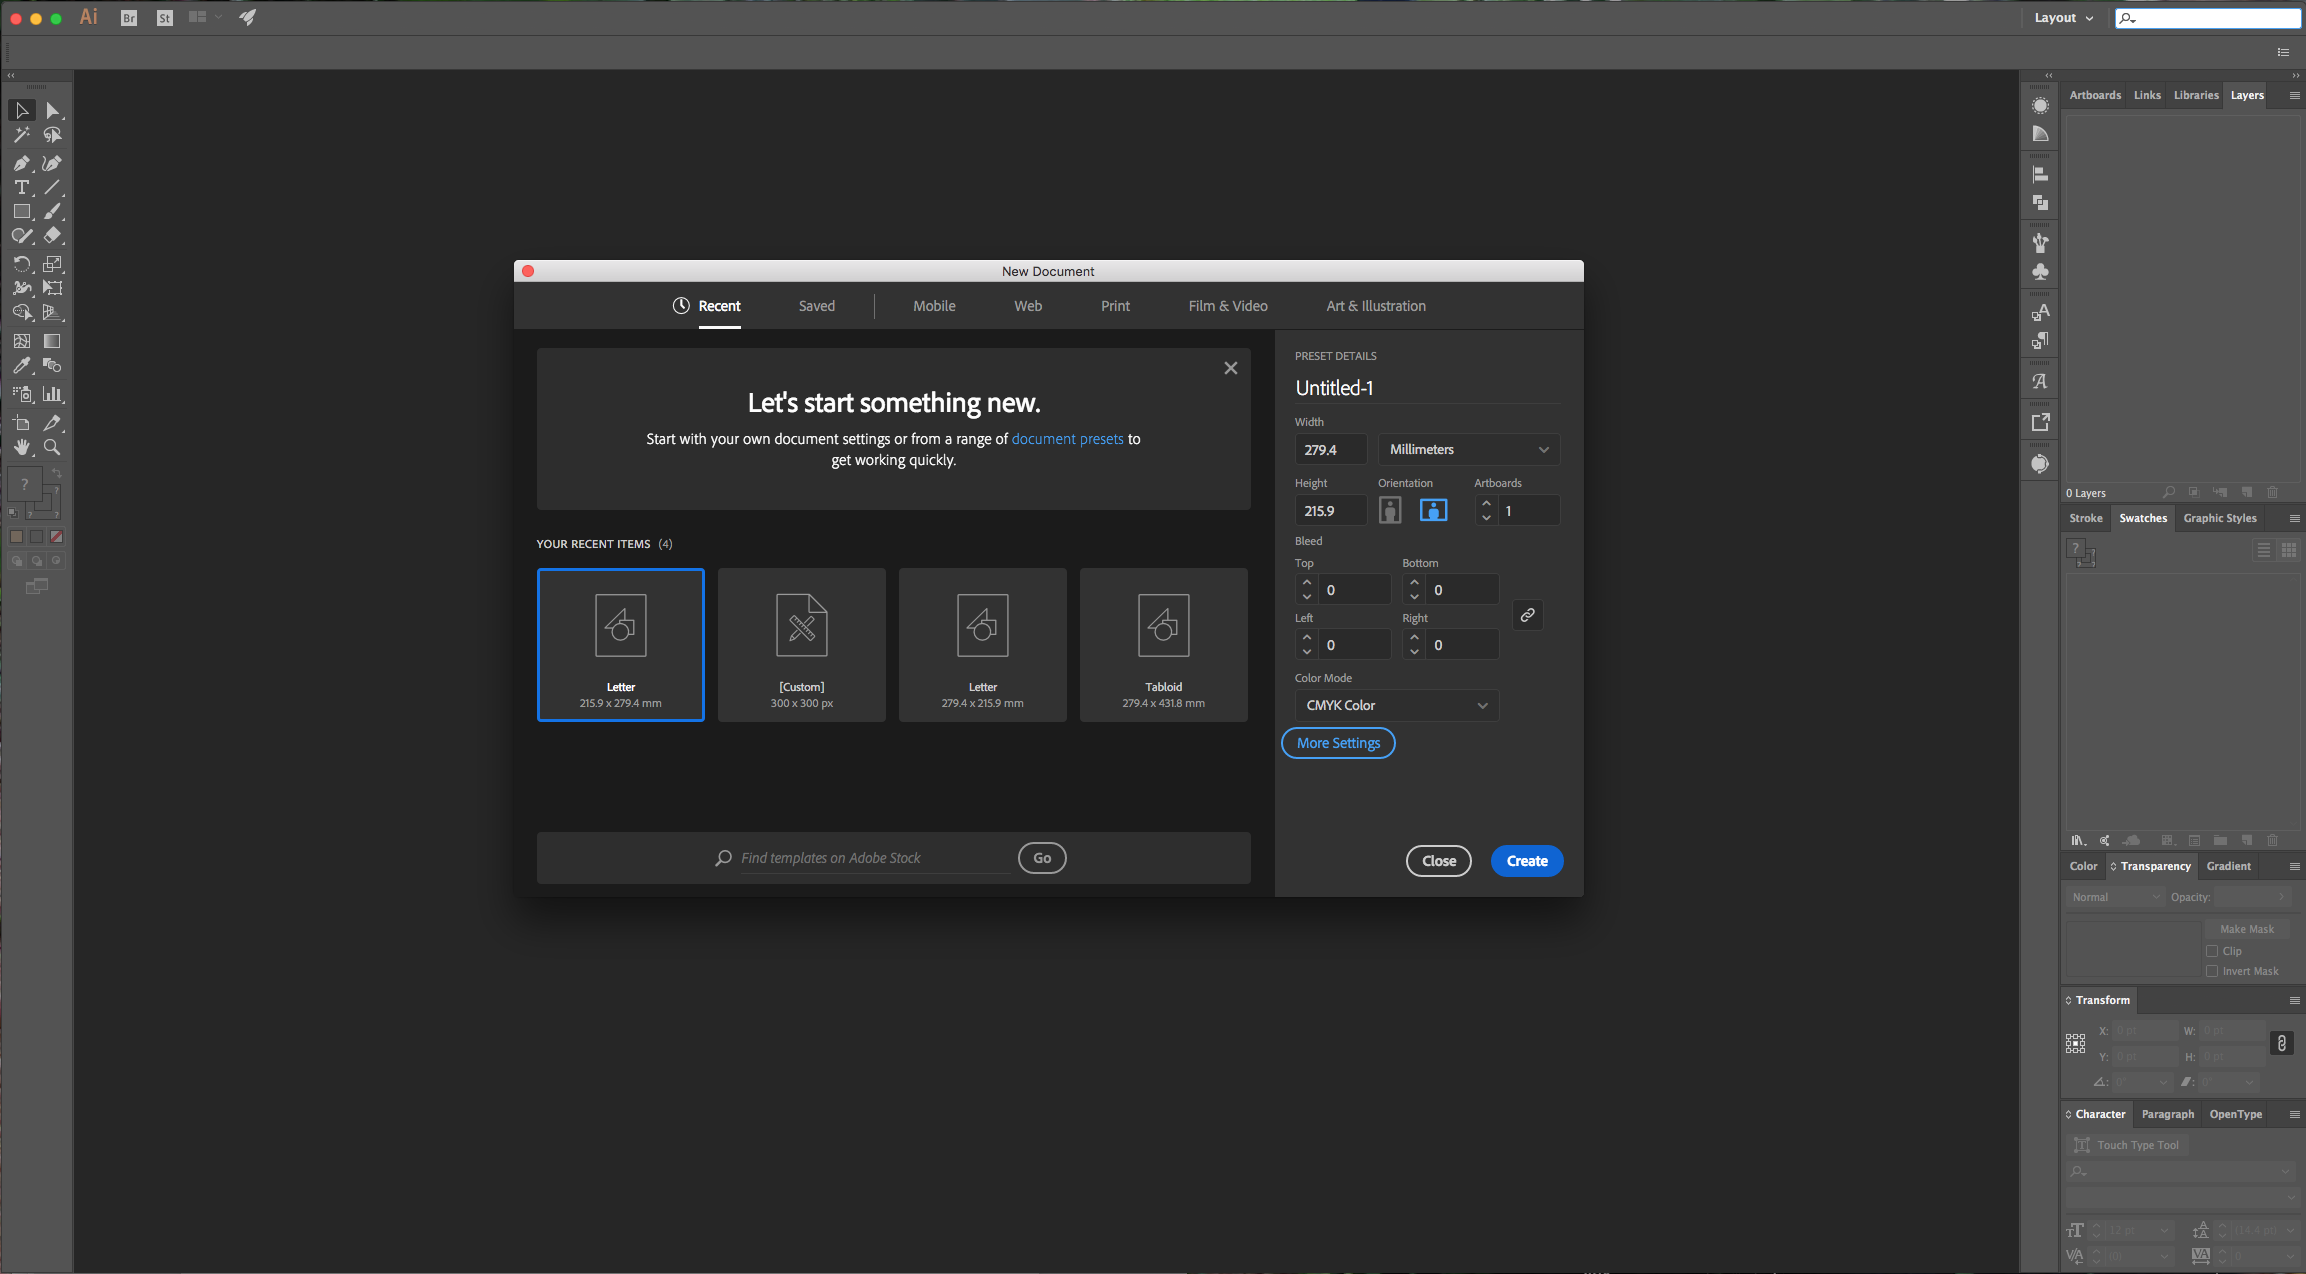
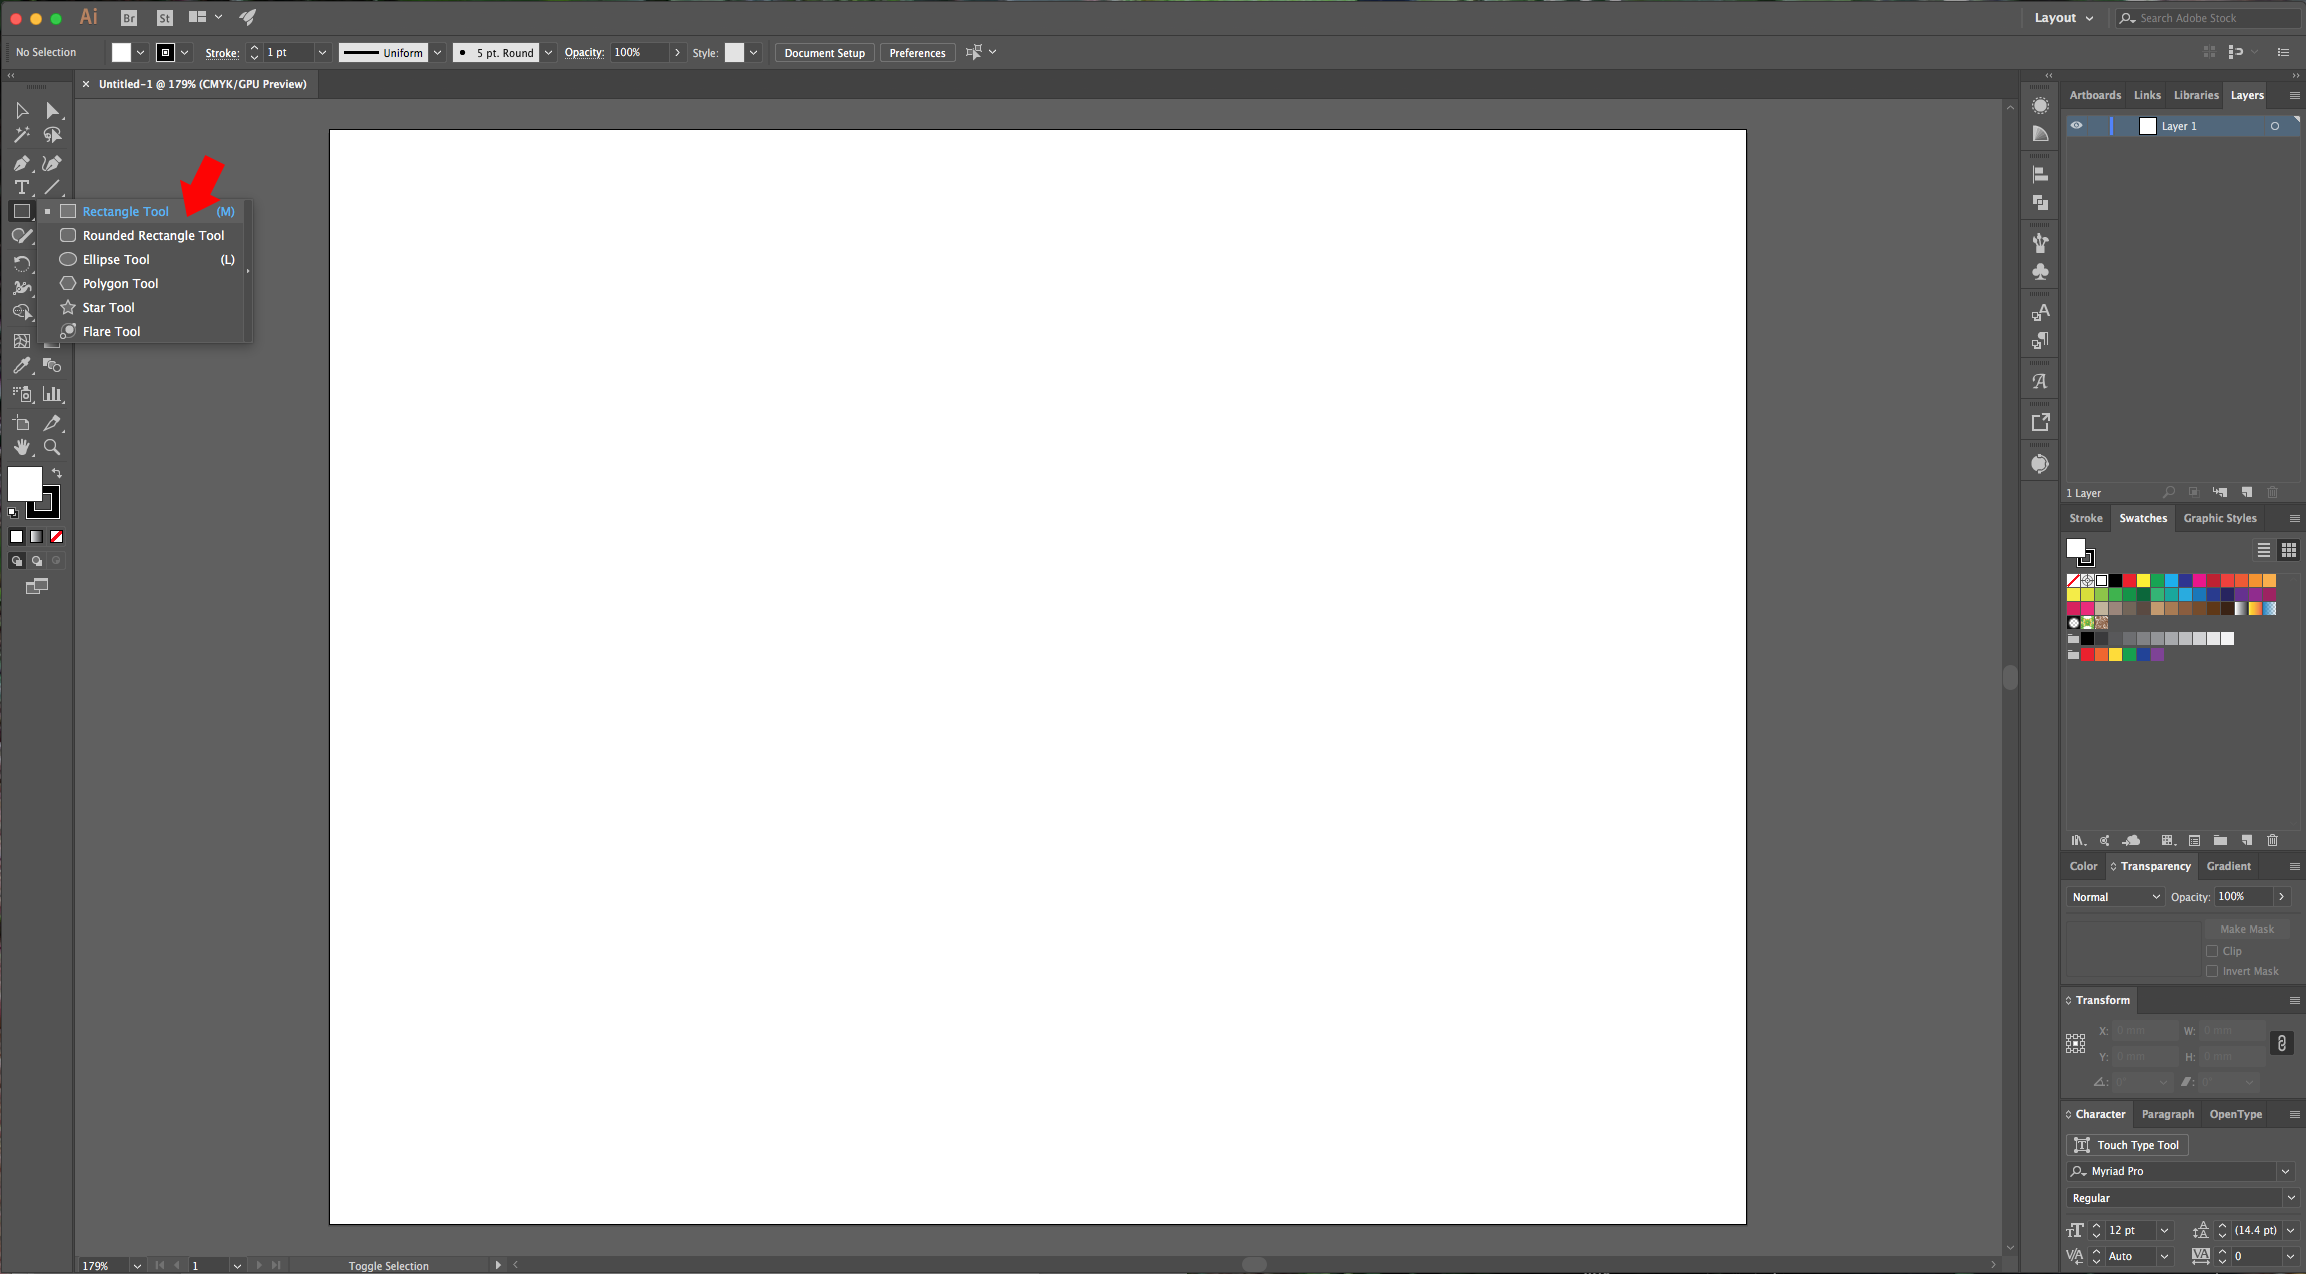
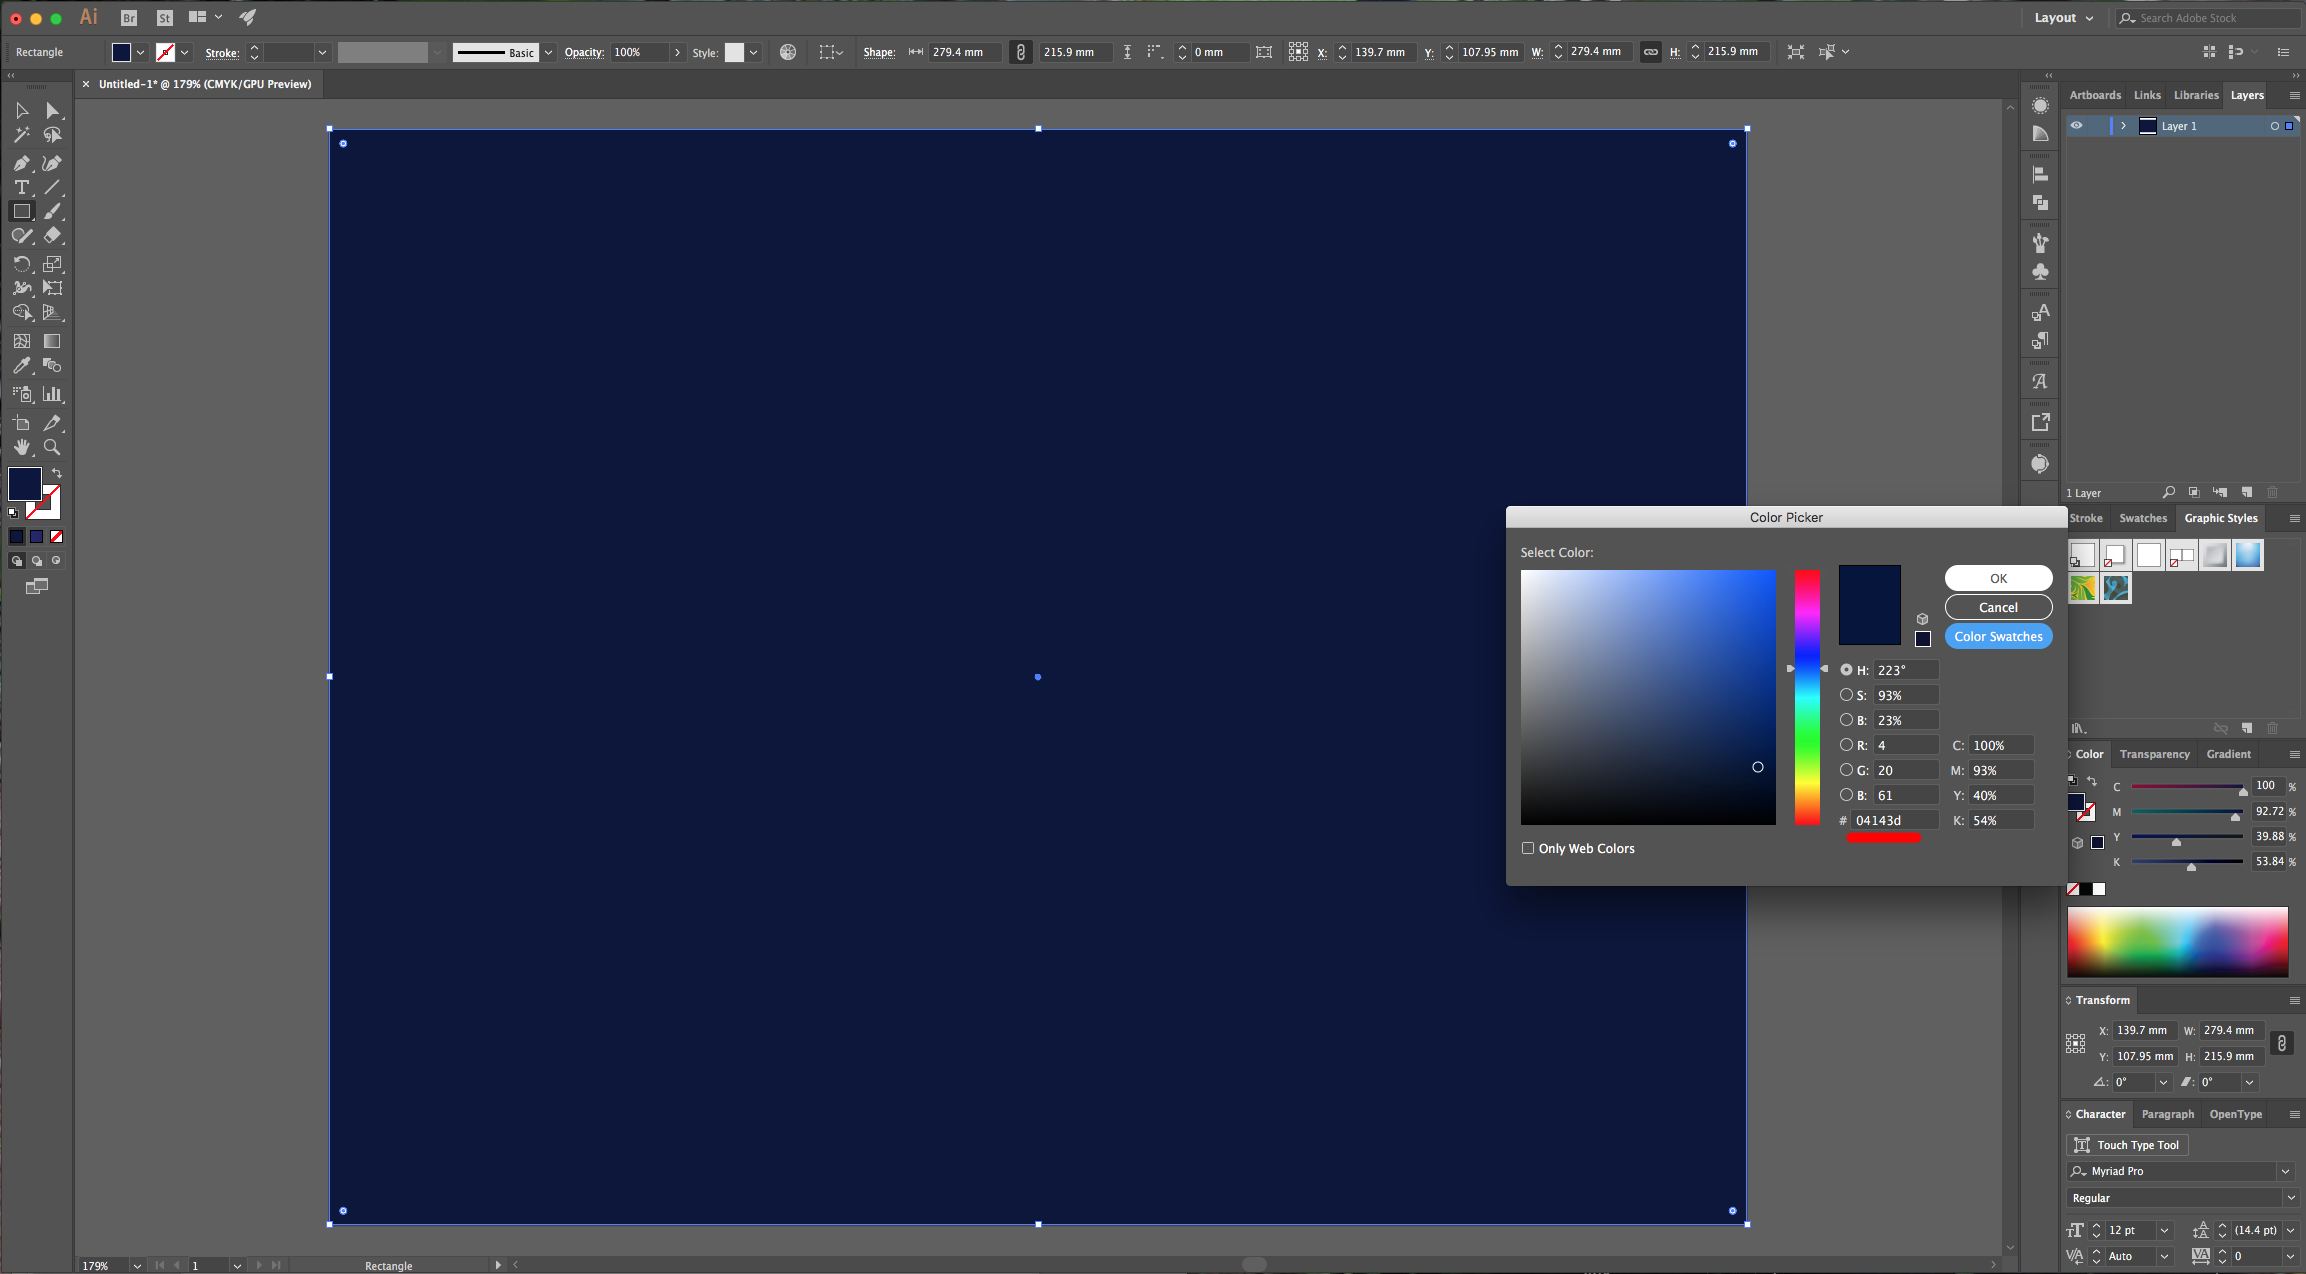
1 - In Illustrator, create a “New Document”. Select the “Rectangle Tool” (M) and draw a rectangle that covers all your “Artboard”, fill it with a very dark color (we used #04143d) or with a “Gradient” and make sure your “Stroke” color is “None”.
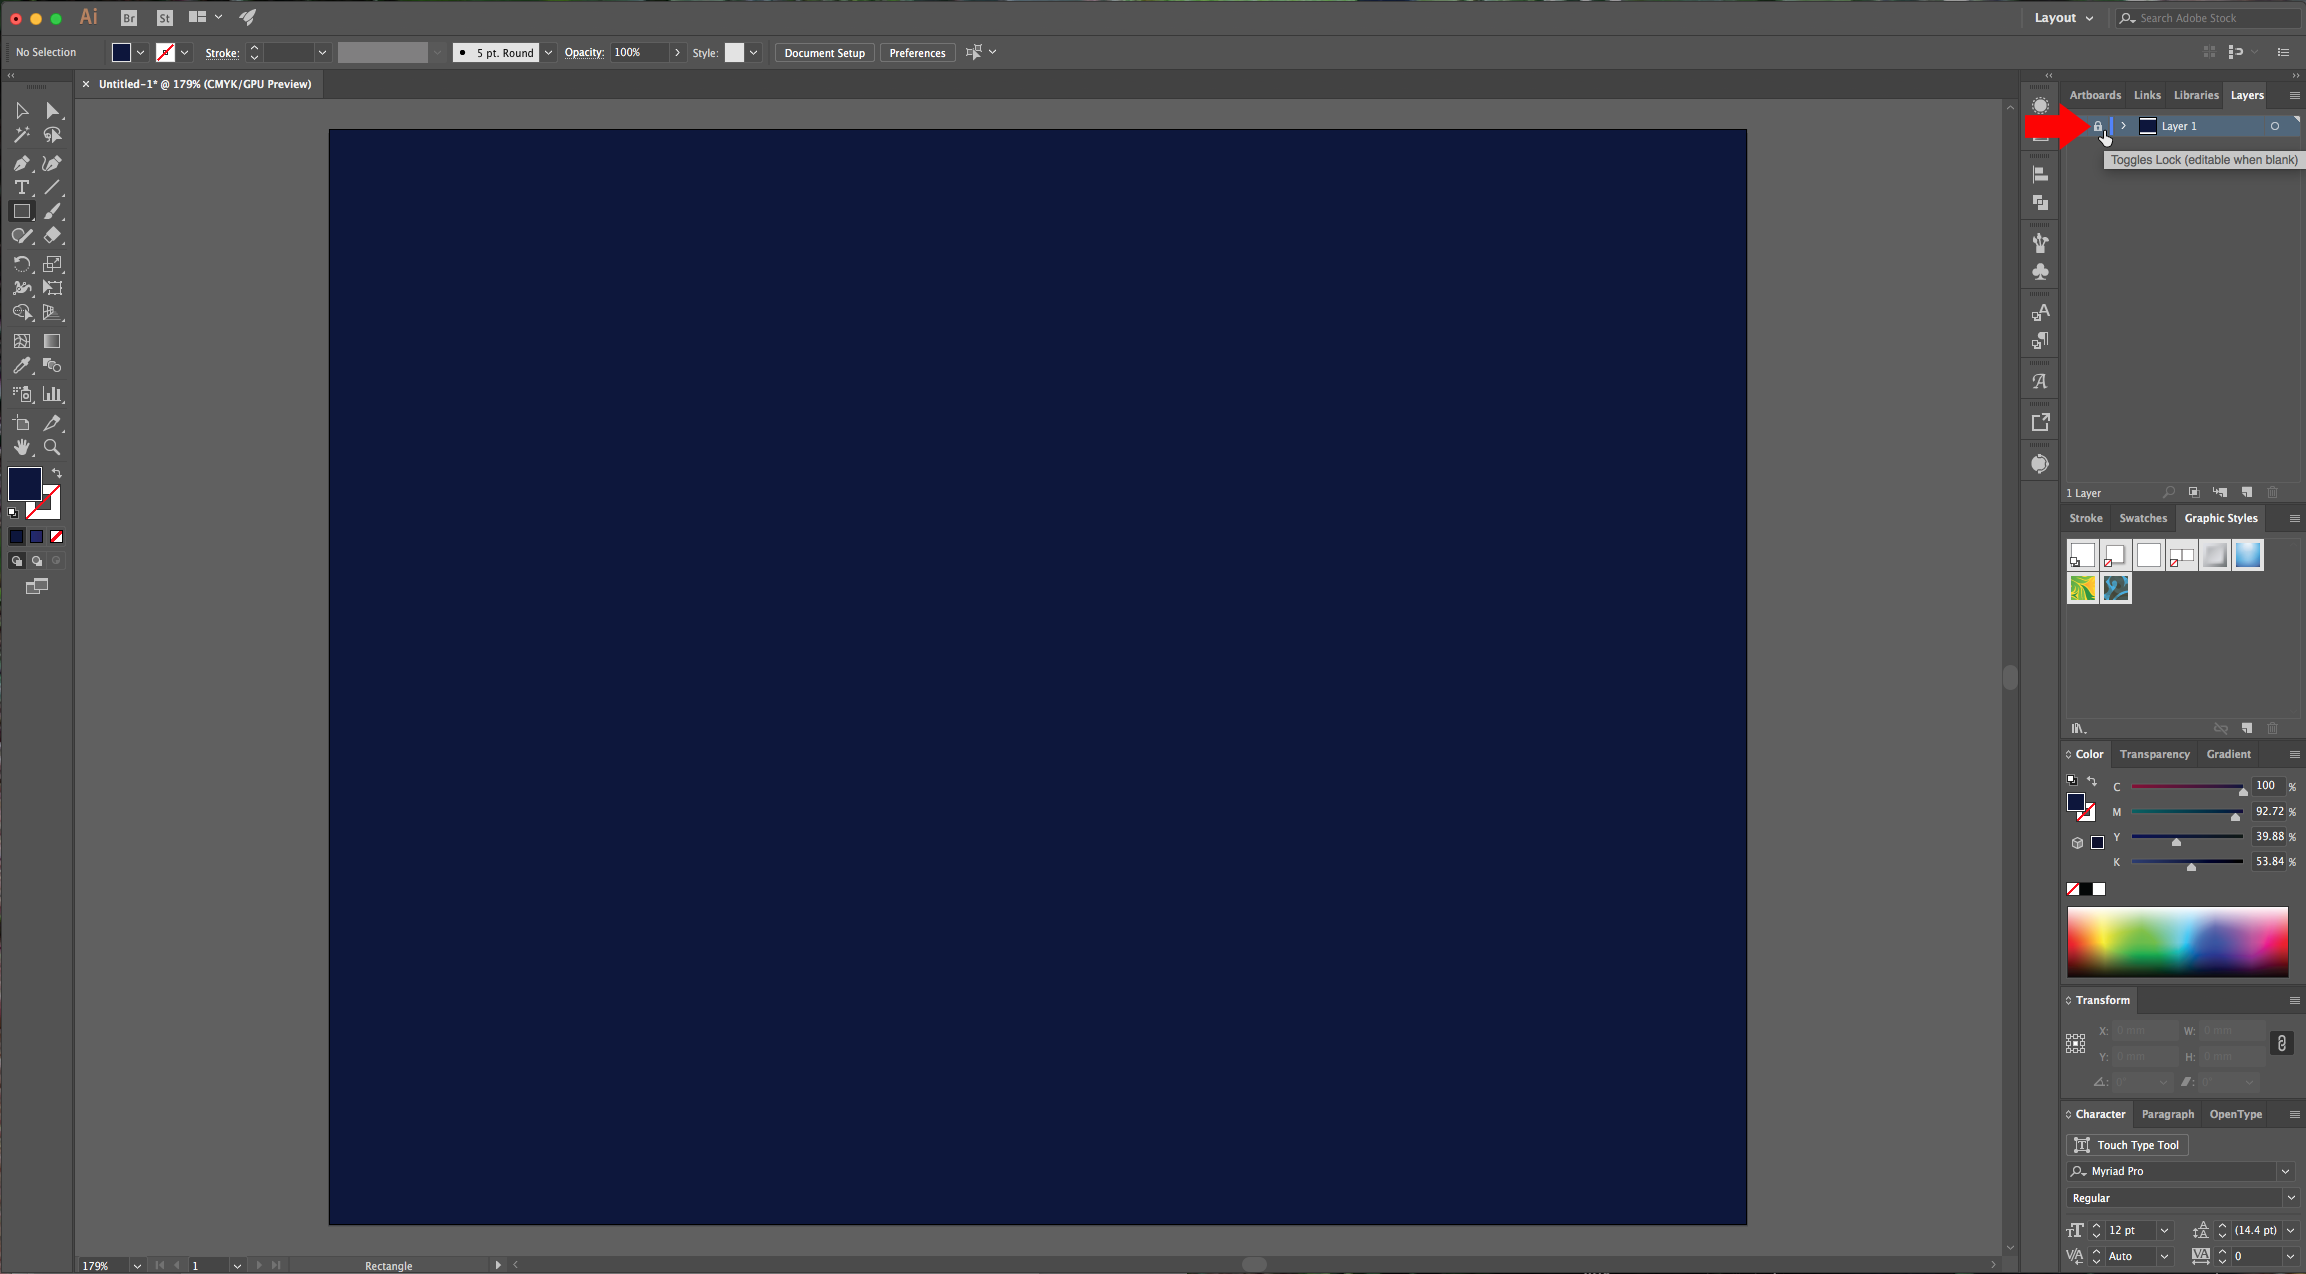
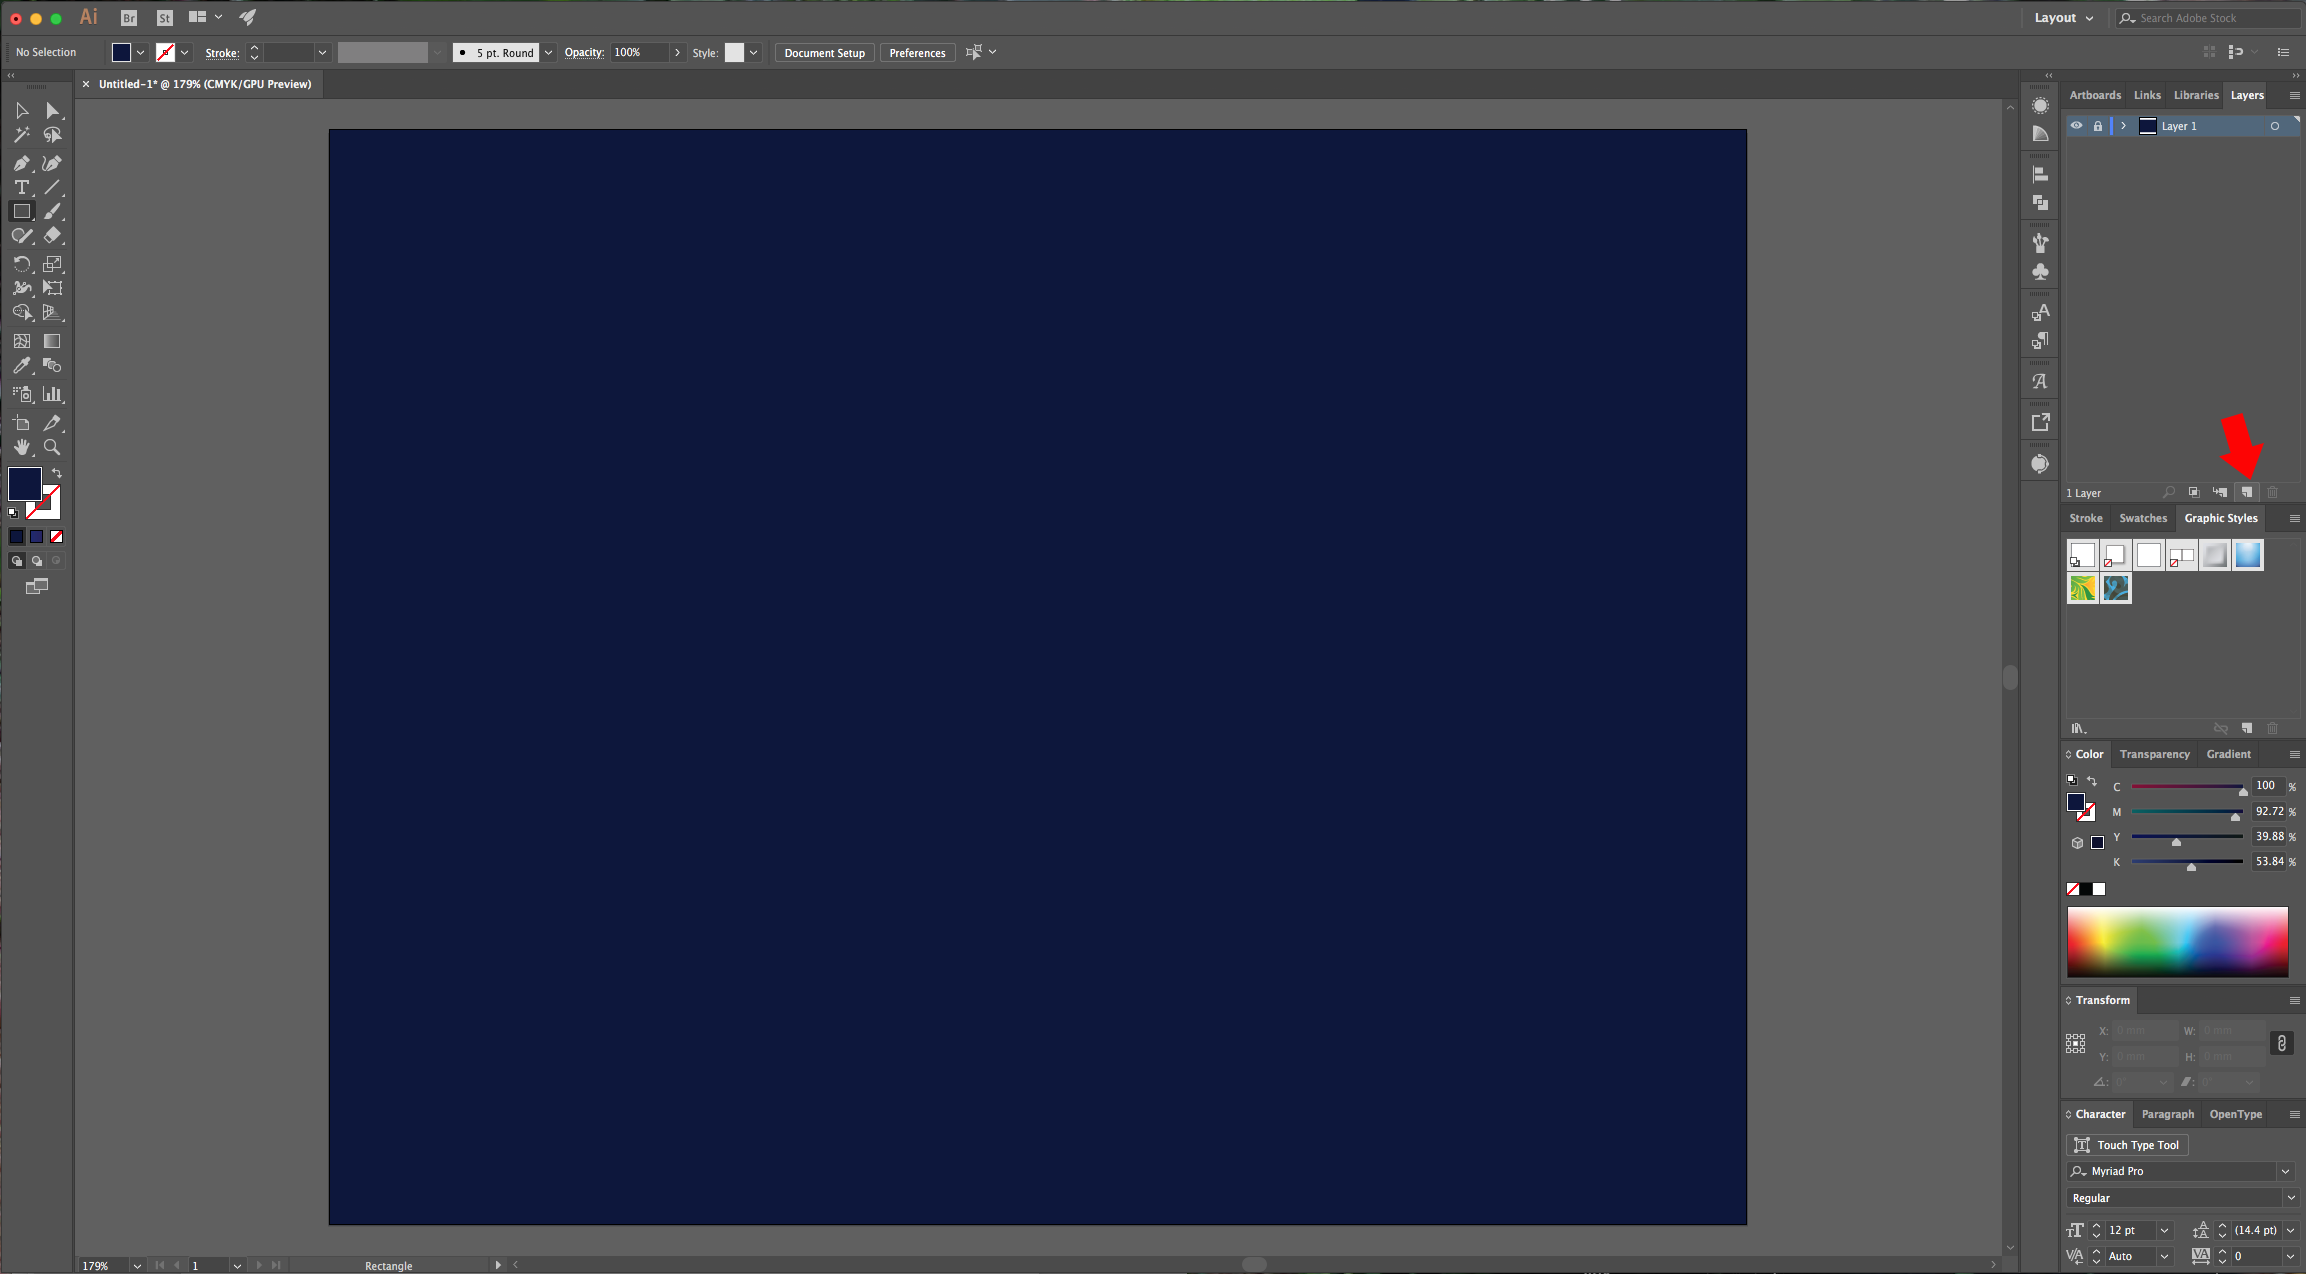
2 - In your “Layers” Panel lock the background layer bay clicking on the left side of the thumbnail and invoking the little padlock icon, then create a “New Layer” by clicking on the small button at the bottom of the “Layers” Panel.
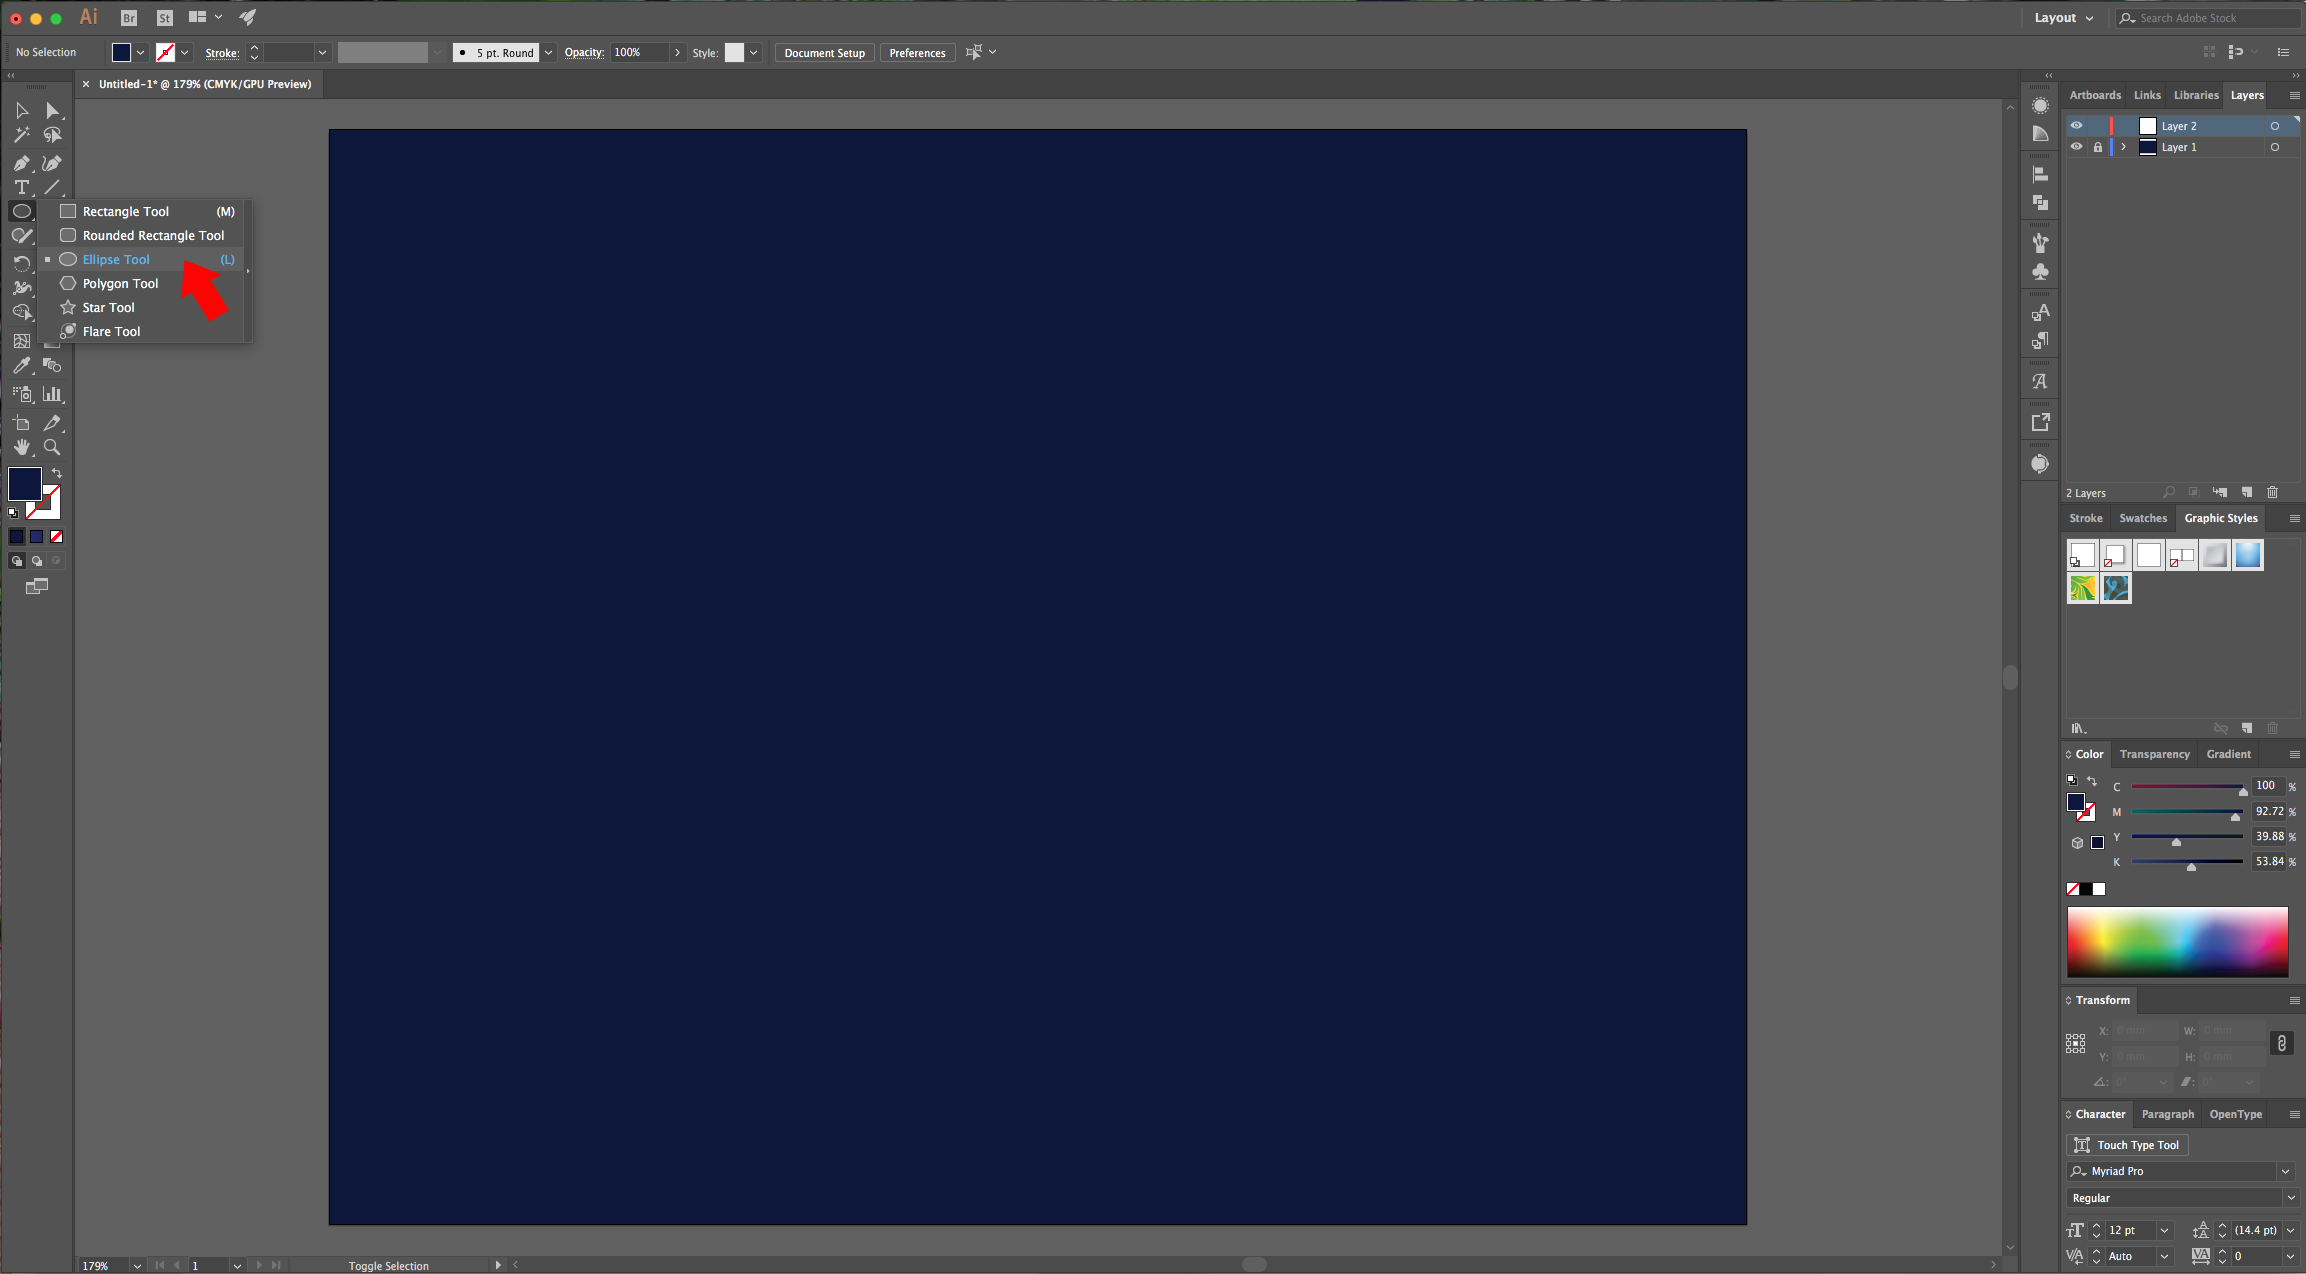
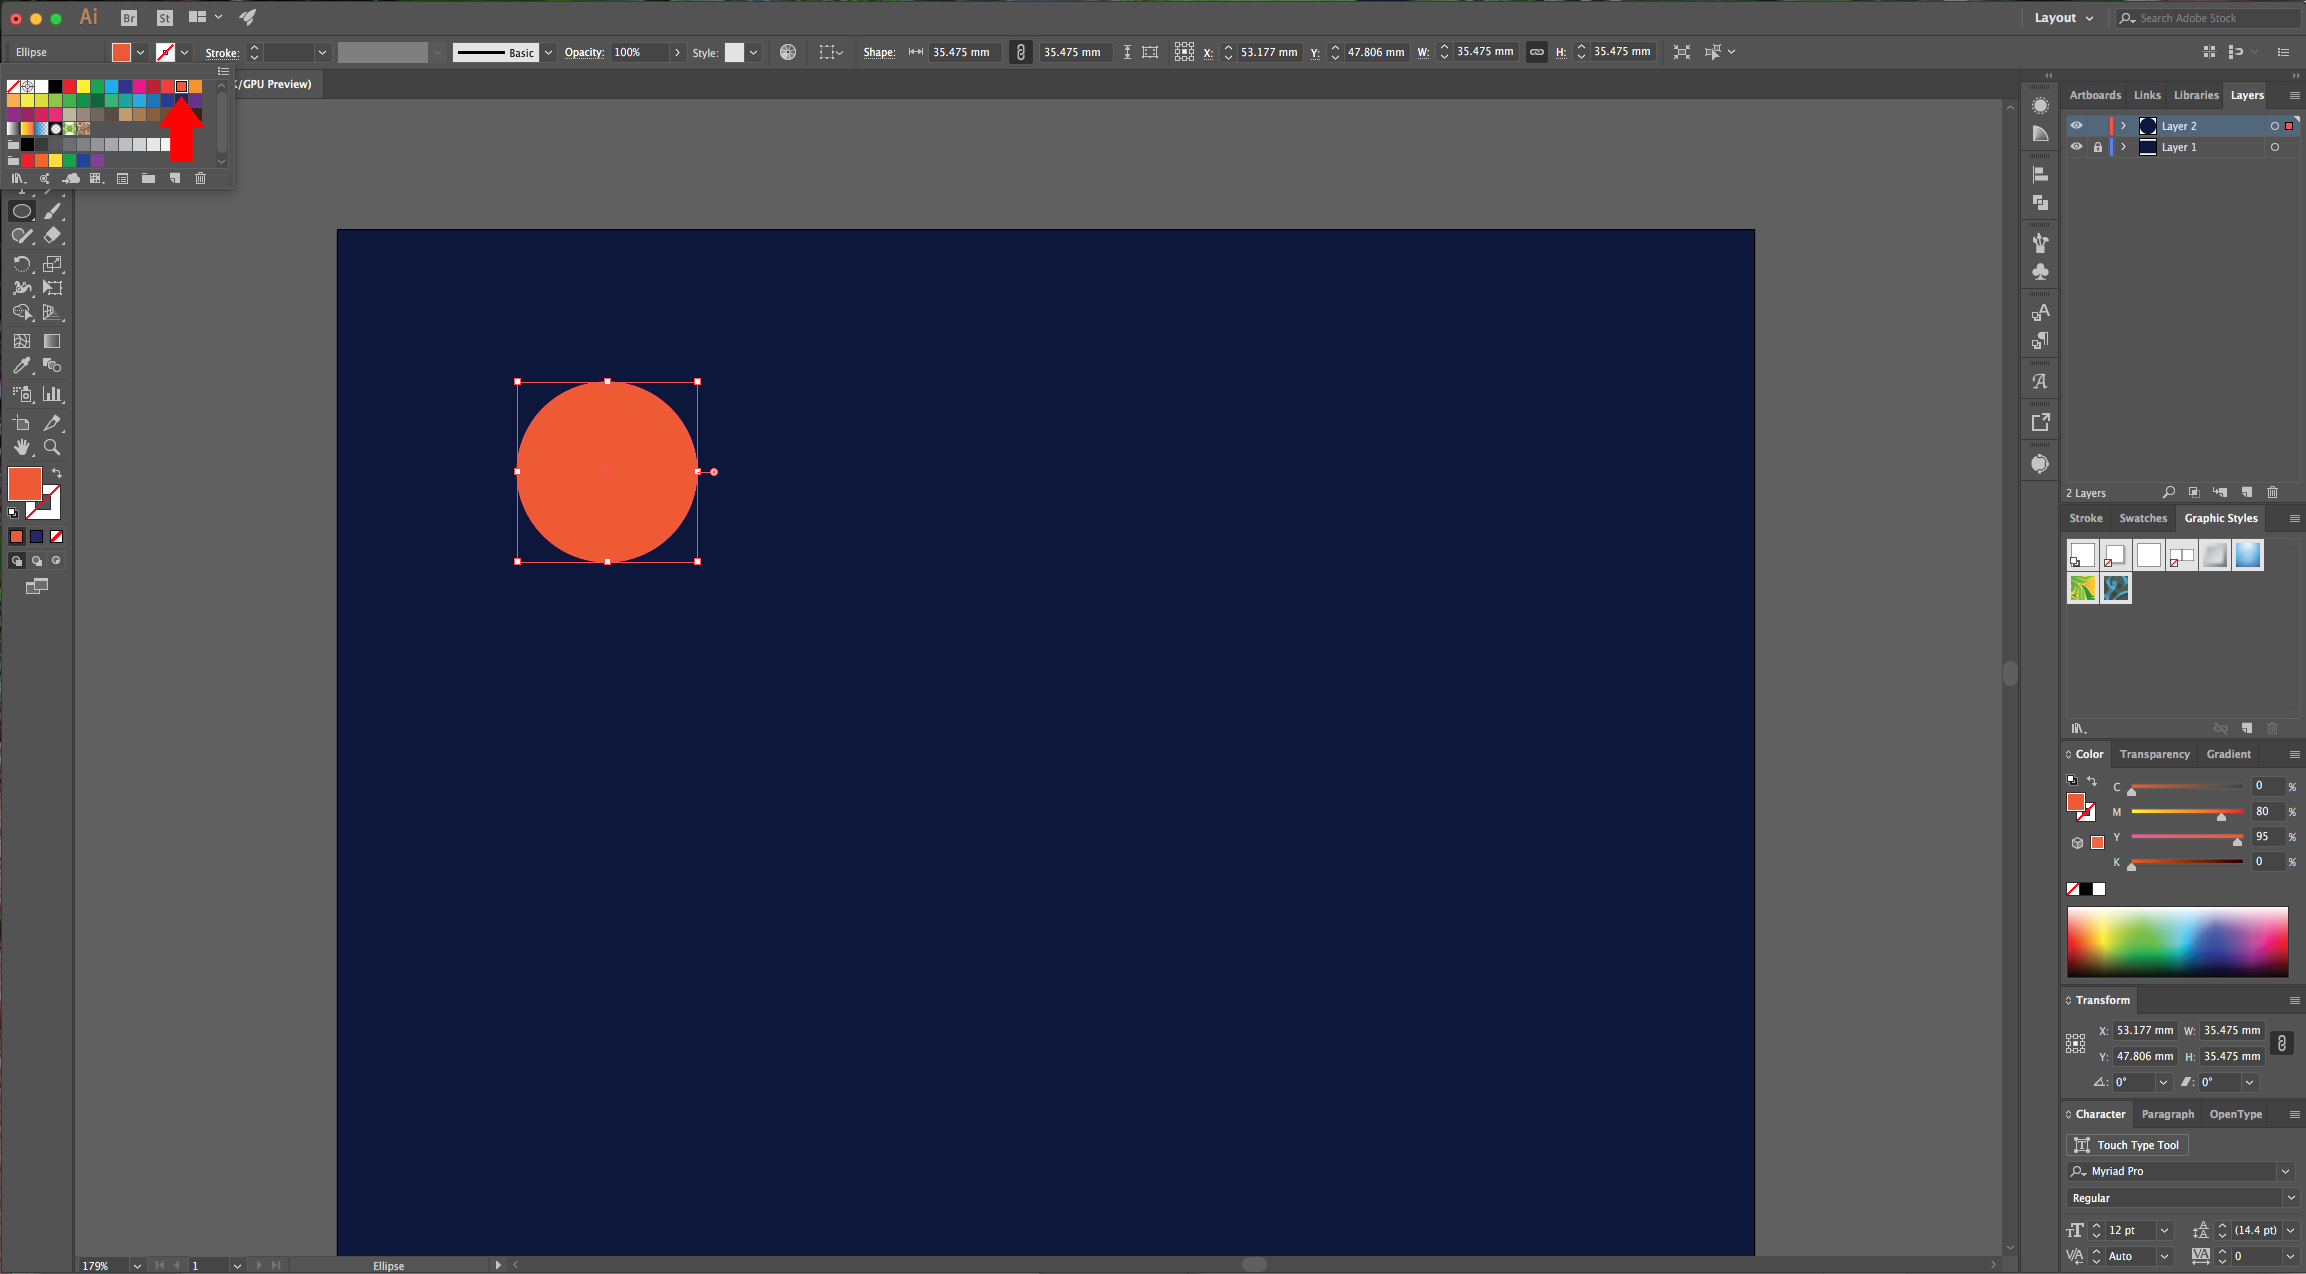
3 - Select the “Ellipse Tool” (L) and draw a circle. Make it proportional by holding the “Shift” key while dragging your cursor. Fill it with the color of your choice.
4 - Go to the “Gradient” Panel and set the “Gradient Type” to “Radial”. Choose two instances of your color, change the “Opacity” of the first one to 0% and make sure the transparent one is in the center of your circle. Make the “Location” 40% approx. And move the “Gradient Slider” (the little grey diamond shape on top of the gradient bar) to a “Location” of 70%.
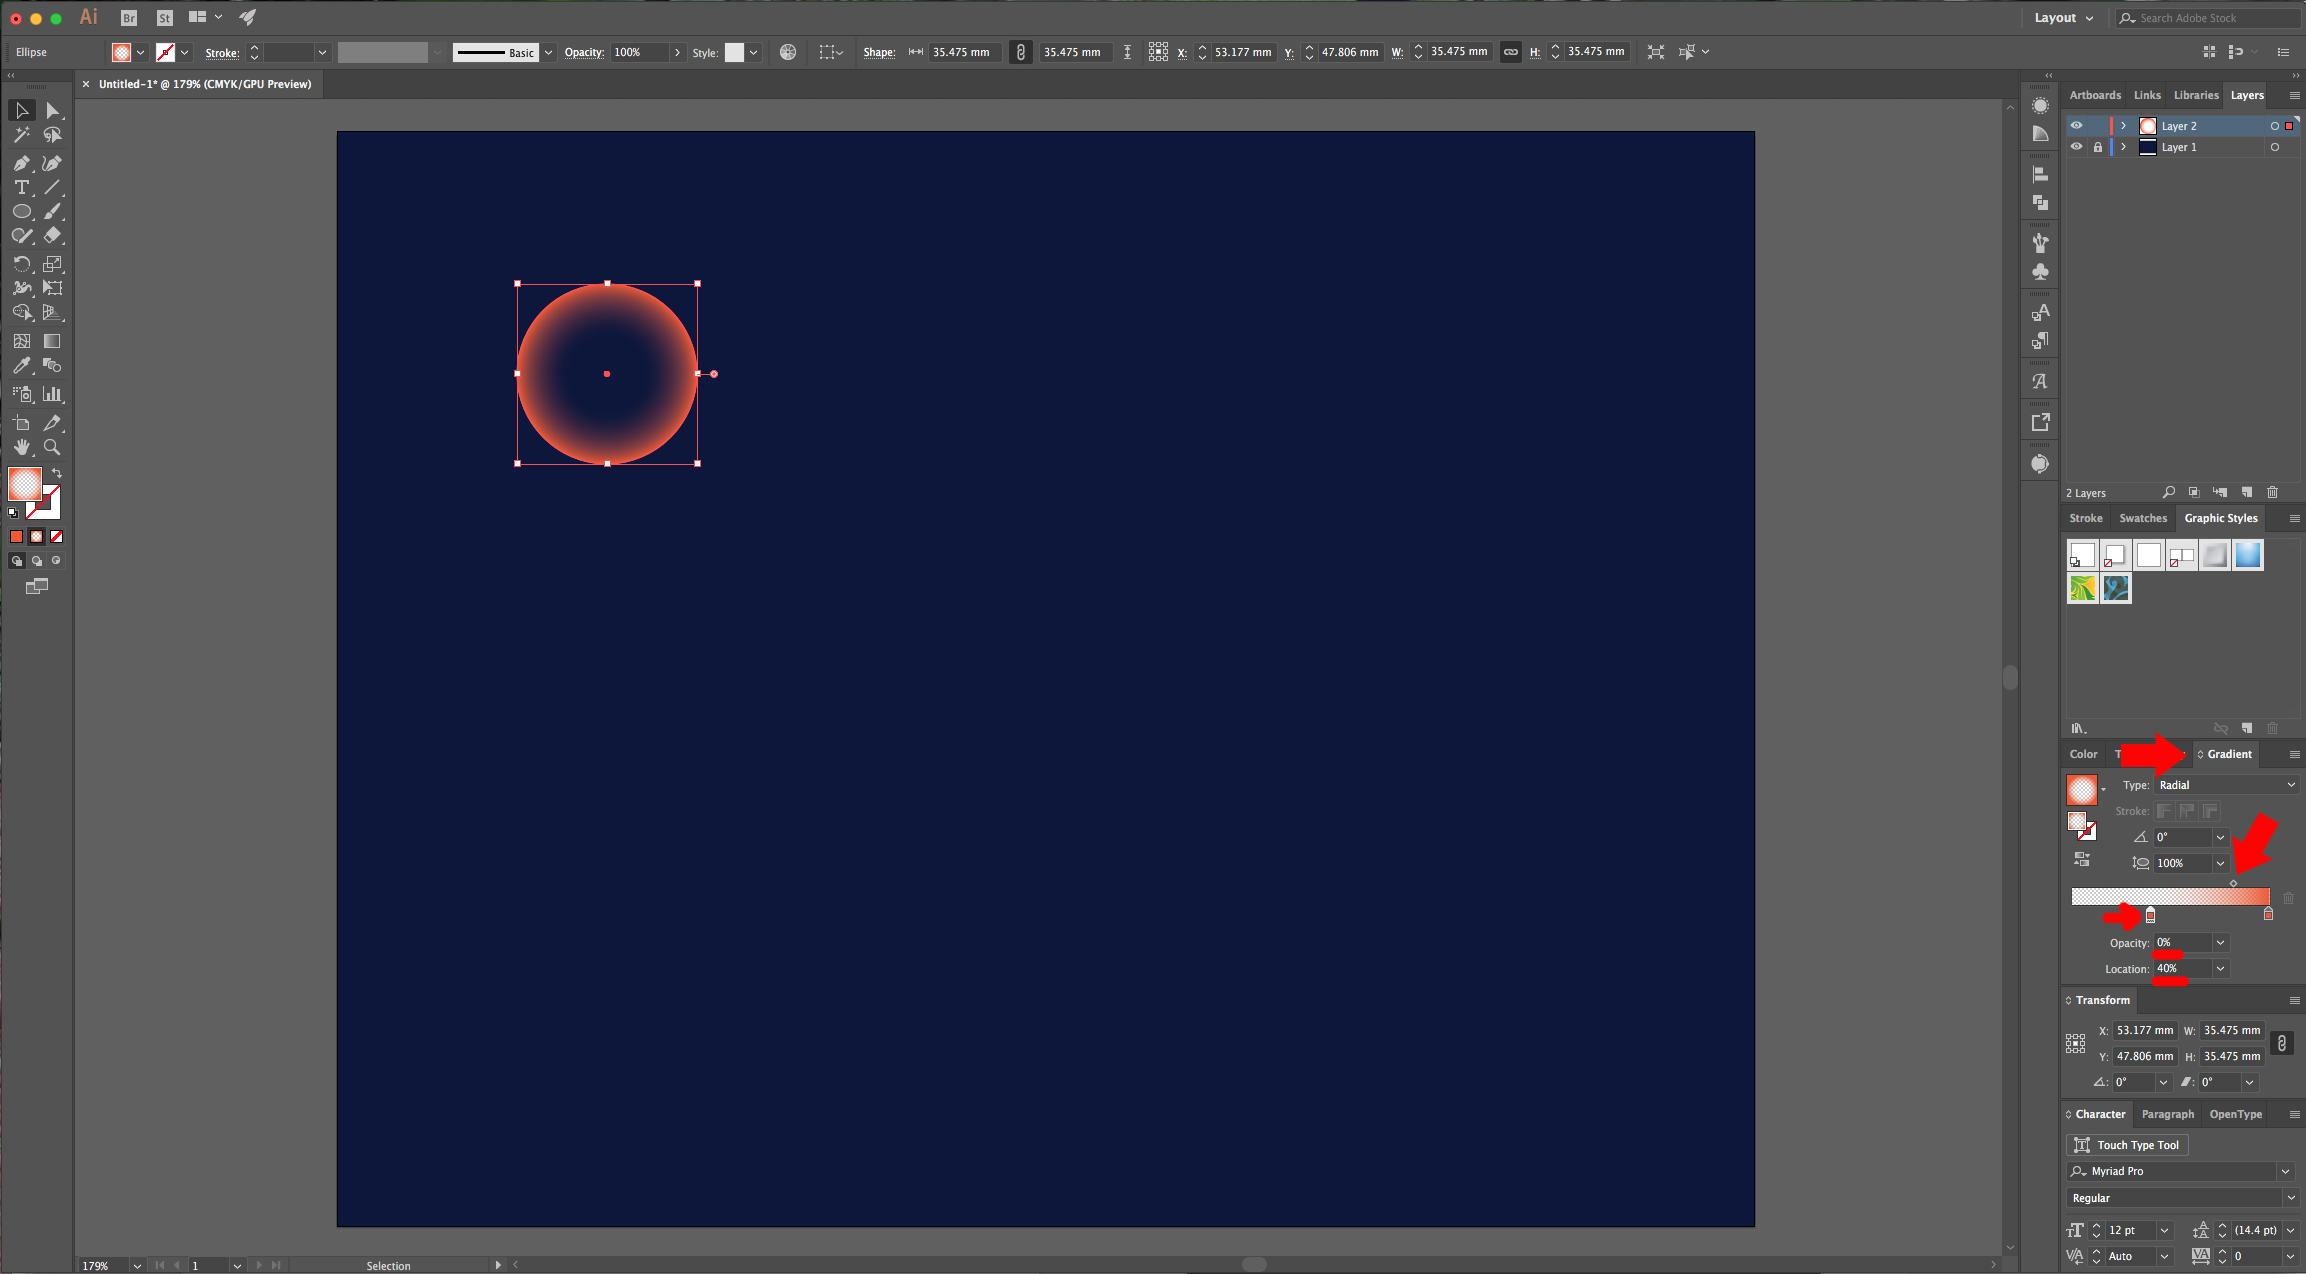
5 - Draw a second circle and fill it with the same gradient as before but, this time change the transparent instance to the second one so the center now has color and the sides are transparent.
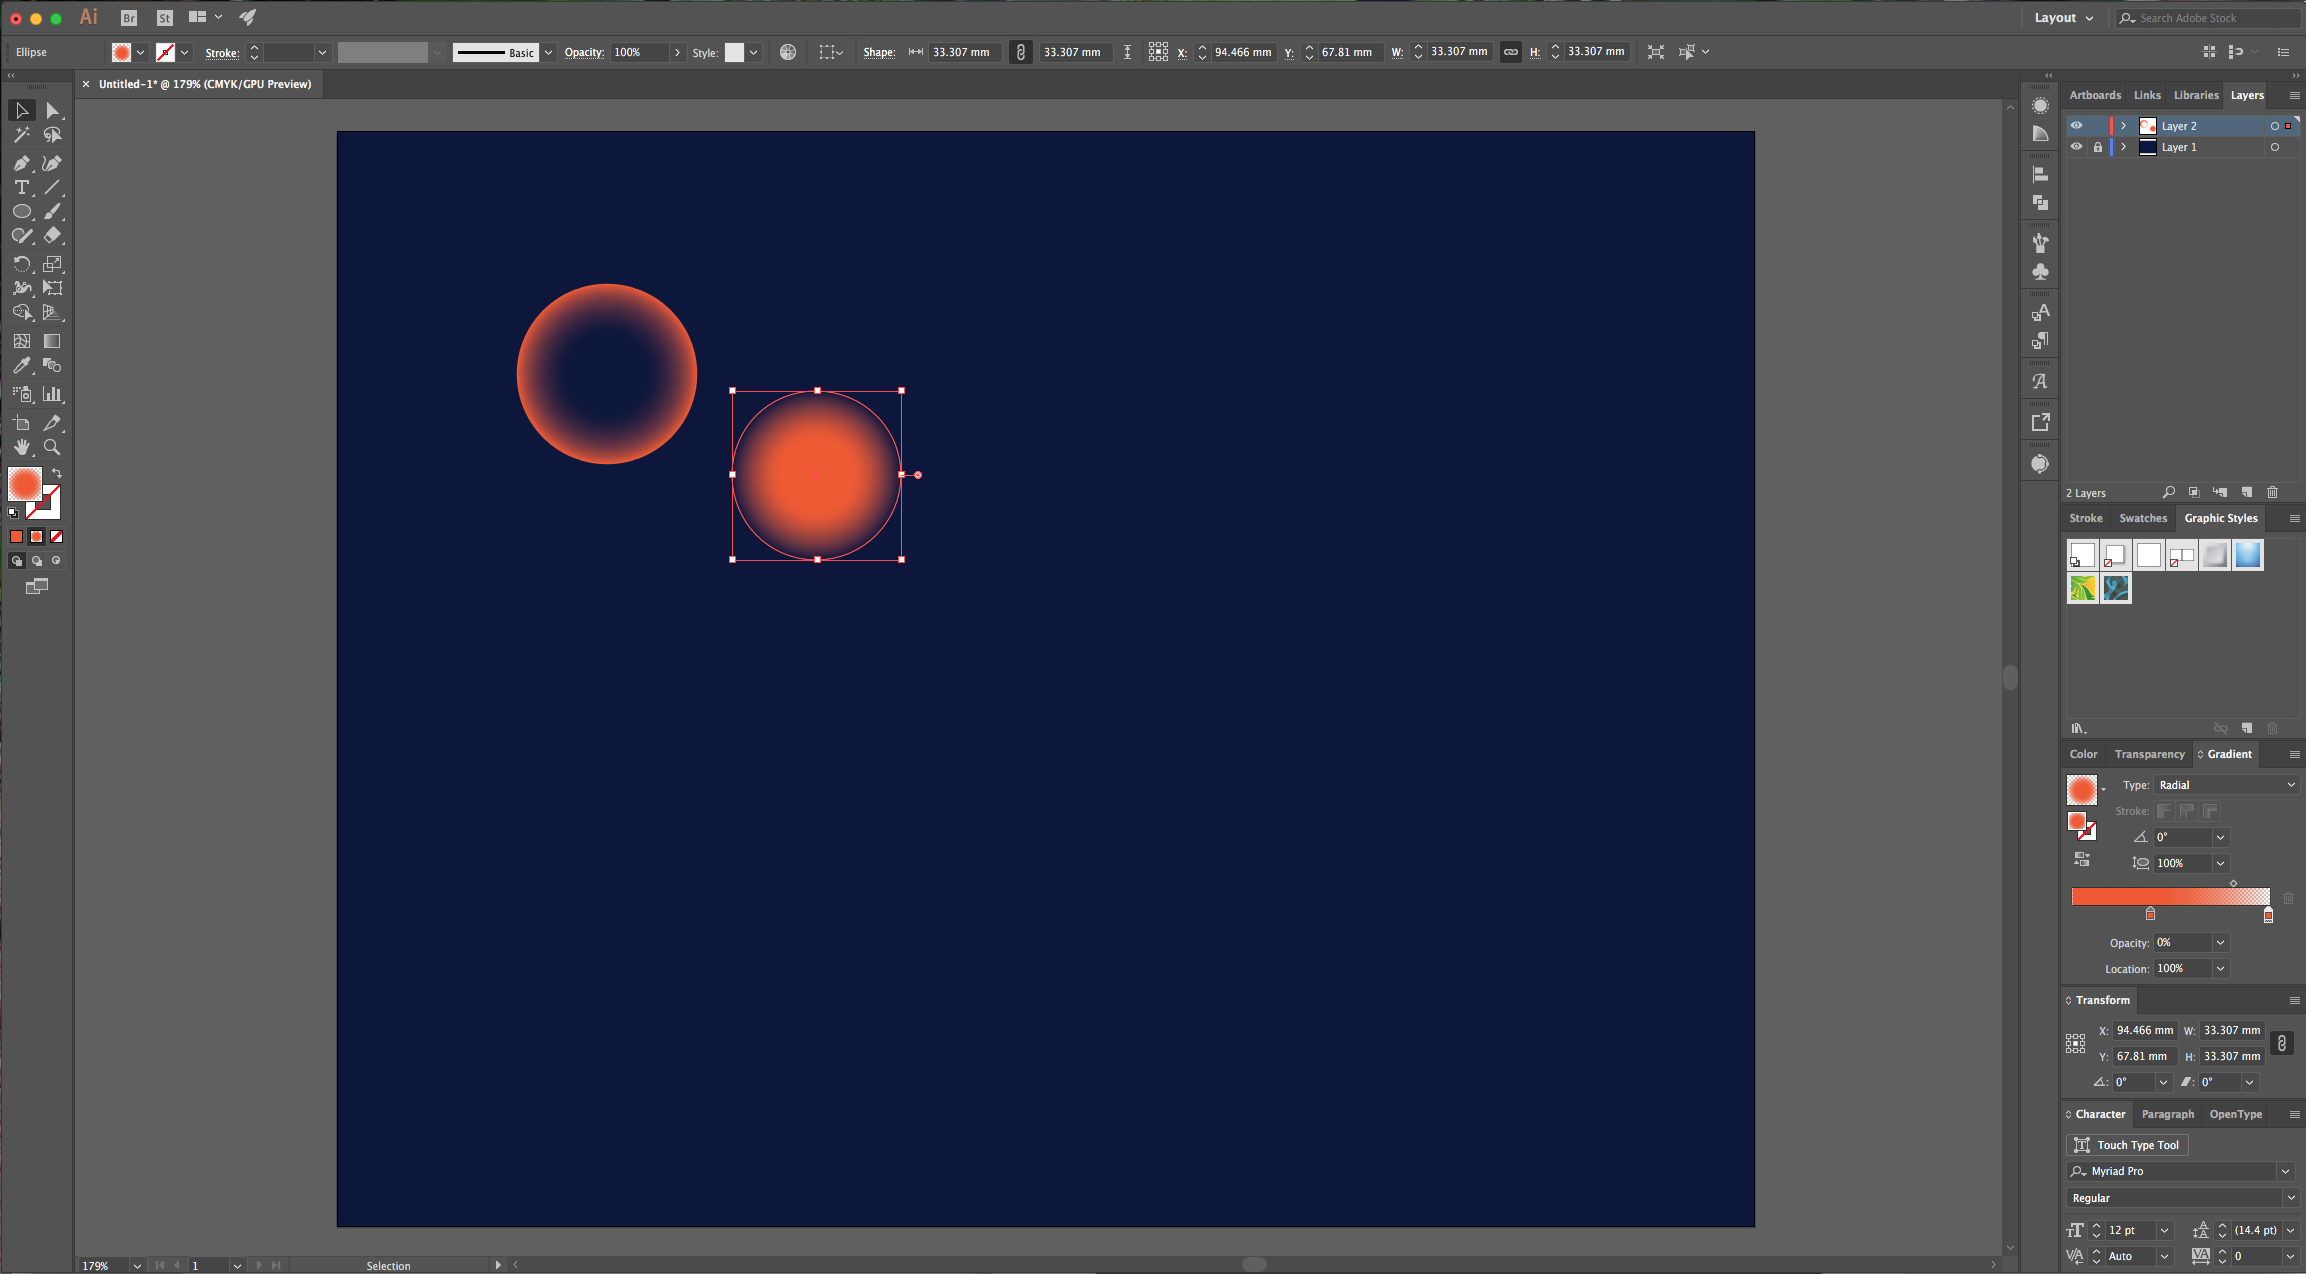
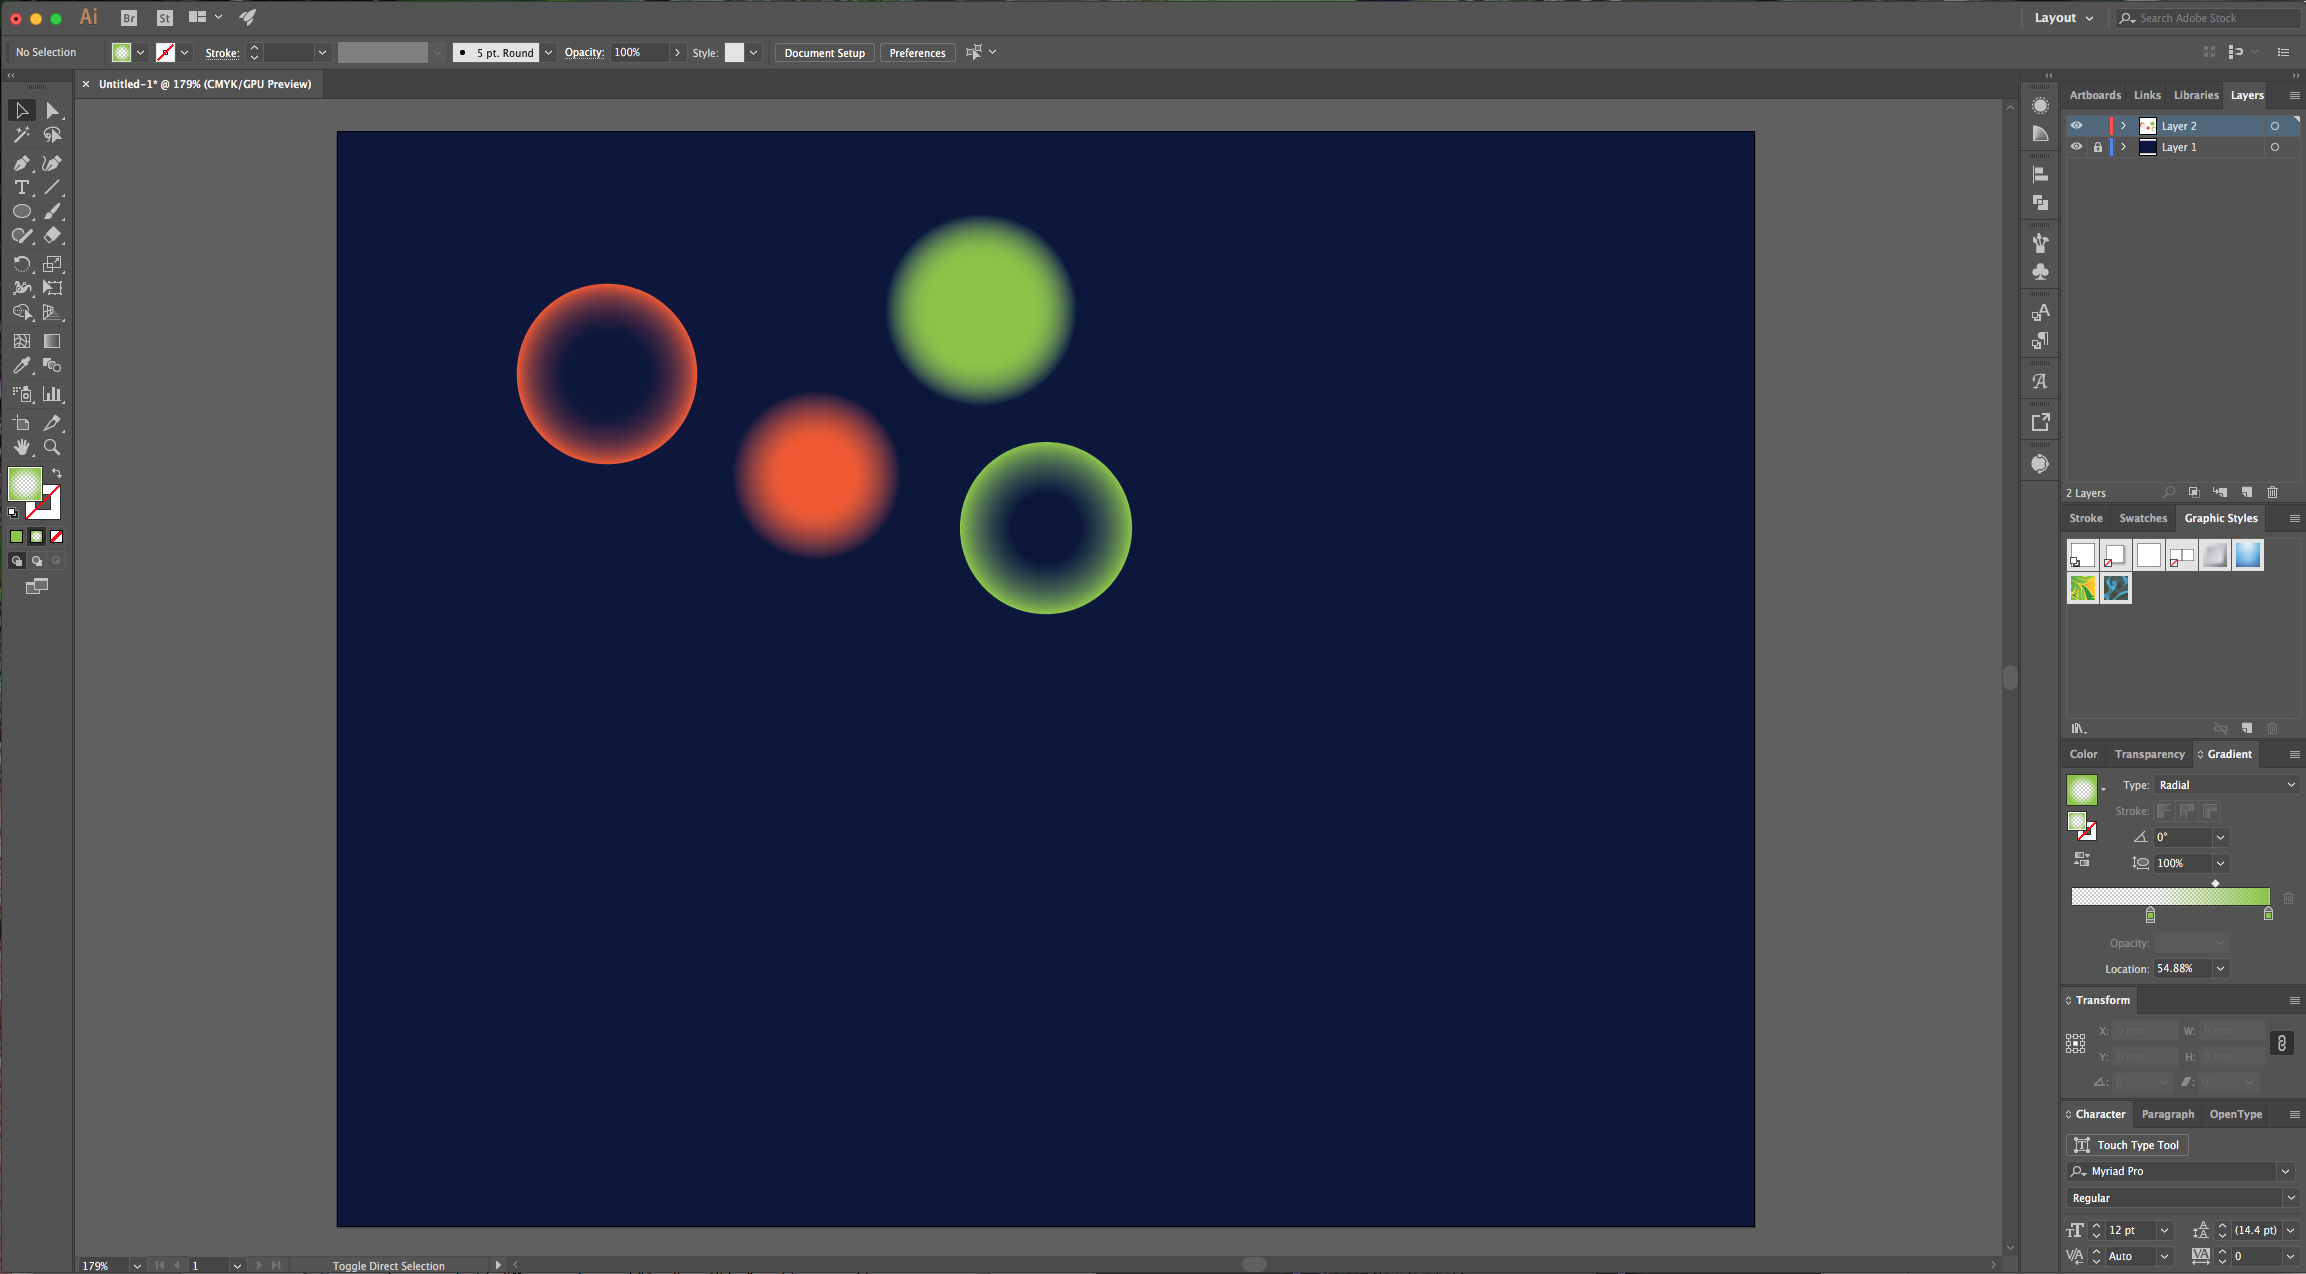
6 - You can play around with different colors and “Gradient Slider” positions to achieve different effects.
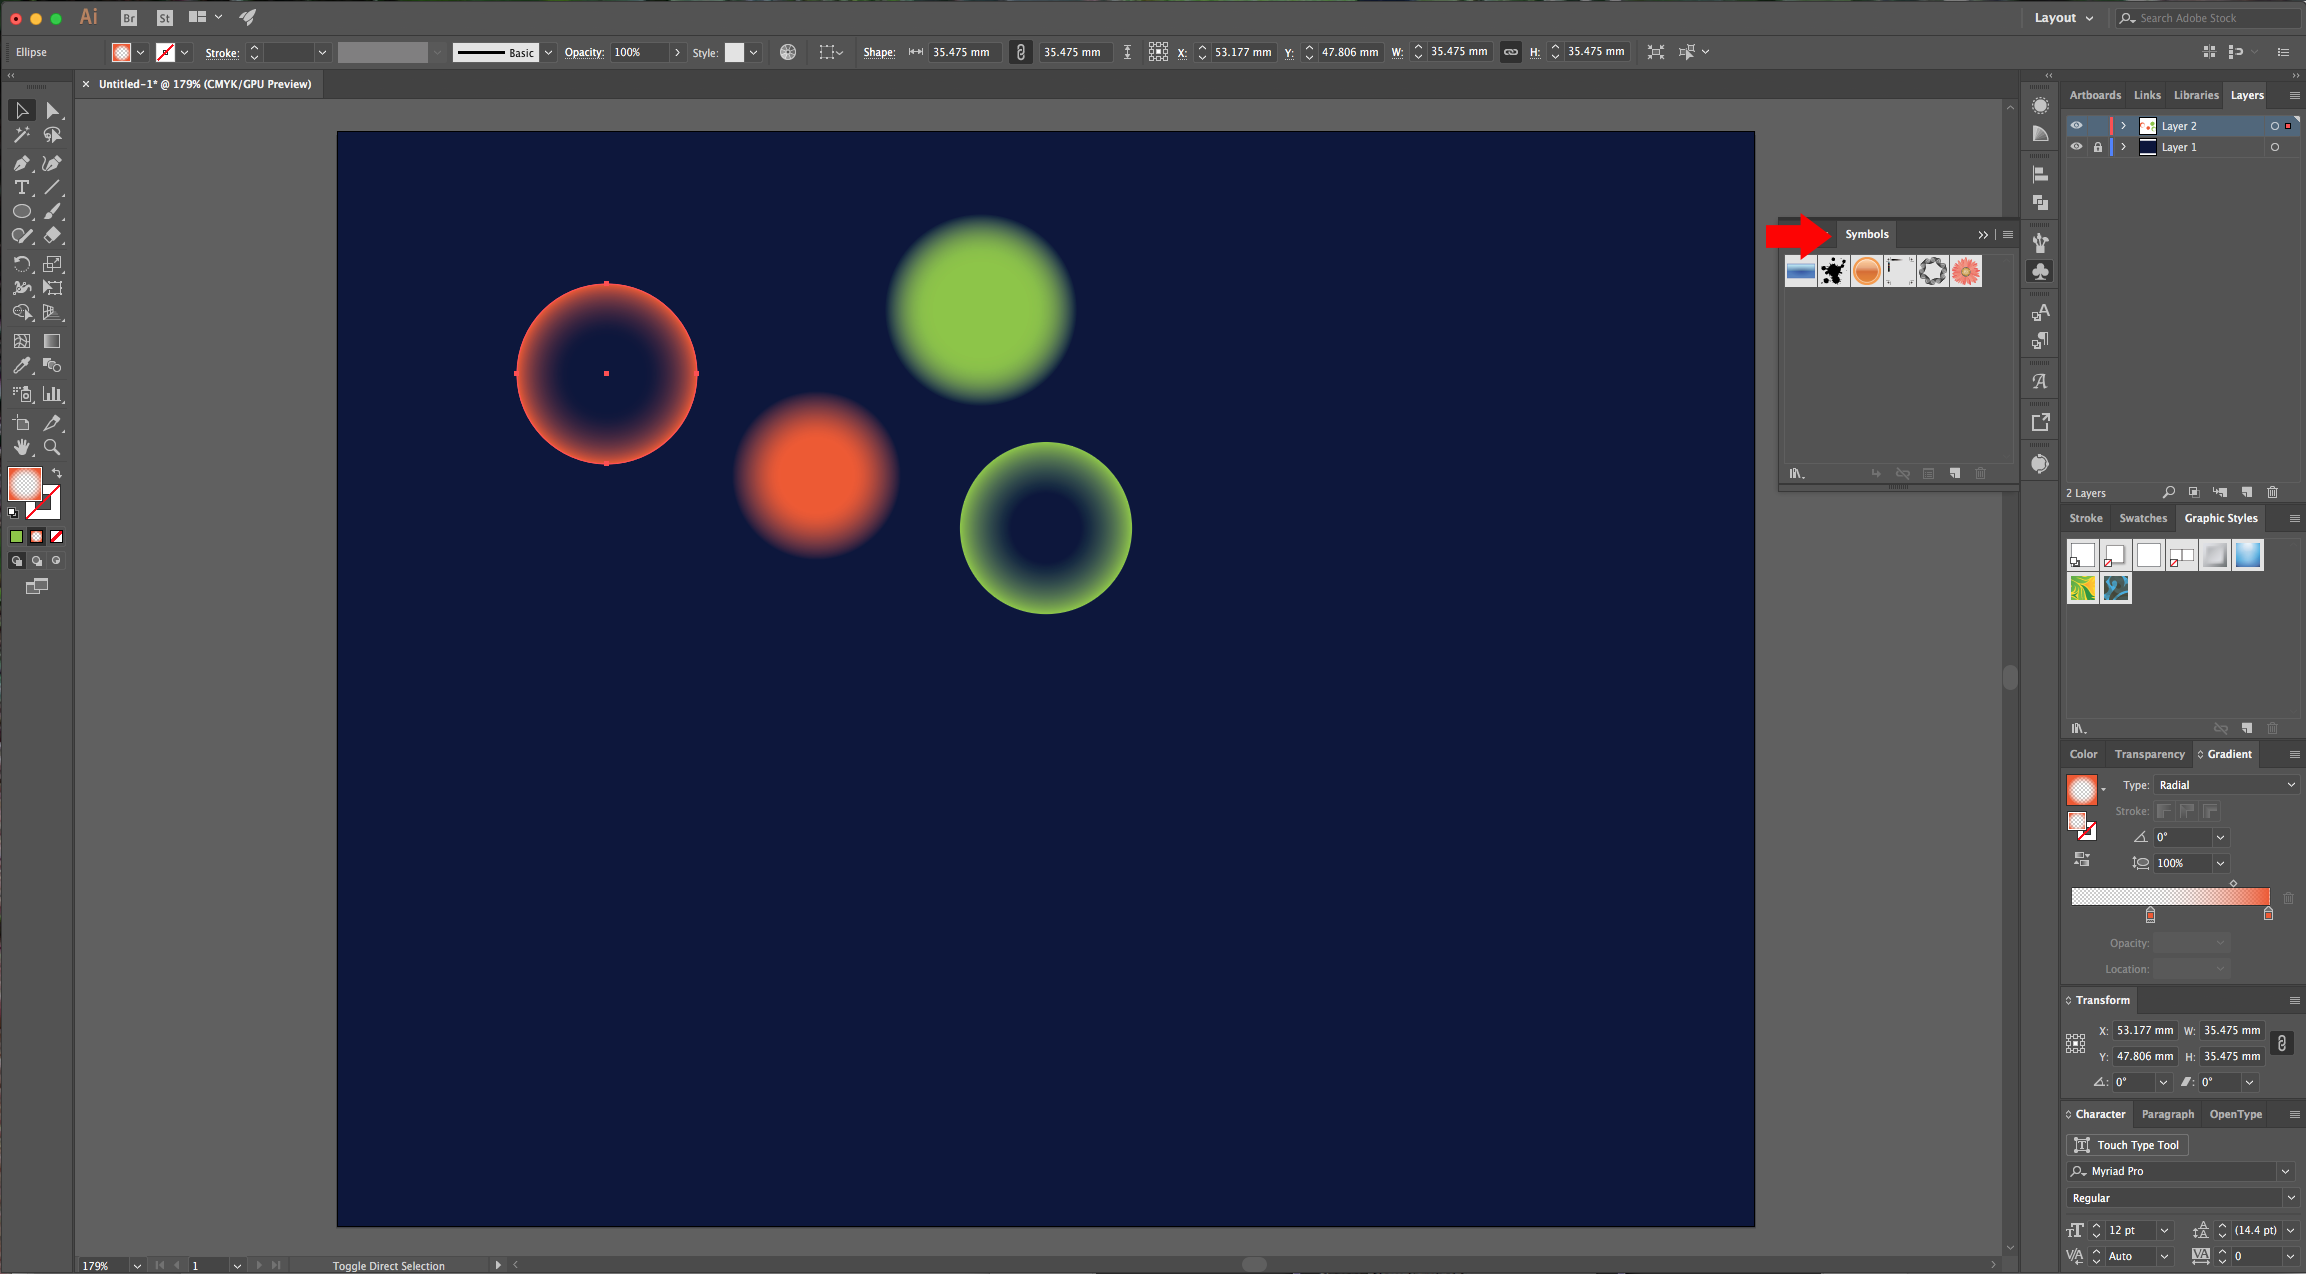
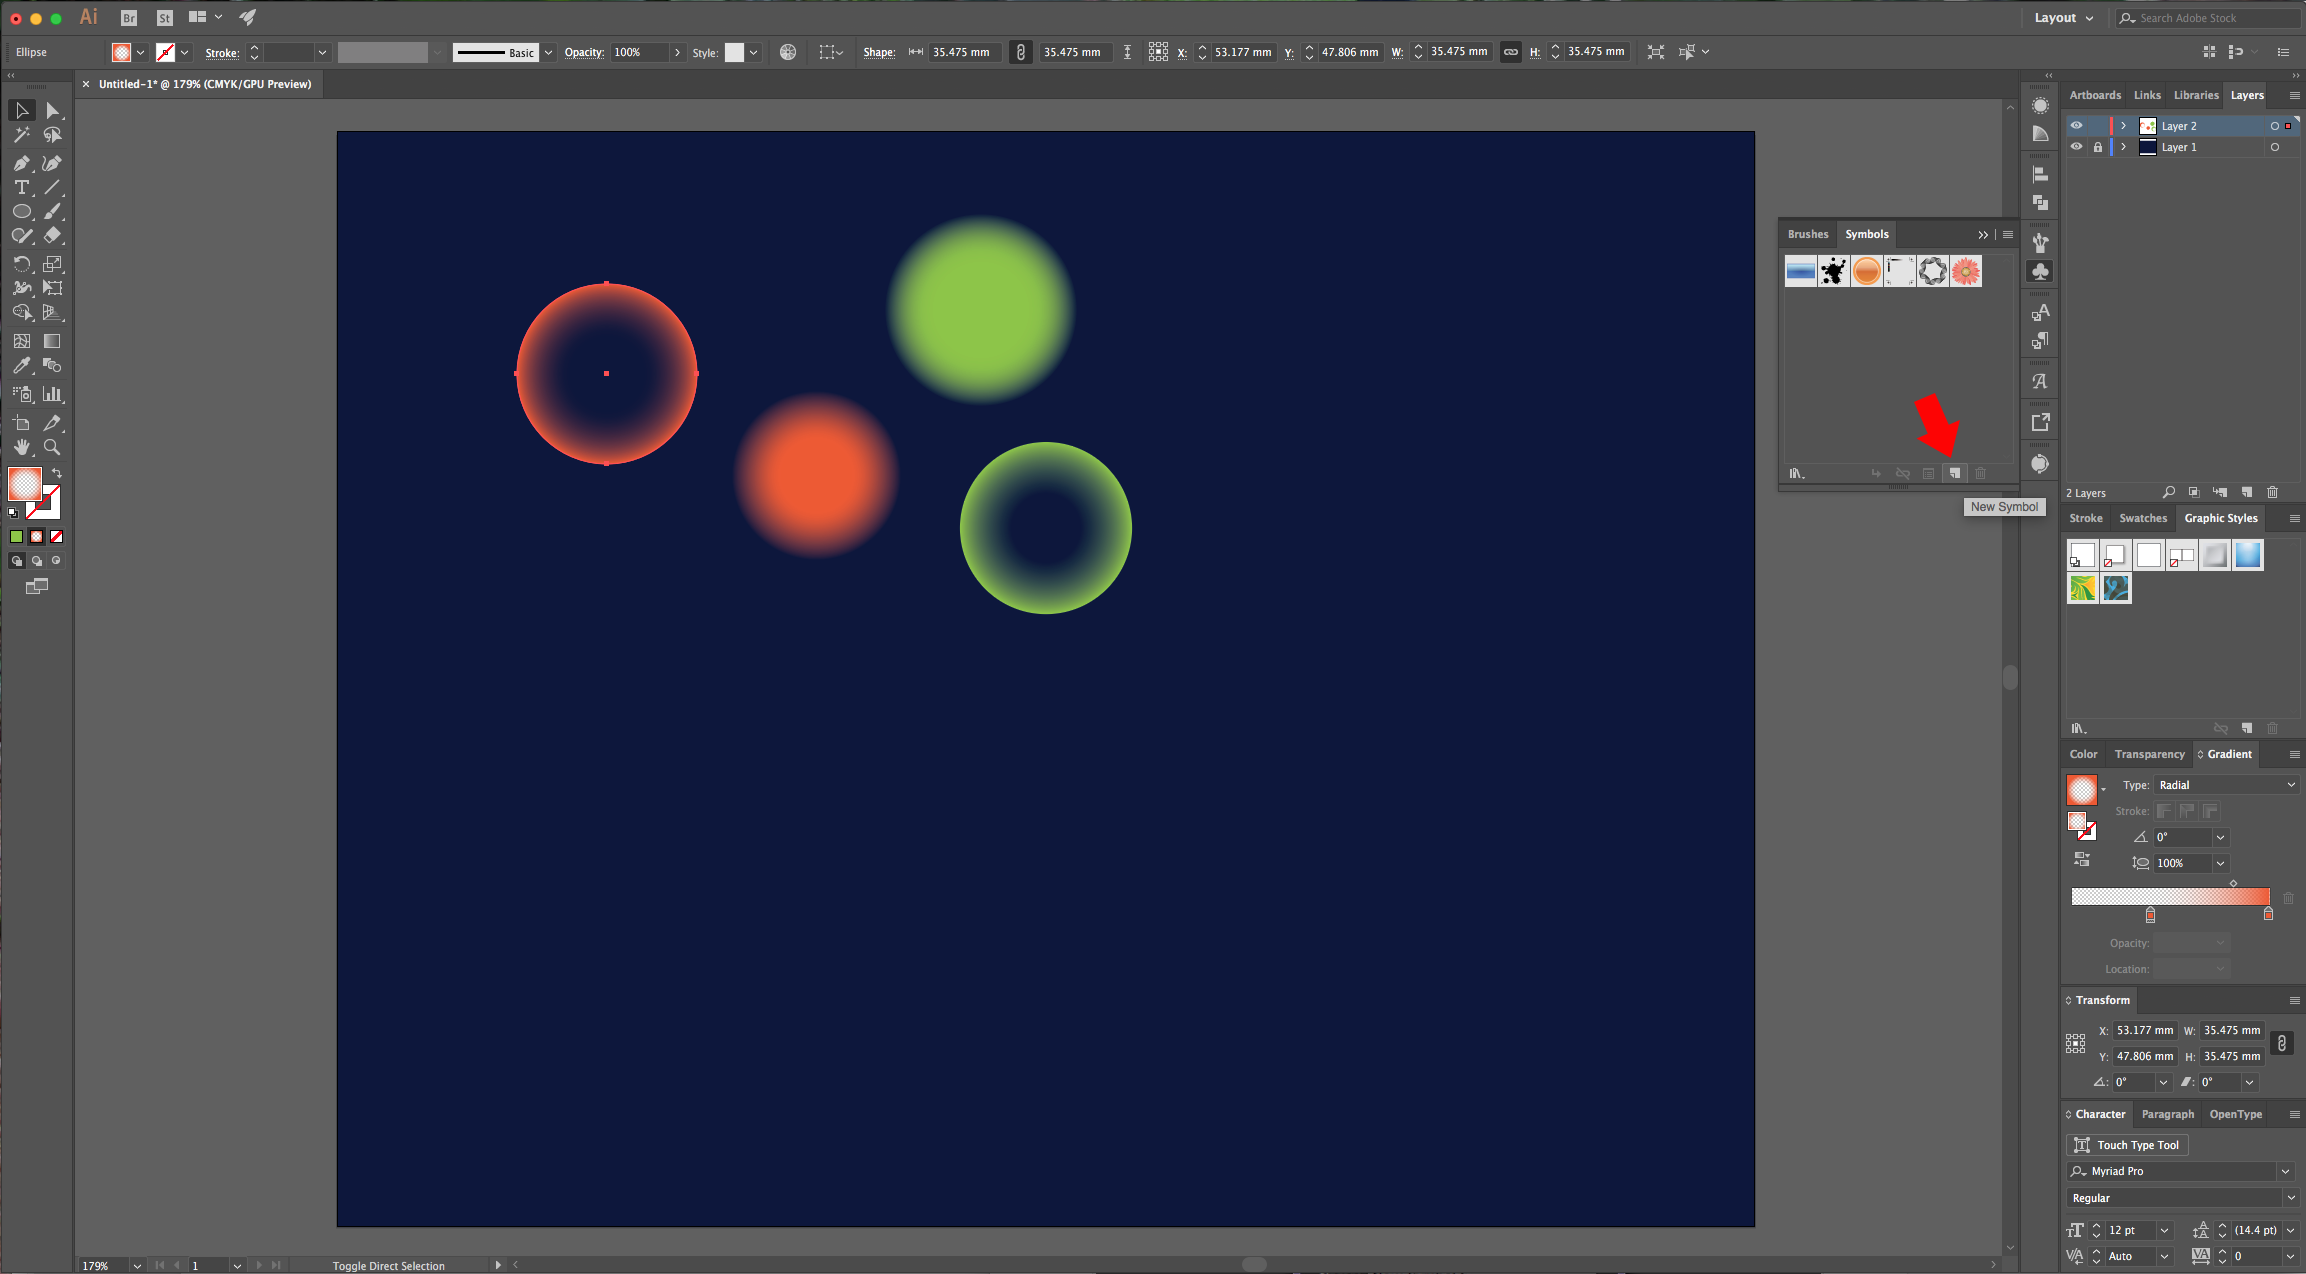
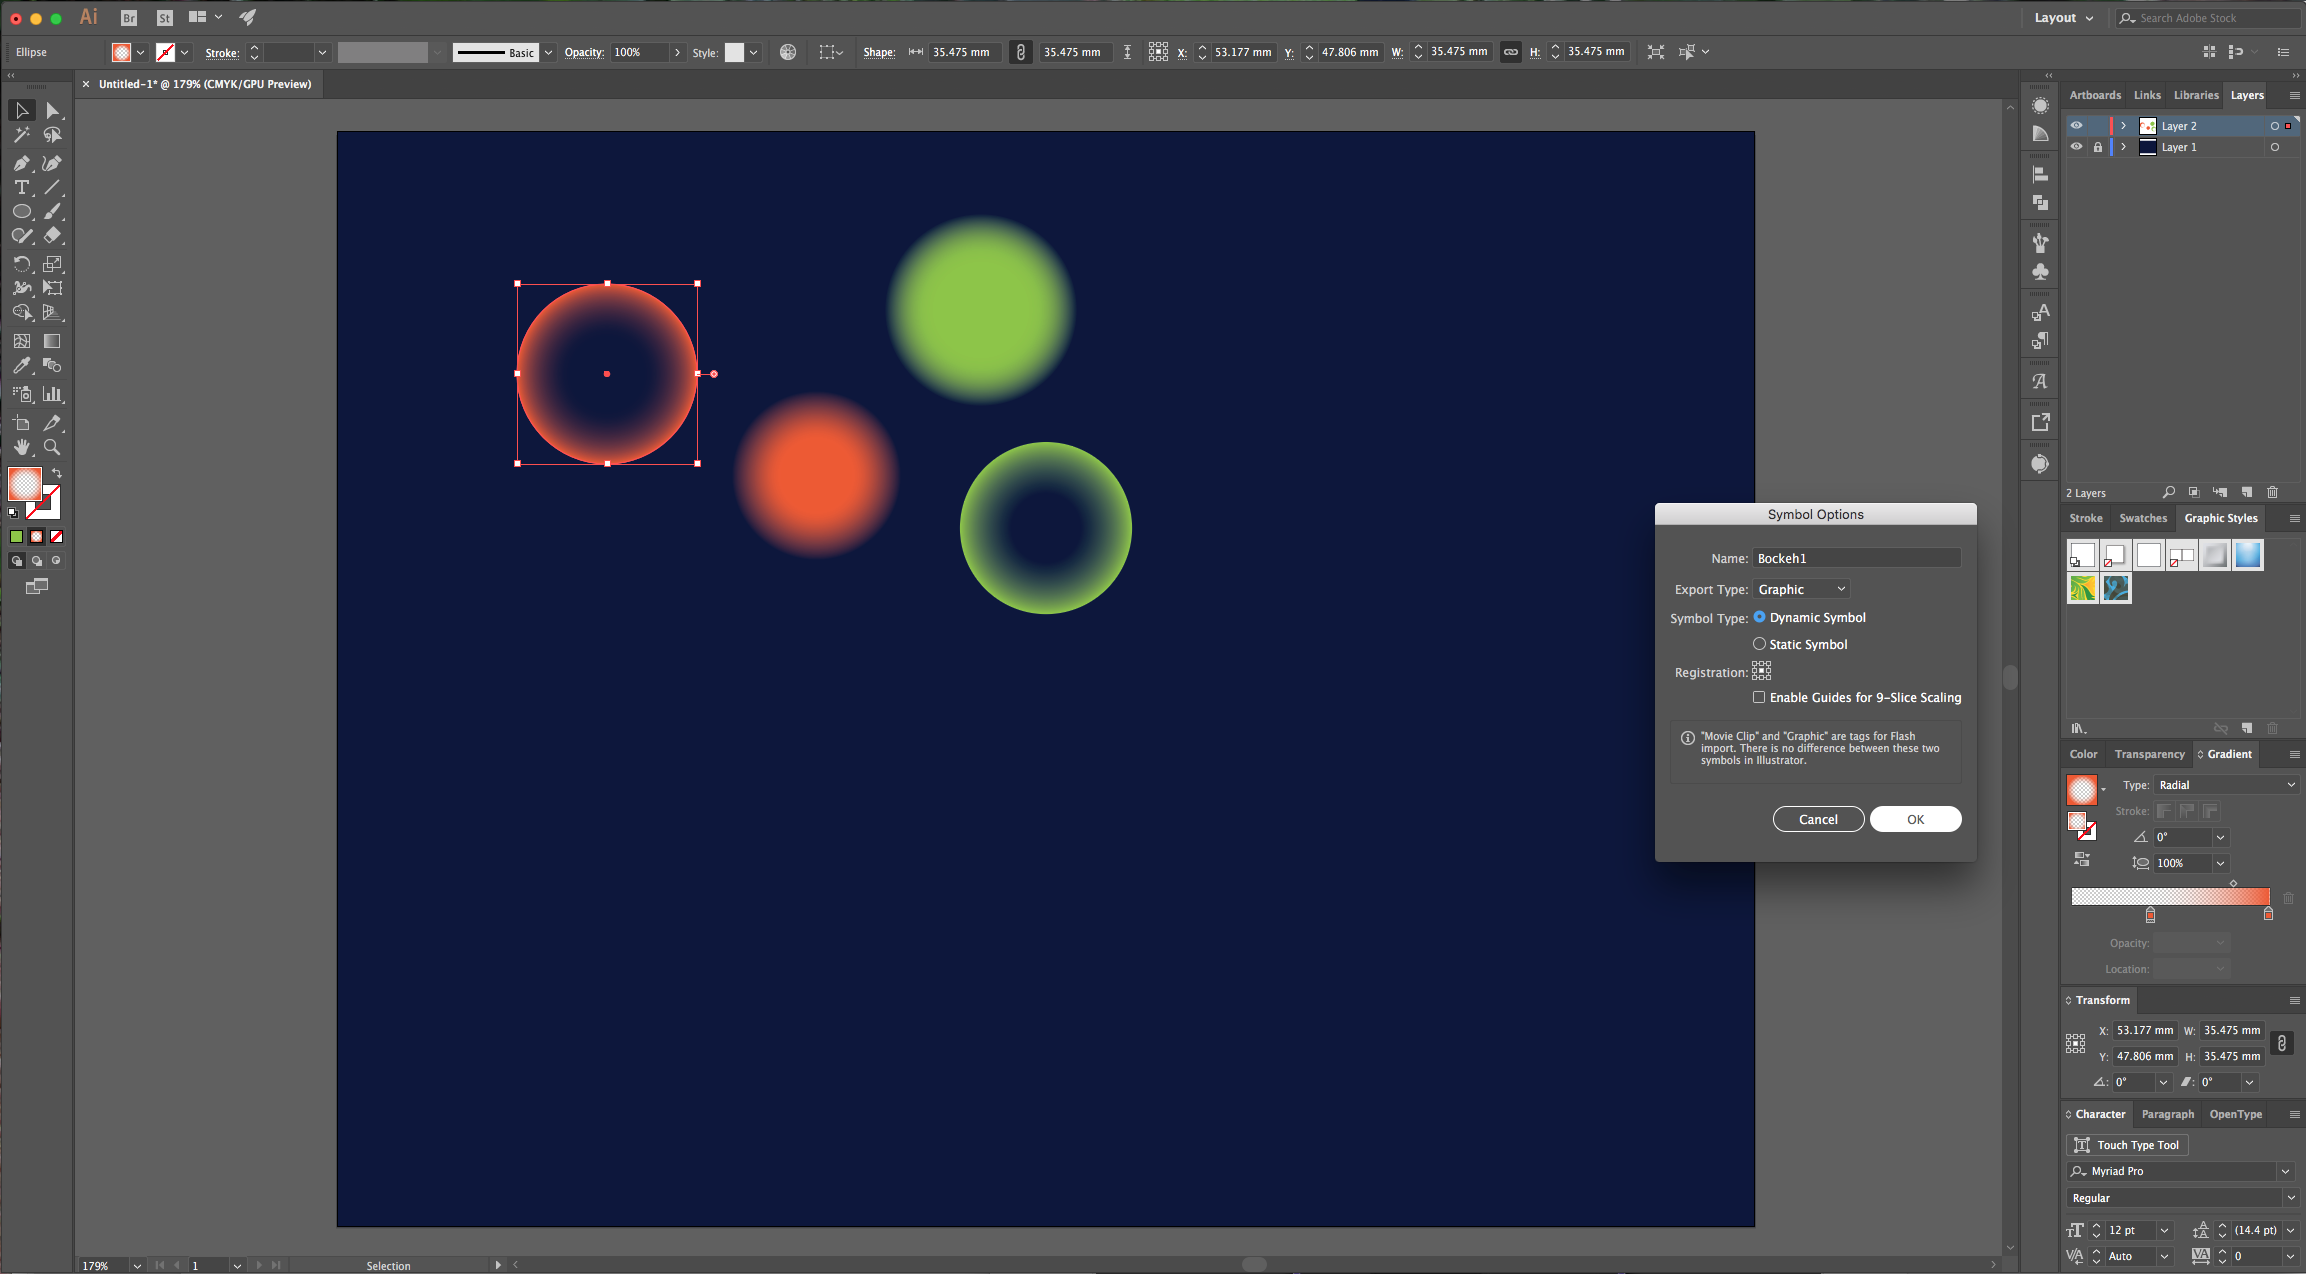
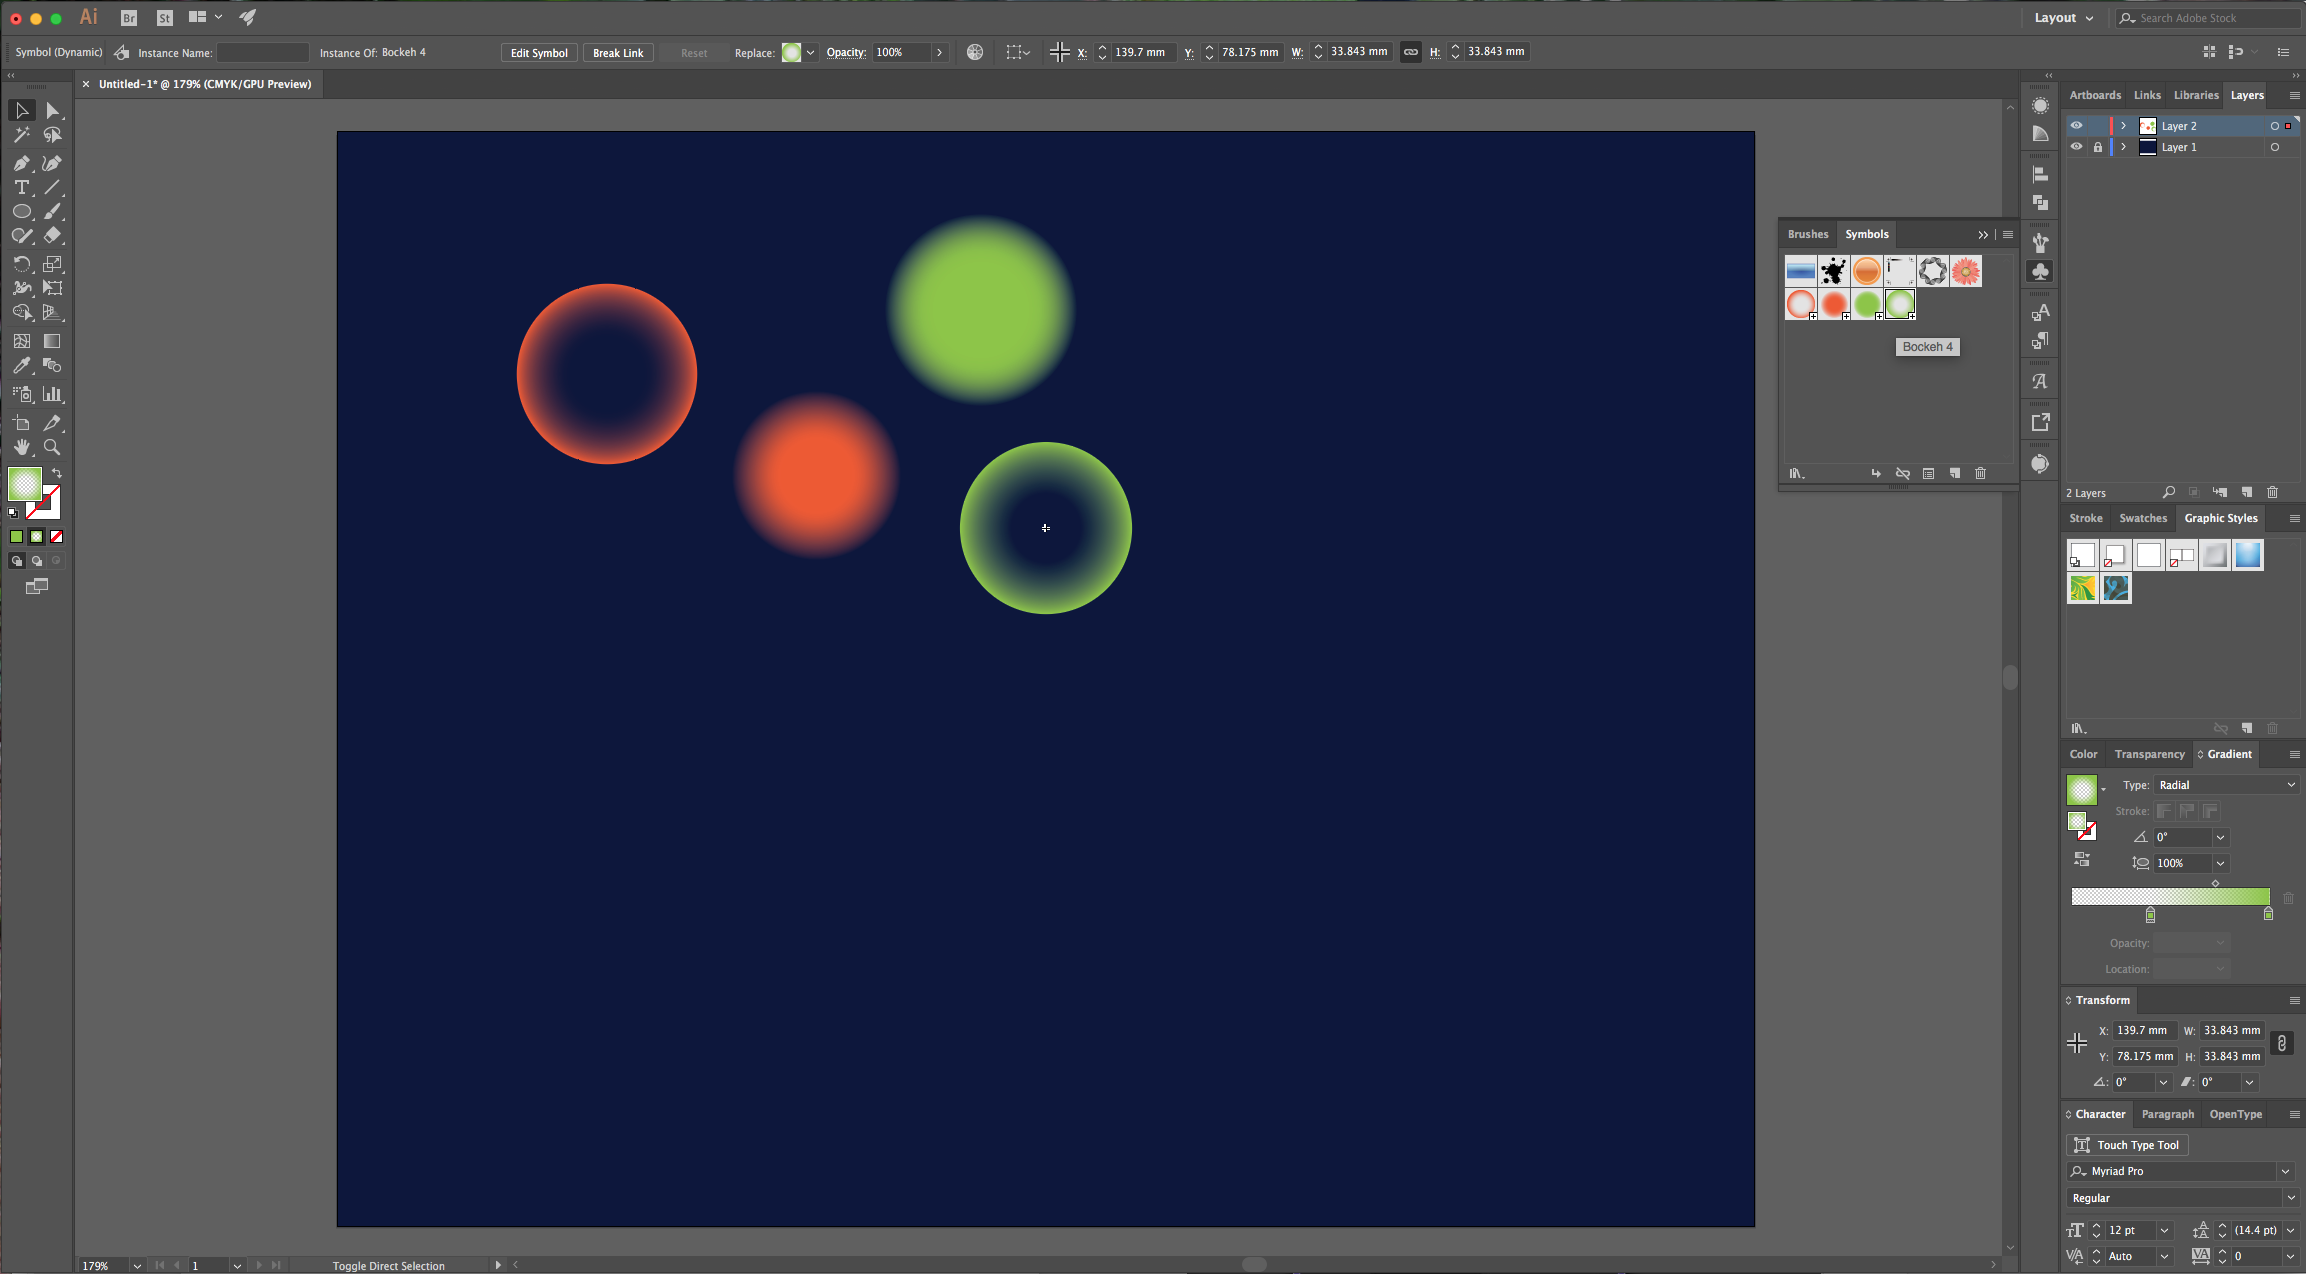
7 - Select your circles one at a time and go to the “Symbols” Panel. Click the “New Symbol” button at the bottom of the Panel, give it a name and choose “Graphic” as “Type” then click “OK”. Repeat this for all the circles you wish to save.
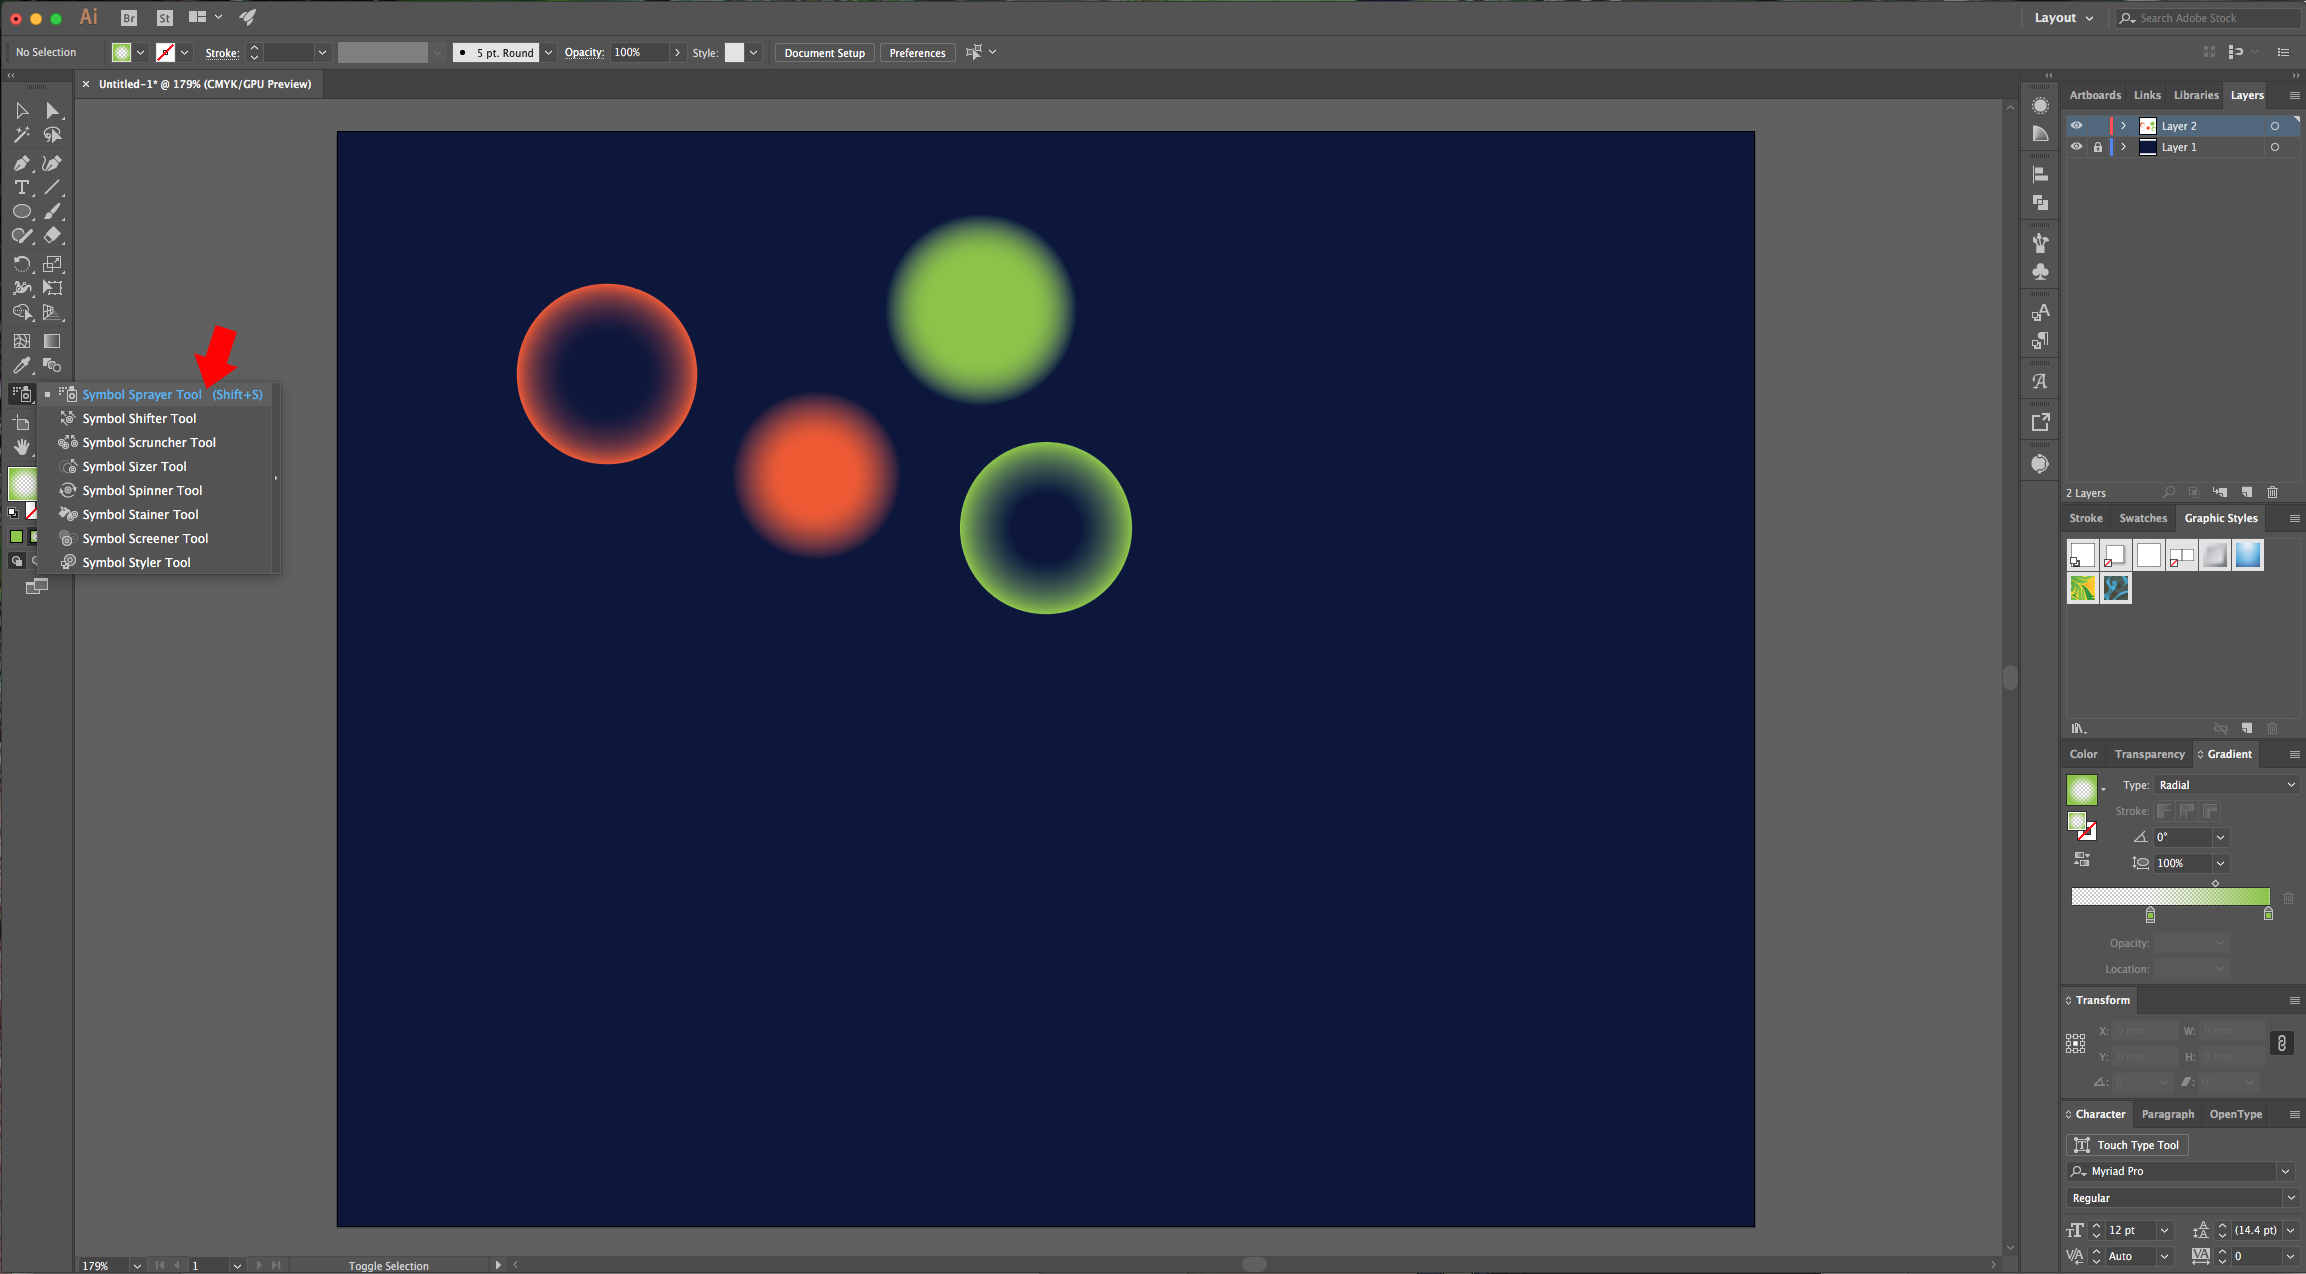
8 - Use the “Symbol Sprayer Tool” (Shift + S) and select one of your new Symbols from the Panels. To change some of the tools options click “Enter” while it is selected and modify them. Remember to deselect the symbol set to start with a new one.
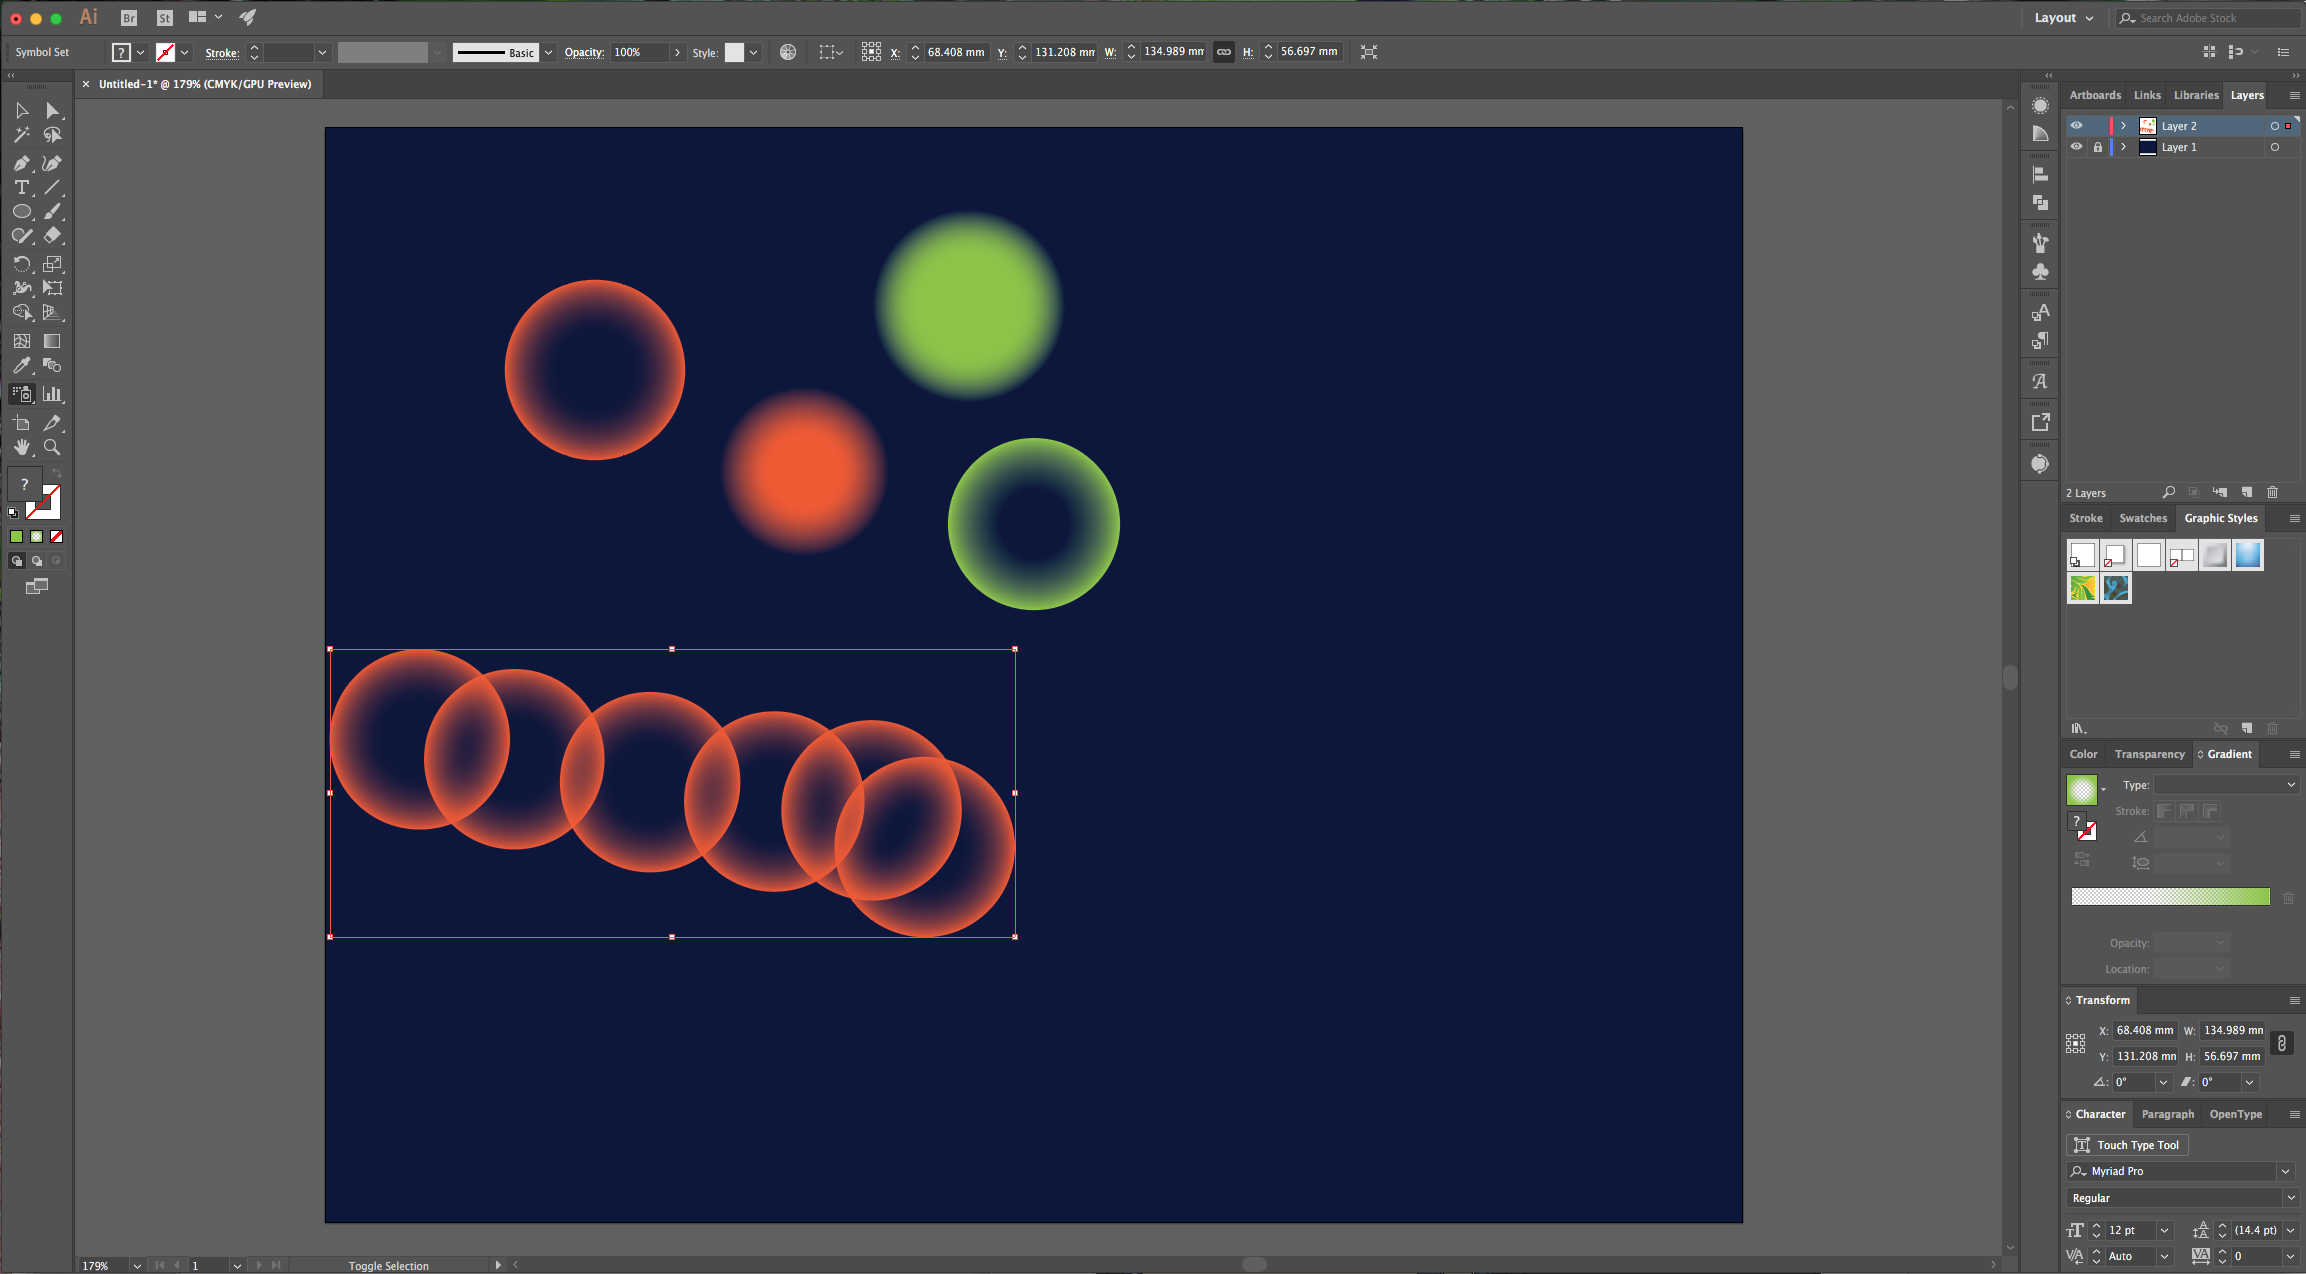
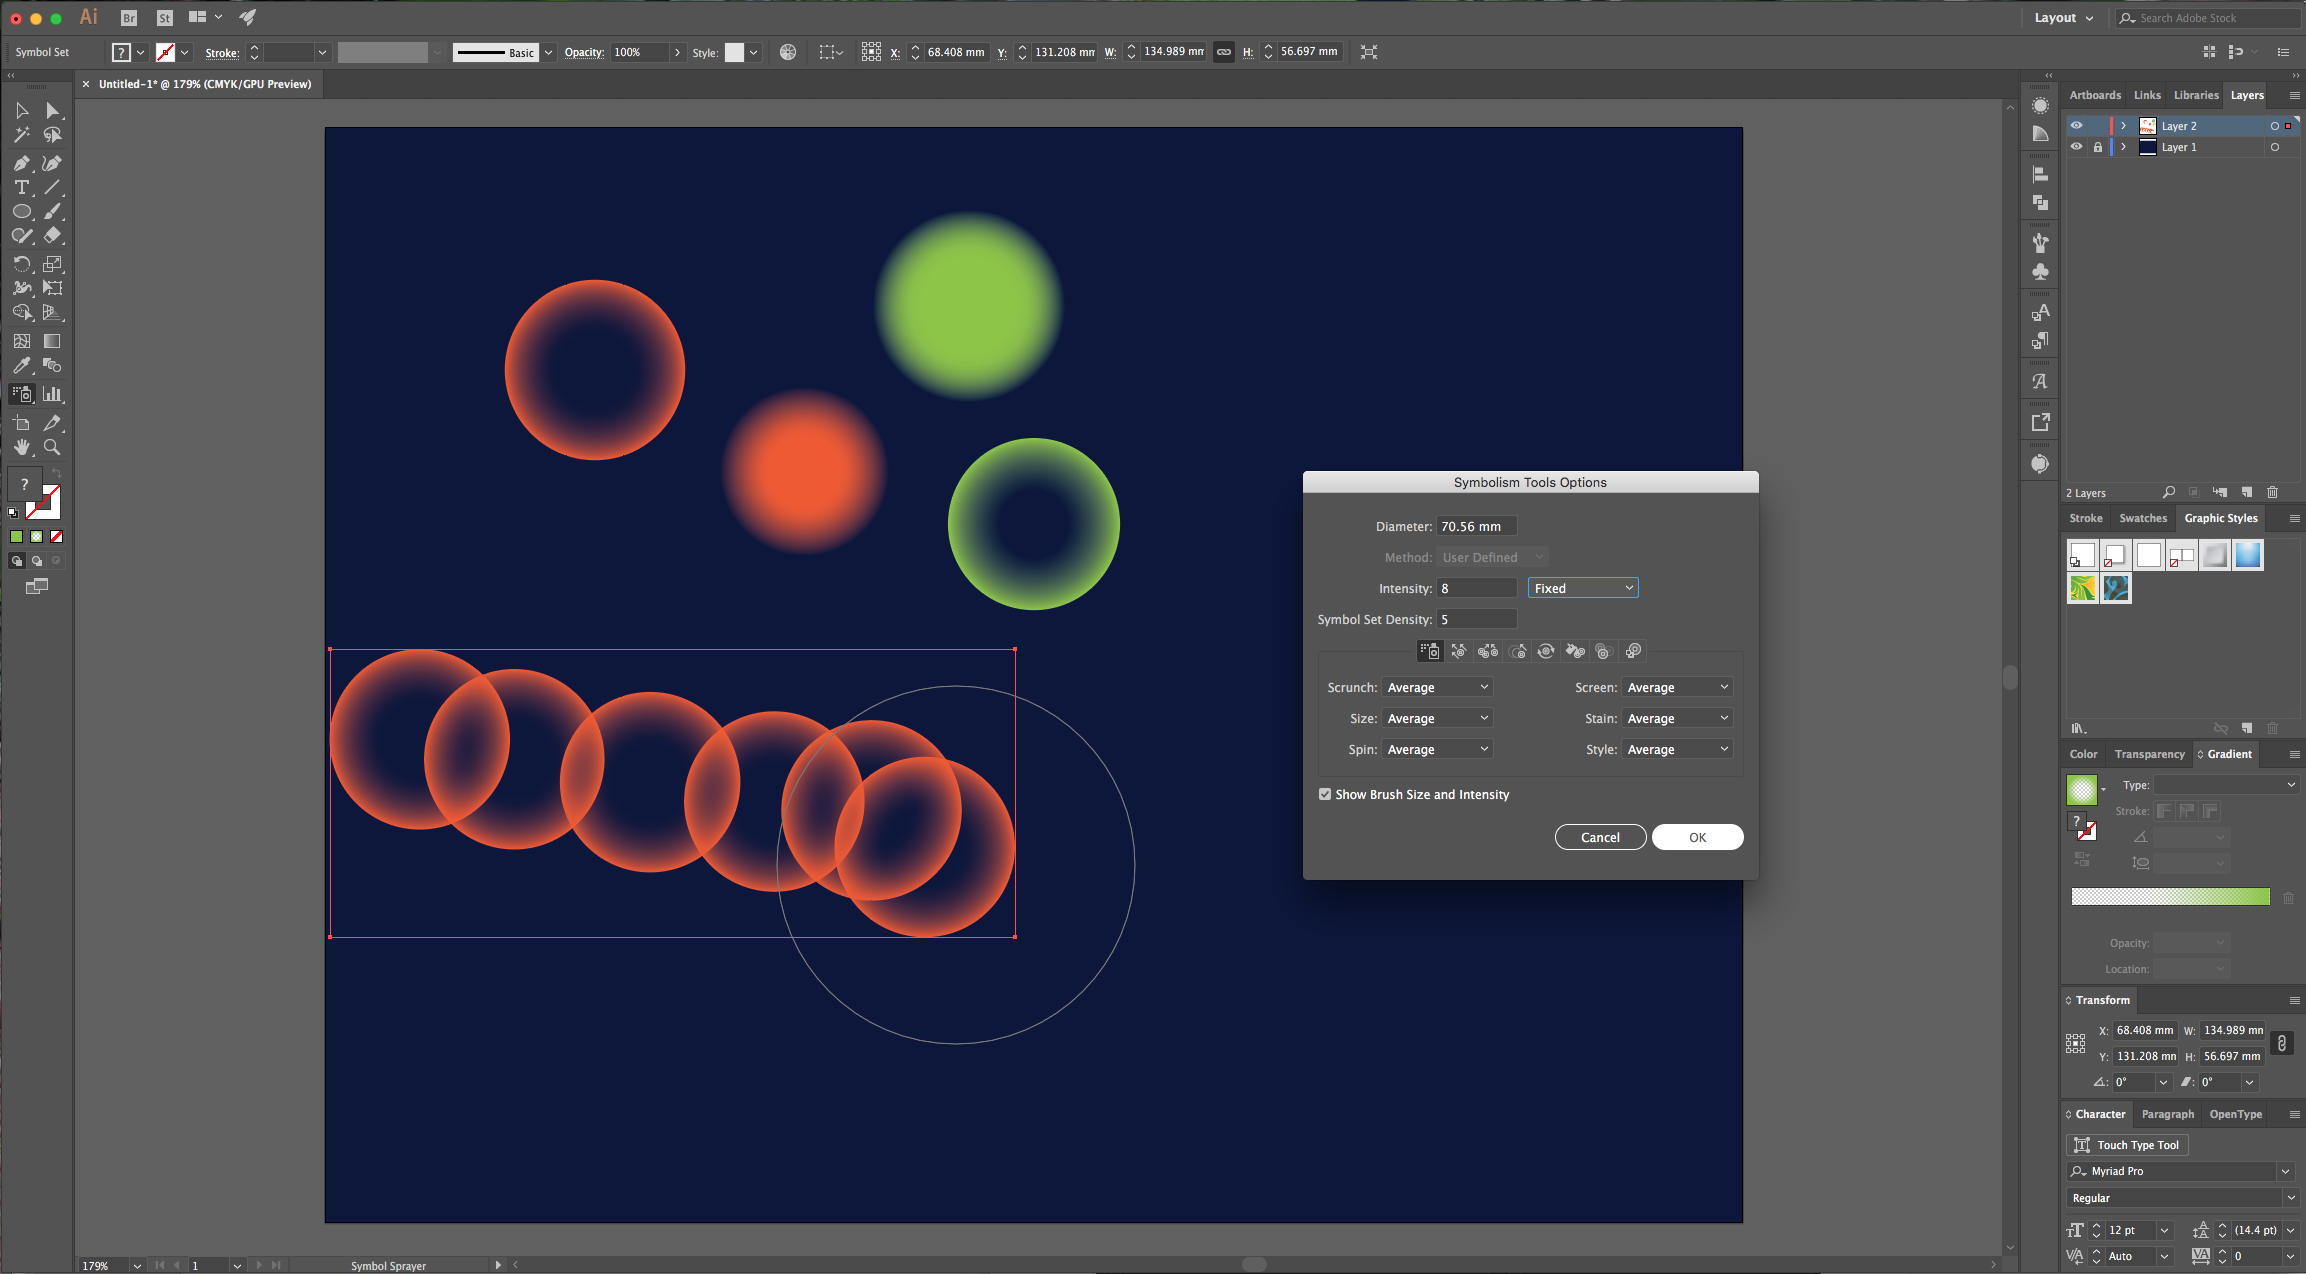
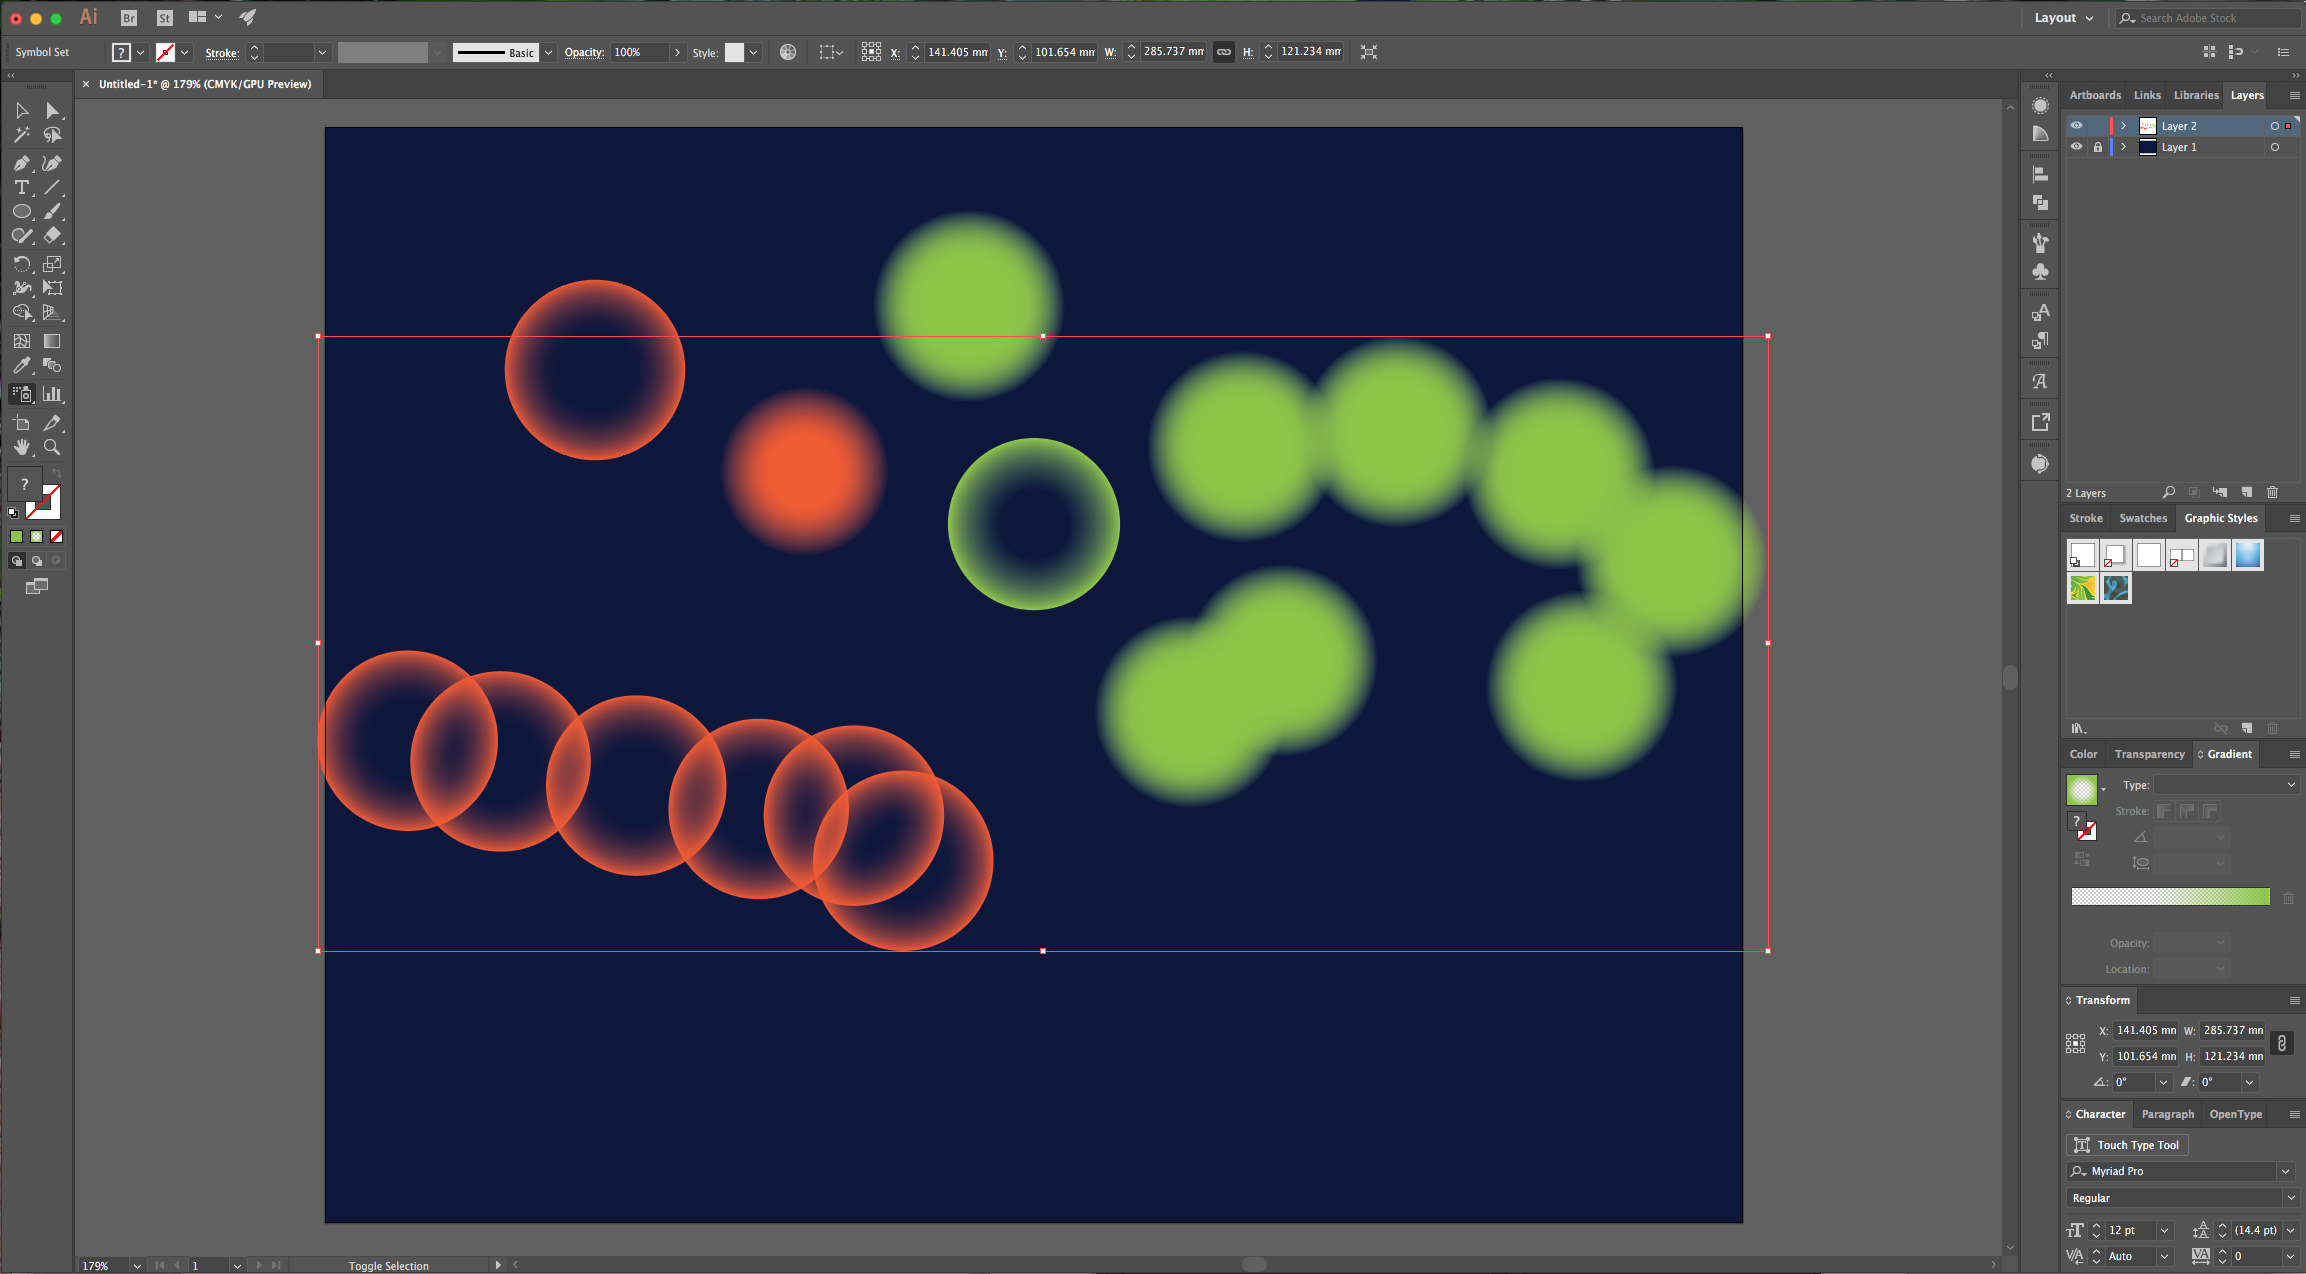
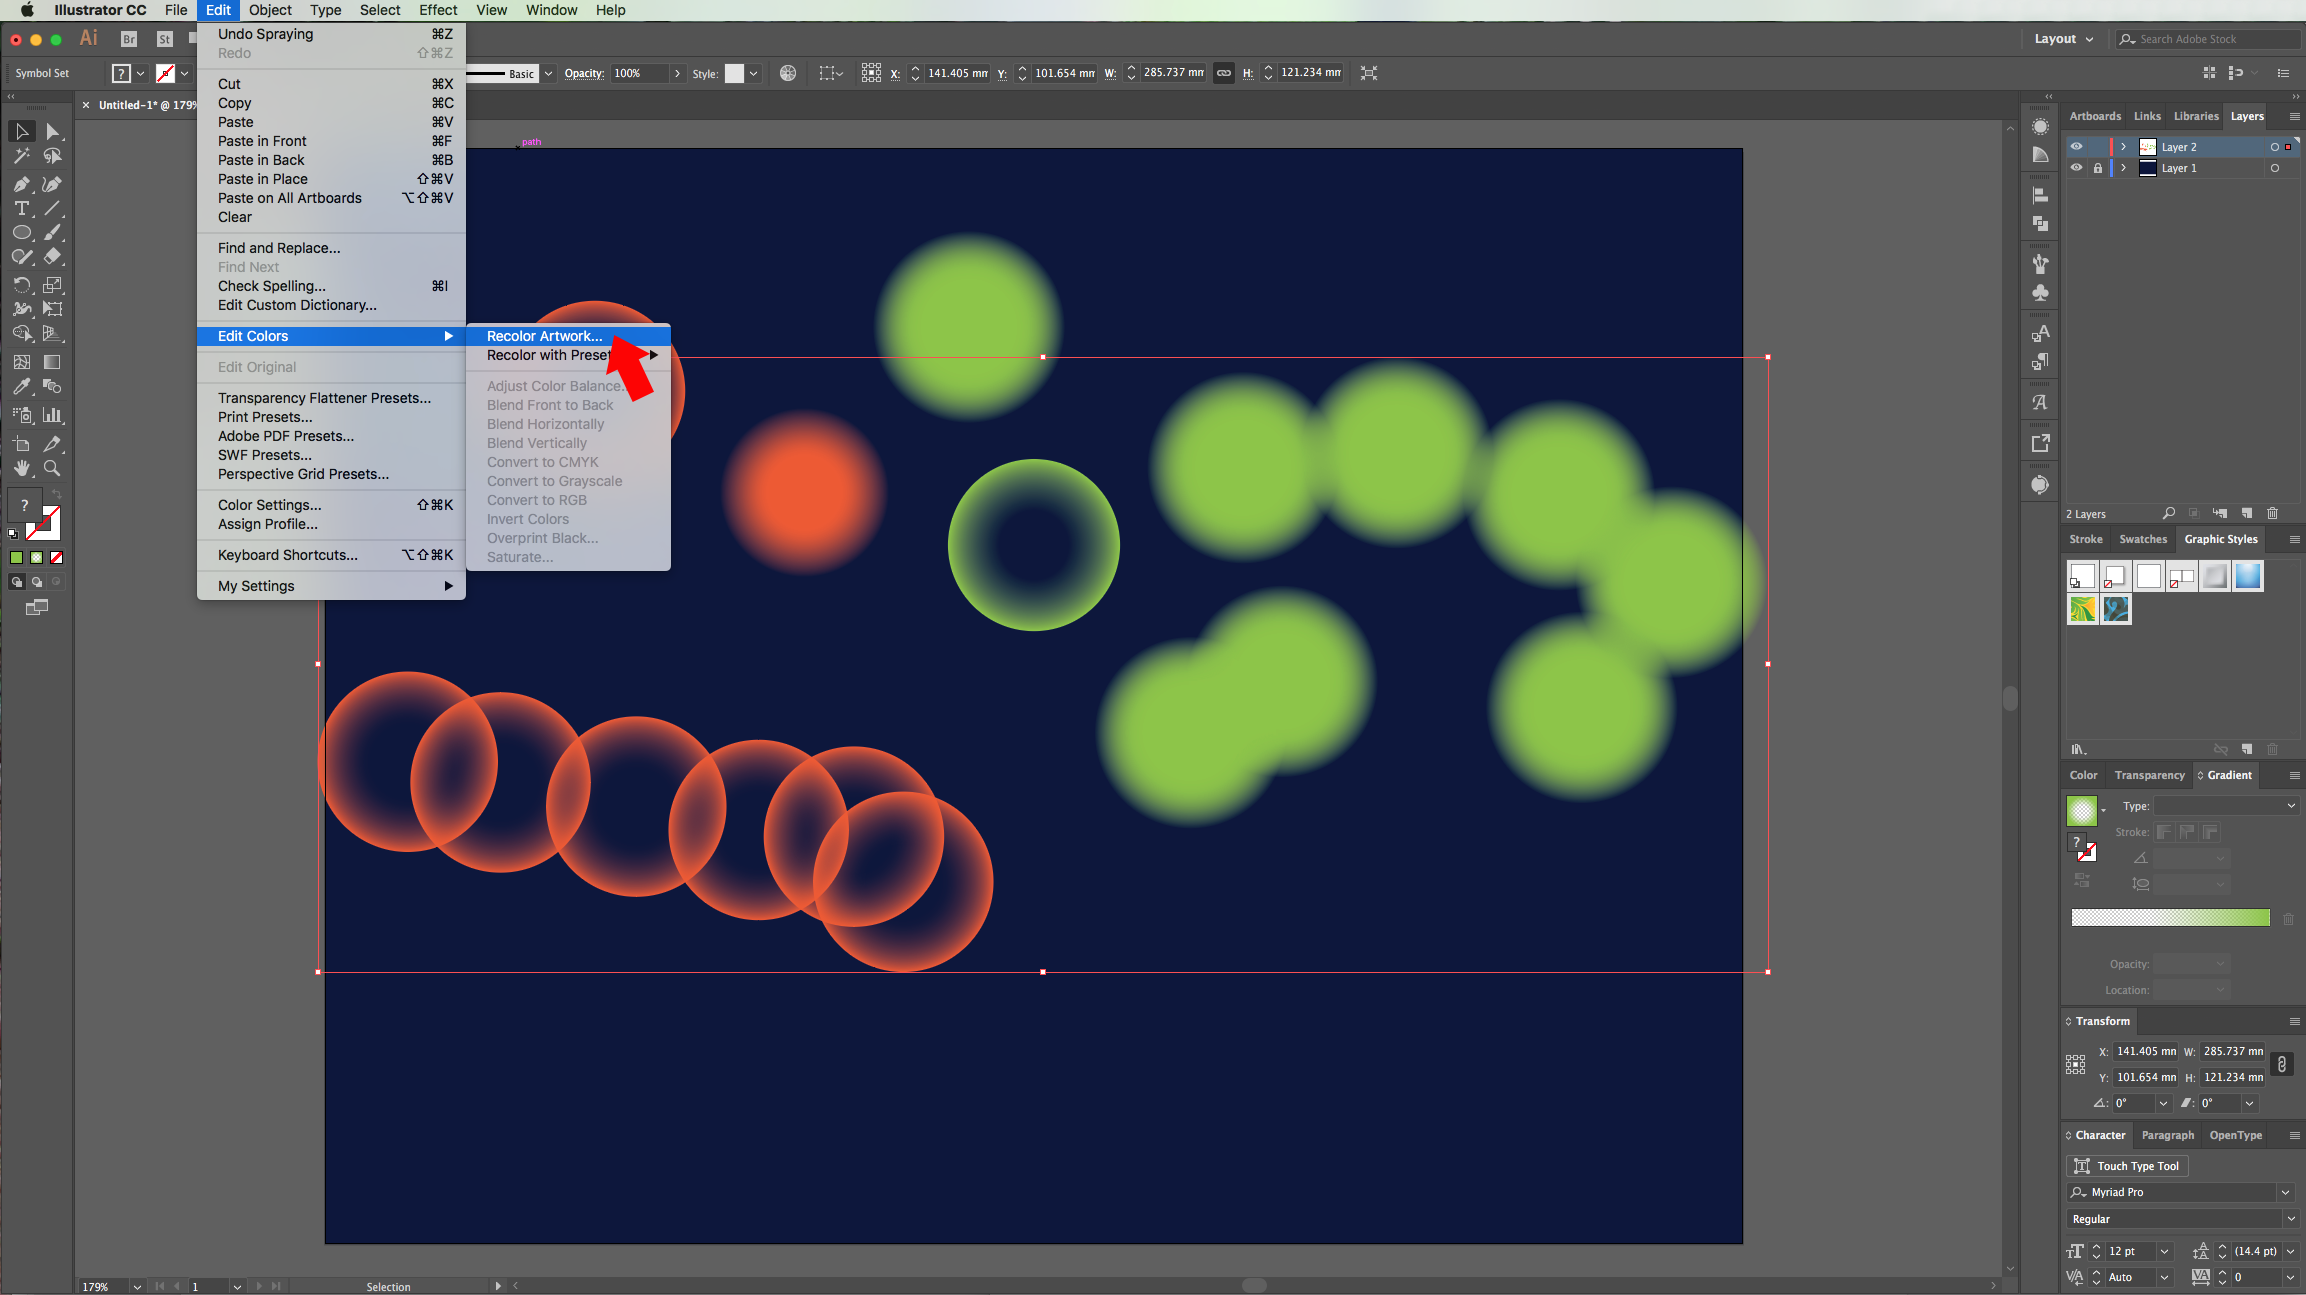
9 - To change the color of your symbols, select the set and go to Edit > Edit Colors > Recolor Artwork and change the “Current Color”. Take into account that this will change the color of your original symbol.
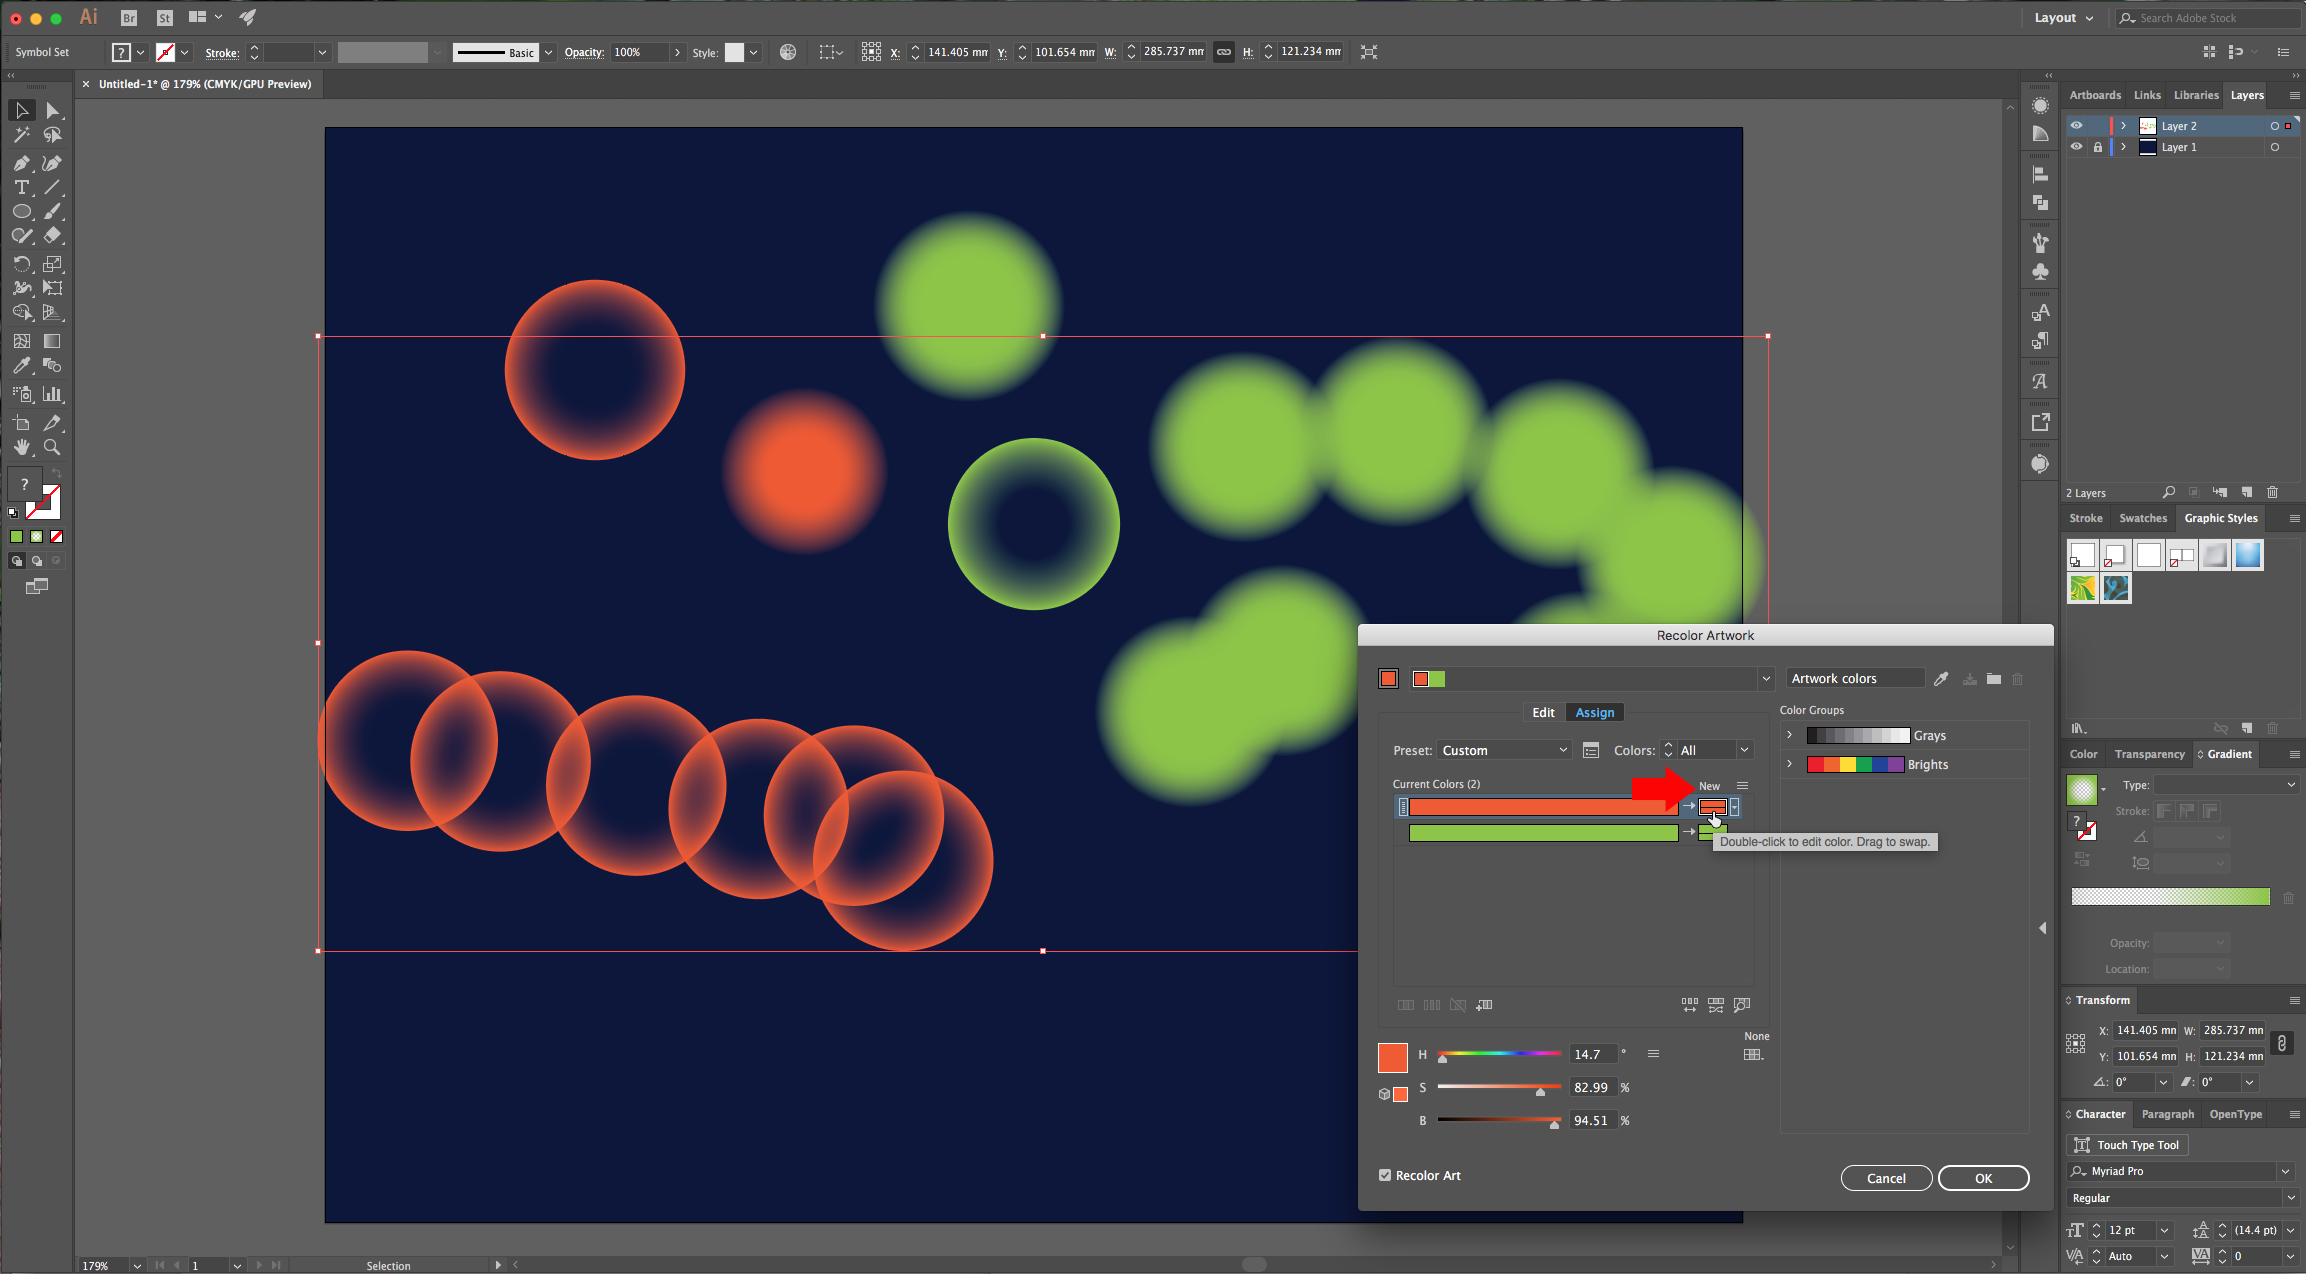
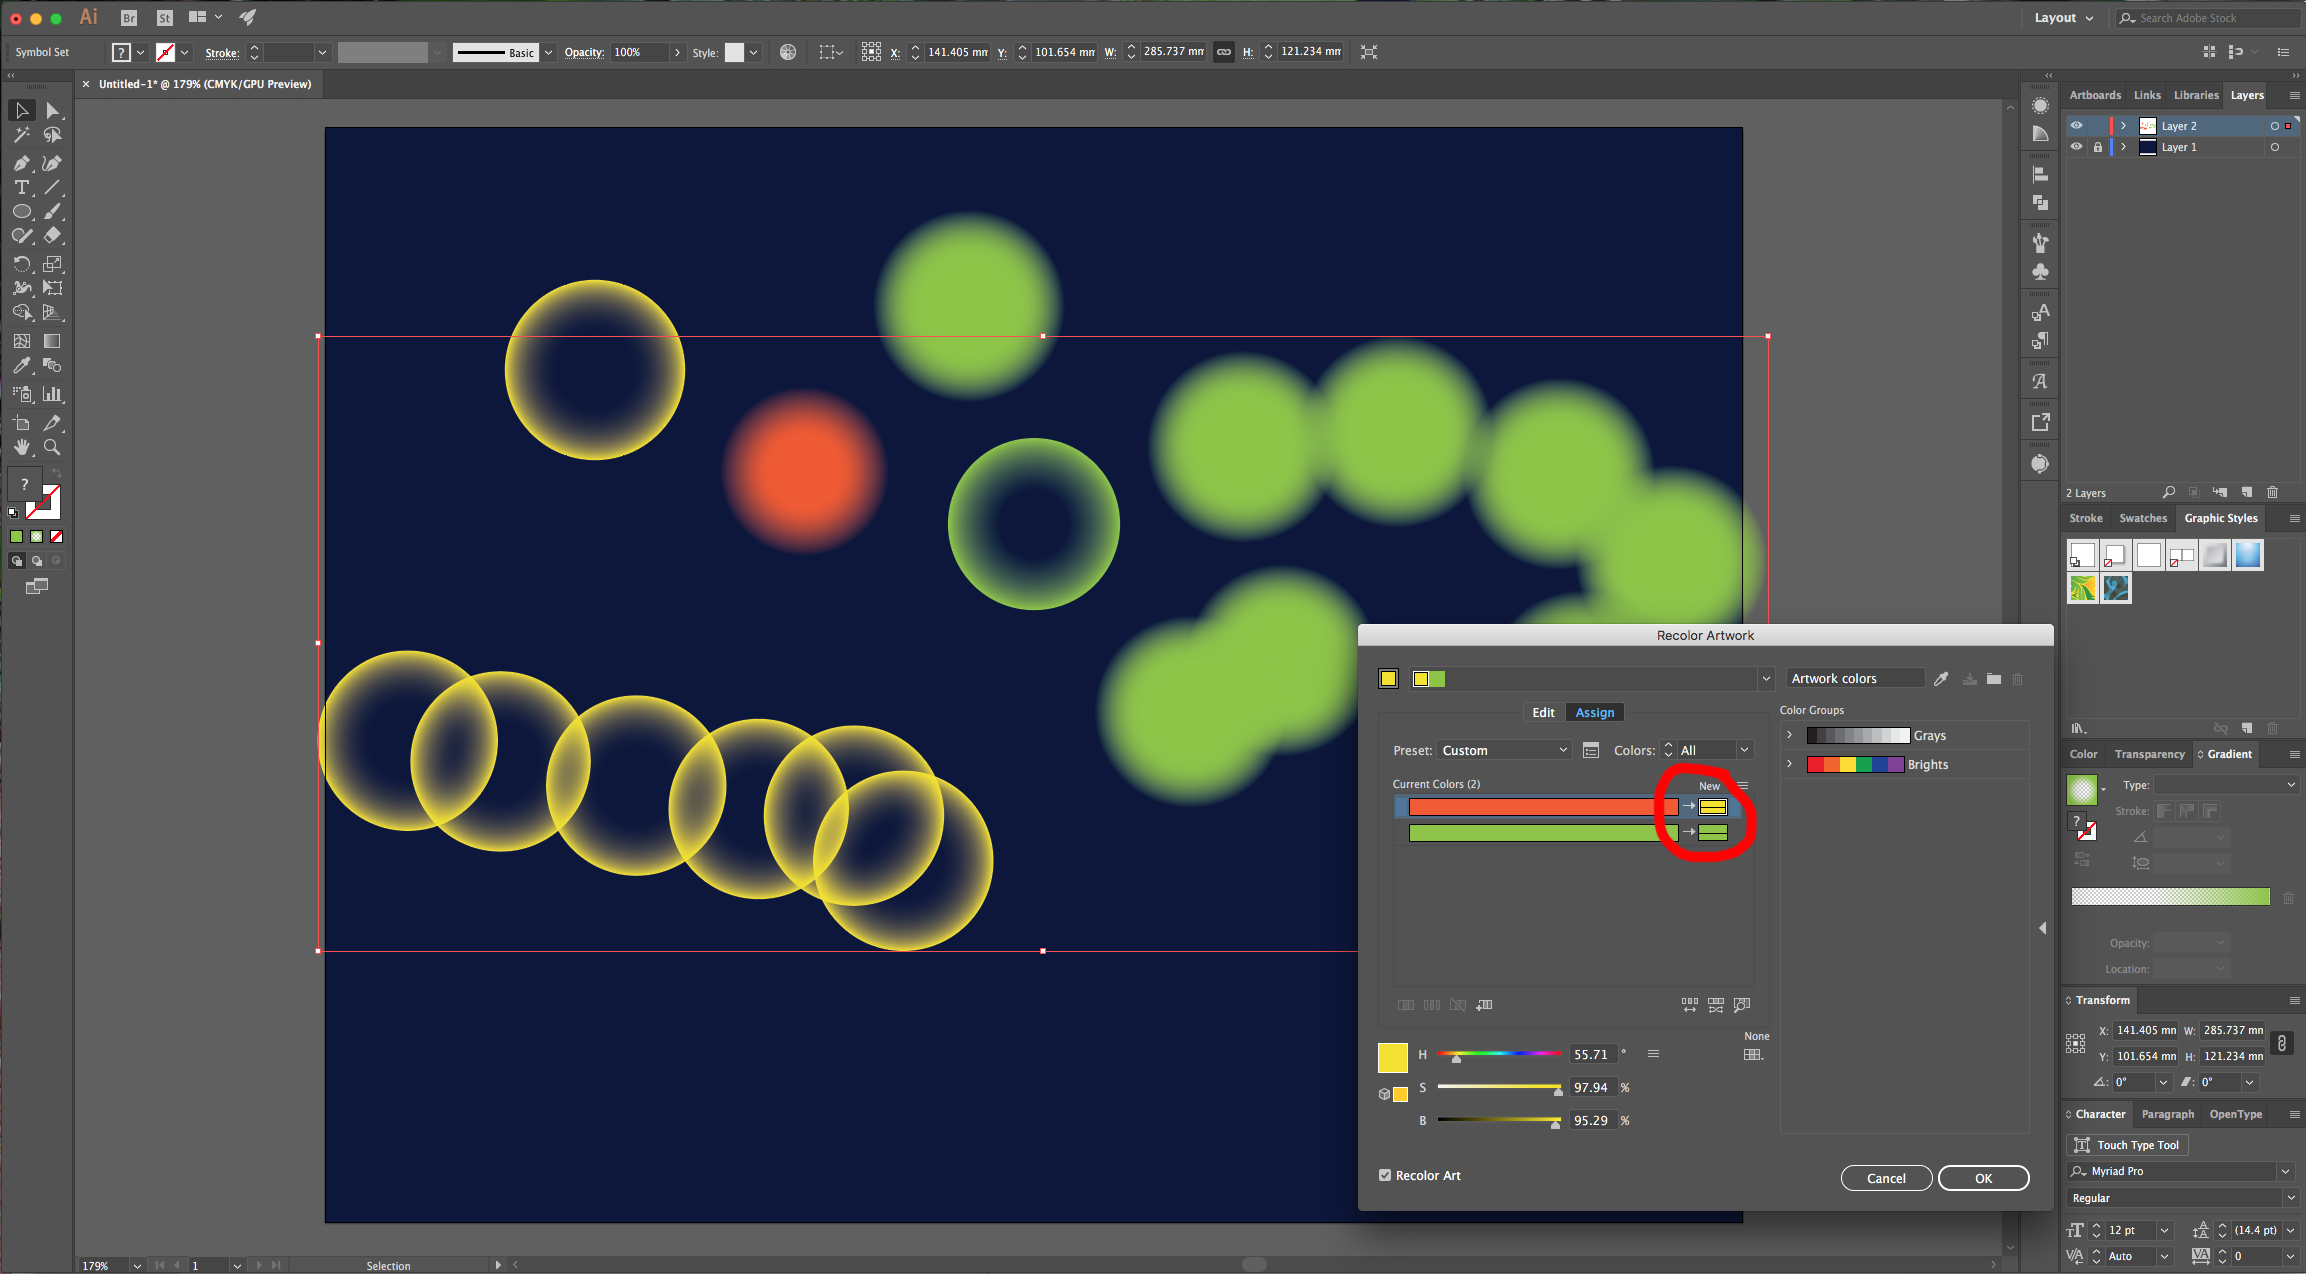
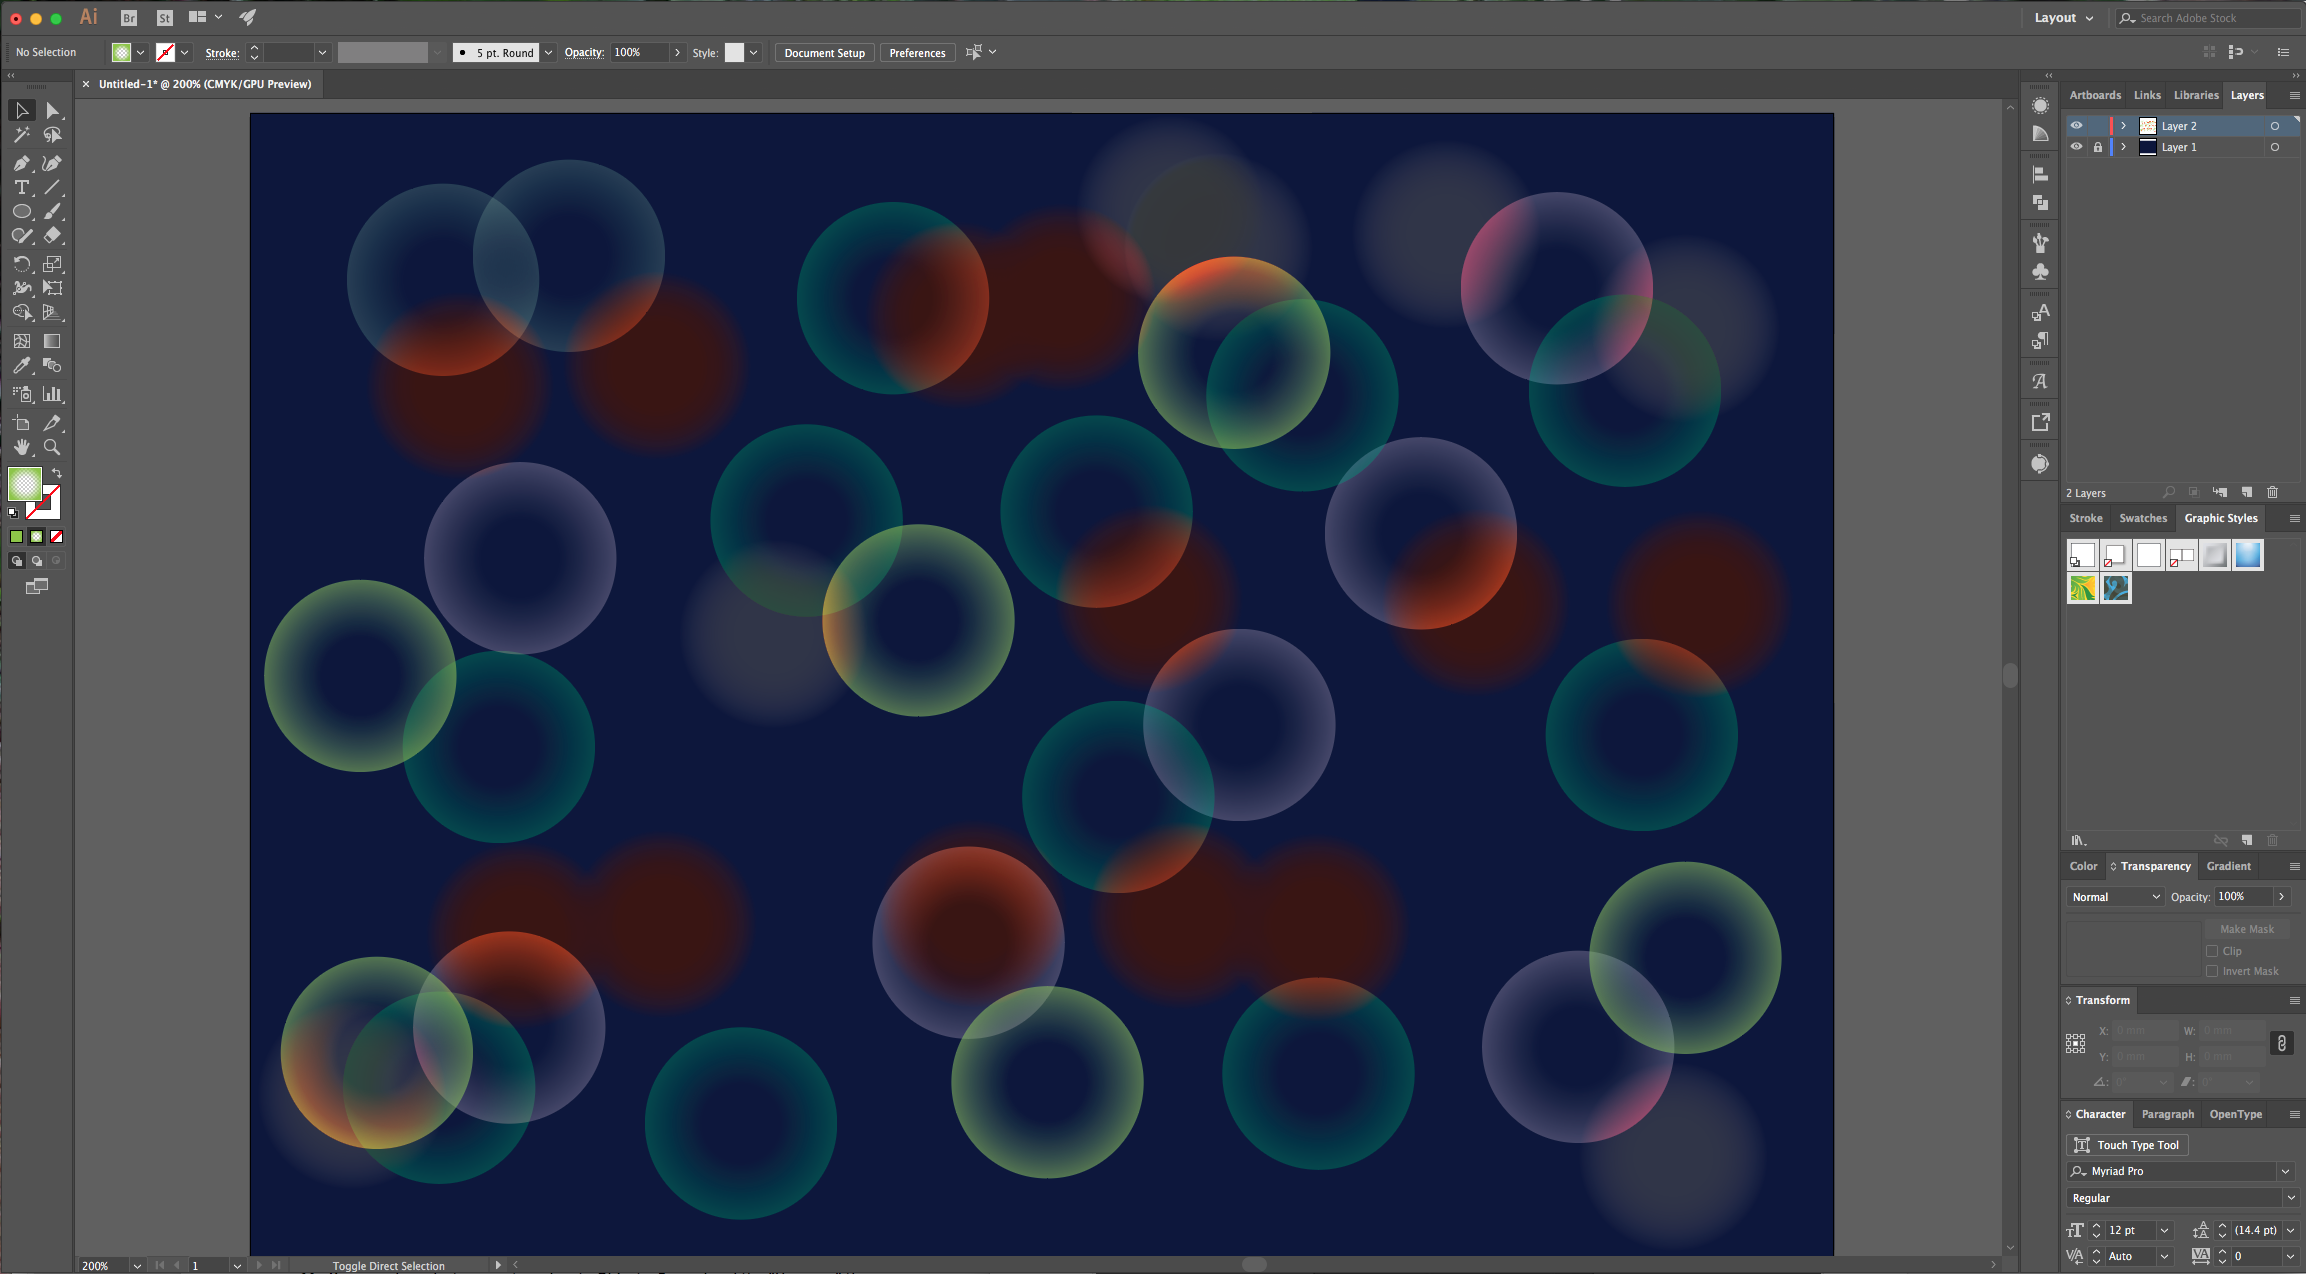
10 - To create a “Bokeh” effect with your symbols just select the one you want to use and spray it around, deselect your set, select the “Symbol Sprayer Tool” again and use another one. Once you are happy with the placement you can select your set and change the “Blending Mode” and “Opacity” in the “Transparency” Panel.
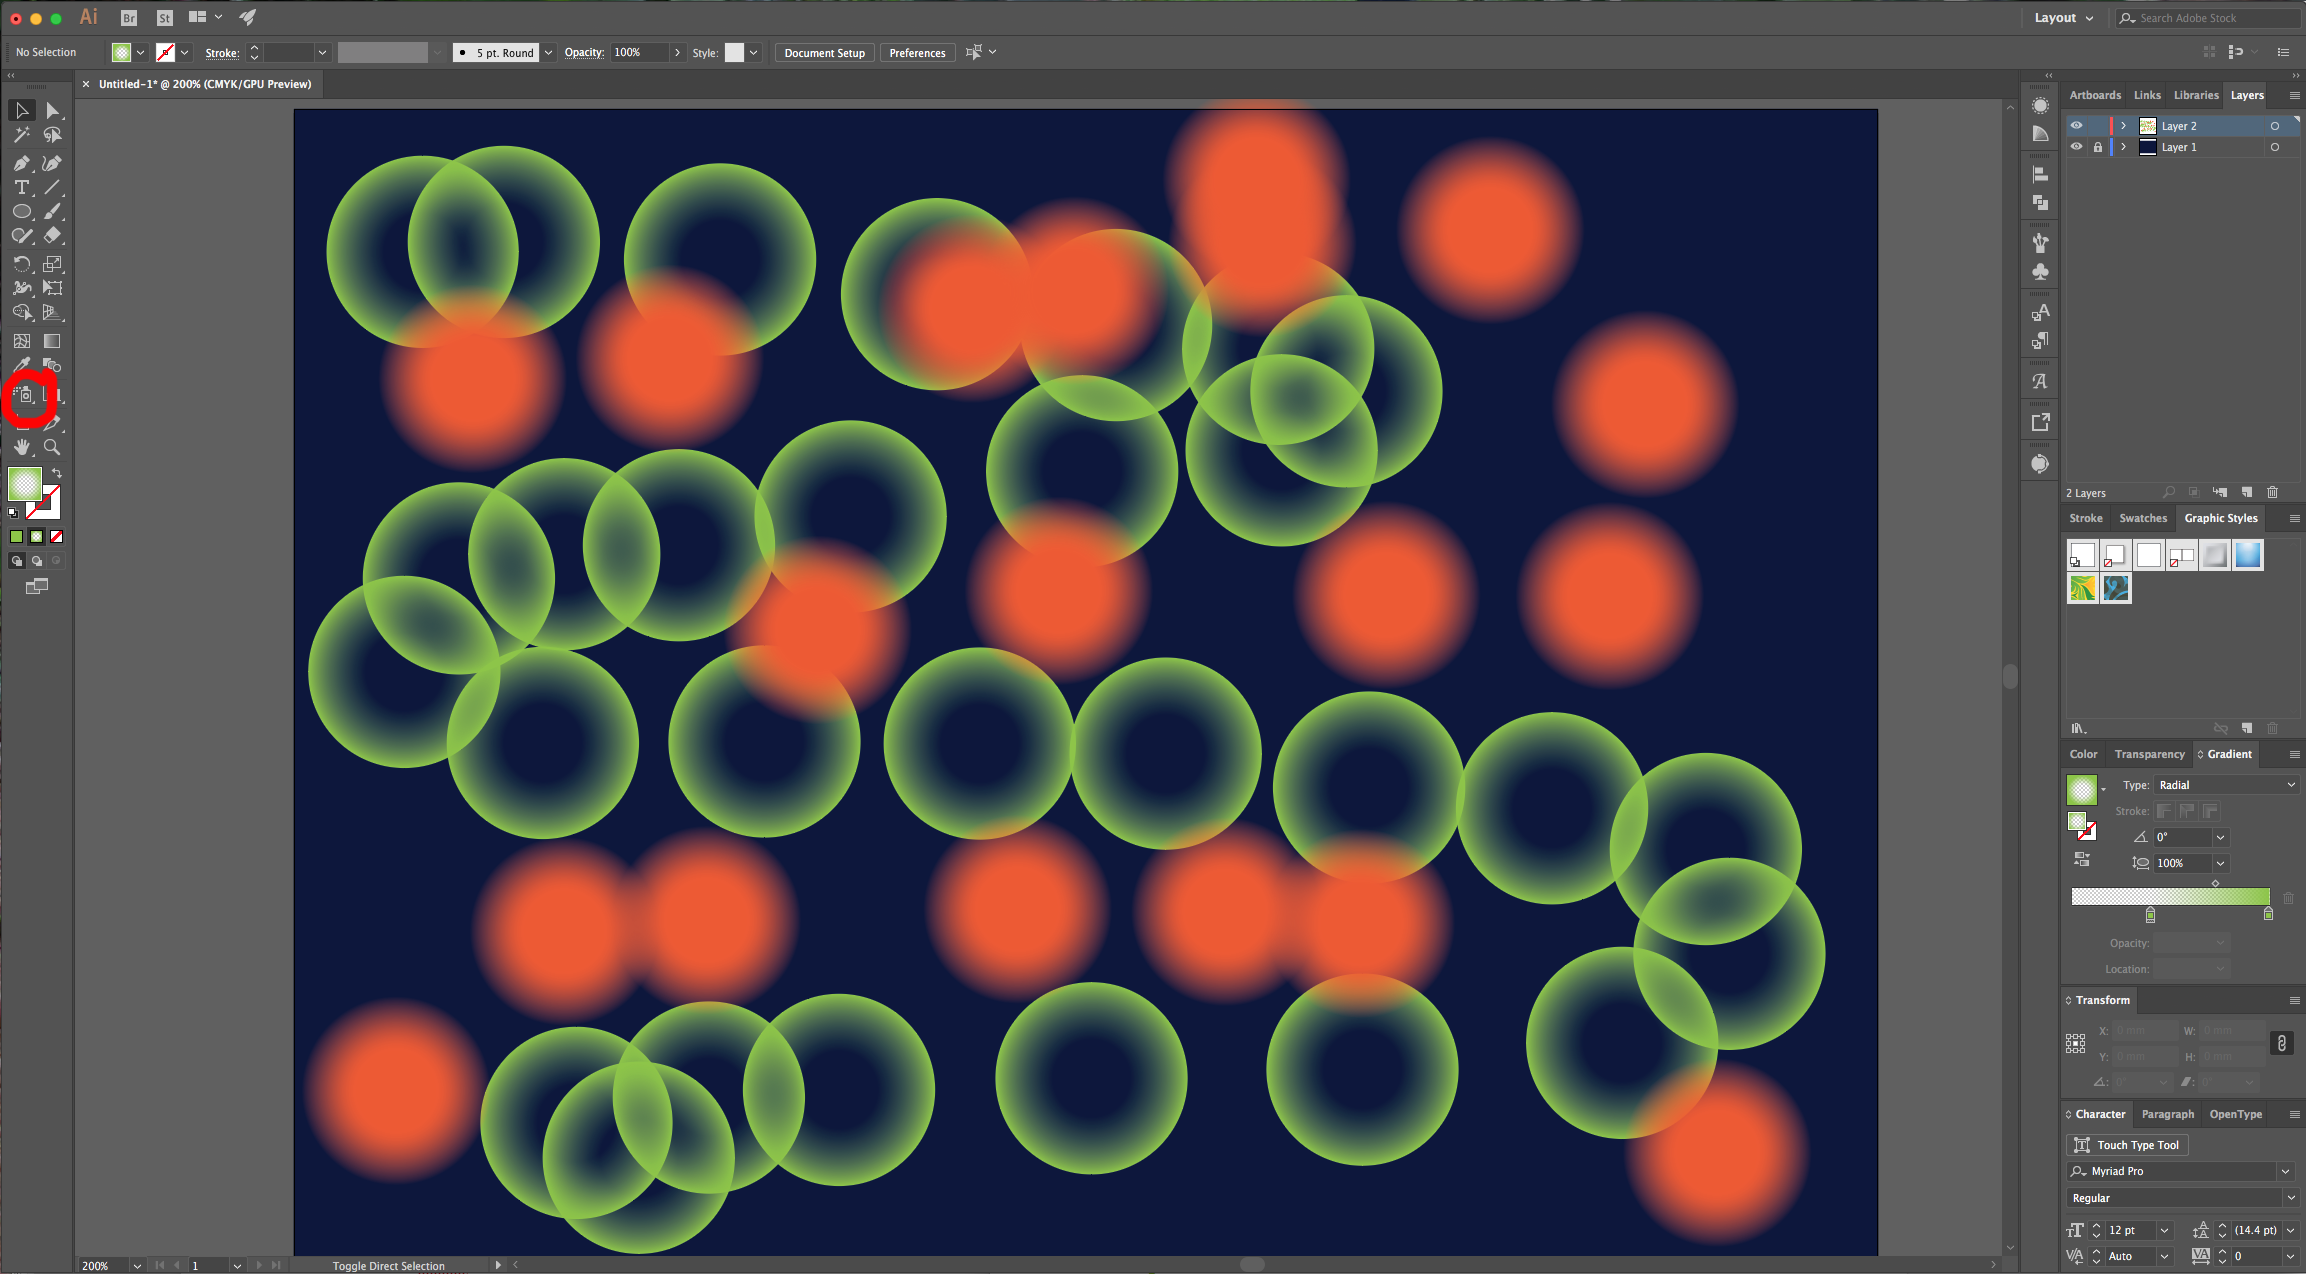
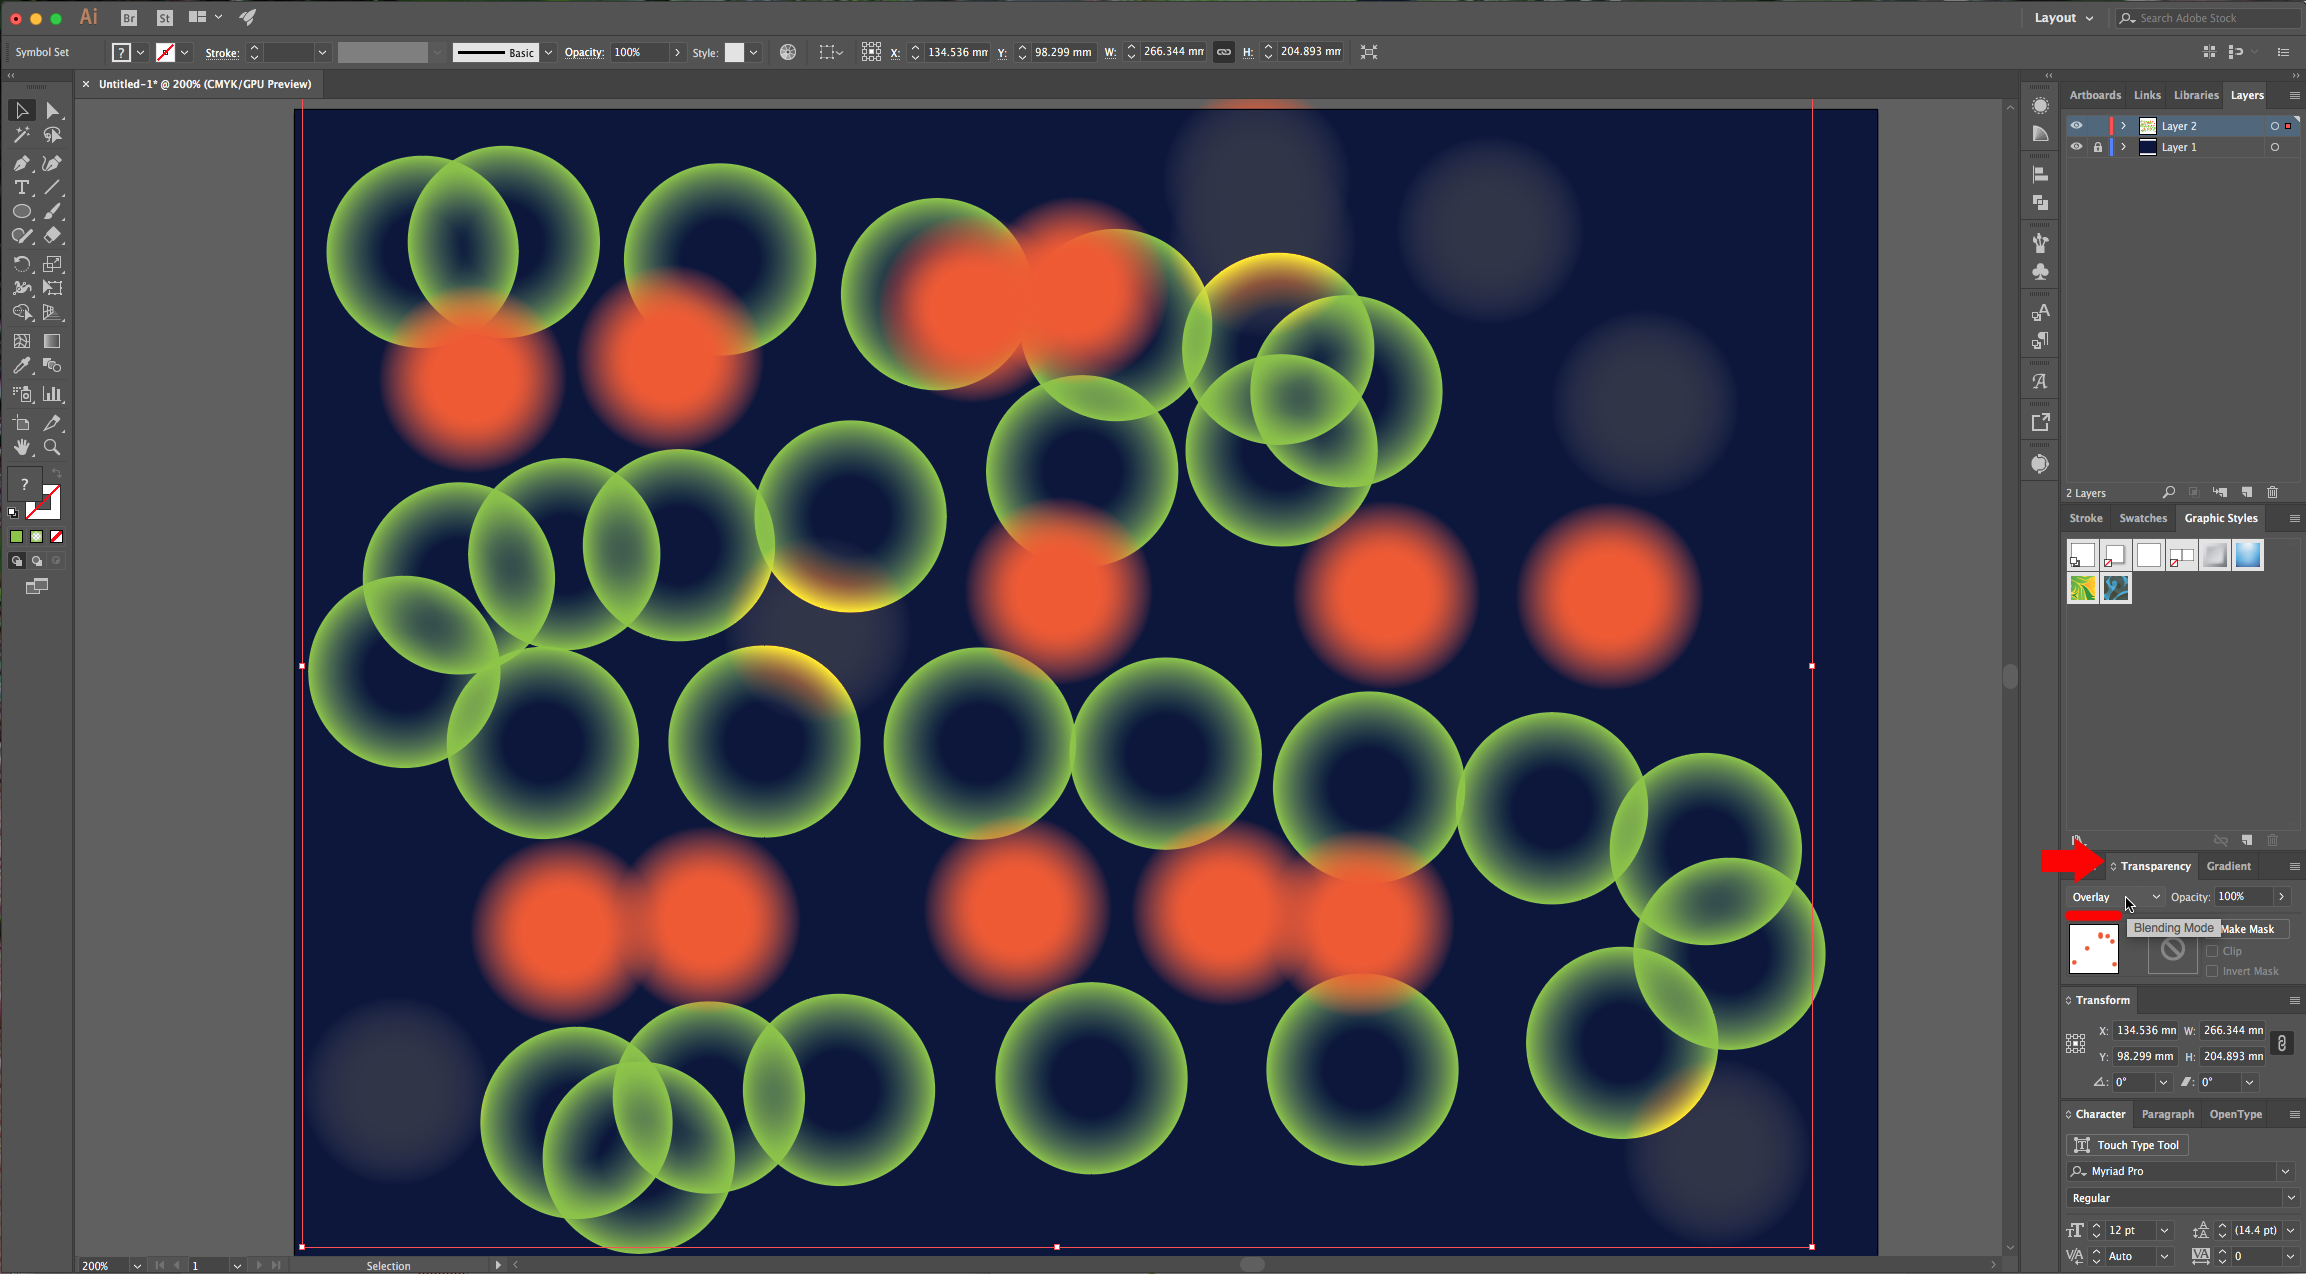
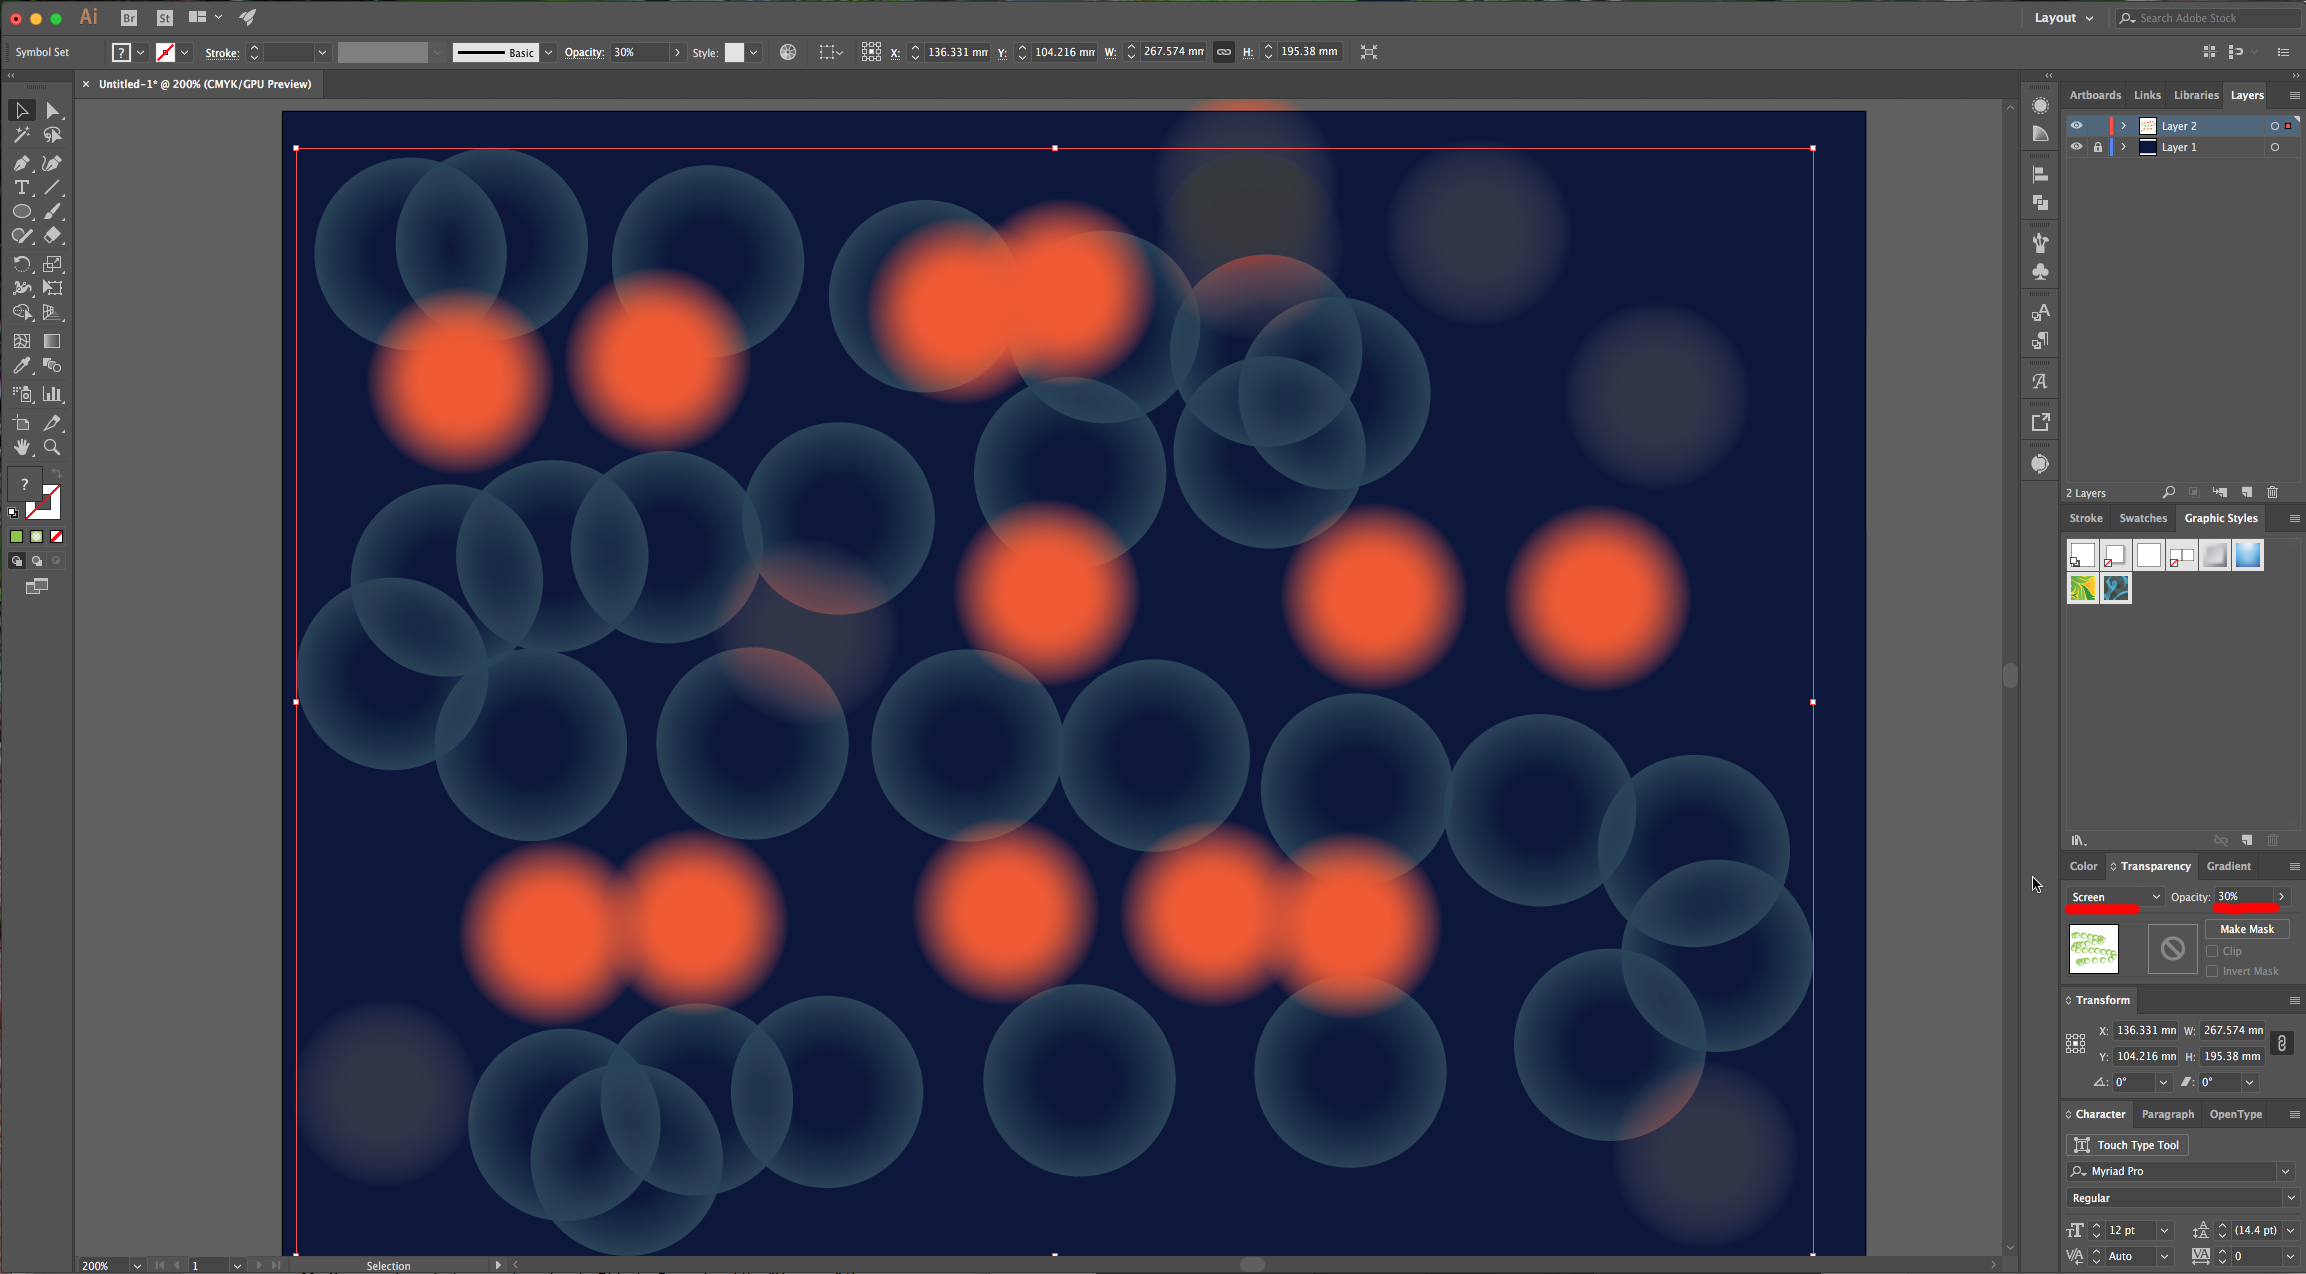
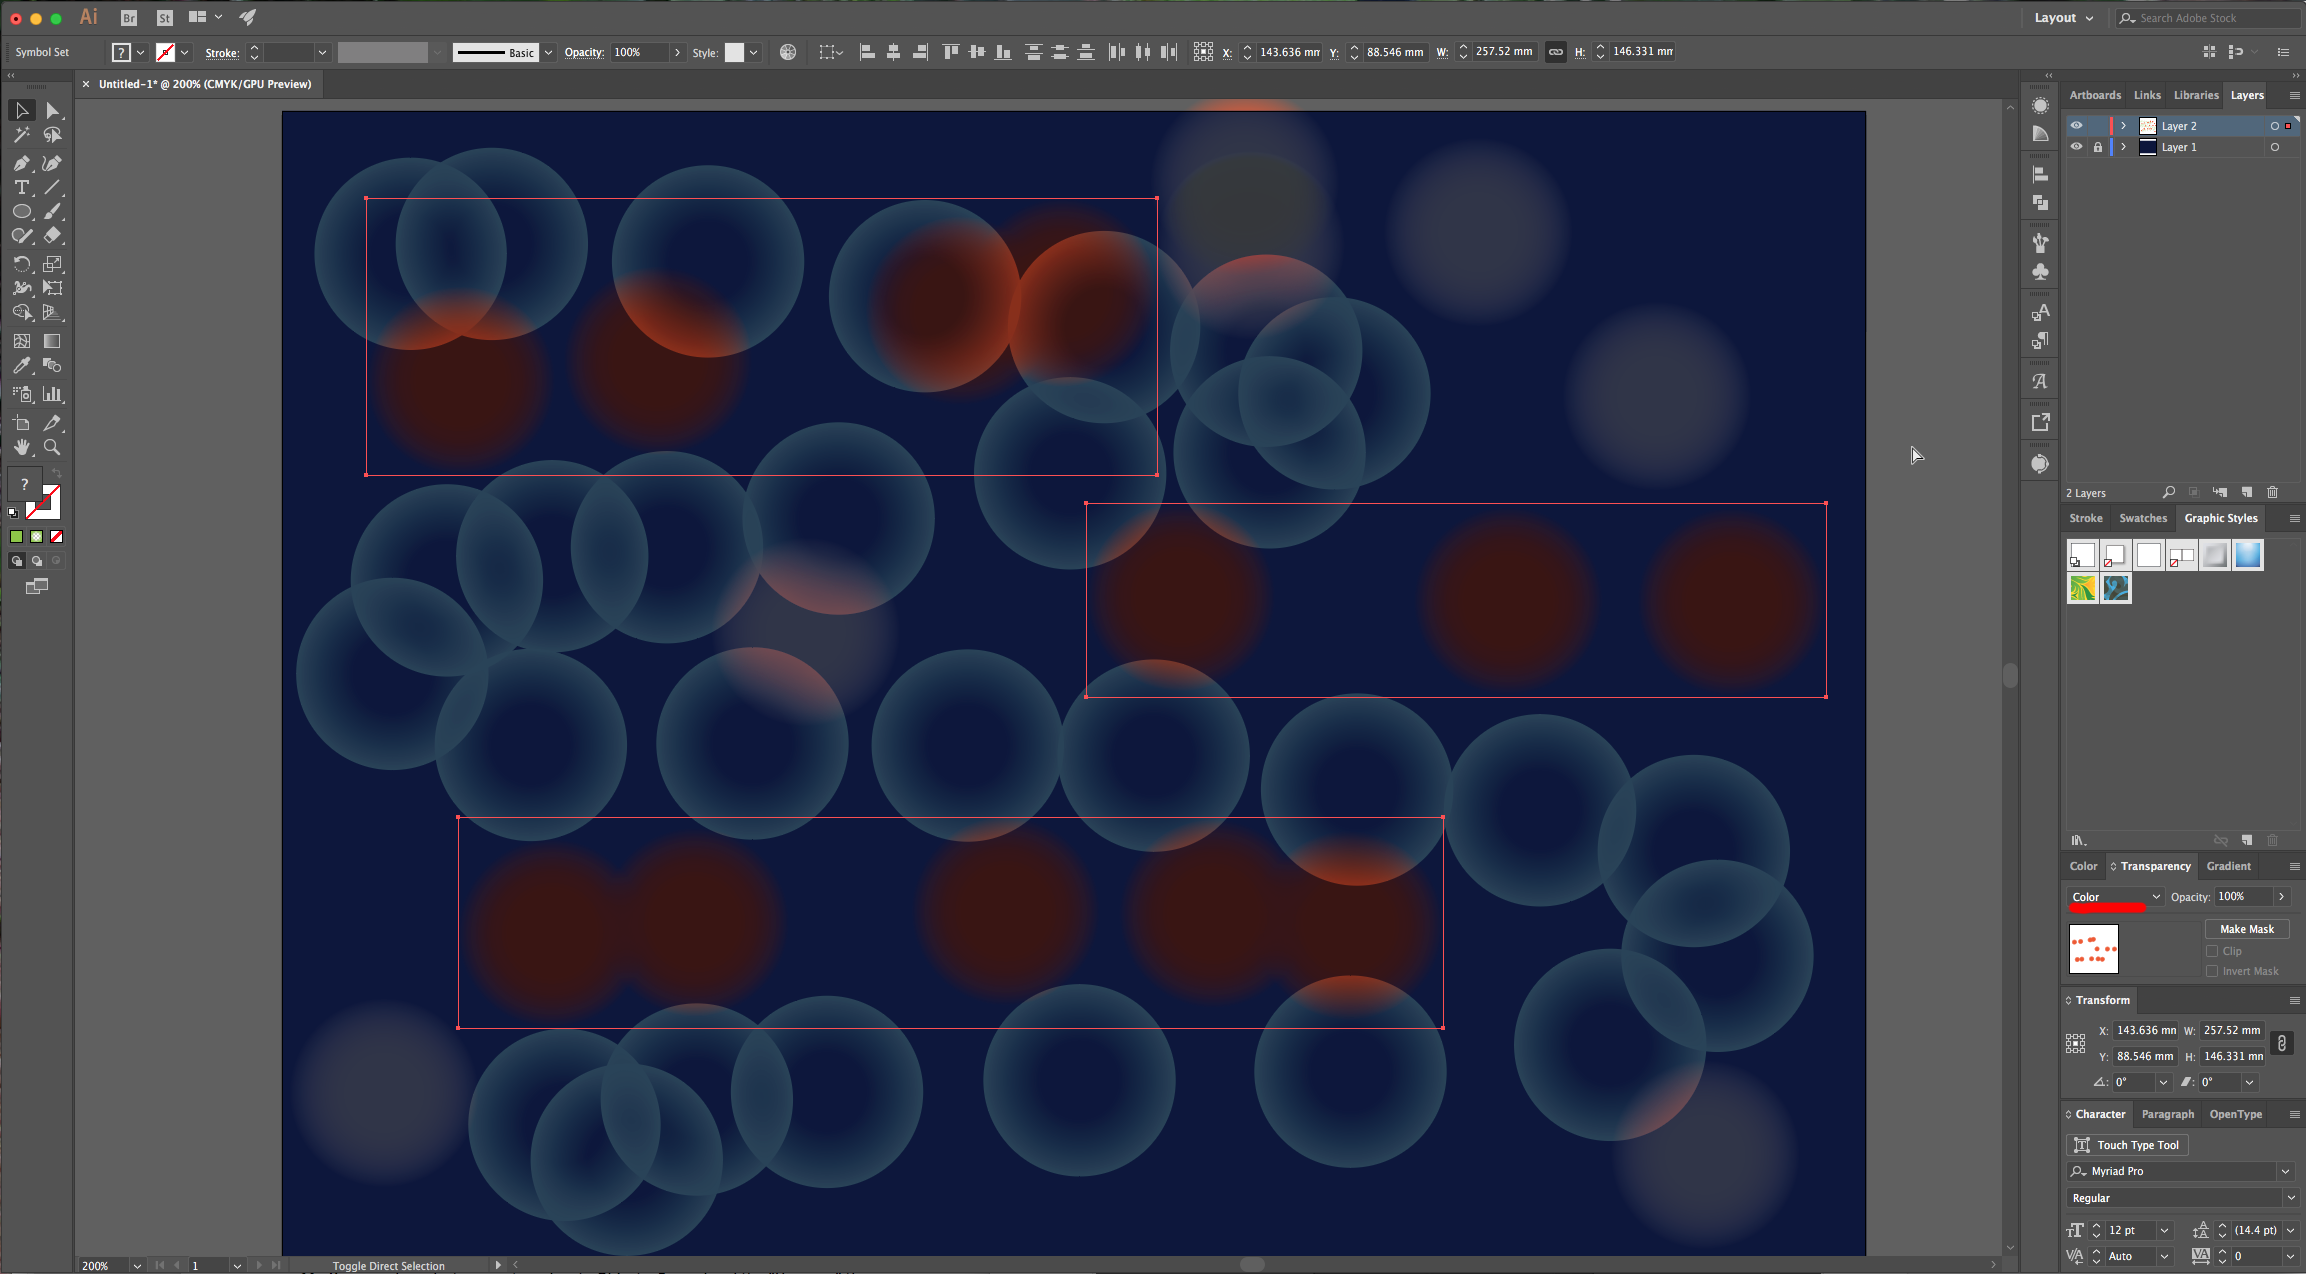
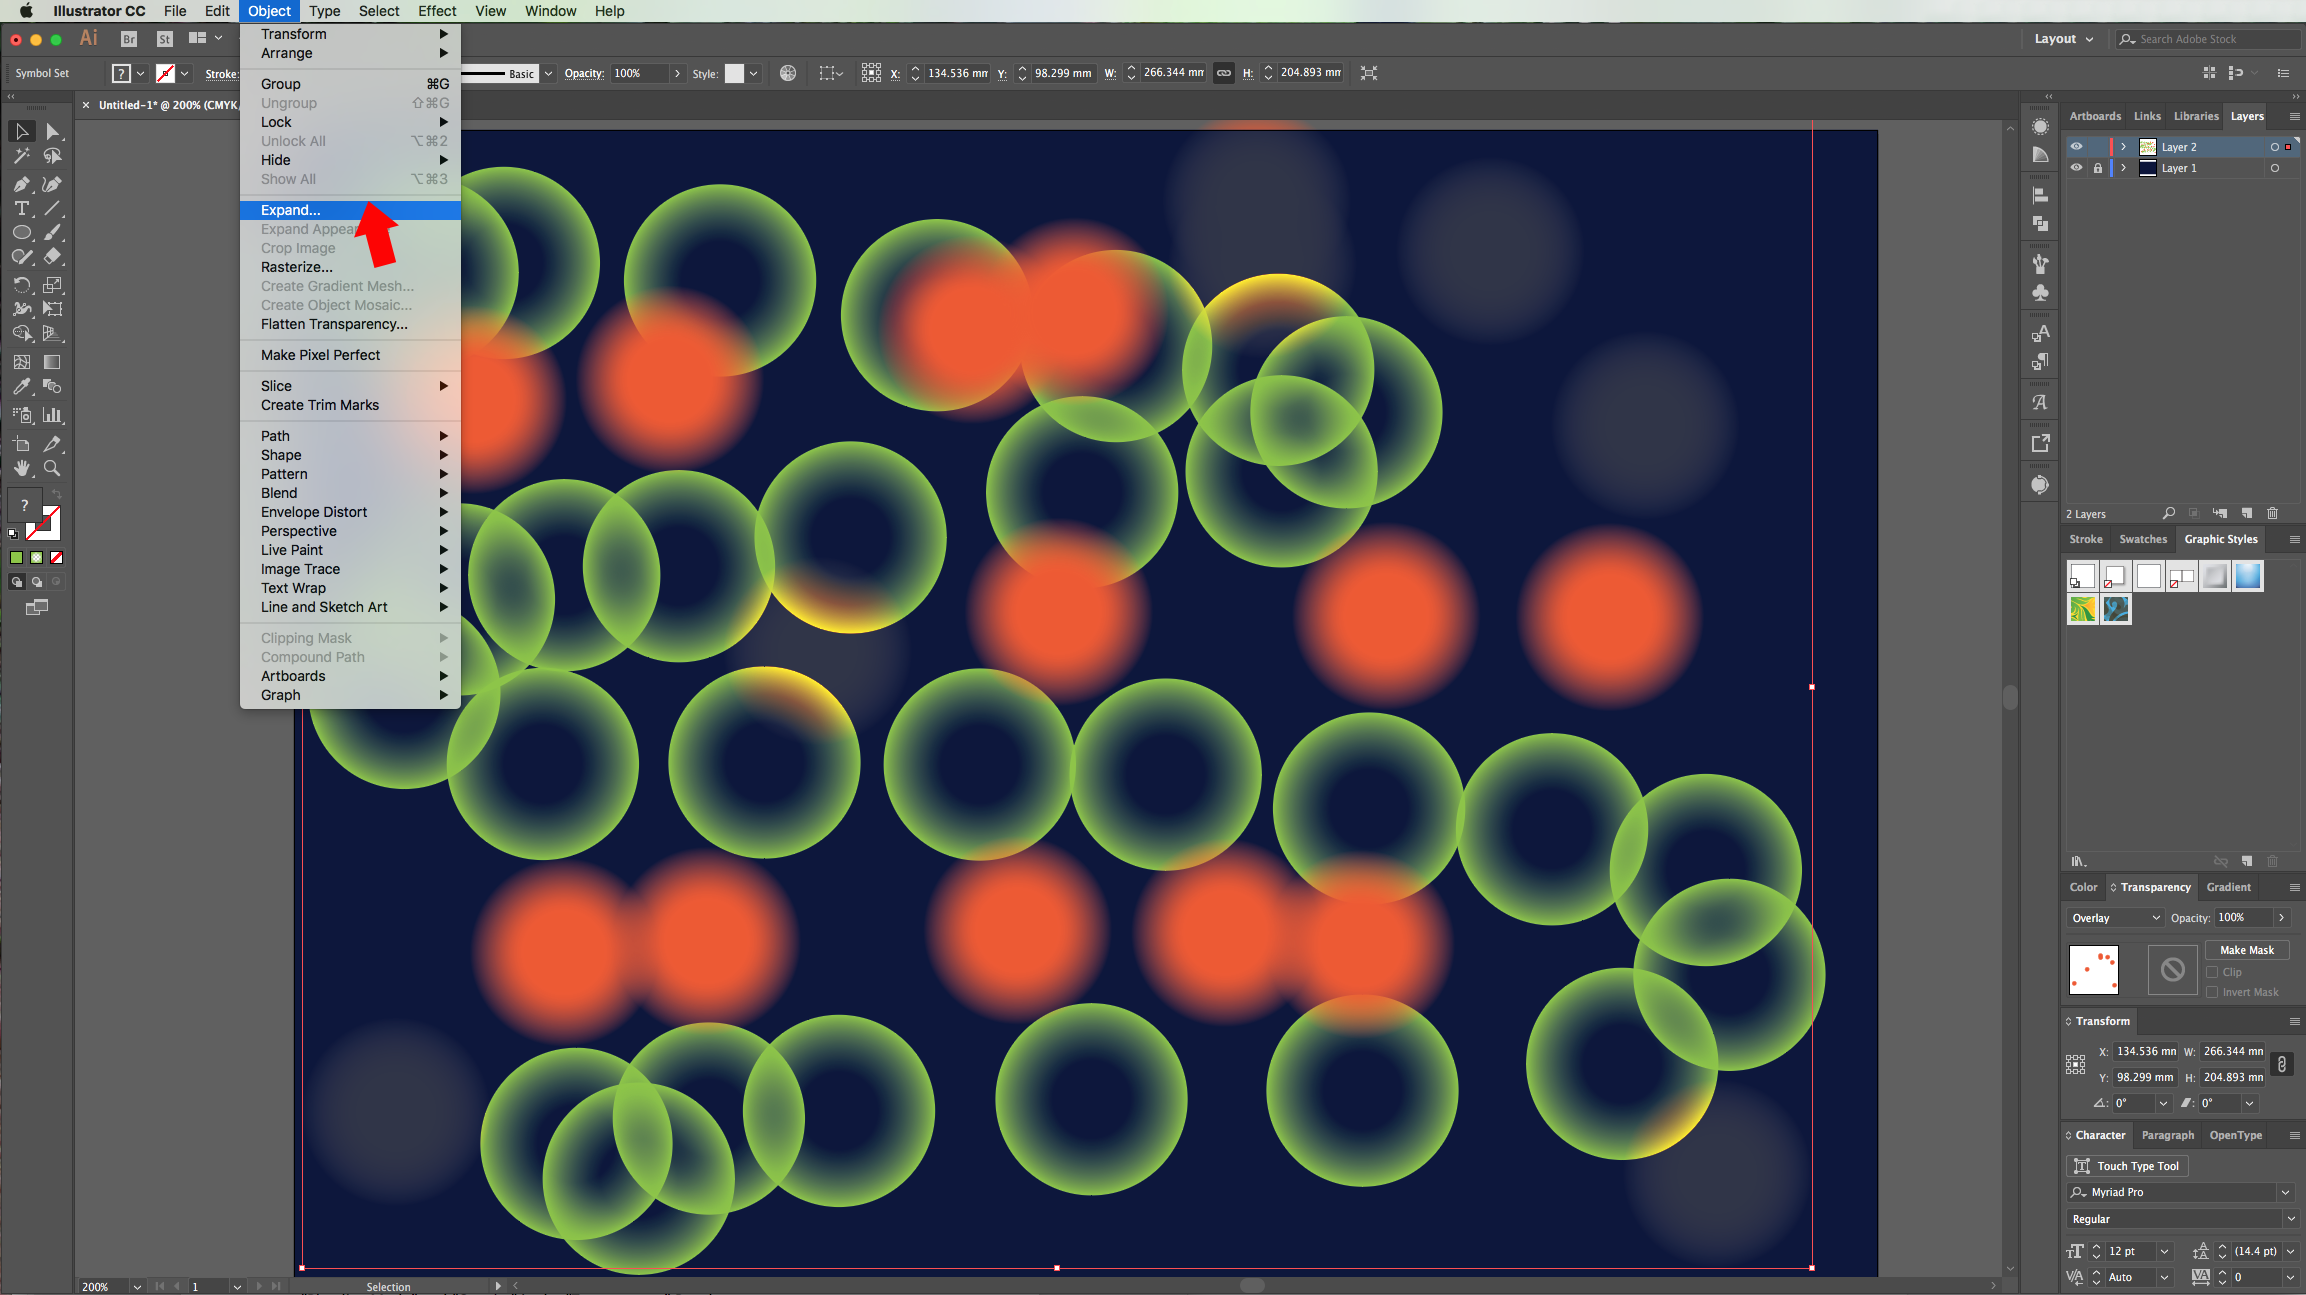
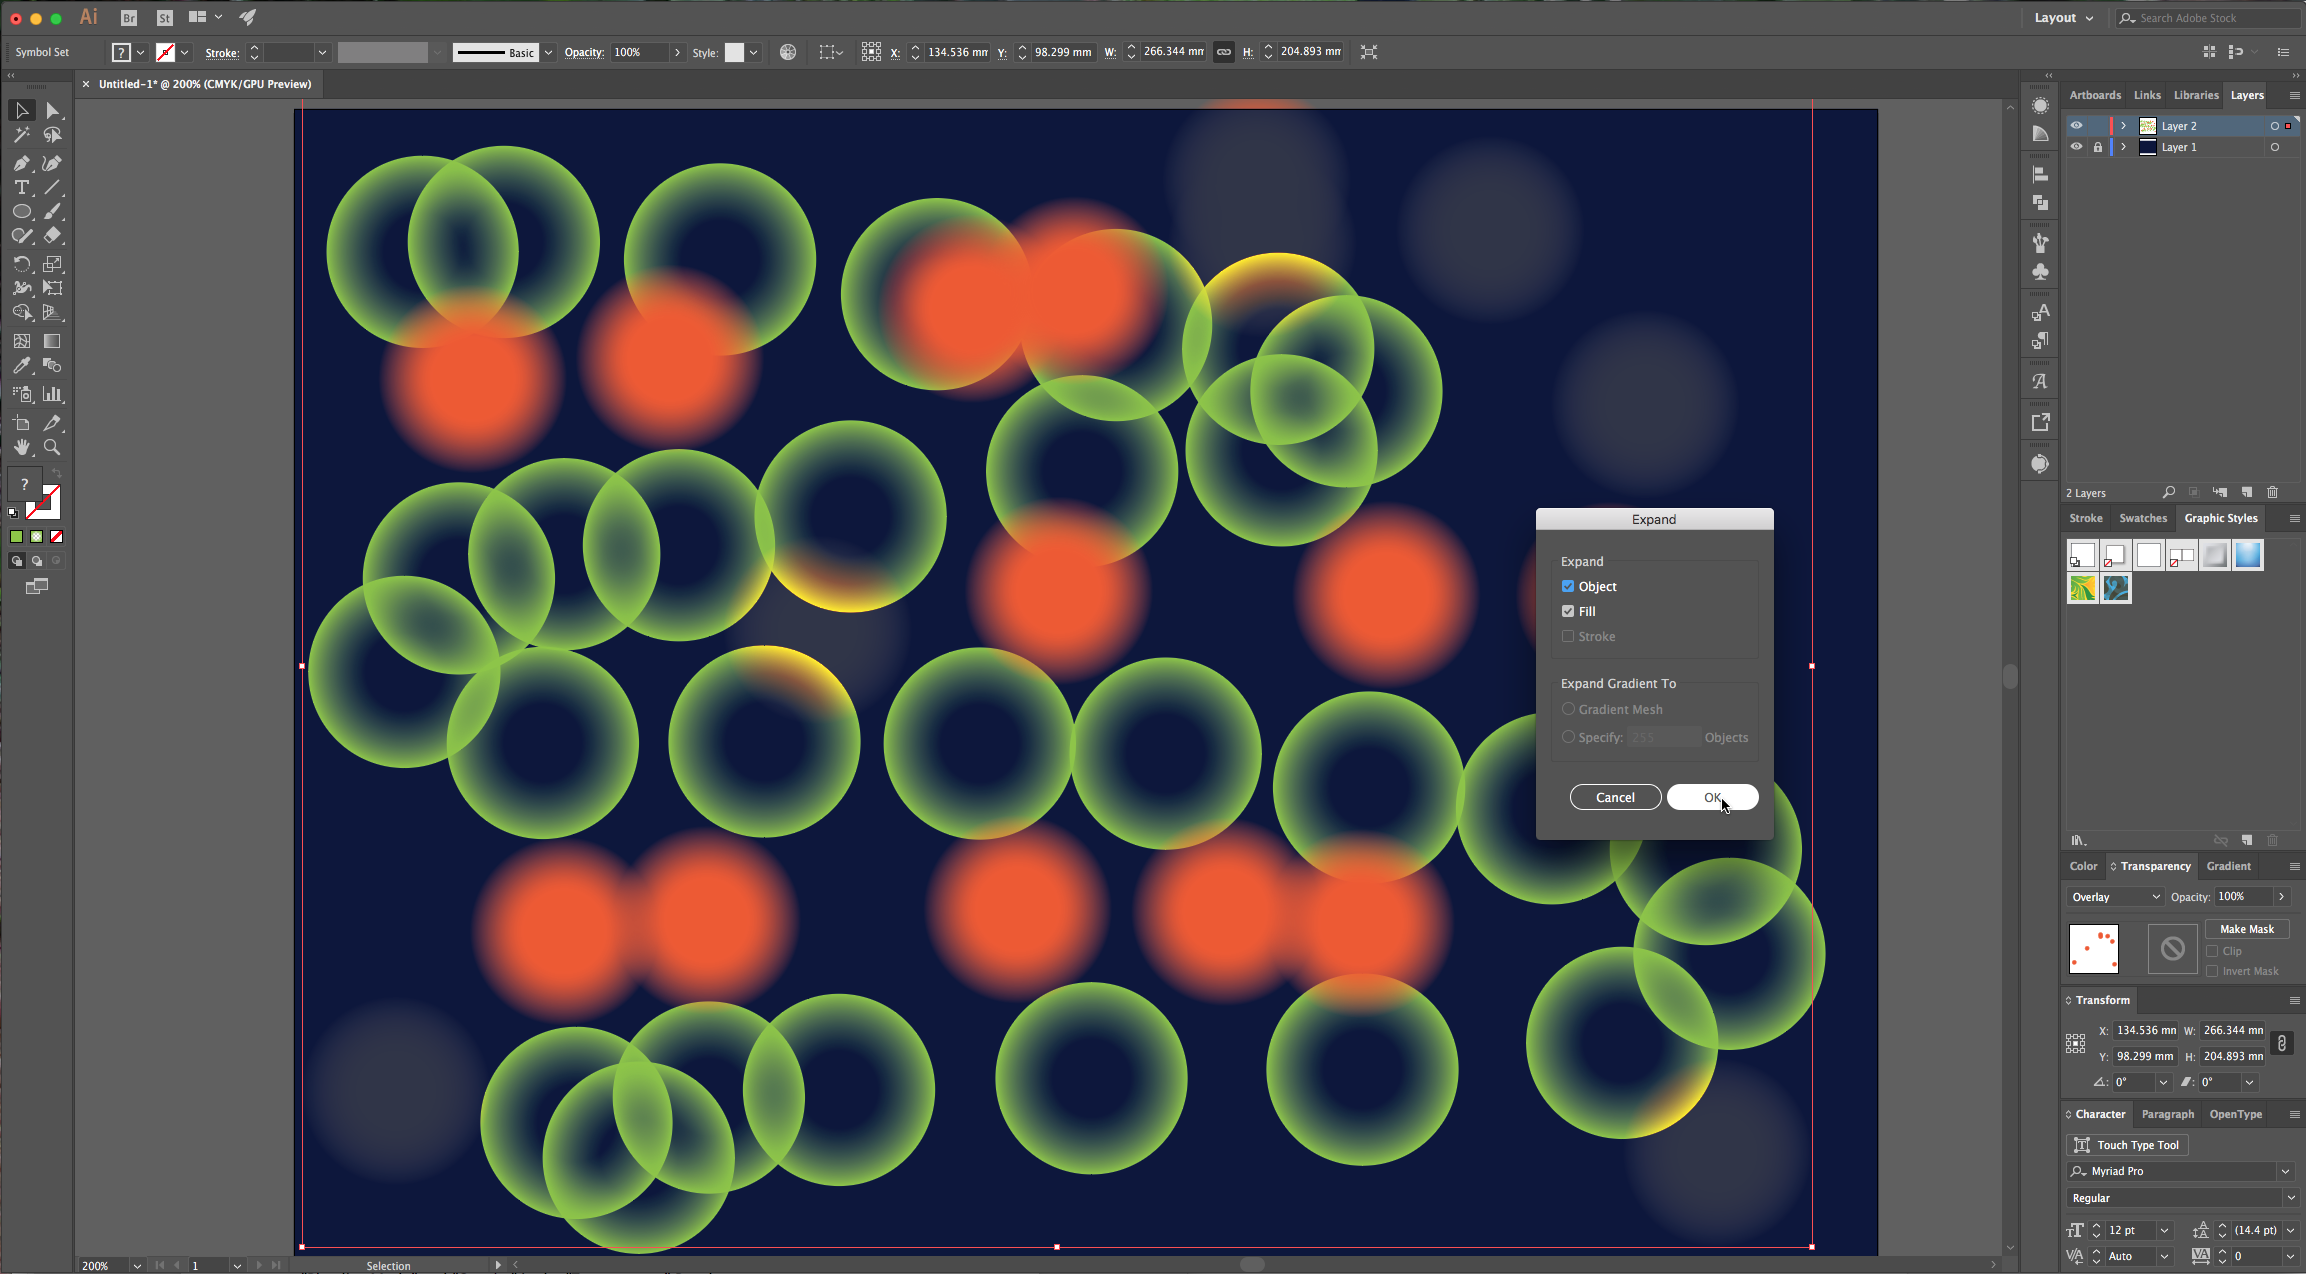
11 - You can also select your sets and go to Object > Expand and the “Ungroup” them (Command/Control + U) to select each shape individually. (You will need to do this before changing the “Blending Options” or you will have to re-apply them).
12 - Check your Artwork:
2 - In your “Layers” Panel lock the background layer bay clicking on the left side of the thumbnail and invoking the little padlock icon, then create a “New Layer” by clicking on the small button at the bottom of the “Layers” Panel.
3 - Select the “Ellipse Tool” (L) and draw a circle. Make it proportional by holding the “Shift” key while dragging your cursor. Fill it with the color of your choice.
4 - Go to the “Gradient” Panel and set the “Gradient Type” to “Radial”. Choose two instances of your color, change the “Opacity” of the first one to 0% and make sure the transparent one is in the center of your circle. Make the “Location” 40% approx. And move the “Gradient Slider” (the little grey diamond shape on top of the gradient bar) to a “Location” of 70%.
5 - Draw a second circle and fill it with the same gradient as before but, this time change the transparent instance to the second one so the center now has color and the sides are transparent.
6 - You can play around with different colors and “Gradient Slider” positions to achieve different effects.
7 - Select your circles one at a time and go to the “Symbols” Panel. Click the “New Symbol” button at the bottom of the Panel, give it a name and choose “Graphic” as “Type” then click “OK”. Repeat this for all the circles you wish to save.
8 - Use the “Symbol Sprayer Tool” (Shift + S) and select one of your new Symbols from the Panels. To change some of the tools options click “Enter” while it is selected and modify them. Remember to deselect the symbol set to start with a new one.
9 - To change the color of your symbols, select the set and go to Edit > Edit Colors > Recolor Artwork and change the “Current Color”. Take into account that this will change the color of your original symbol.
10 - To create a “Bokeh” effect with your symbols just select the one you want to use and spray it around, deselect your set, select the “Symbol Sprayer Tool” again and use another one. Once you are happy with the placement you can select your set and change the “Blending Mode” and “Opacity” in the “Transparency” Panel.
11 - You can also select your sets and go to Object > Expand and the “Ungroup” them (Command/Control + U) to select each shape individually. (You will need to do this before changing the “Blending Options” or you will have to re-apply them).
12 - Check your Artwork:
by @lornacane
Related Tutorials
Illustrator Tutorials
Torn Paper Effect in Illustrator
In this tutorial we show you how to create a torn paper effect in Illustrator.
Illustrator Tutorials
How to Make a Paper Cut Effect in Illustrator
Illustrator Tutorials
Repeating Outline Text Effect in Illustrator
Discover how to make a repeating outline text effect in Illustrator.
Illustrator Tutorials
How to Create a Marquee Sign Text Effect in Illustrator
Illustrator Tutorials
Foil Effect in Illustrator
Create a foil effect in Illustrator and add impact to your projects.
Illustrator Tutorials