By Design Bundles
How to Create SVGs in Adobe Illustrator
An SVG (Scalable Vector Graphic) is a file format that is designed using lines and points which can therefore be scaled larger or smaller without losing any quality. This makes it the perfect file format for most cutting machines on the market to get the most clean and accurate result. Another great thing about using vector files, is that it is always editable, you can reopen vector files back up in Adobe Illustrator and continue to rework the design.
Follow this tutorial to learn how to make an SVG in Illustrator and learn how to check for imperfections in the design that could lead to your cutting machine distorting your design.
See our Illustrator tutorial section for more great tips!
Step 1 - Create your design
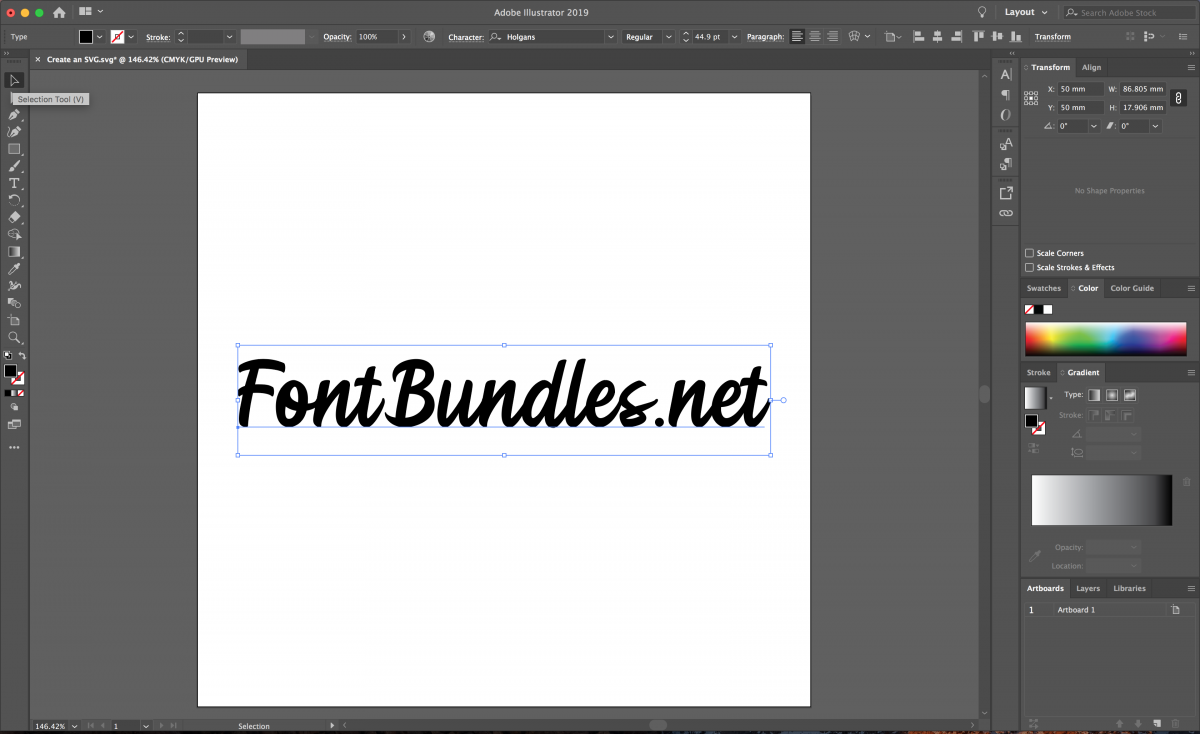
Choose your font and create your design for your SVG, here I am using the font Holgand from Font Bundles. Once you have created your design, you need to select your text with the Selection Tool.
Step 2 - Outline your design
You now need to outline your design/text by selecting Type > Create Outlines. This will convert the editable text to an object/shape with lines and points, which will enable the SVG file details to be recognized by the cutting machine.
Make sure you have checked spellings etc before you convert to outlines, as you will no longer be able to edit the text in the text-box format.

Step 3 - Using Pathfinders
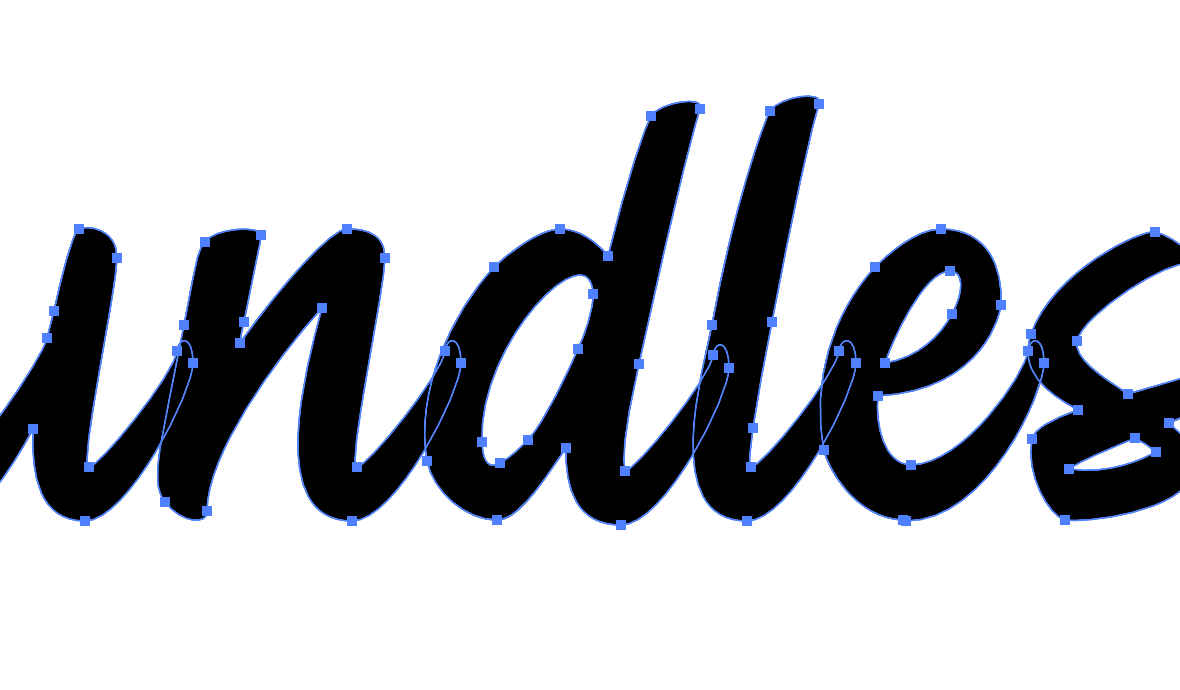
As you can see, each letter has been individually outlined and in cases where the letters overlap, a cutting machine would cut these out as individuals. We, however, need all text to be one solid shape to avoid unnecessary lines between letters.
To fix this, you need to open your Pathfinder Panel by selecting Window > Pathfinder. For more information on Pathfinders, see our tutorial How to use the Pathfinder Panel in Illustrator.

Step 4 - Unite pathfinder tool
Use the Unite tool (as shown in screenshot) to form all letters into one solid shape.

Step 5 - Identify stray nodes and open paths
Once you have created your design, it is important to ensure you do not have any stray nodes or open paths. Your cutting machine will recognize these and will distort your design. Stray nodes and open paths are not always easy to see as they can be hidden under layers within the design or be so small they cannot be seen - there are a number of ways to check these.
I like to use all of the following processes to ensure I don’t miss any. Steps 5-7 will outline how to do these checks, but these steps can be done in any order that you see fit.
Firstly, select Window > Document Info. Then highlight your whole art board, this is important as there could be a stray node in the corner of an art board which will still interfere with the design.

Select the burger menu on the right hand side of the Document Info window and choose Objects. As you can see, within this menu it will inform you of your number of paths, I currently have 1 open path.

Step 6 - Remove stray nodes and open paths
Now that we have identified the number of open paths, we need to find these and close or remove them. We can do this by selecting View > Outline. When in Outline mode, you can identify your stray nodes or open paths by recognizing small crosses within your design or art board. Open paths will appear as breaks within the paths outlining the shapes.
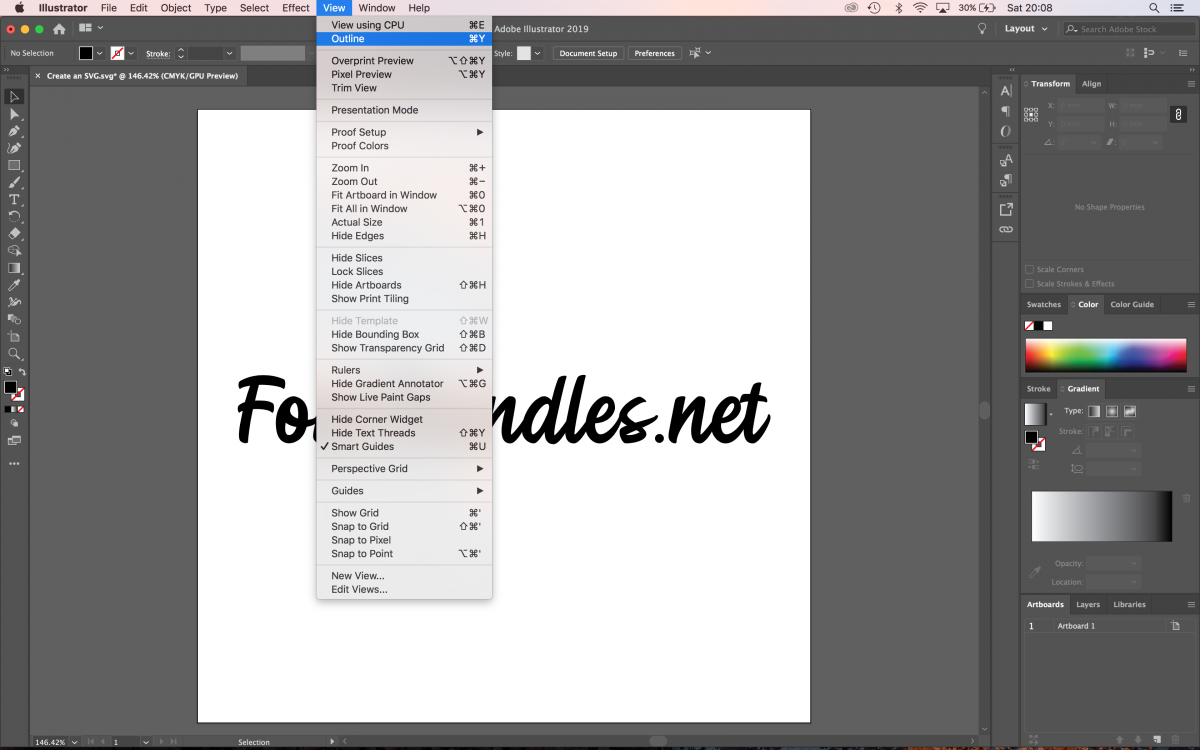
Here we can identify I have one stray node and by using the Selection Tool, it can be deleted from the design. In preview mode, I also like to zoom into the outlines to ensure these are smooth paths without any jagged edges, the cutting machine will pick up on all of these details. Once you have done this, you can select View > Preview to revert back to preview mode.

One final way to ensure you have removed all stray nodes, or any other elements that can distort your SVG, is to select Object > Path > Clean Up. I keep all options ticked and click OK.

Step 7 - Create a Compound Path
Once you have completed your design and removed any imperfections, you need to create a compound path. This will ensure your cutting machine design software will recognize the design as 1 single layer. My design, for example, is currently 4 single shapes (1. ‘Font’, 2. ‘Bundles’, 3. The full stop and 4. ‘net’) as they are not joined within the design. Select Object > Compound Path > Make.

Step 8 - Save your SVG file
Now that you have your design finalized, you are ready to save it as an SVG. Select File > Save As and in the dropdown menu, select SVG.

Your SVG settings are important to get right to ensure your design is communicated to your cutting machine accurately. Follow the settings in the screenshot provided below.
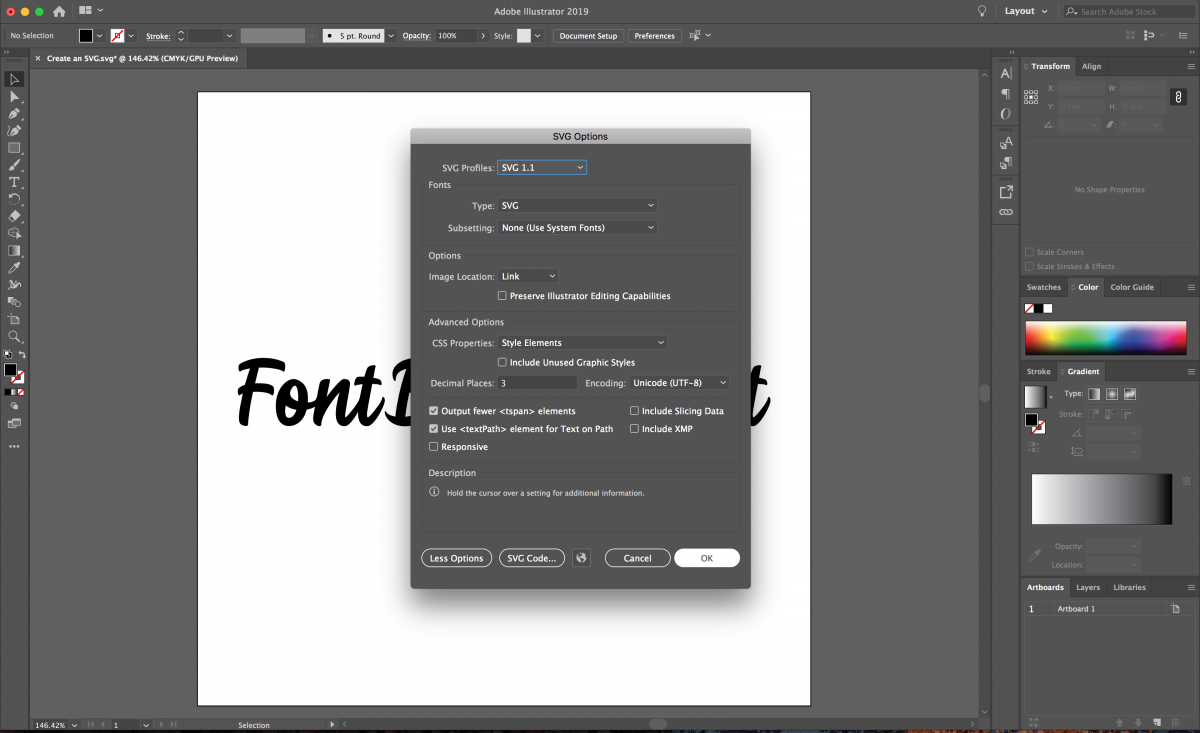
You have now successfully designed and created your SVG in Adobe Illustrator. I personally always check my SVG in Cricut Design Space and do a test run to make sure nothing has been missed and that the machine cuts and understands the file perfectly. Once complete and you are happy with the outcome, you can cut, draw or even sell your designs!
Next up, learn how to make a split monogram, and how to create a pastel gradient background in Adobe Illustrator.