By Design Bundles
How to Make a Pastel Gradient Background in Illustrator
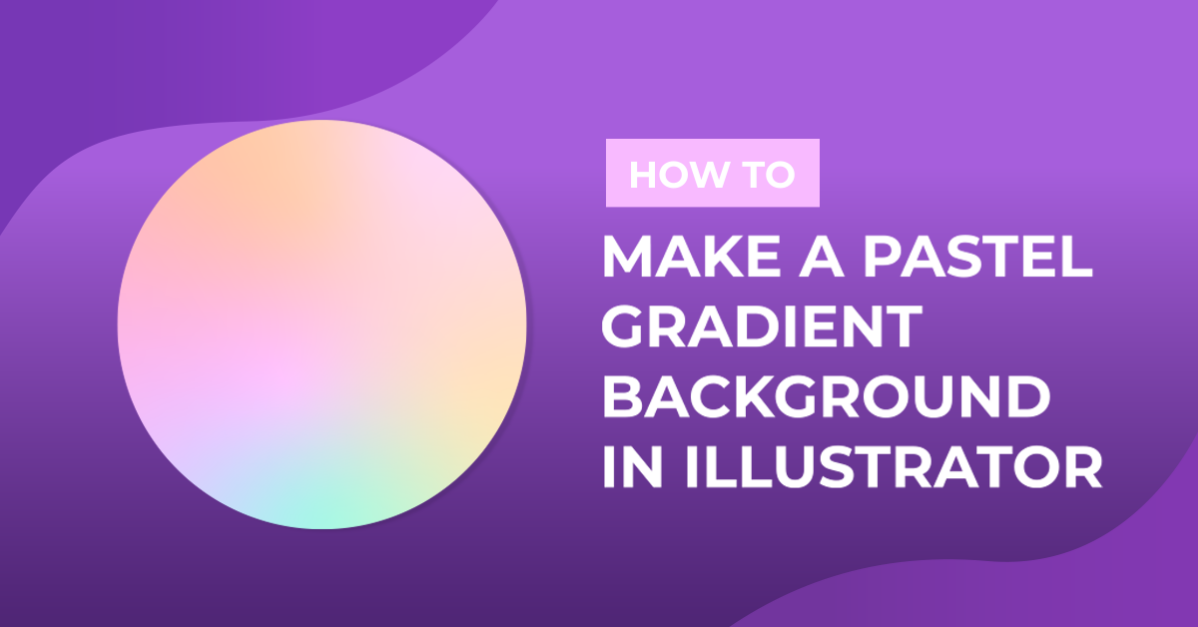
In this tutorial we will be creating a pastel gradient background in Adobe Illustrator. To select our colors we will be using a pastel color palette. Creating gradients in this way gives you full flexibility to create your preferred color blends. It allows you to add and remove colors to create different effects.
Let us begin by opening Illustrator.
Step 1 - Create color swatches
I am using themacaron color paletteby BunnyRichy to select my swatches. If you are using this oneor a similar one, drop the JPG file into illustrator.

Start by creating some shapes and individually select them. Then select the color picker tool and pick the colors you want to use. You can use as little or as many colors you want. For this tutorial I am going to use 4.

Now, open your Swatches panel by selecting Window > Swatches.

Highlight your colored shapes and select the New Color Group button. This will create a new color group, you can rename the group then select OK.

Your chosen colors will now be added to your swatches panel.

Step 2 - Create your gradient
Create the shape you want to fill with your gradient. I am going to fill my entire artboard using a rectangle.

Now, open your gradient panel by selecting Window > Gradient.

With your new shape selected, click your new swatch folder icon and then the Freeform Gradient button within the Gradient panel. This will instantly create a lovely gradient with your color swatches.

Step 3 - Edit your gradient
Next, you will be editing the gradient. Select the Edit Gradient button in the gradient panel.

You will notice small circles appearing which allow you to move the colors around.

You can also add more points by clicking anywhere within your gradient shape. Change the colors of these points by selecting them and selecting your desired color from the swatches panel.

Well done on creating a pastel gradient background!These designs are perfect for digital papers, backgrounds of designs or printing for sublimation.
If you liked this tutorial make sure you don't miss our other tutorials like how to use the width tool and how to use image trace in Adobe Illustrator.