By Design Bundles
How to Make a Ribbon Banner in Illustrator
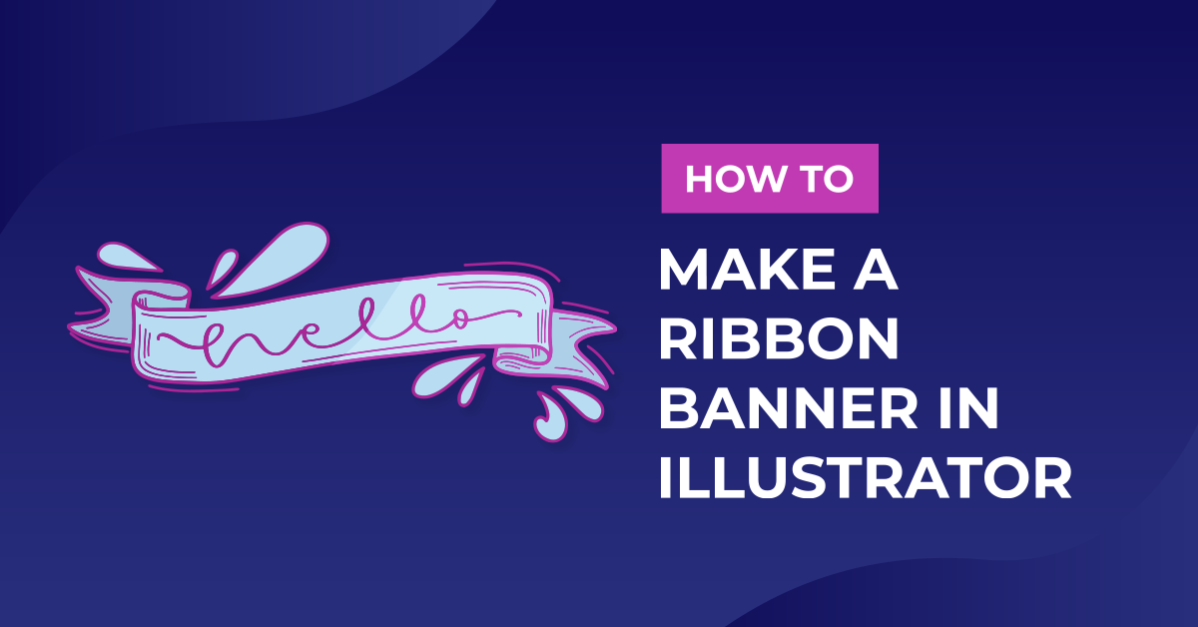
In this tutorial you are going to learn the quick and easy way to make a ribbon banner in Illustrator, I am then going to show you the settings you can change to create an arched and a wavy flag banner too.
Step 1 - Draw a rectangle
Firstly, you need to draw a rectangle. Select the rectangle tool from the shapes menu and draw a rectangle within your artboard.

This rectangle needs to be fairly wide as it will be the center of the banner.

Step 2 - Draw the side of the banner
Now you have the main body of the ribbon, you need to create the folded edge of the banner. Copy and paste your rectangle onto your artboard and then using the Selection Tool (black arrow), shorten the rectangle so it is almost square.

Step 3 - Create the triangle edge
Position your rectangle so that it overlaps the bottom left corner of your original rectangle.

To create the triangle edge of the banner, select your Add Anchor Point Tool which can be found when holding down on the Pen Tool. Click on the left center path of the rectangle, then using the Direct Selection Tool (white arrow) hold shift and pull your new node to the right.

Step 4 - Complete the fold of the banner
Now that you have drawn the edge of the banner, select your new shape and right click to reveal your menu, then select Arrange > Send to Back.

You can now see the main shape of your banner, you can tweak the length and positions of your shapes to achieve your desired finish.

When you are happy with the positioning and banner shapes, select the Pen Tool and draw a line from the bottom left point of shape 1 to the bottom right of shape 2. The press Esc to finish using the Pen Tool.

Step 5 - Complete the banner
Now that you have drawn the left side of your banner, select all of Shape 2 and hold Alt + Shift + drag the shape to the right (or copy and paste).

Select Shape 3 and select Option > Transform > Reflect.

Within the Reflect settings, choose your Axis to be Vertical and select OK.

You can now reposition your Shape 3, ensuring it lines up with shape 2 and if needs be, right click and select Arrange > Send to Back.
Now that you have completed your banner, select all of your shapes and select Object > Group.
Step 6 - Banner effects
Arc
Copy and paste your banner then with your new banner selected, select Effect > Warp > Arc.

Within your Warp settings, select Preview to see how your settings change the format of your banner so that you can choose the best settings for your desired finish. Your Blend setting will determine the height of the arc in the banner. See my settings in the screenshot.
Flag
Copy and paste your banner then with your new banner selected, select Effect > Warp > Flag.

Within your Warp options ensure Preview is still selected to view your new settings. Again, your Blend setting will determine the strength of the wave in the banner flag. See my settings in the screenshot.

You have now created 3 different style banners! This is a really easy and effective way of amending any designs, you can also add text to these banners (I have used the font Cottage Sketch from Font Bundles), or even use these settings without the banner to create different typographic designs.

If you liked this tutorial, make sure to check out our other Illustrator tutorials such as creating ribbon text and using the pathfinder tool.