By Design Bundles
Type Art in Illustrator
For this tutorial, we will use an image or path to trace the Type Art.
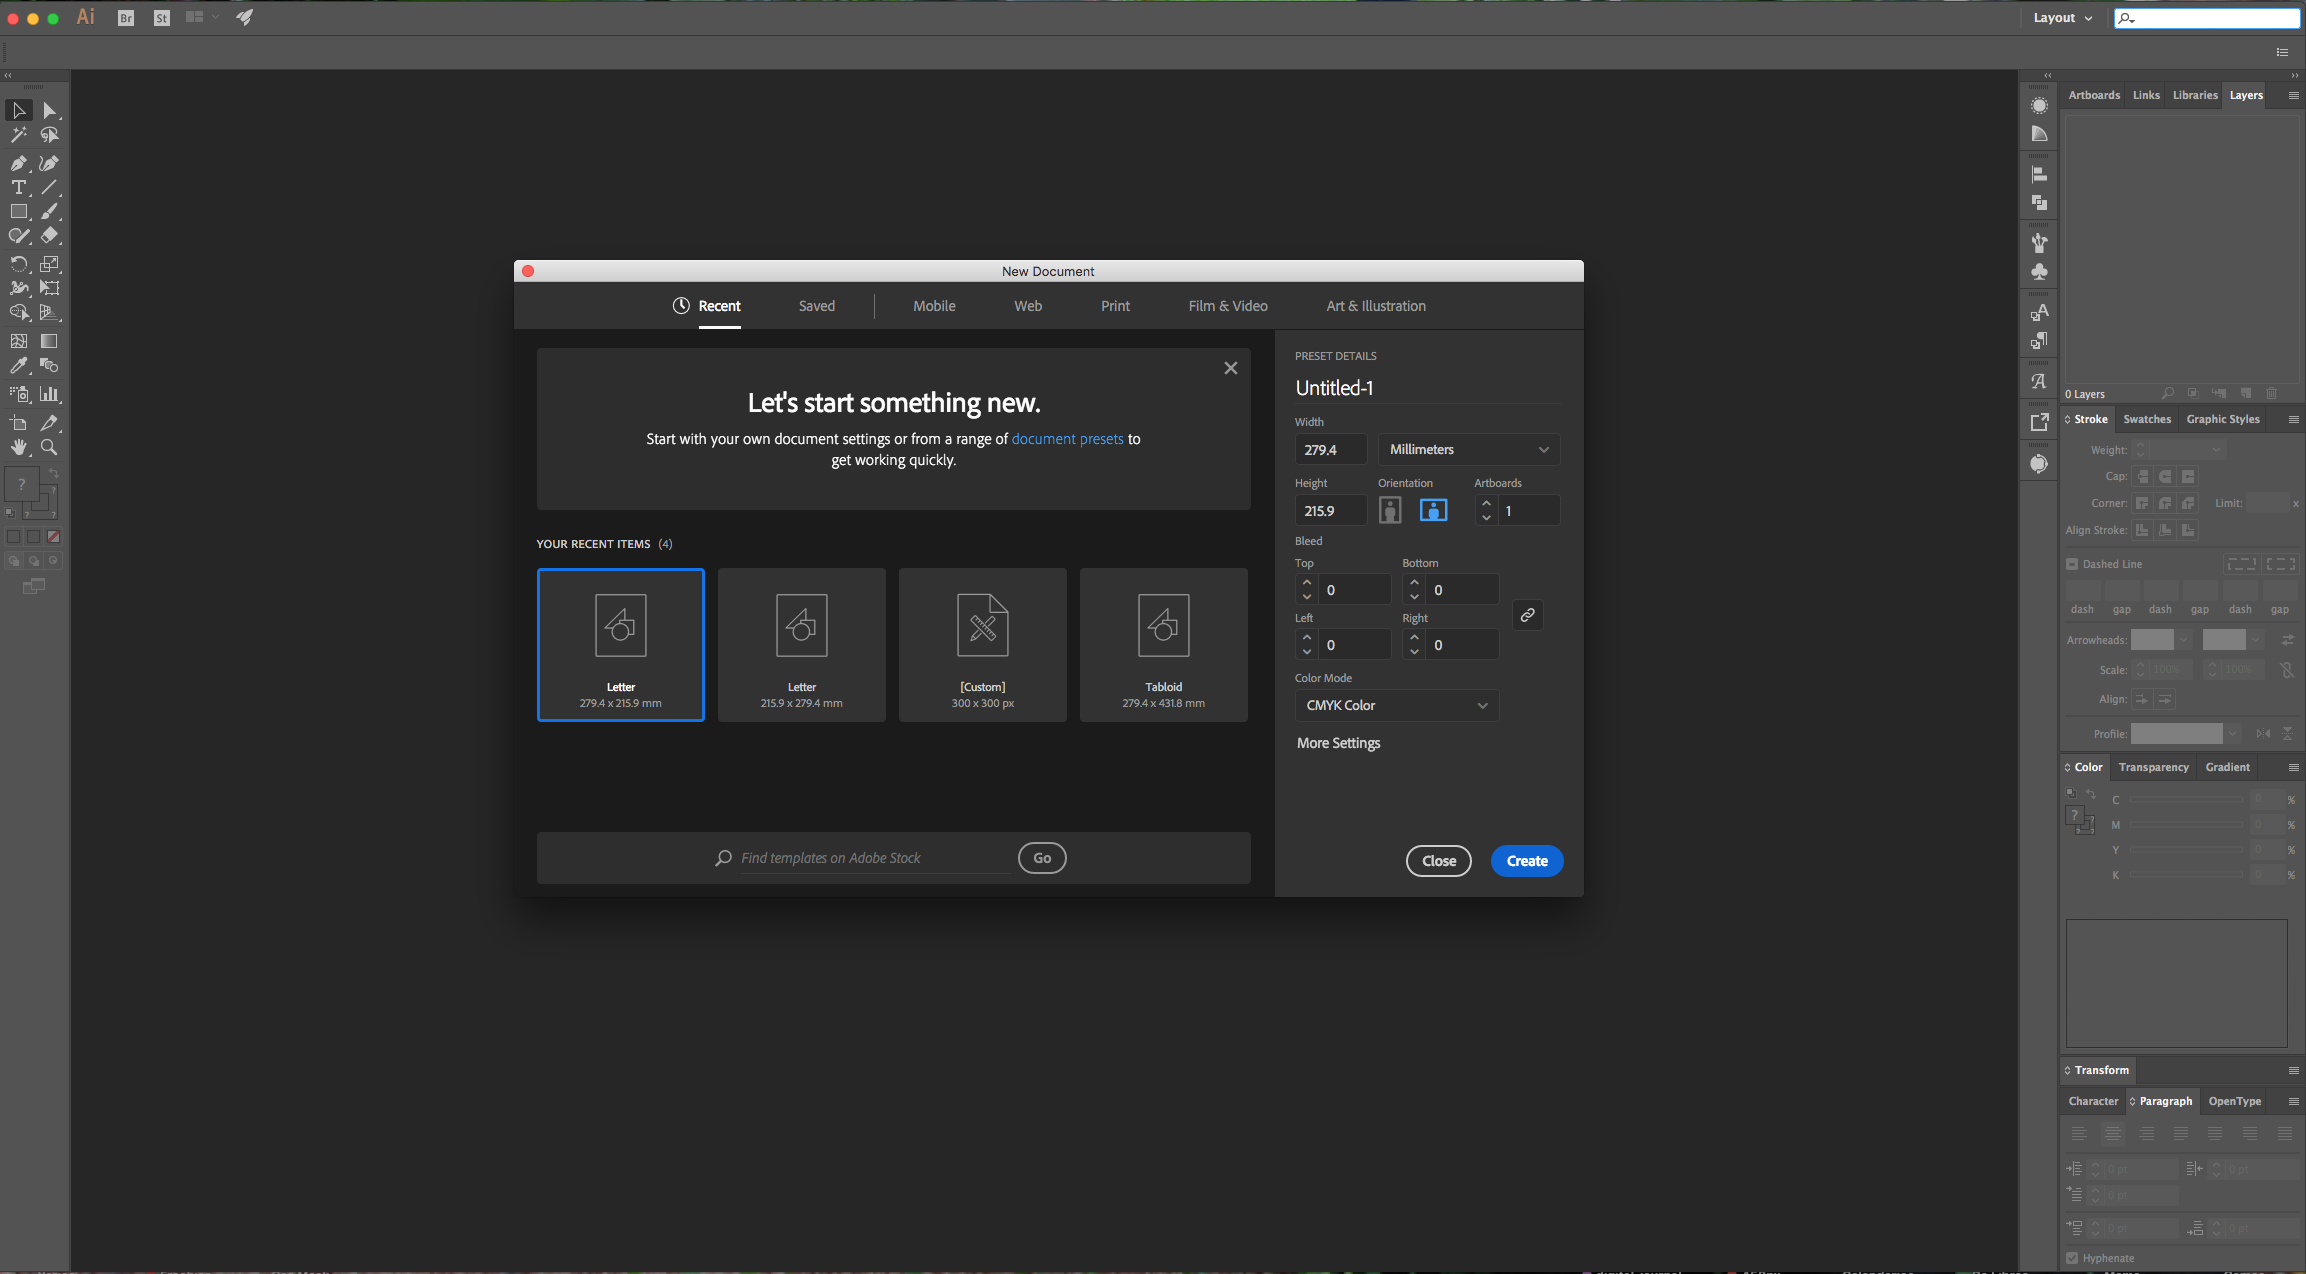
1 - In Illustrator, create a “New Document”.
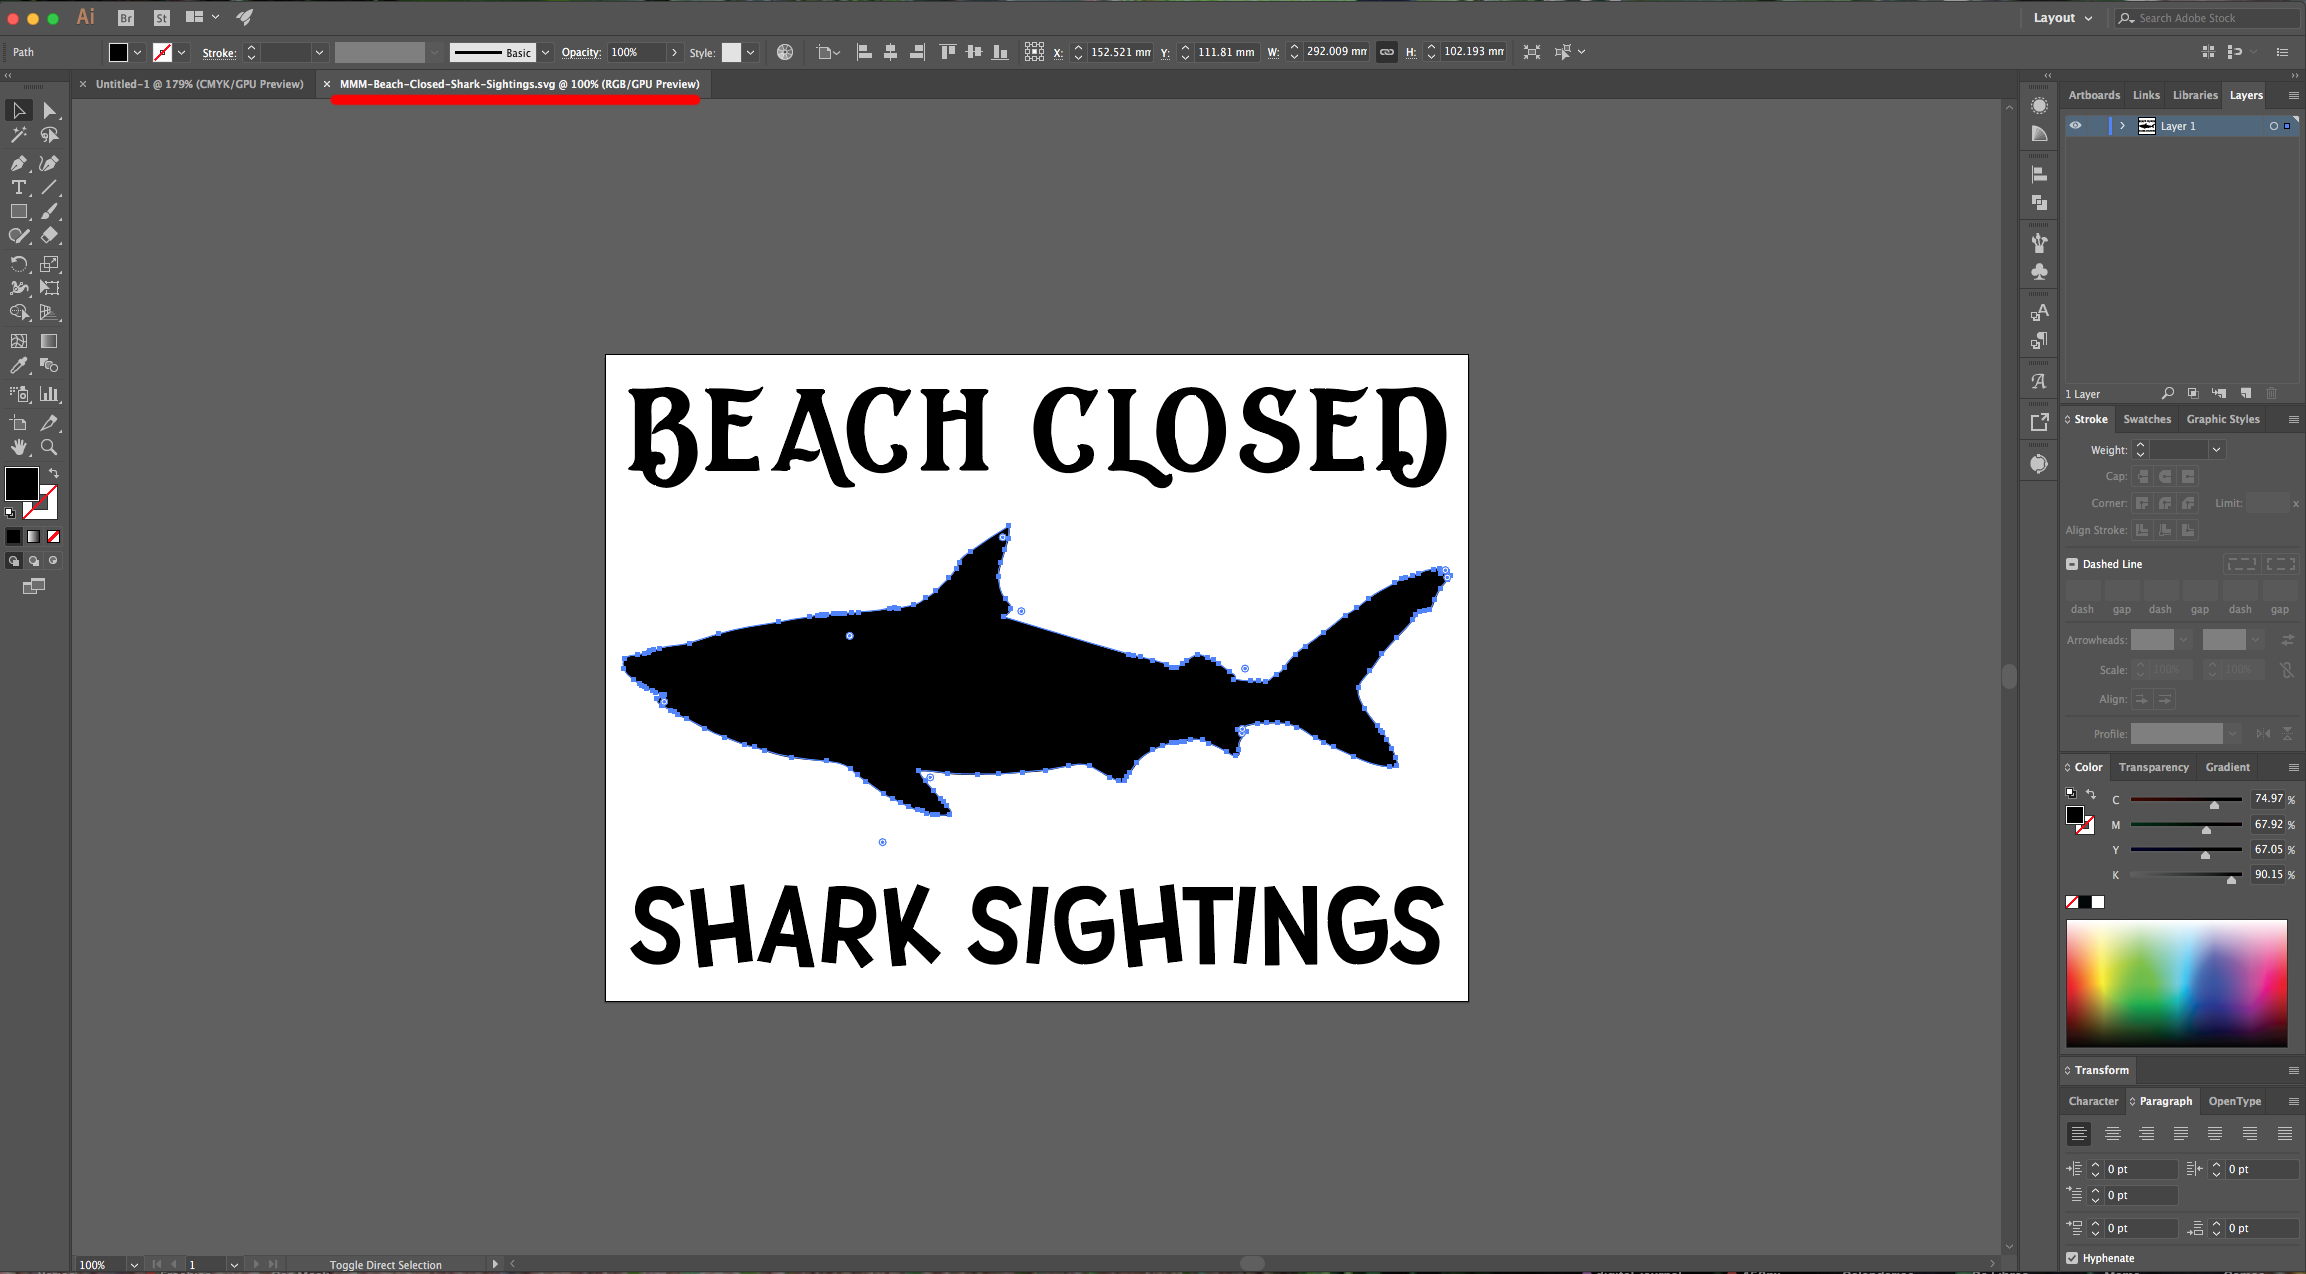
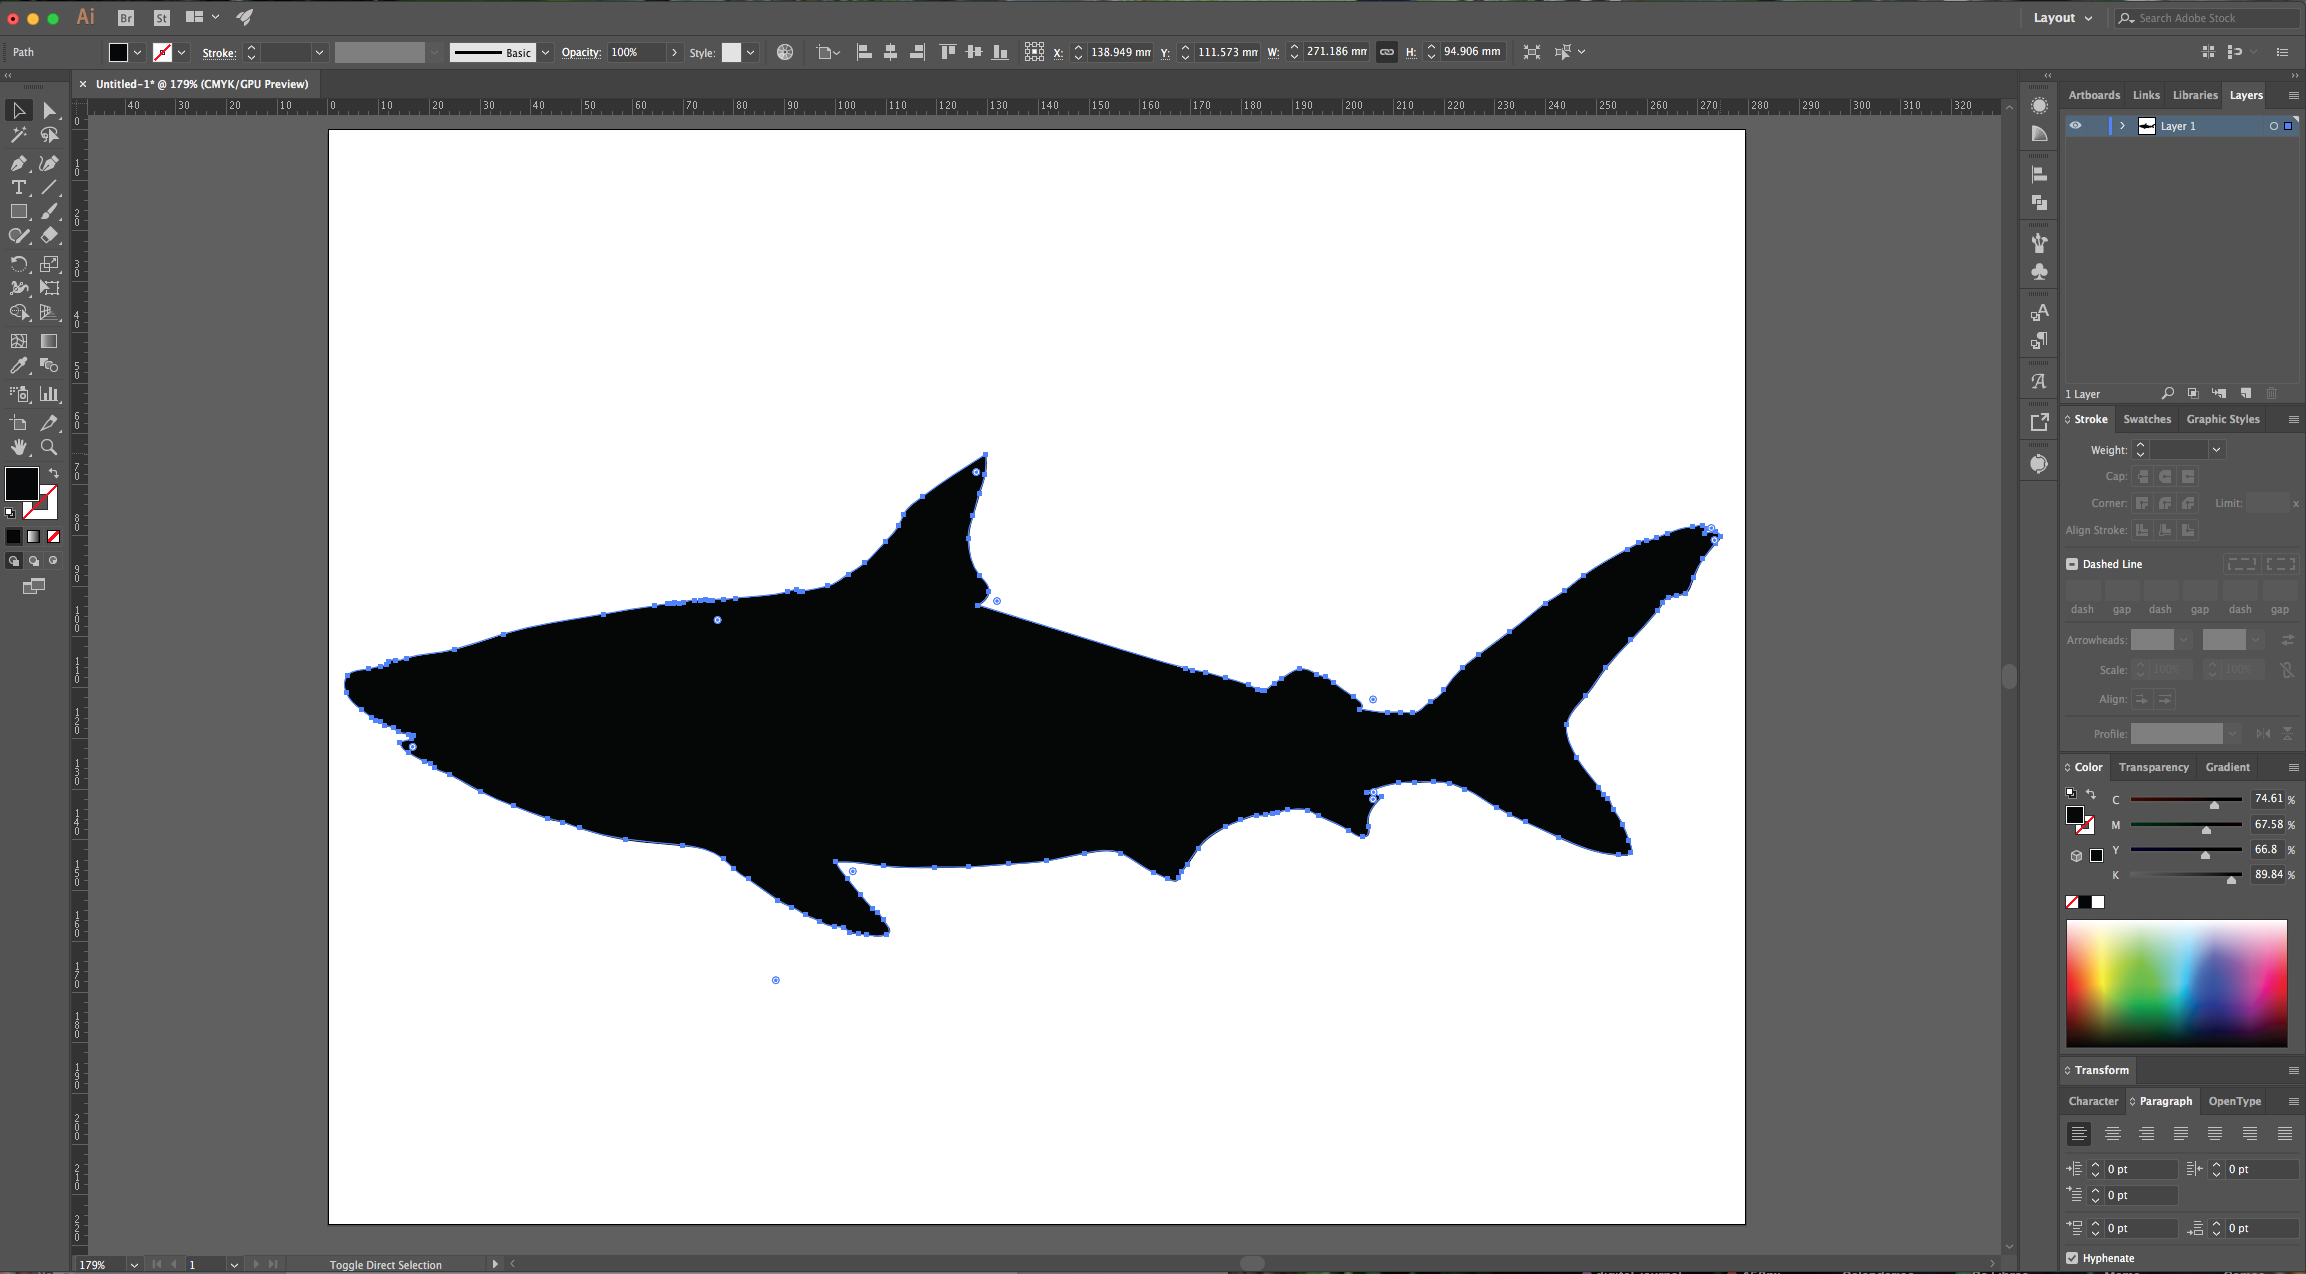
2 - Open the file you wish to use as reference for the shape then “Copy” (Command/Control + C) the portion you wish to use, “Paste” it (Command/Control + V) on your document and Re-size your path if needed.
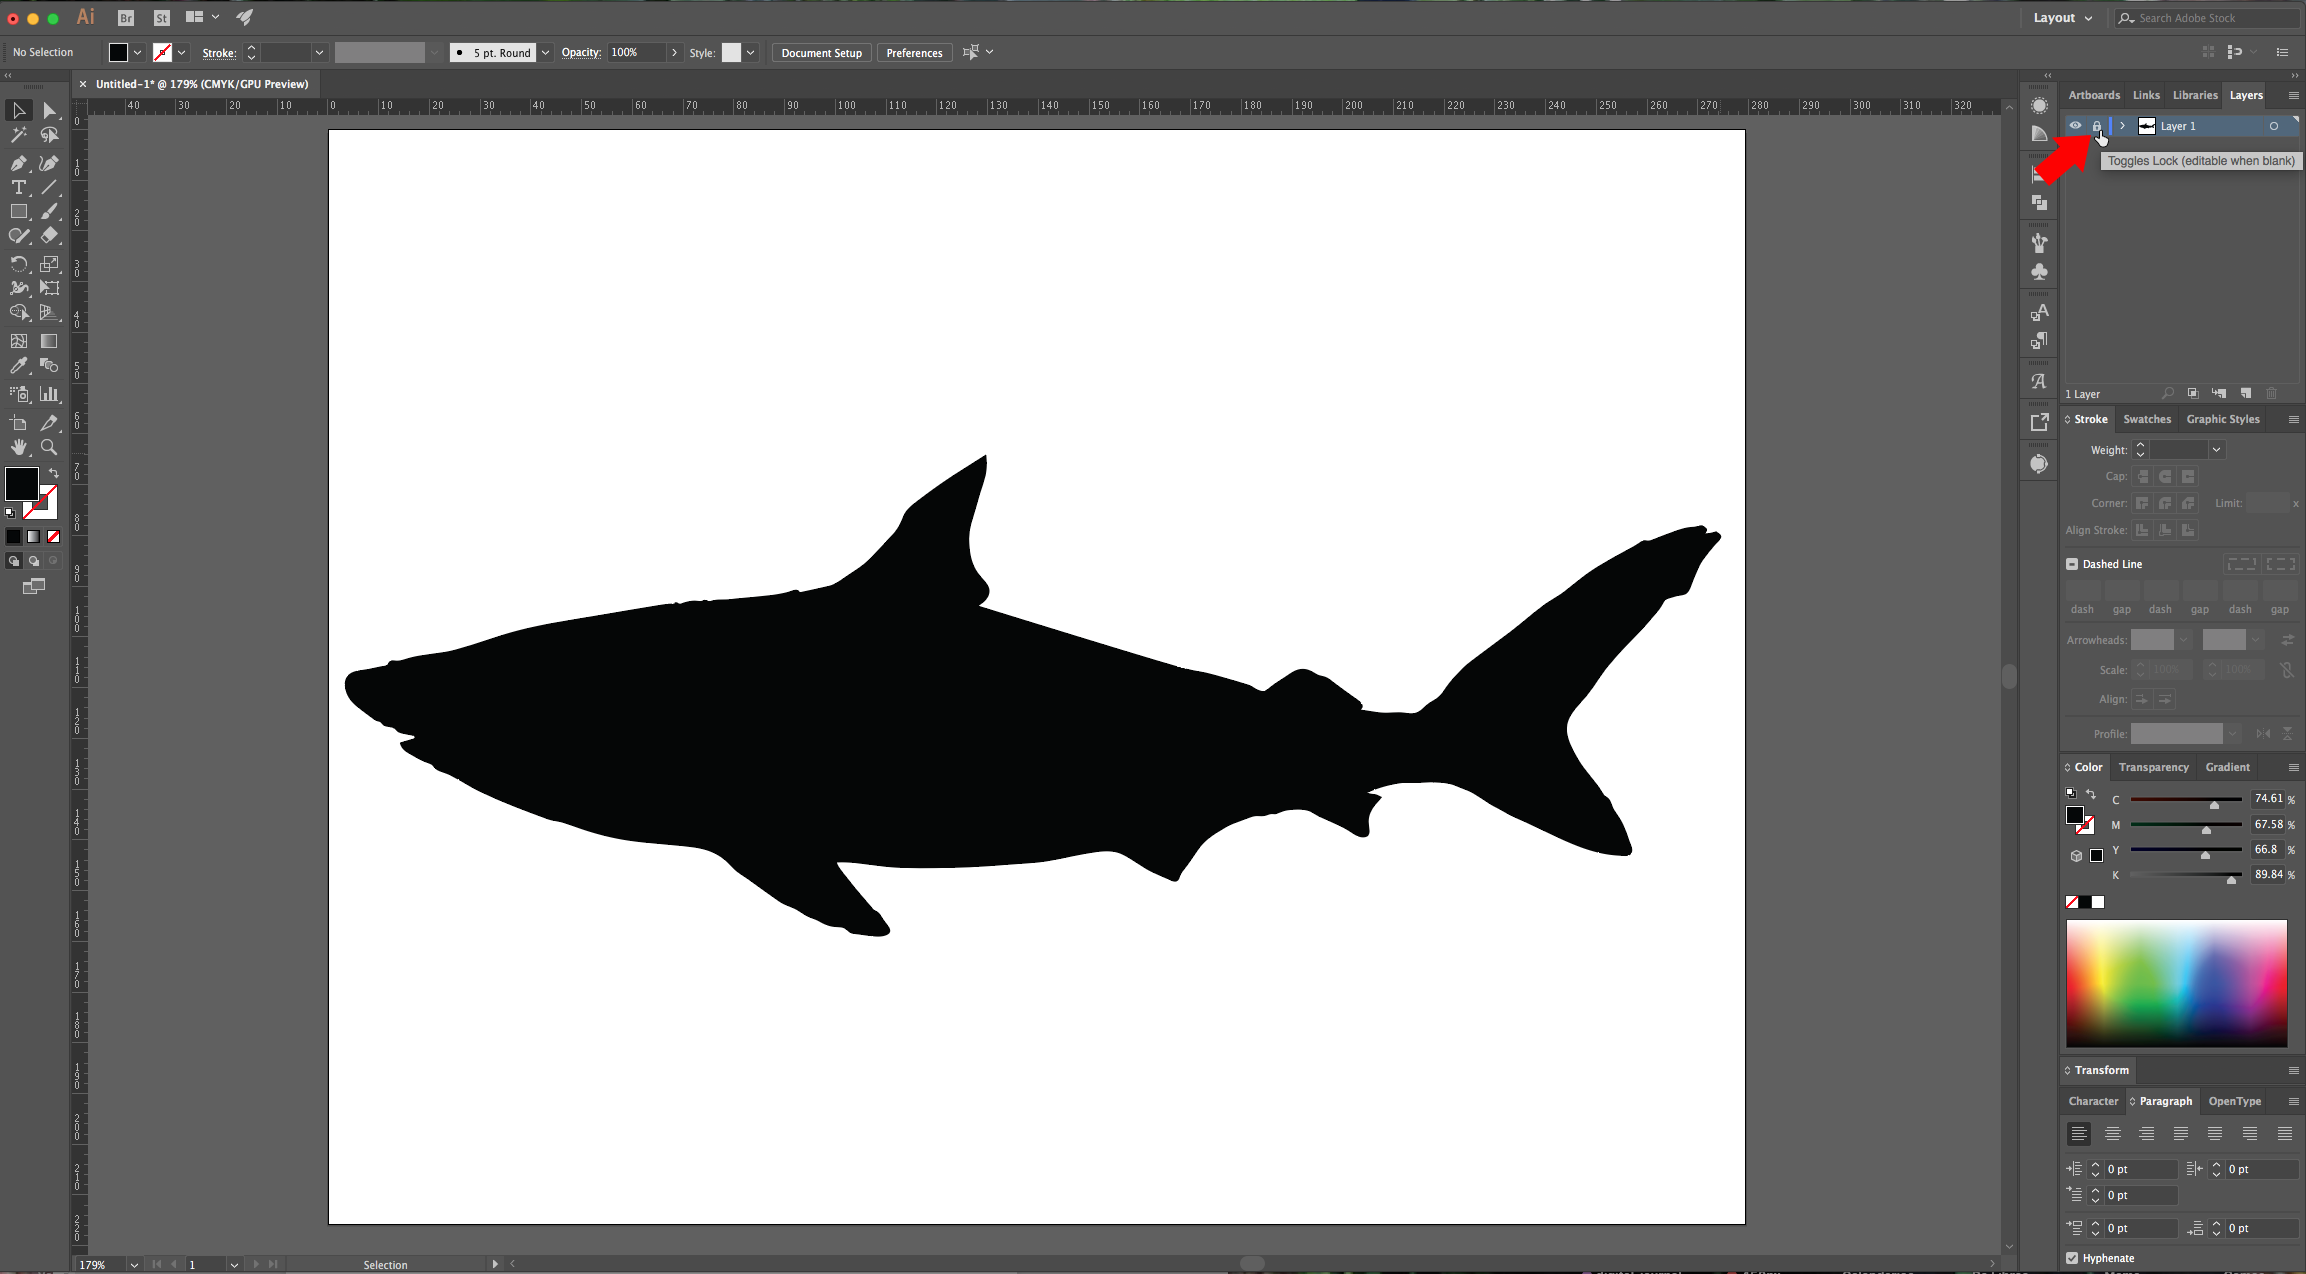
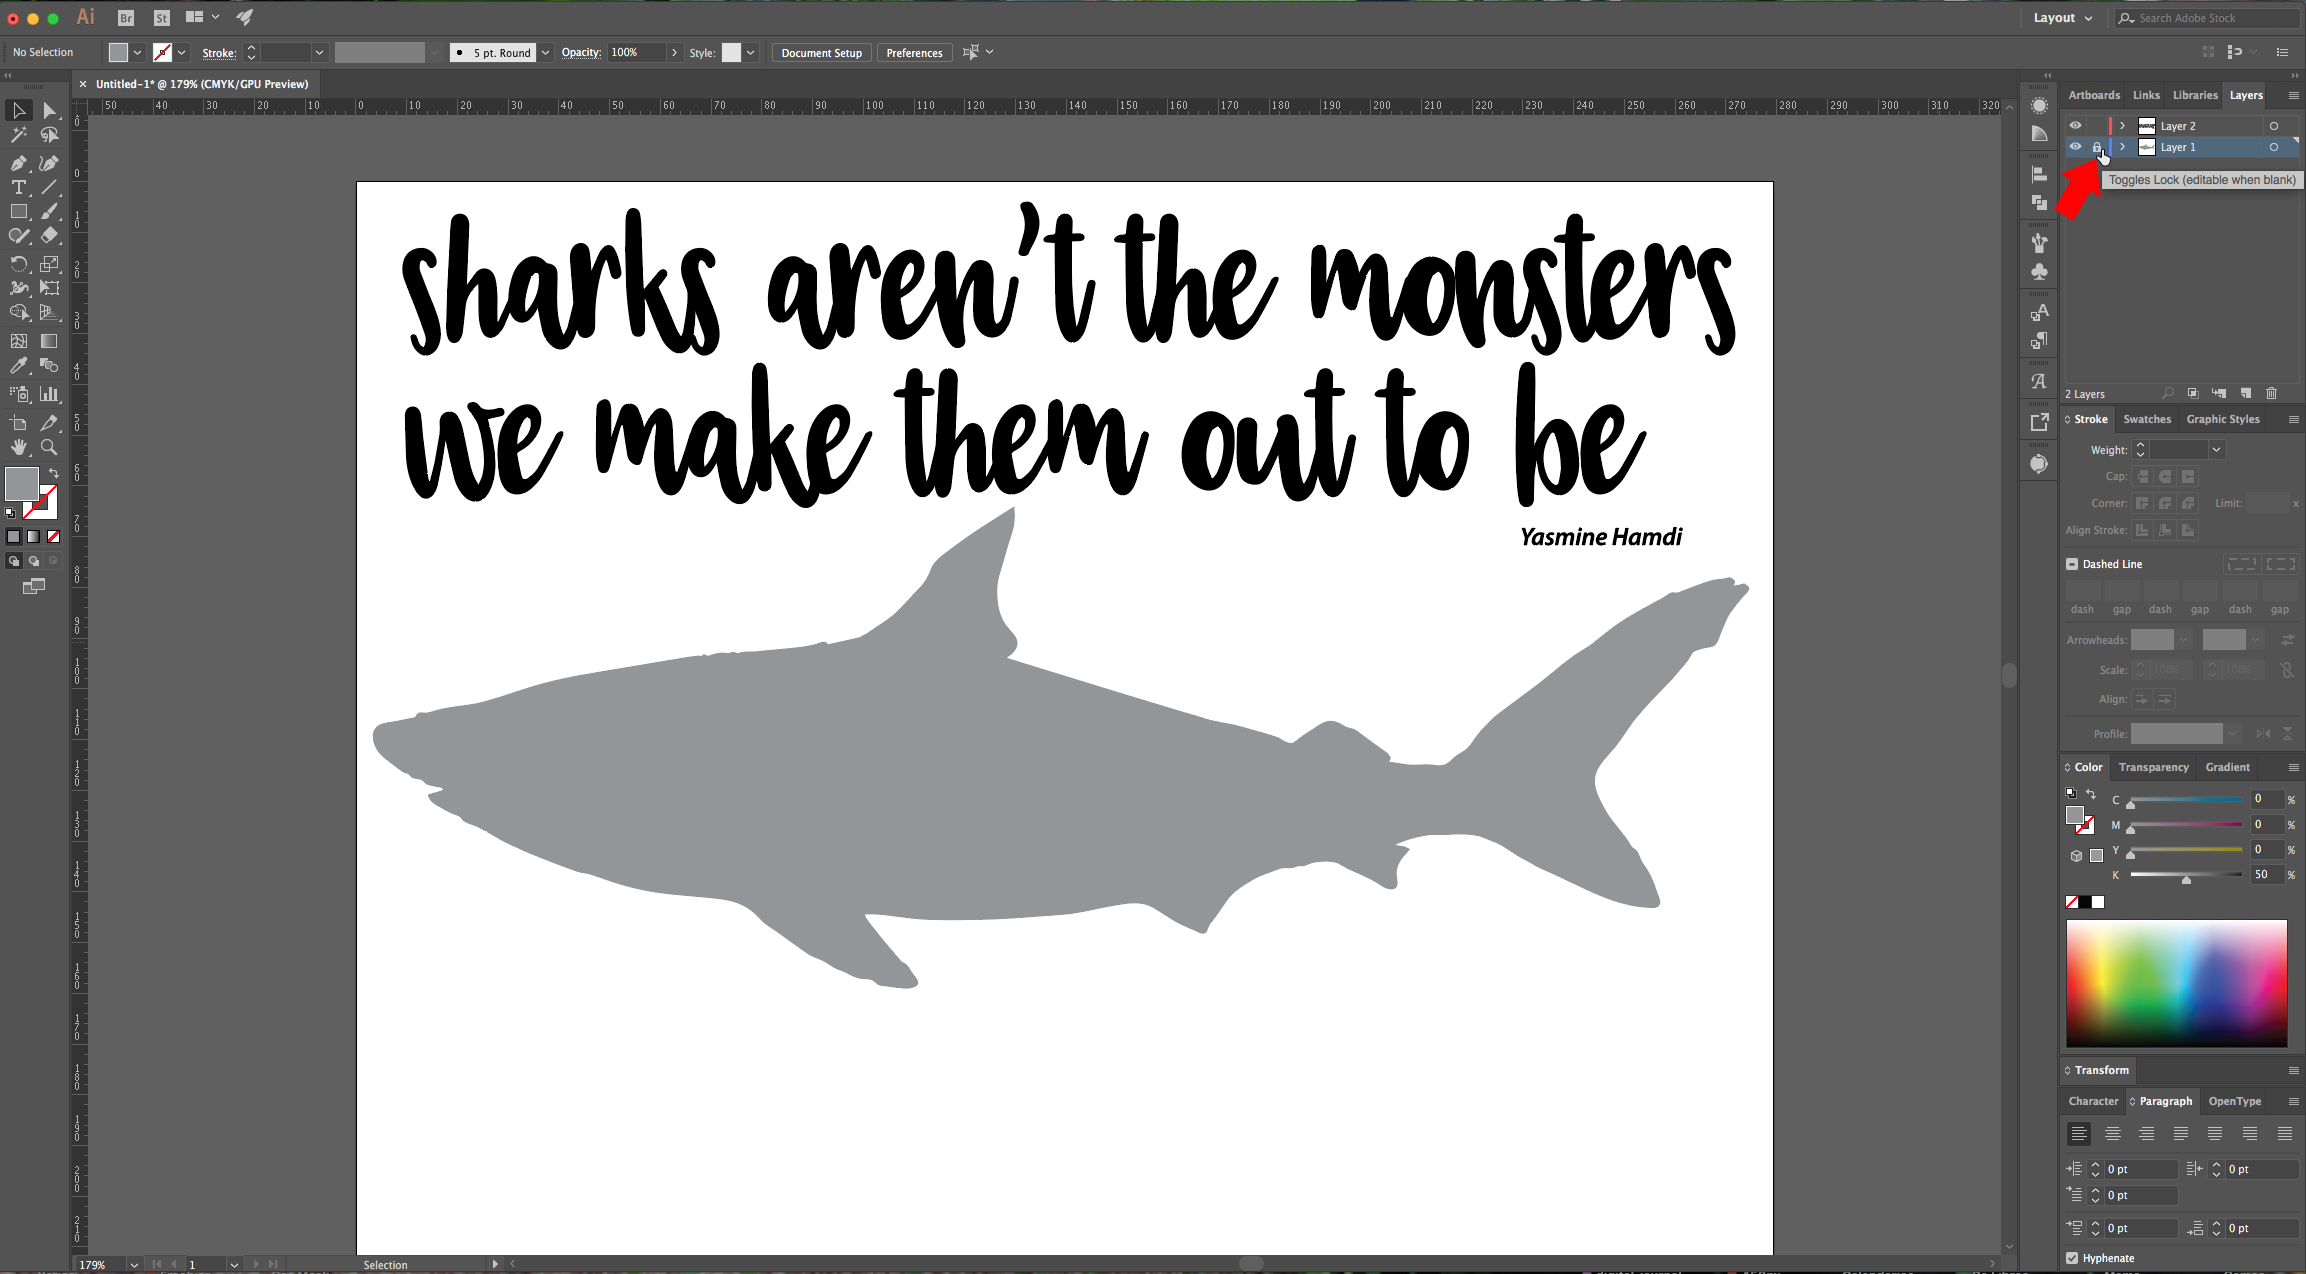
3 - Lock the Layer by clicking on the left side of its thumbnail to invoke the small padlock, then, create a “New Layer” by clicking on the small button at the bottom of the “Layers Panel”.
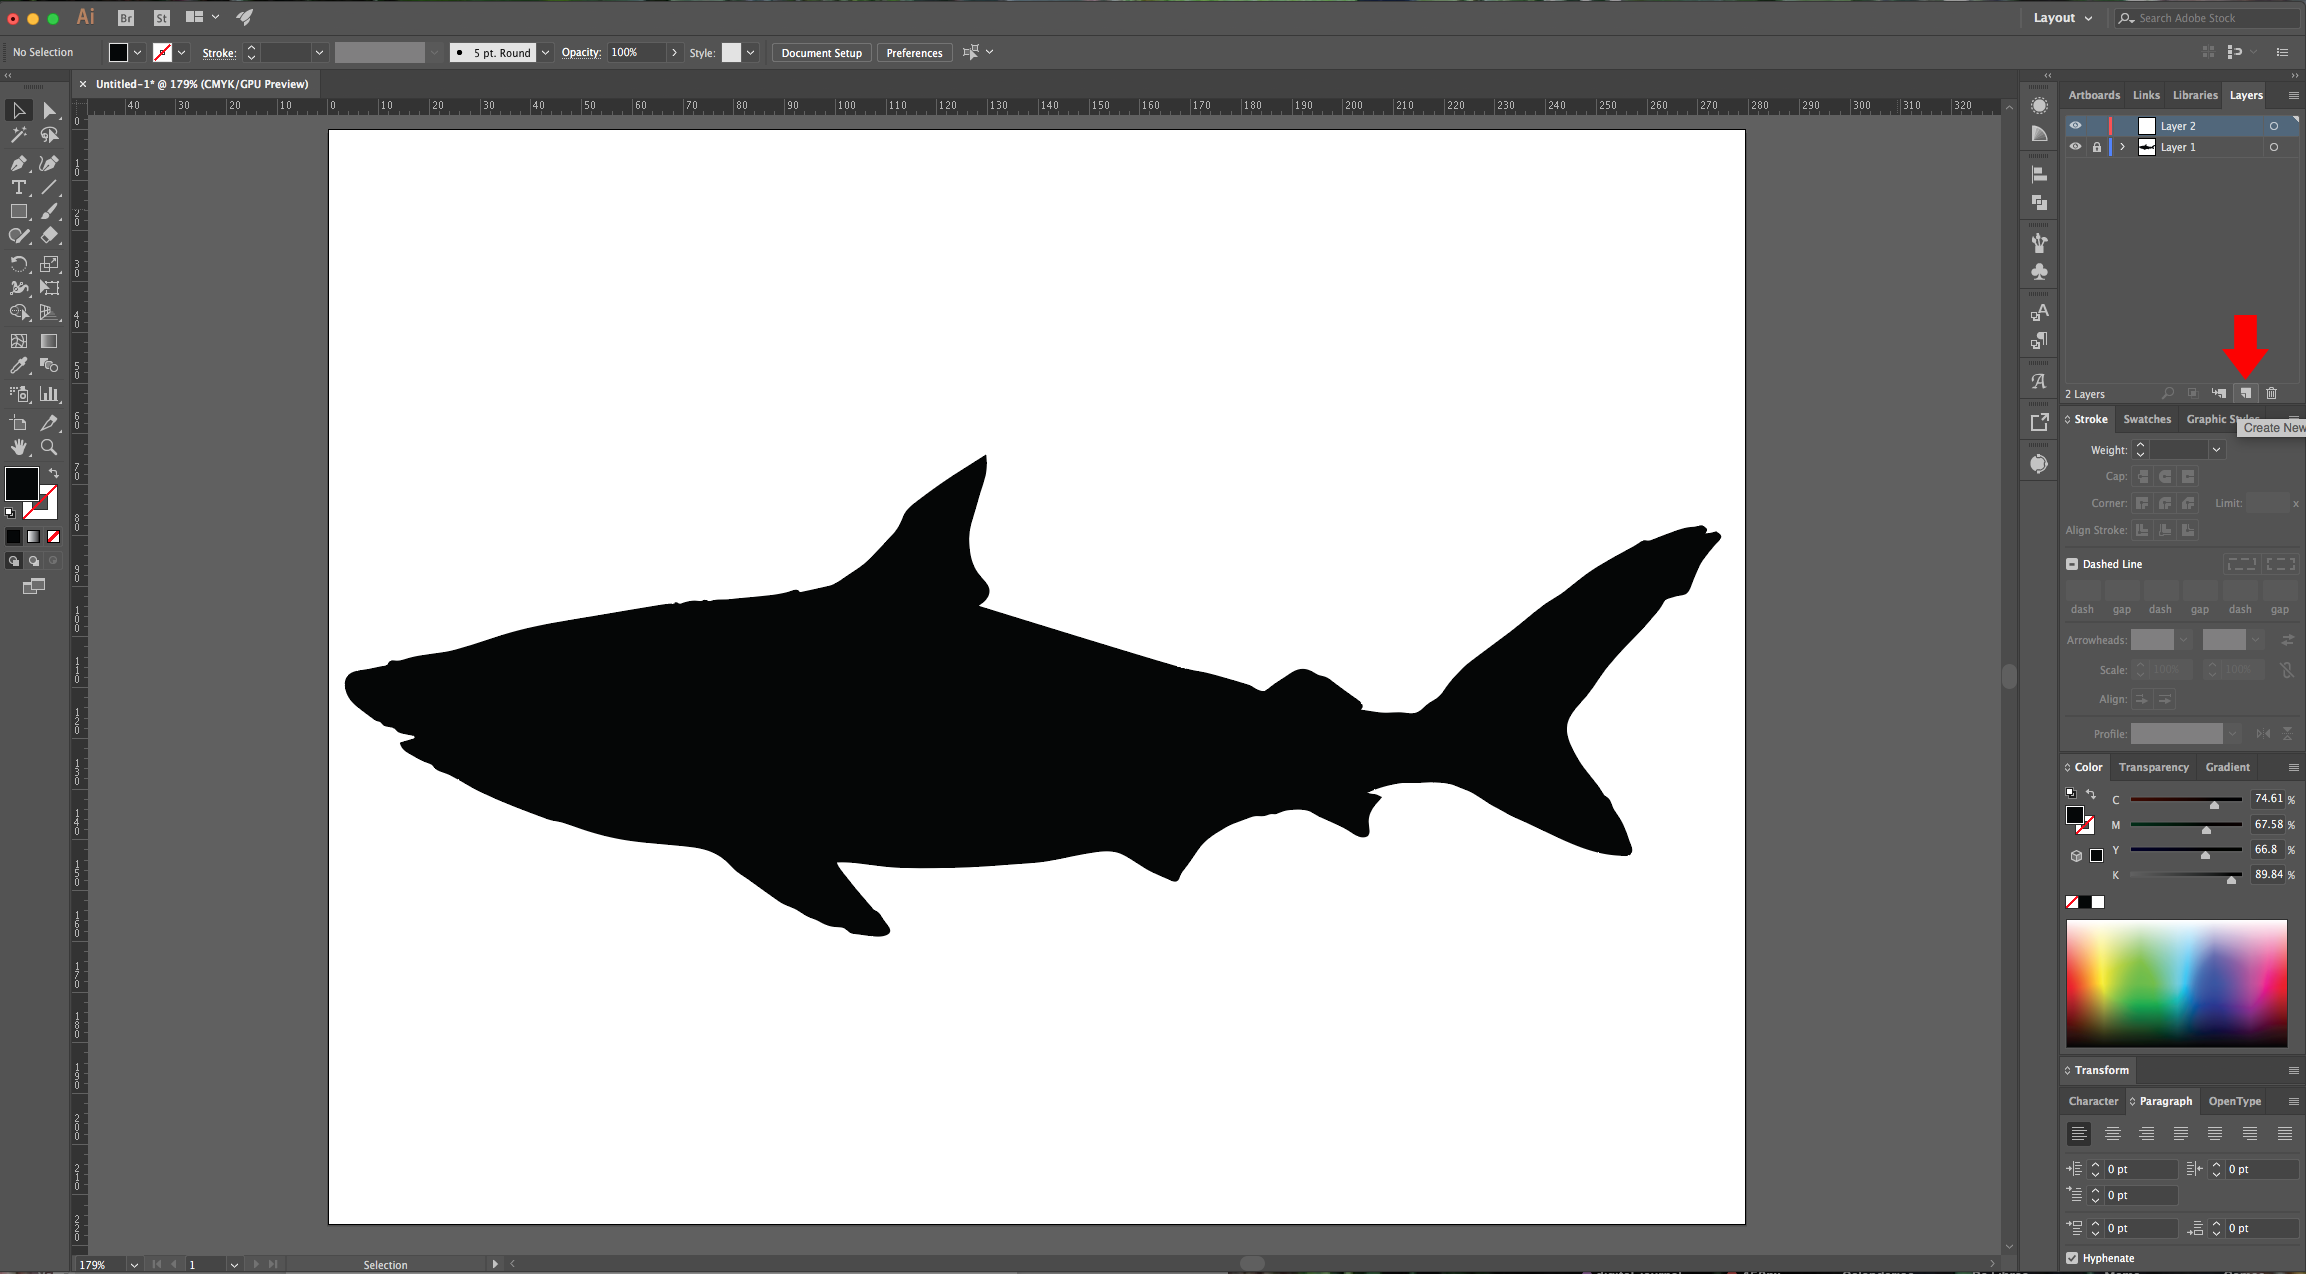
4 - Select the “Type Tool” (T), choose your font (we used “Dallon”) and type your text. You can use a different font for the name if you are typing a quote.
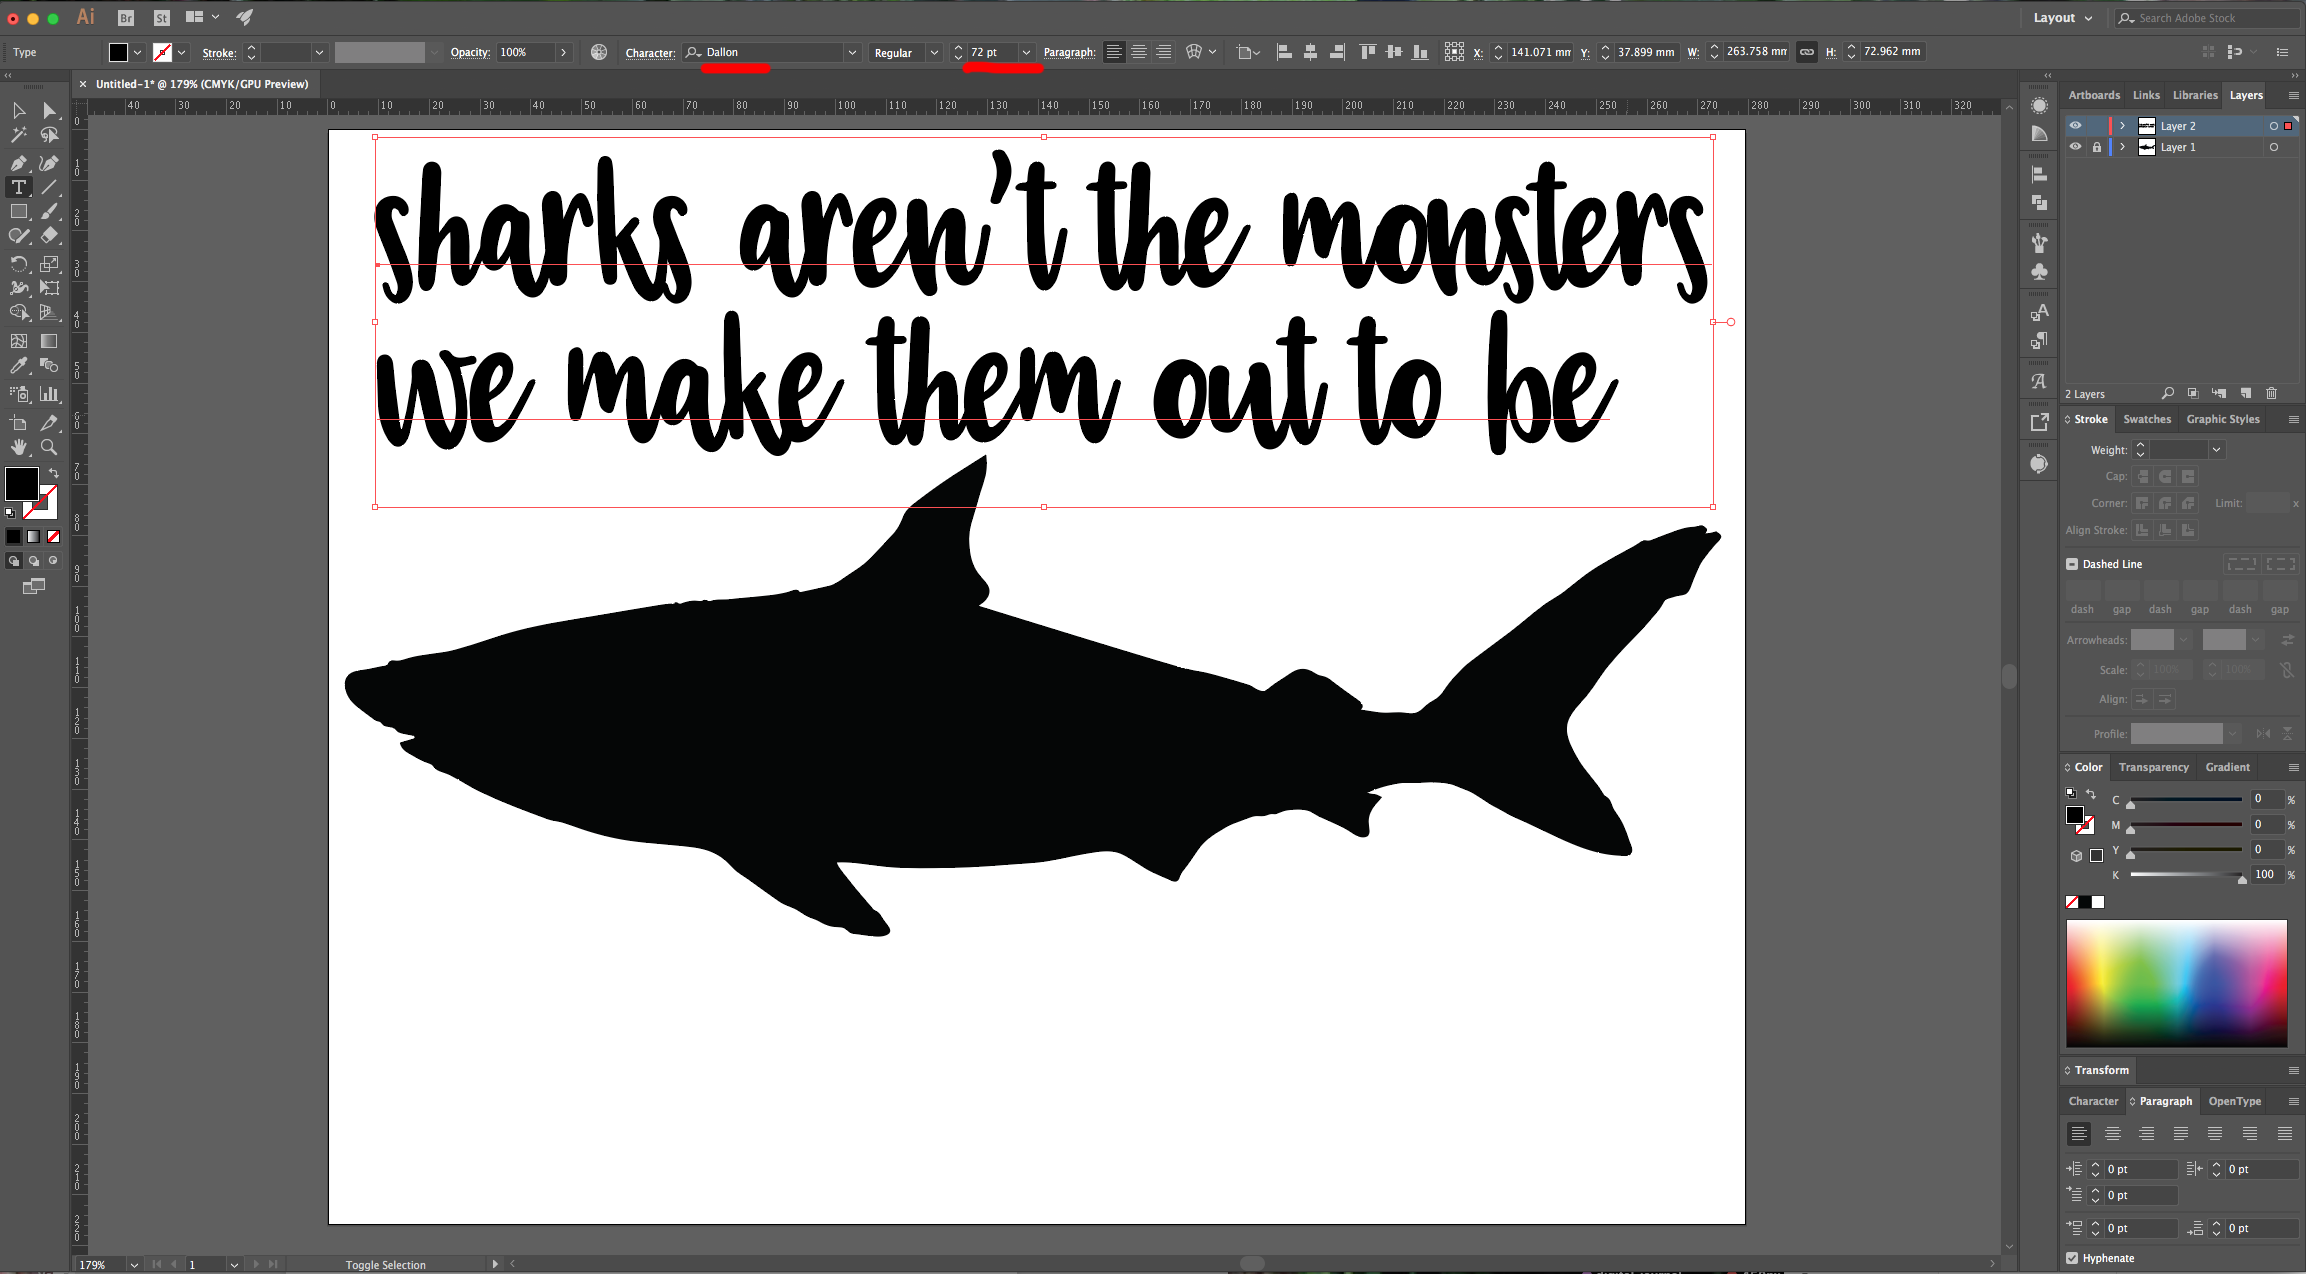
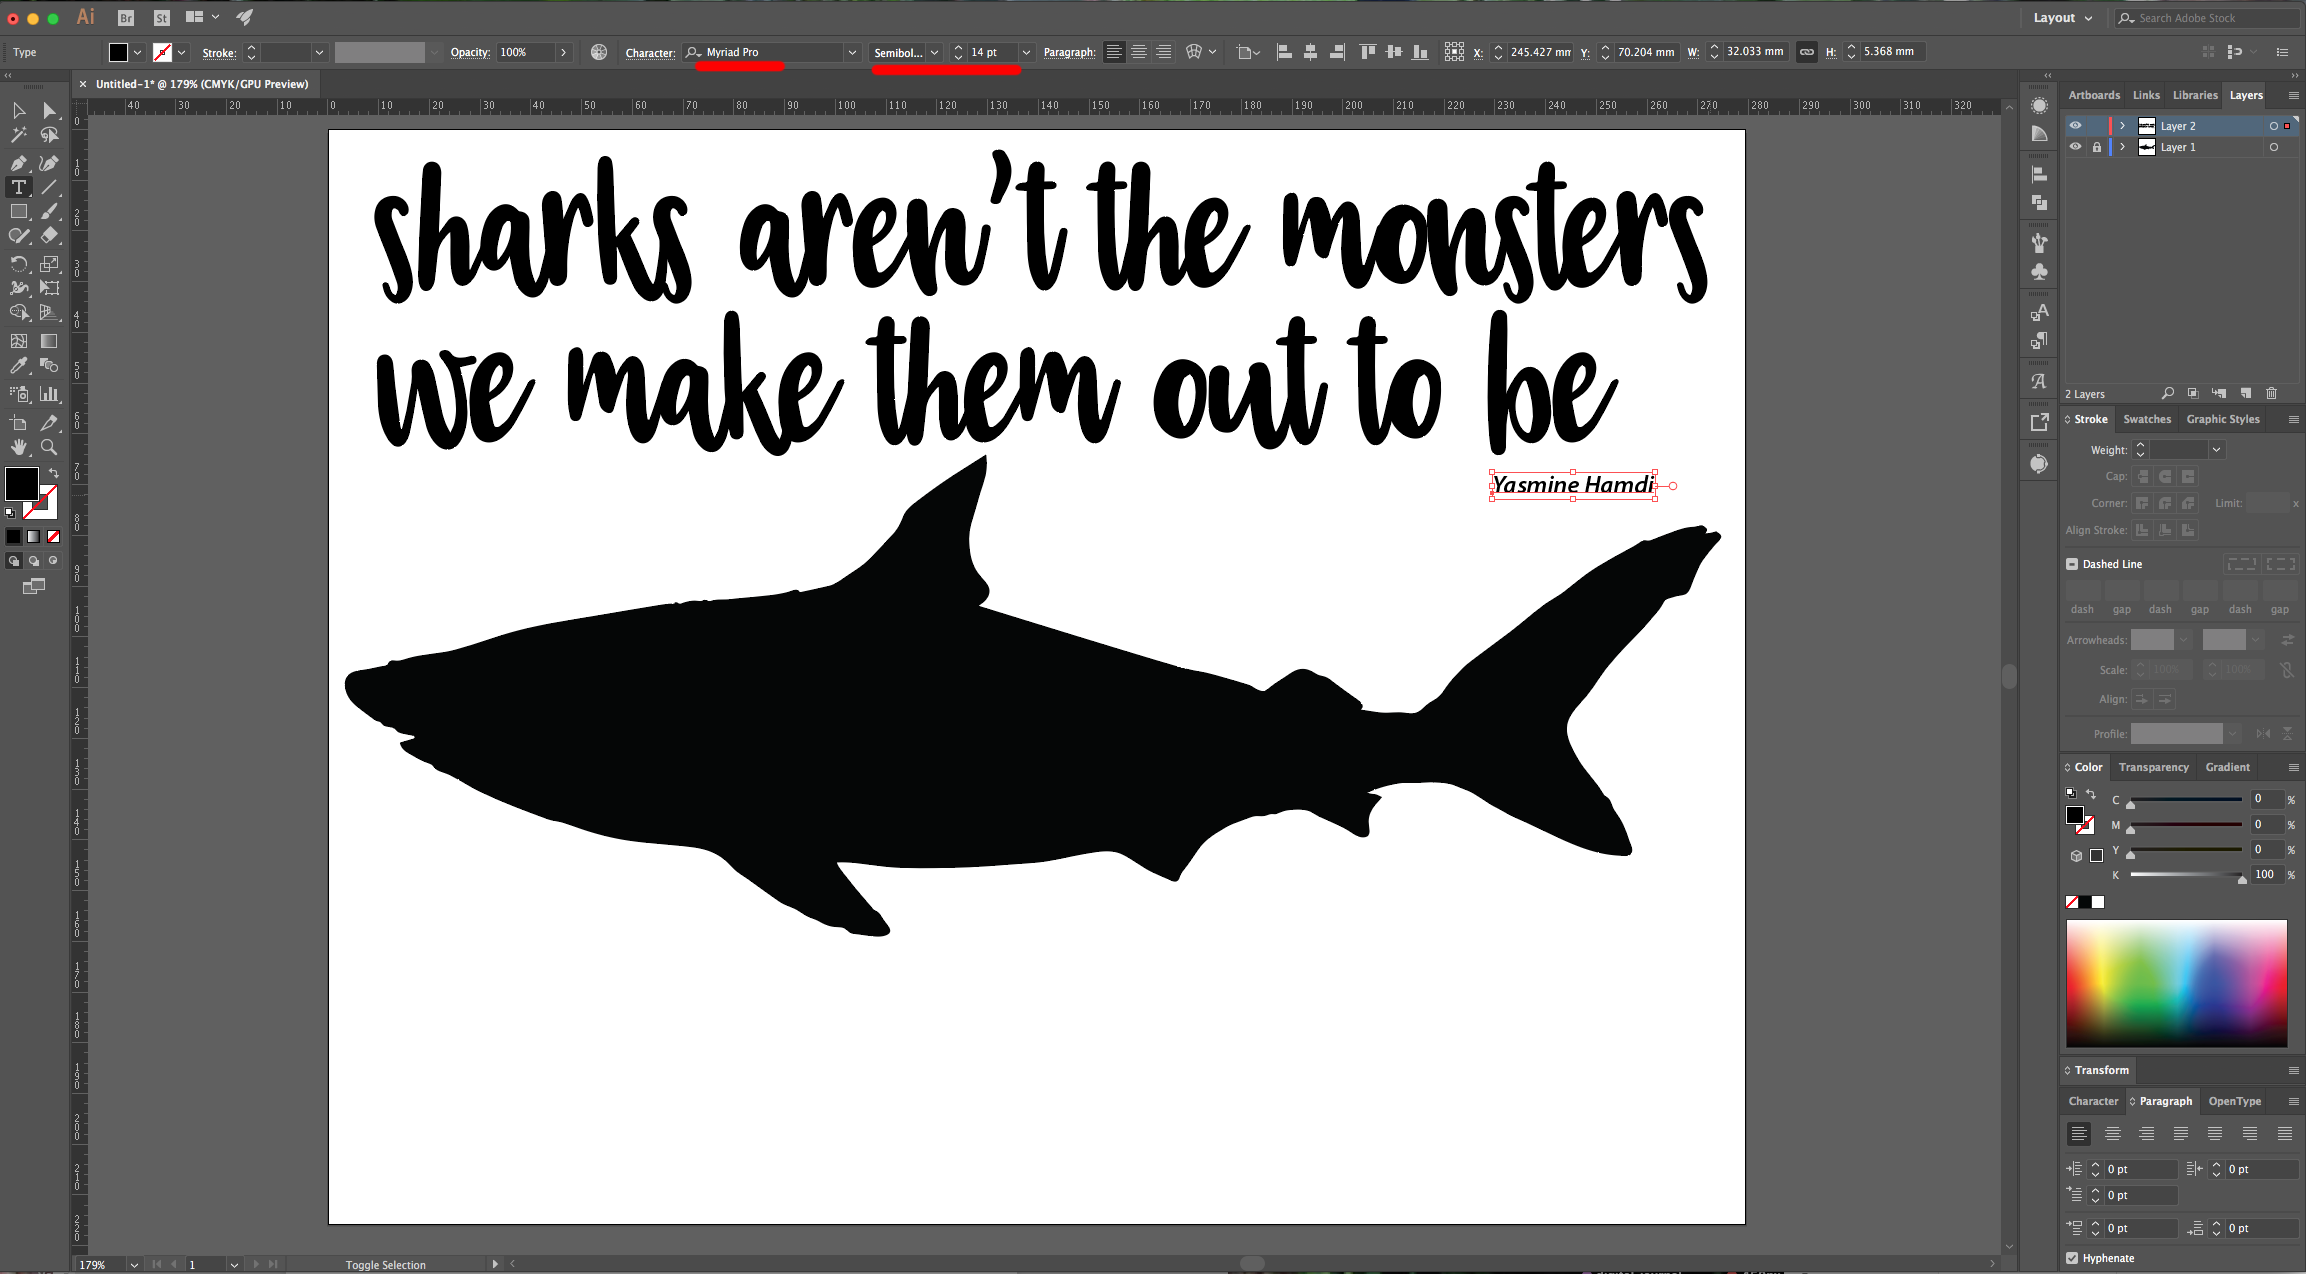
5 - Once you are done, right-click on top of your text and choose “Create Outlines”. Right-click again and choose “Ungroup”.
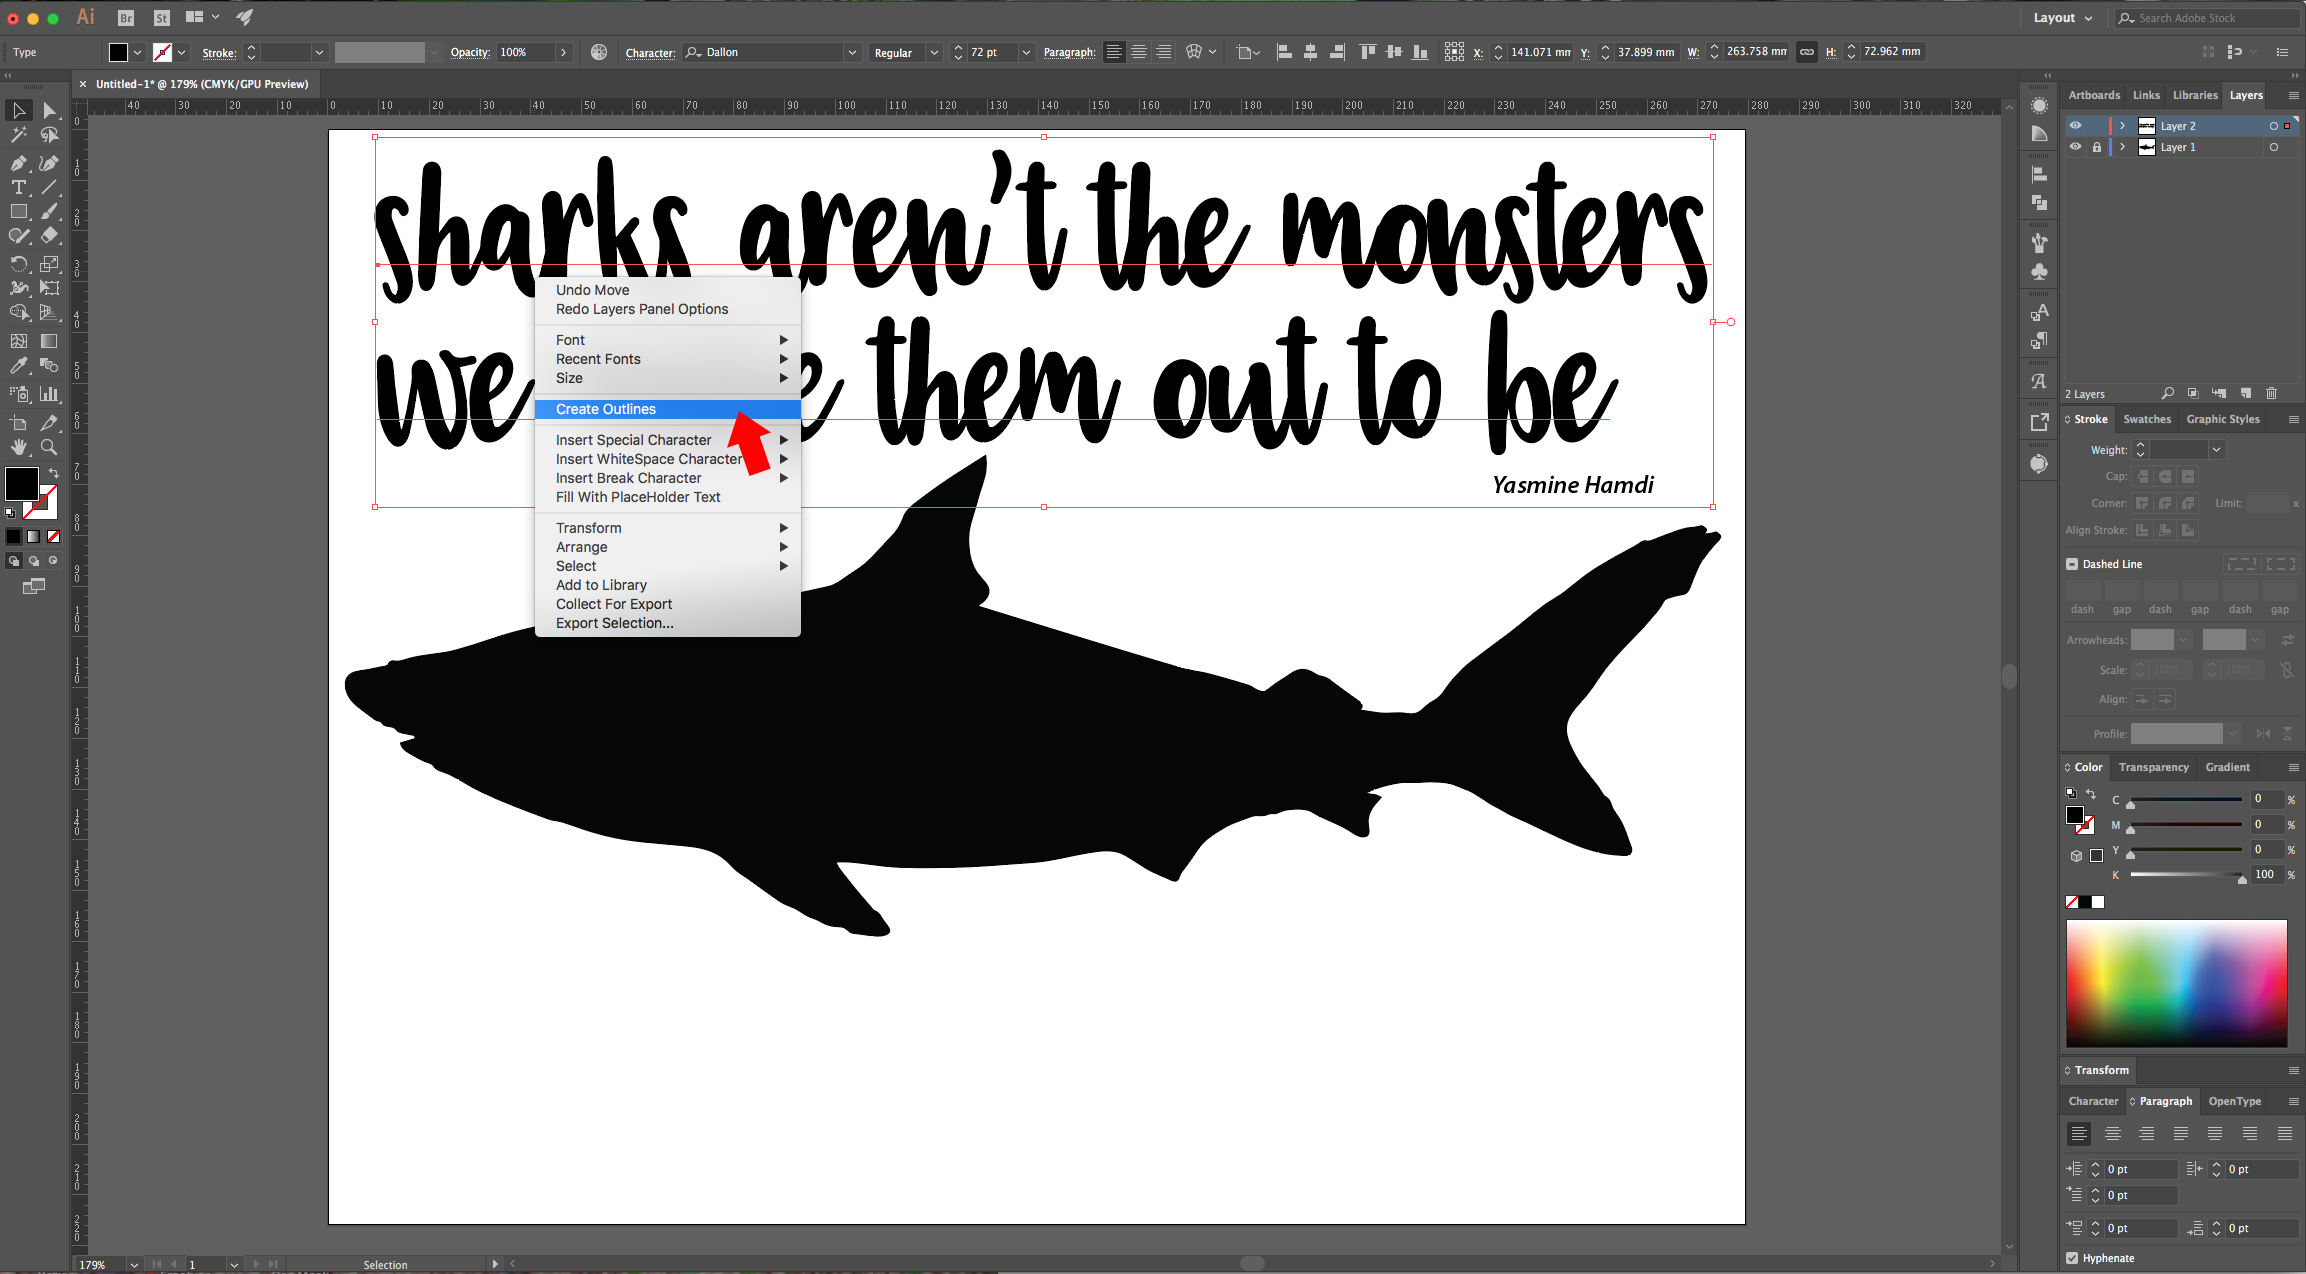
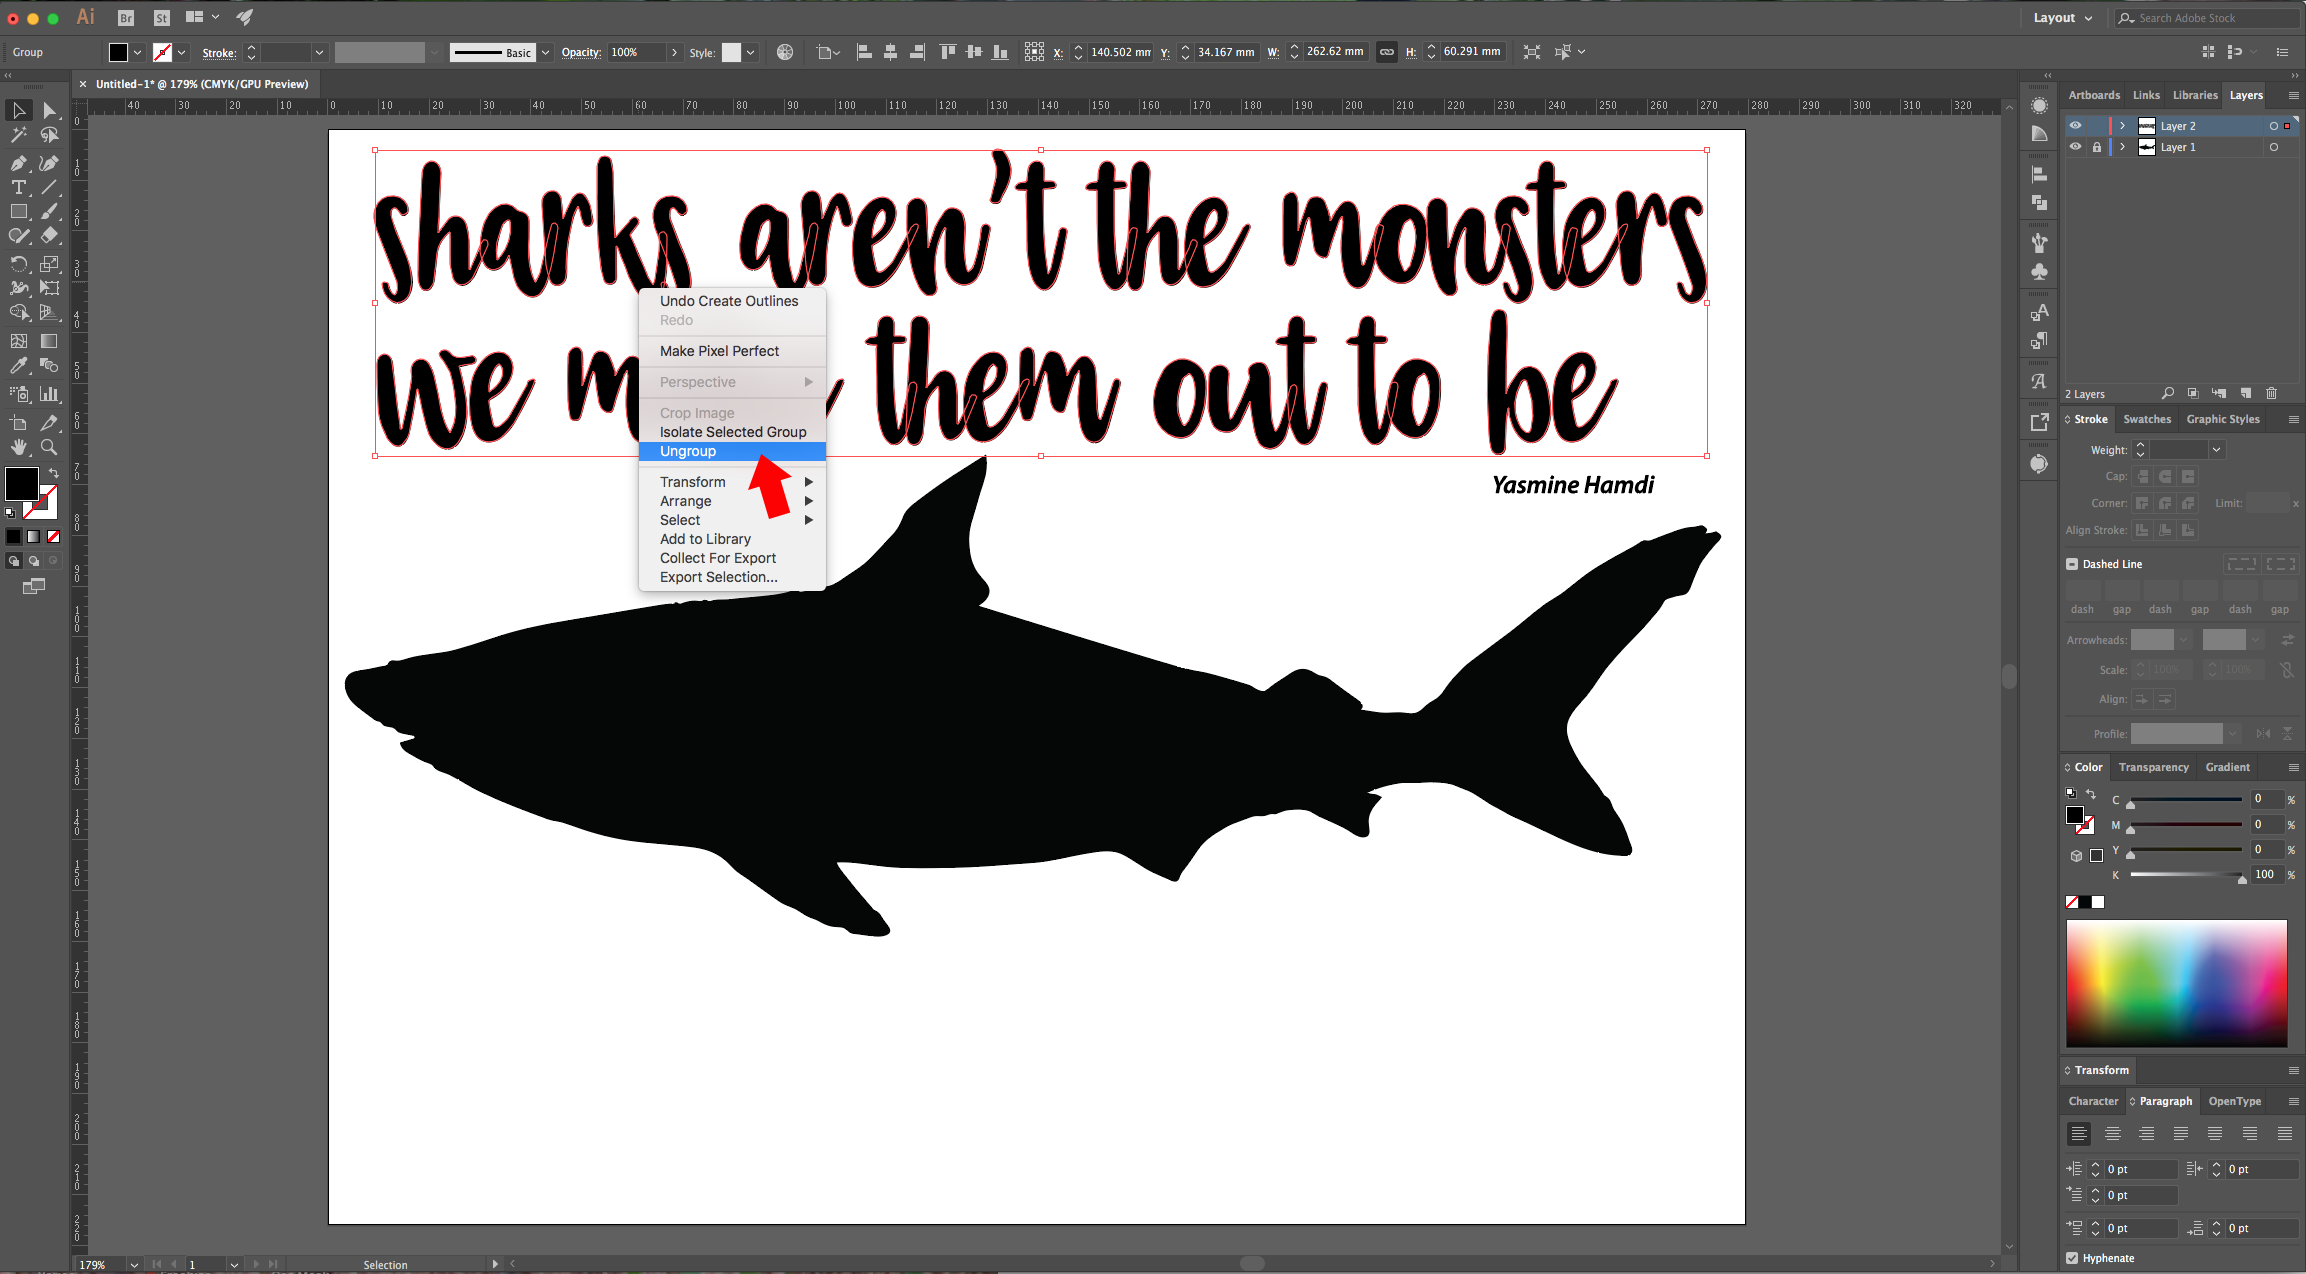
6 - You can “Group” some words together (Command/Control + G) if you want.
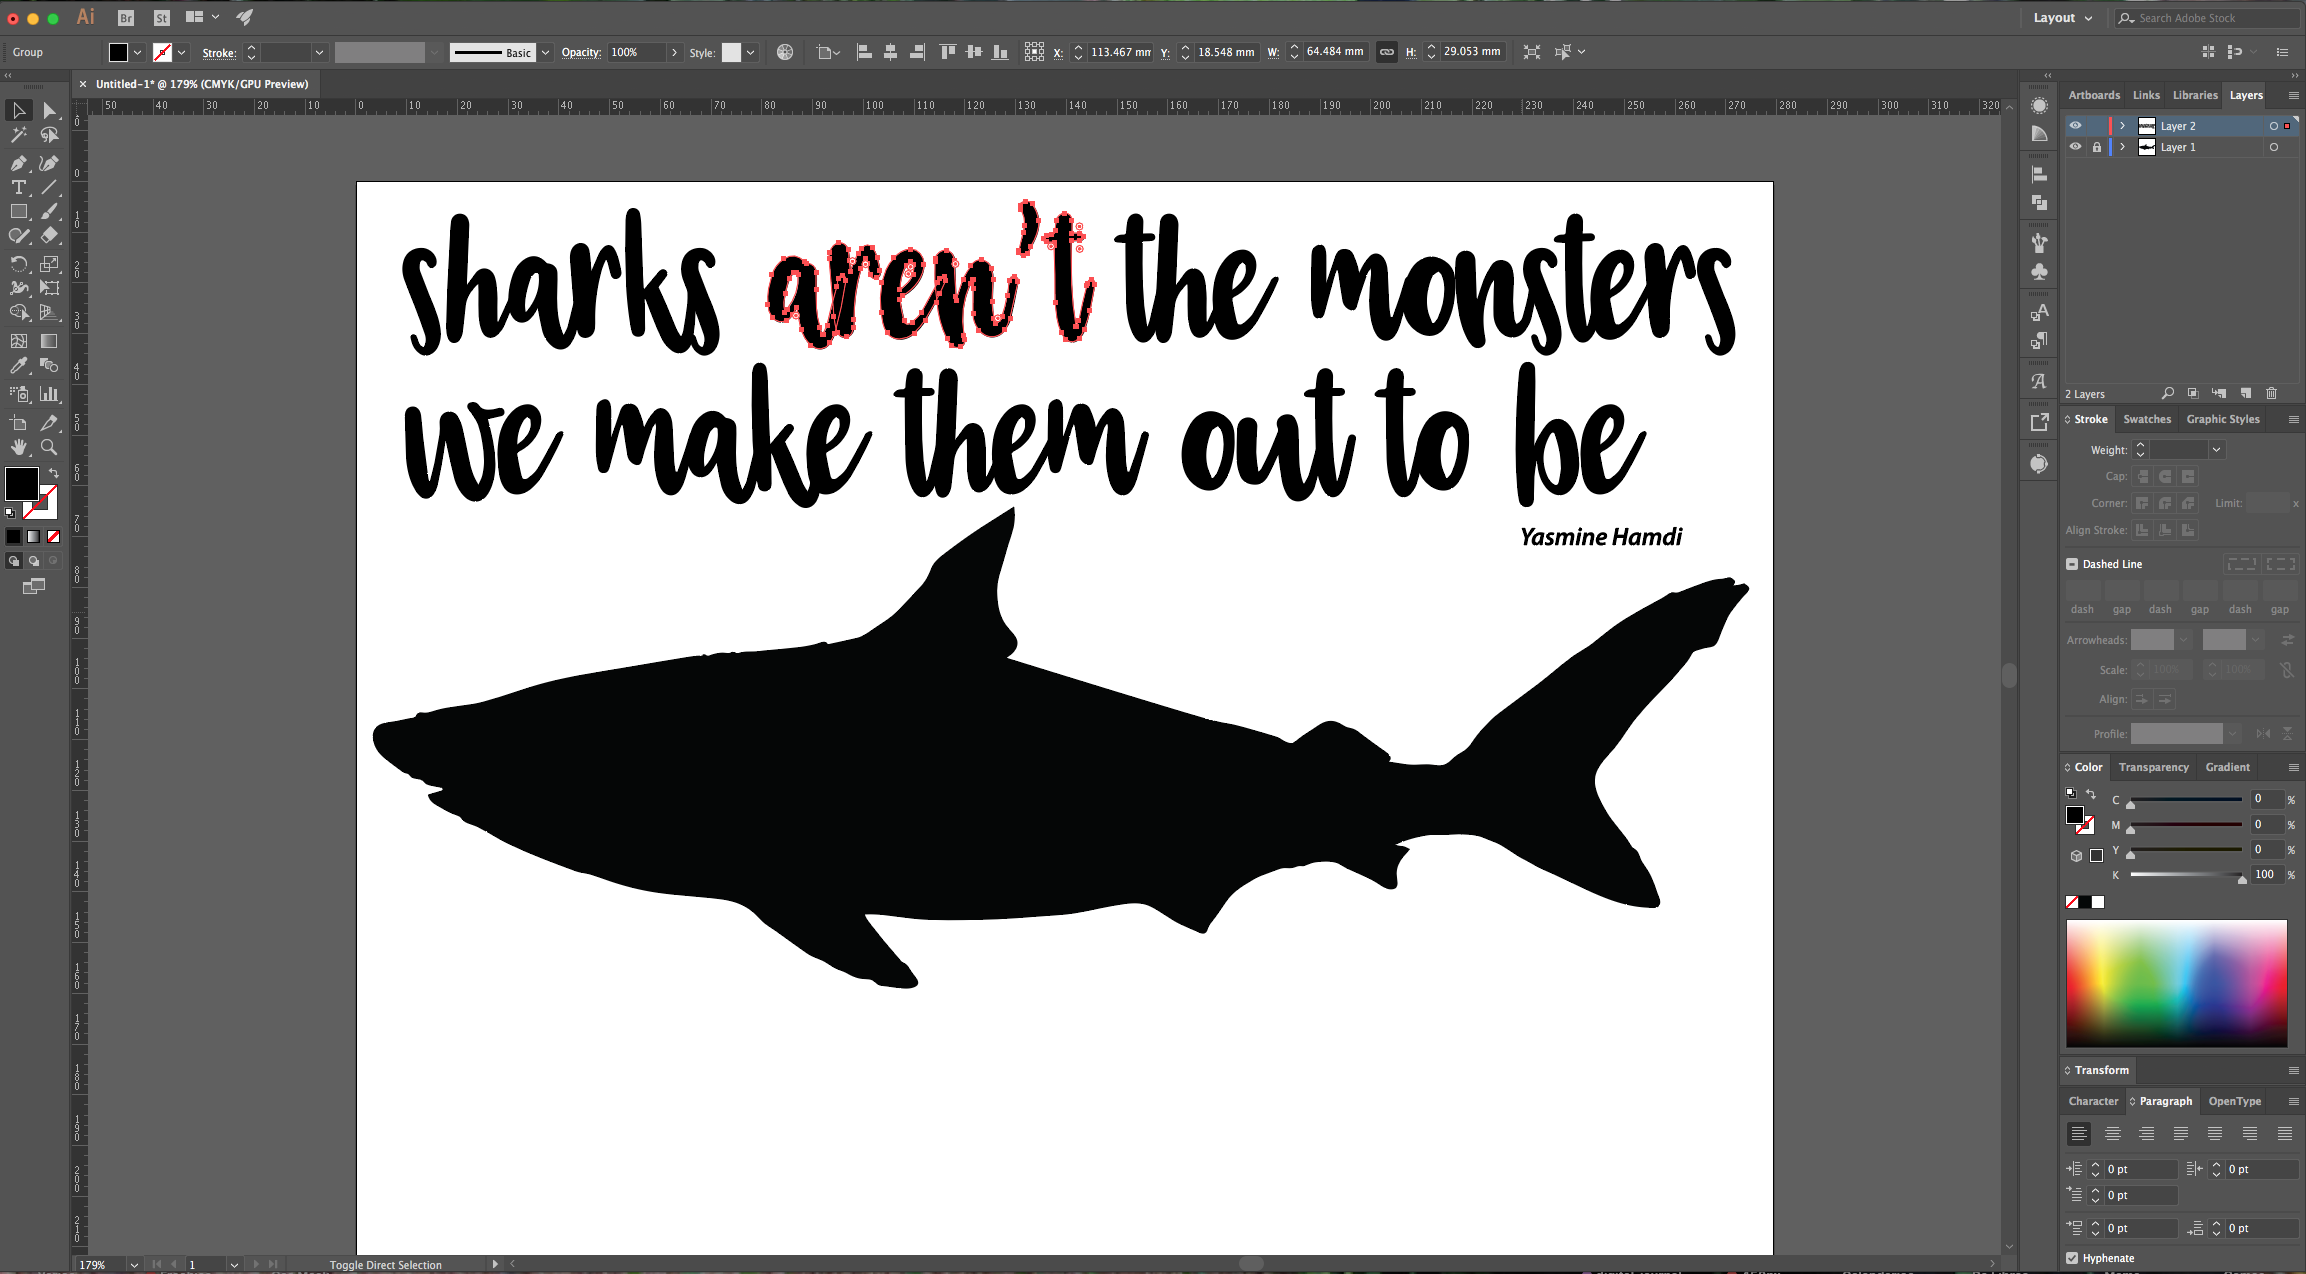
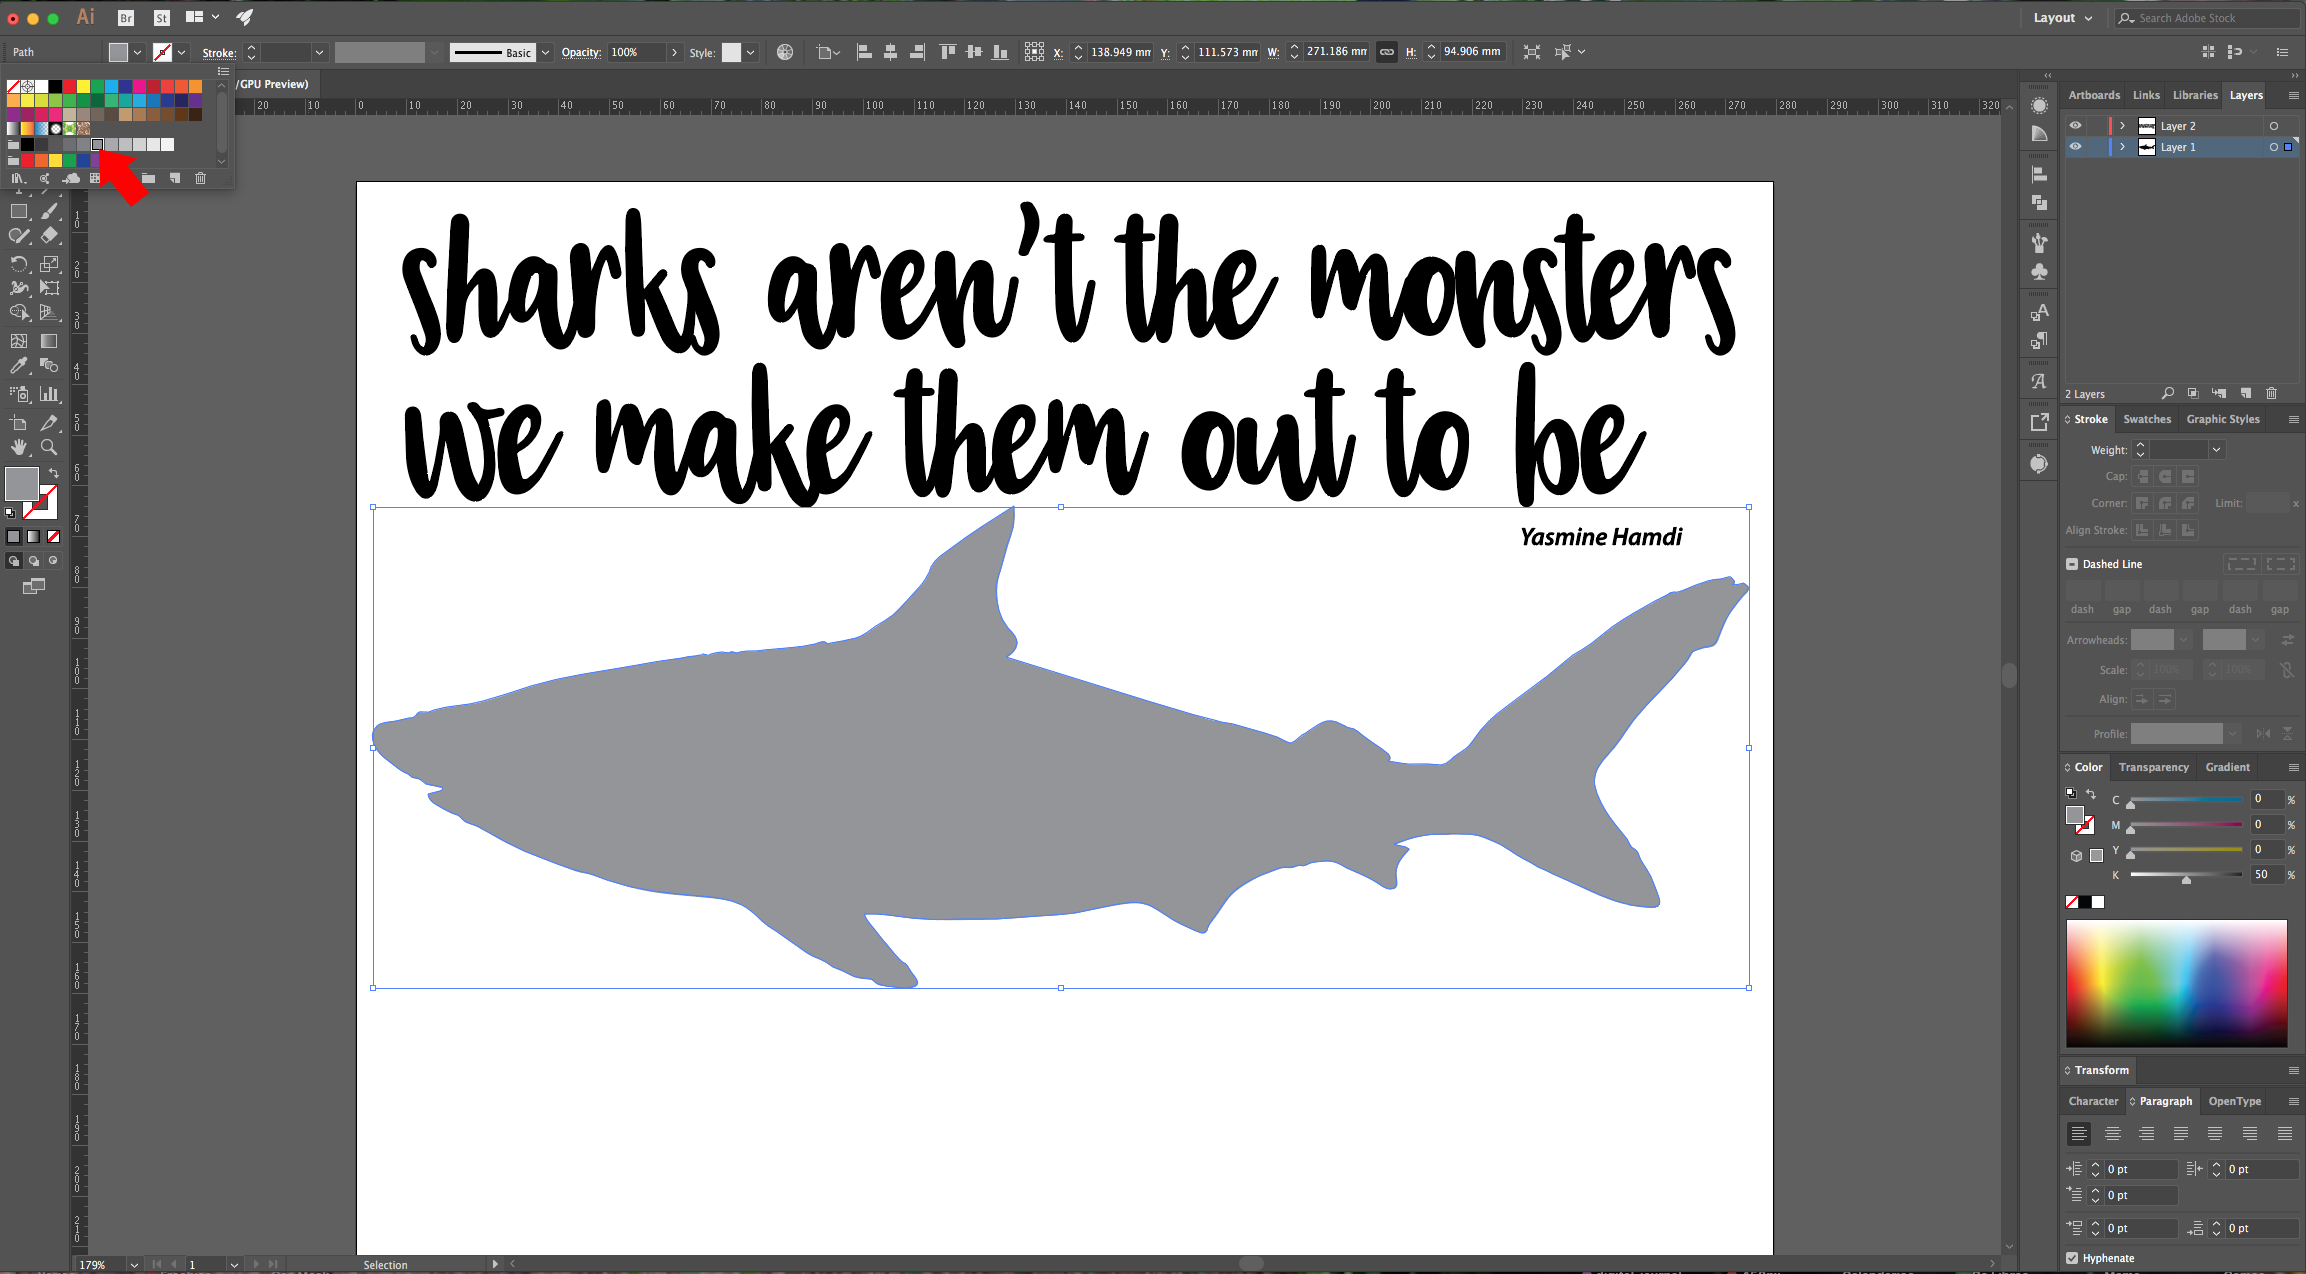
7 - Change the color of your shape (or your text) so they are contrasting and you are able to place your text on top of the image and see it fine. Don’t forget to lock your layer back if you had to unlock it.
8 - Position your words on top of the shape roughly where you like them to be. Then, you can resize, rotate and play around with words and letters to make them fit better into your shape.
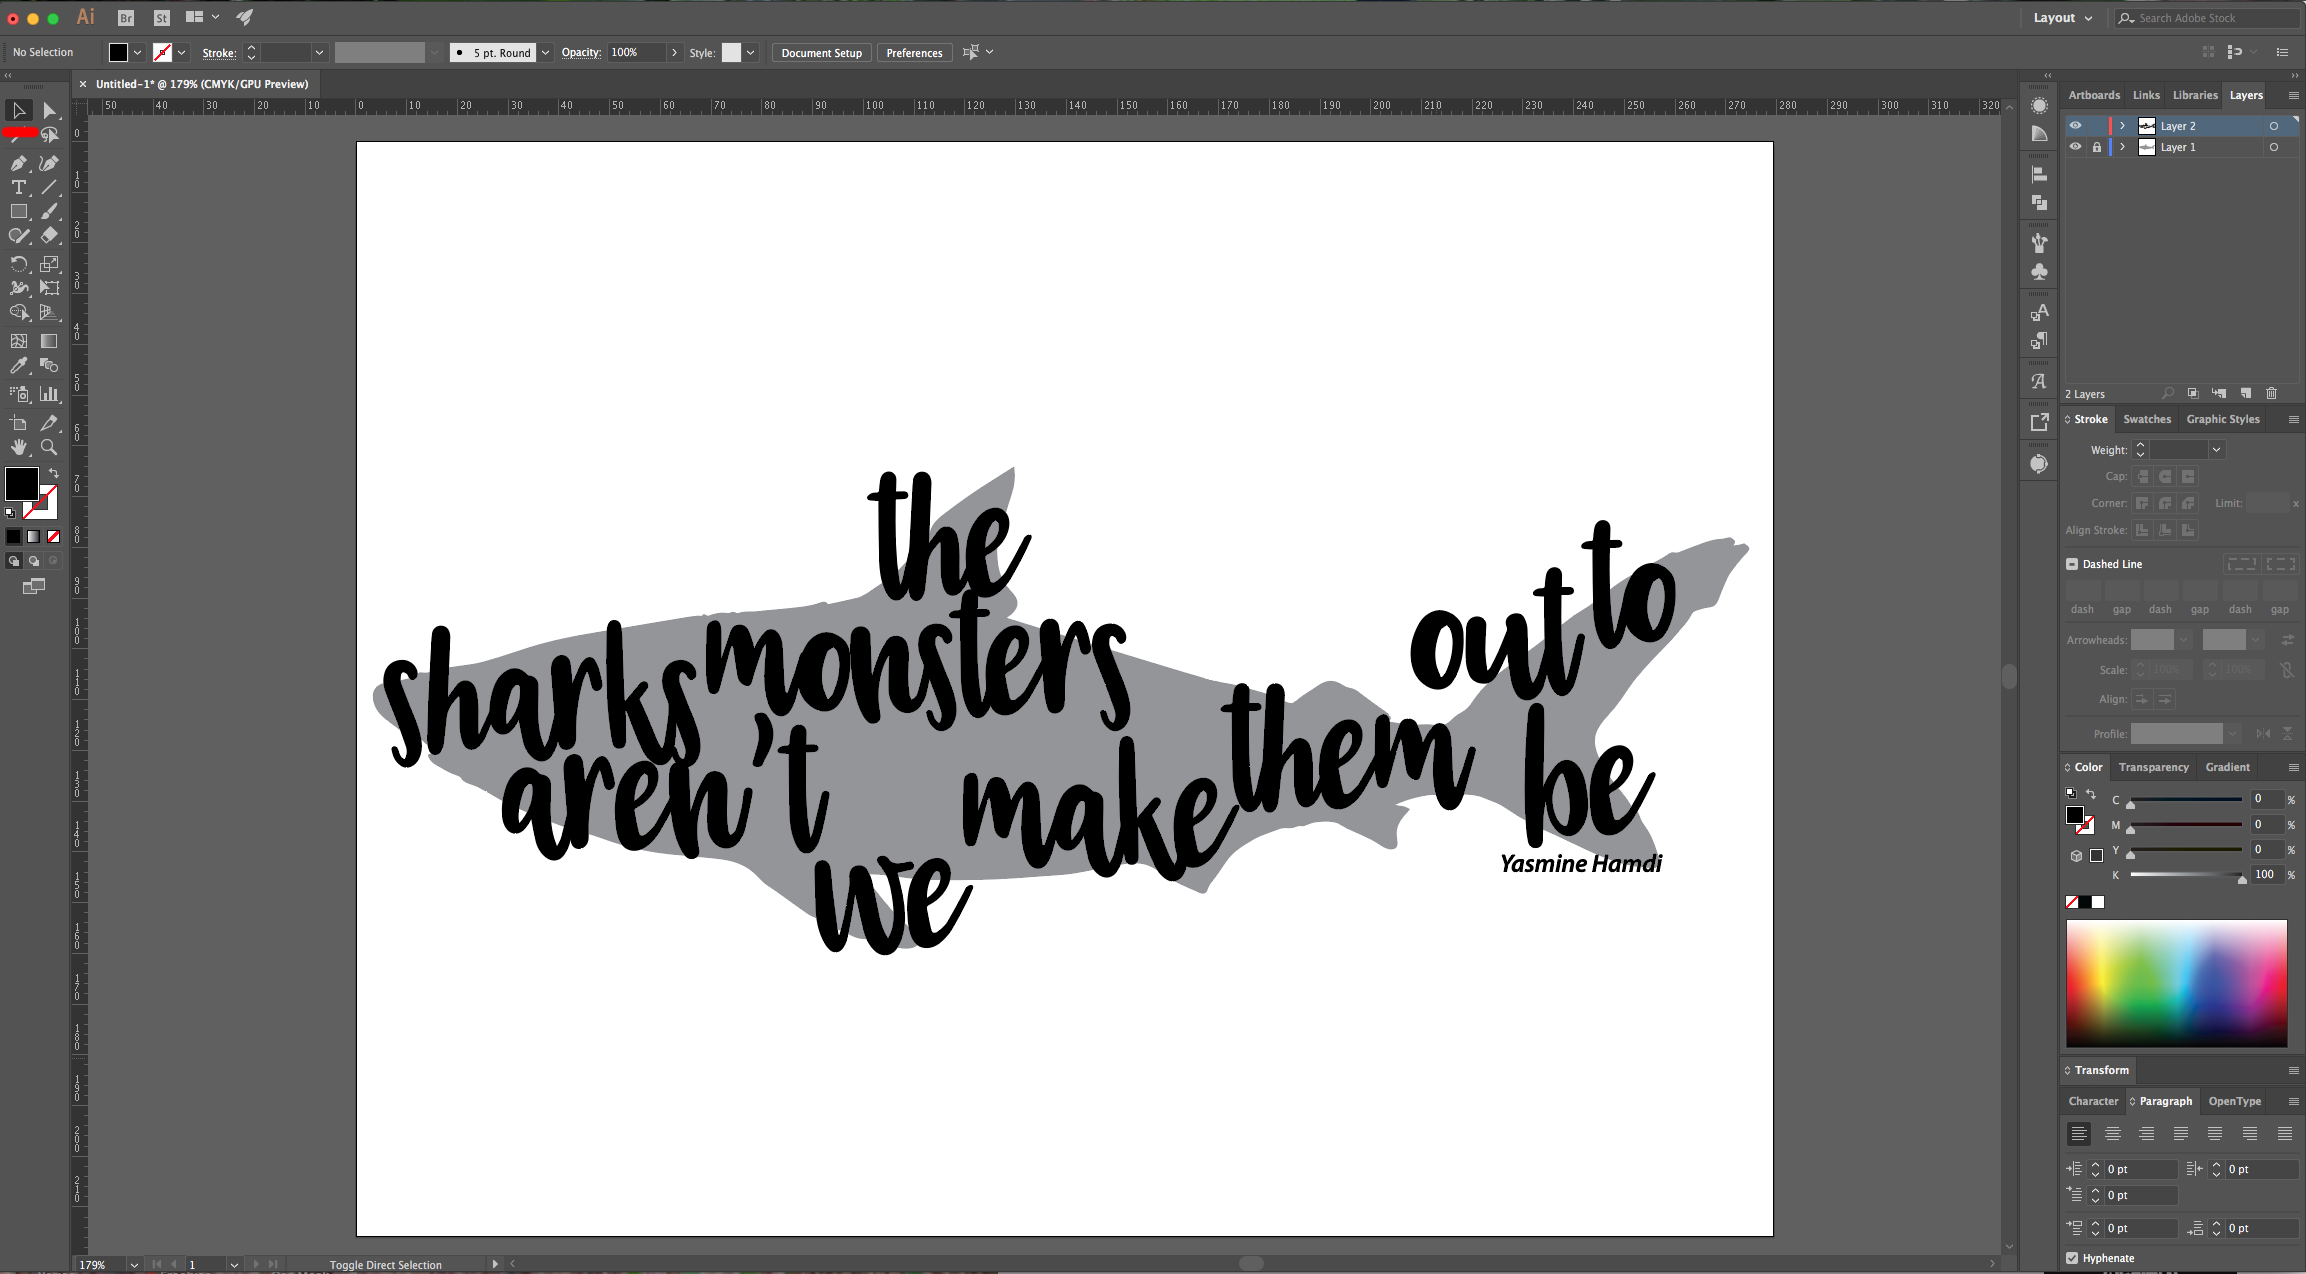
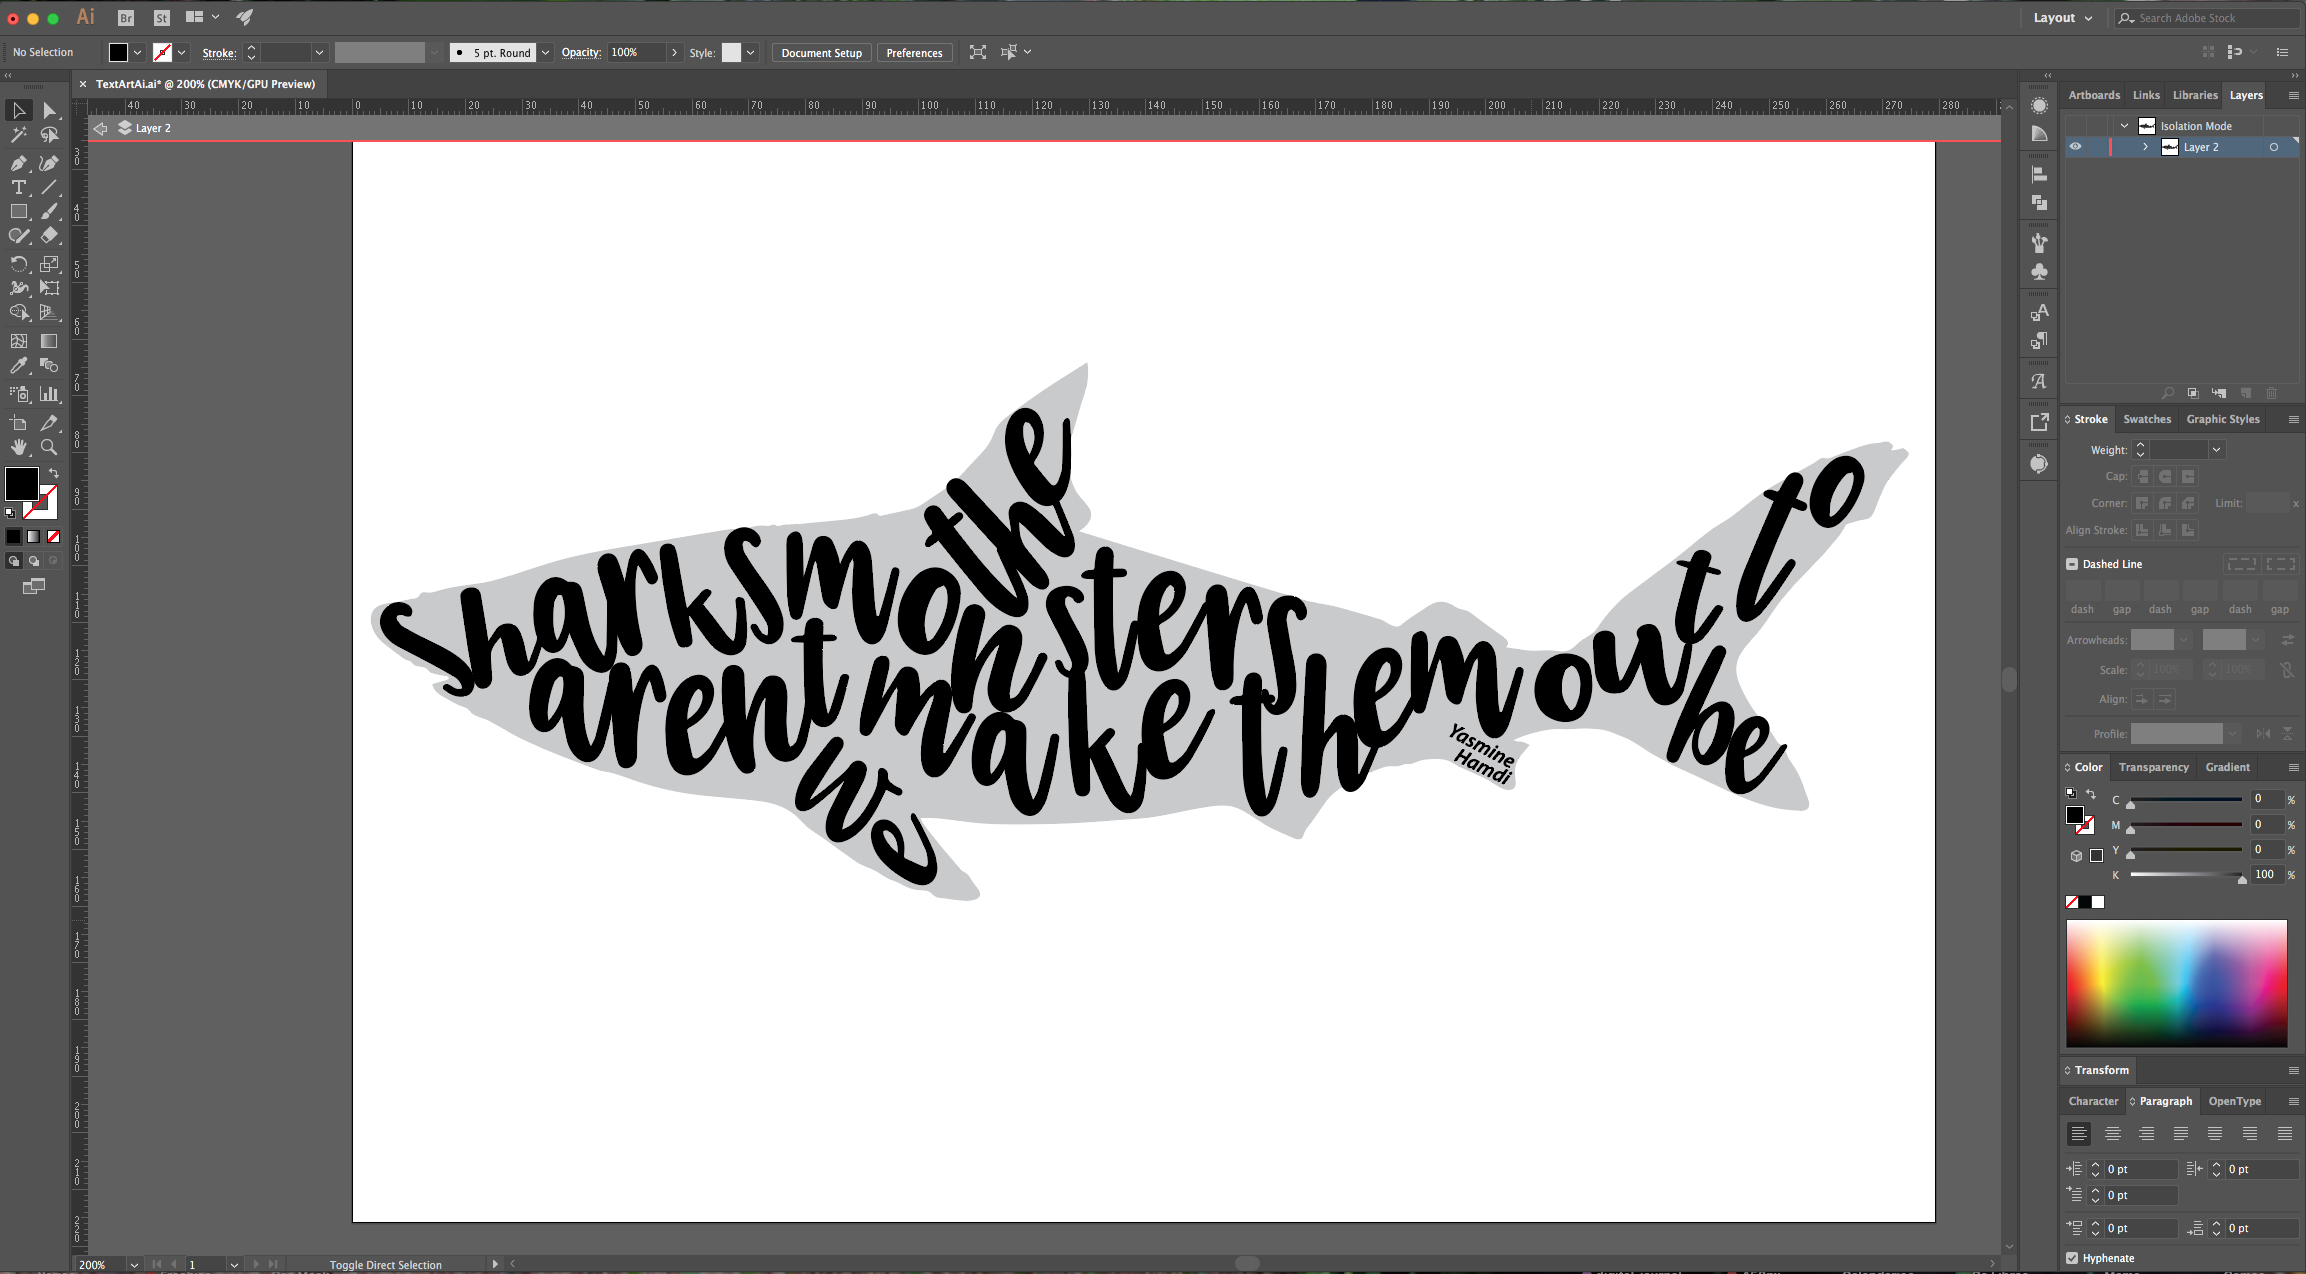
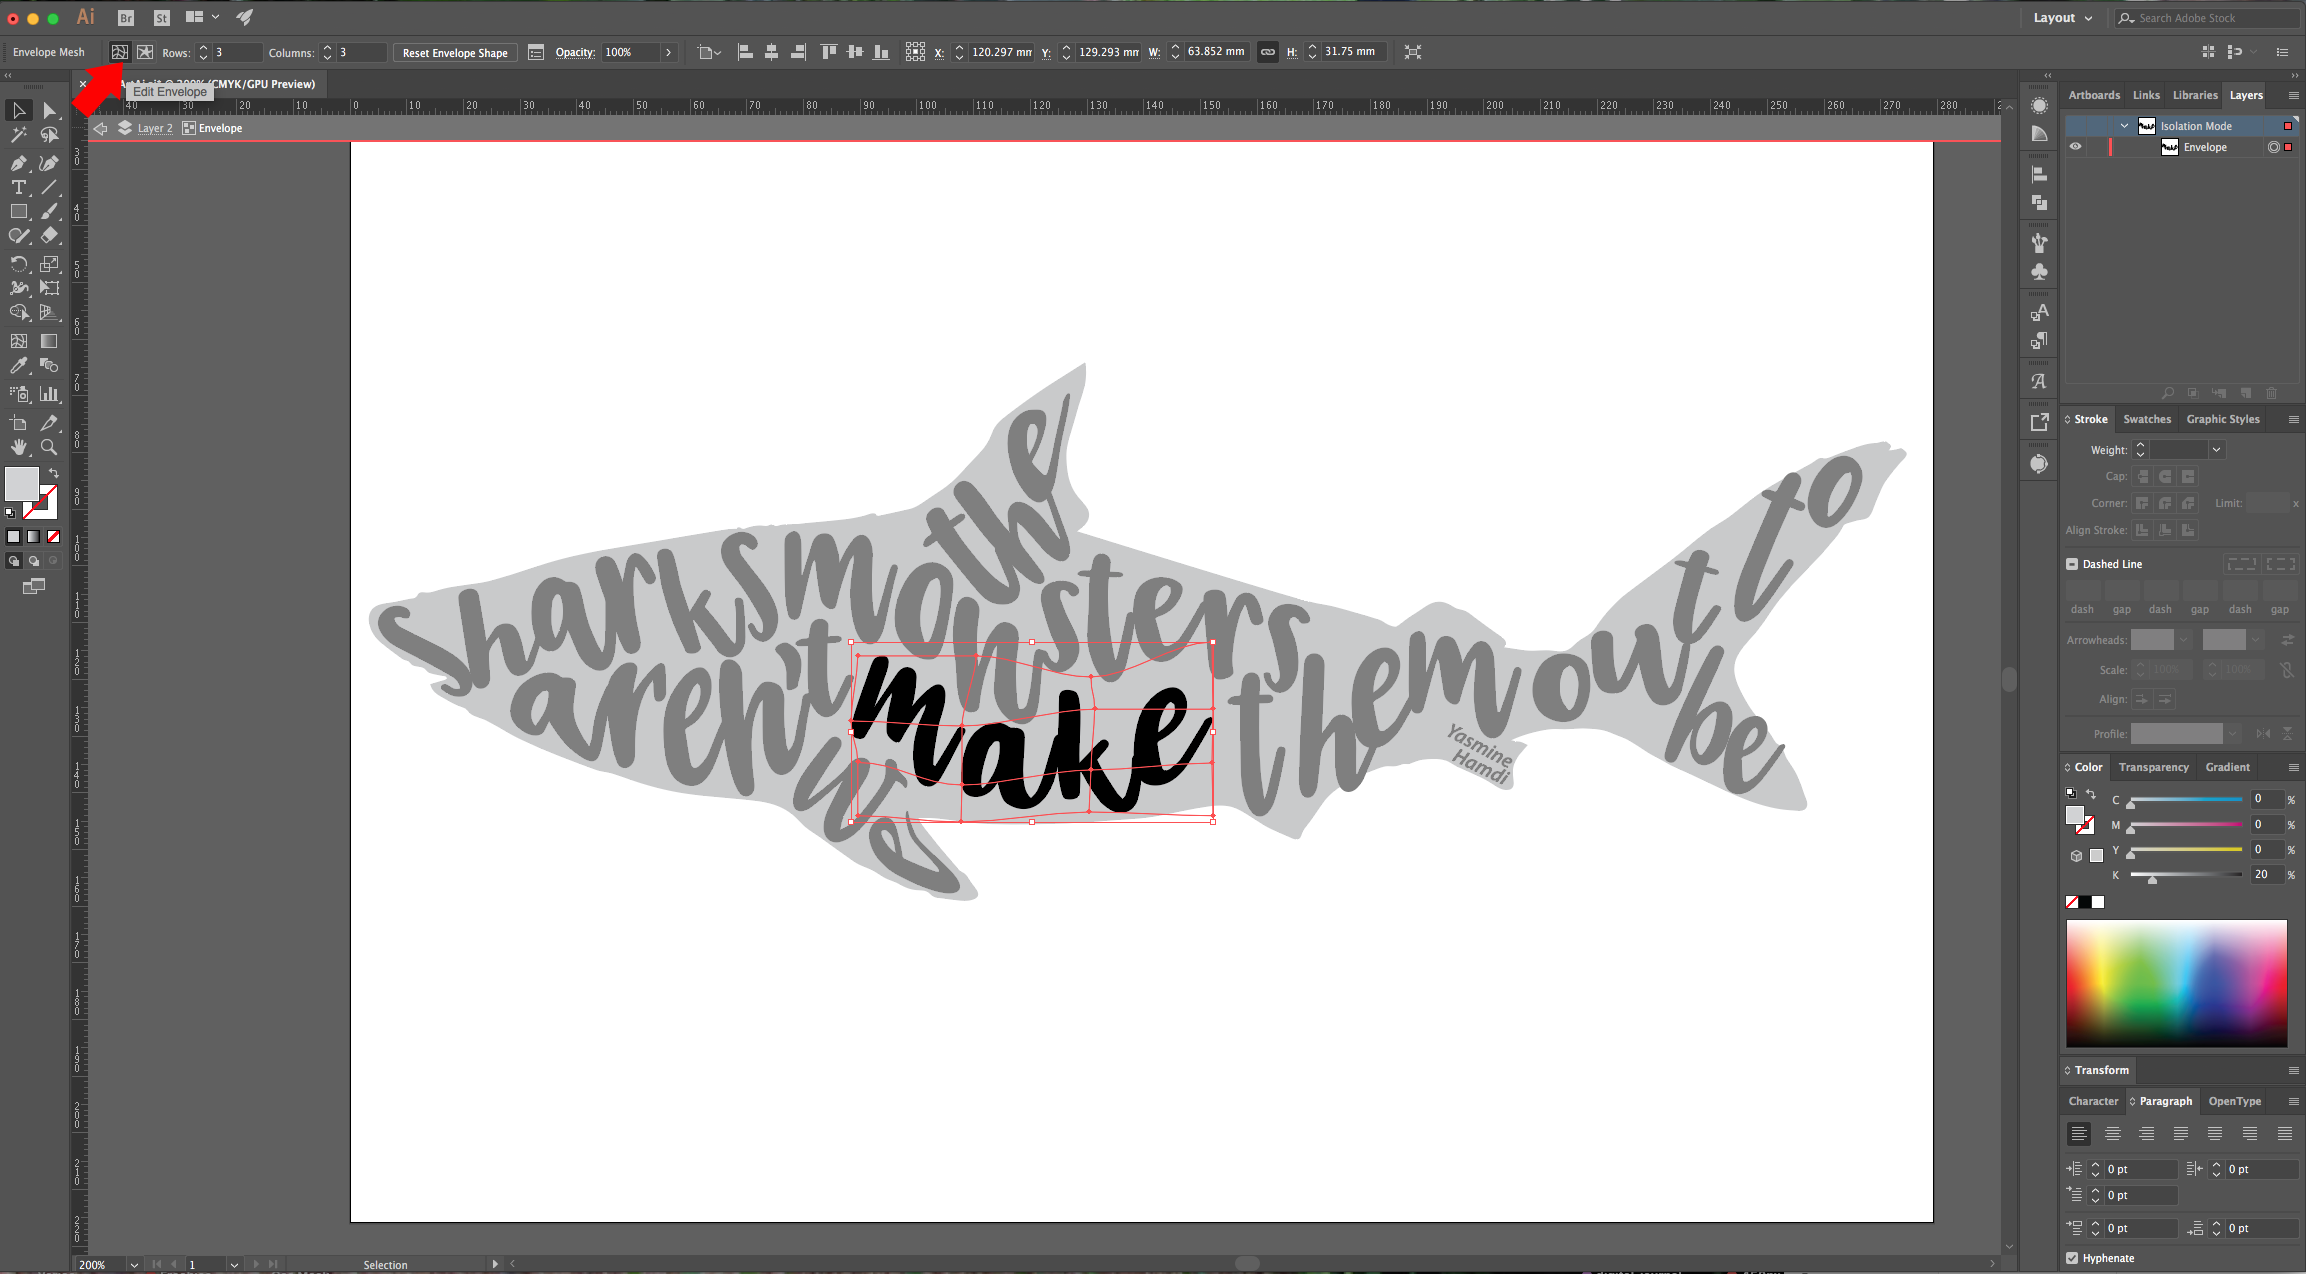
9 - Select a word or some of your letters (They don’t have to be grouped together) and go to Object > Envelope Distort > Make with Mesh (Shift + Command/Control + M) and use 3 as value for “Rows” and “Columns”, then click “OK”. Use the “Direct Selection Tool” (A) to click on one of the “Points” in the “Mesh” and play around with the letters until you get them to the shape you want. Repeat with the rest of your text.
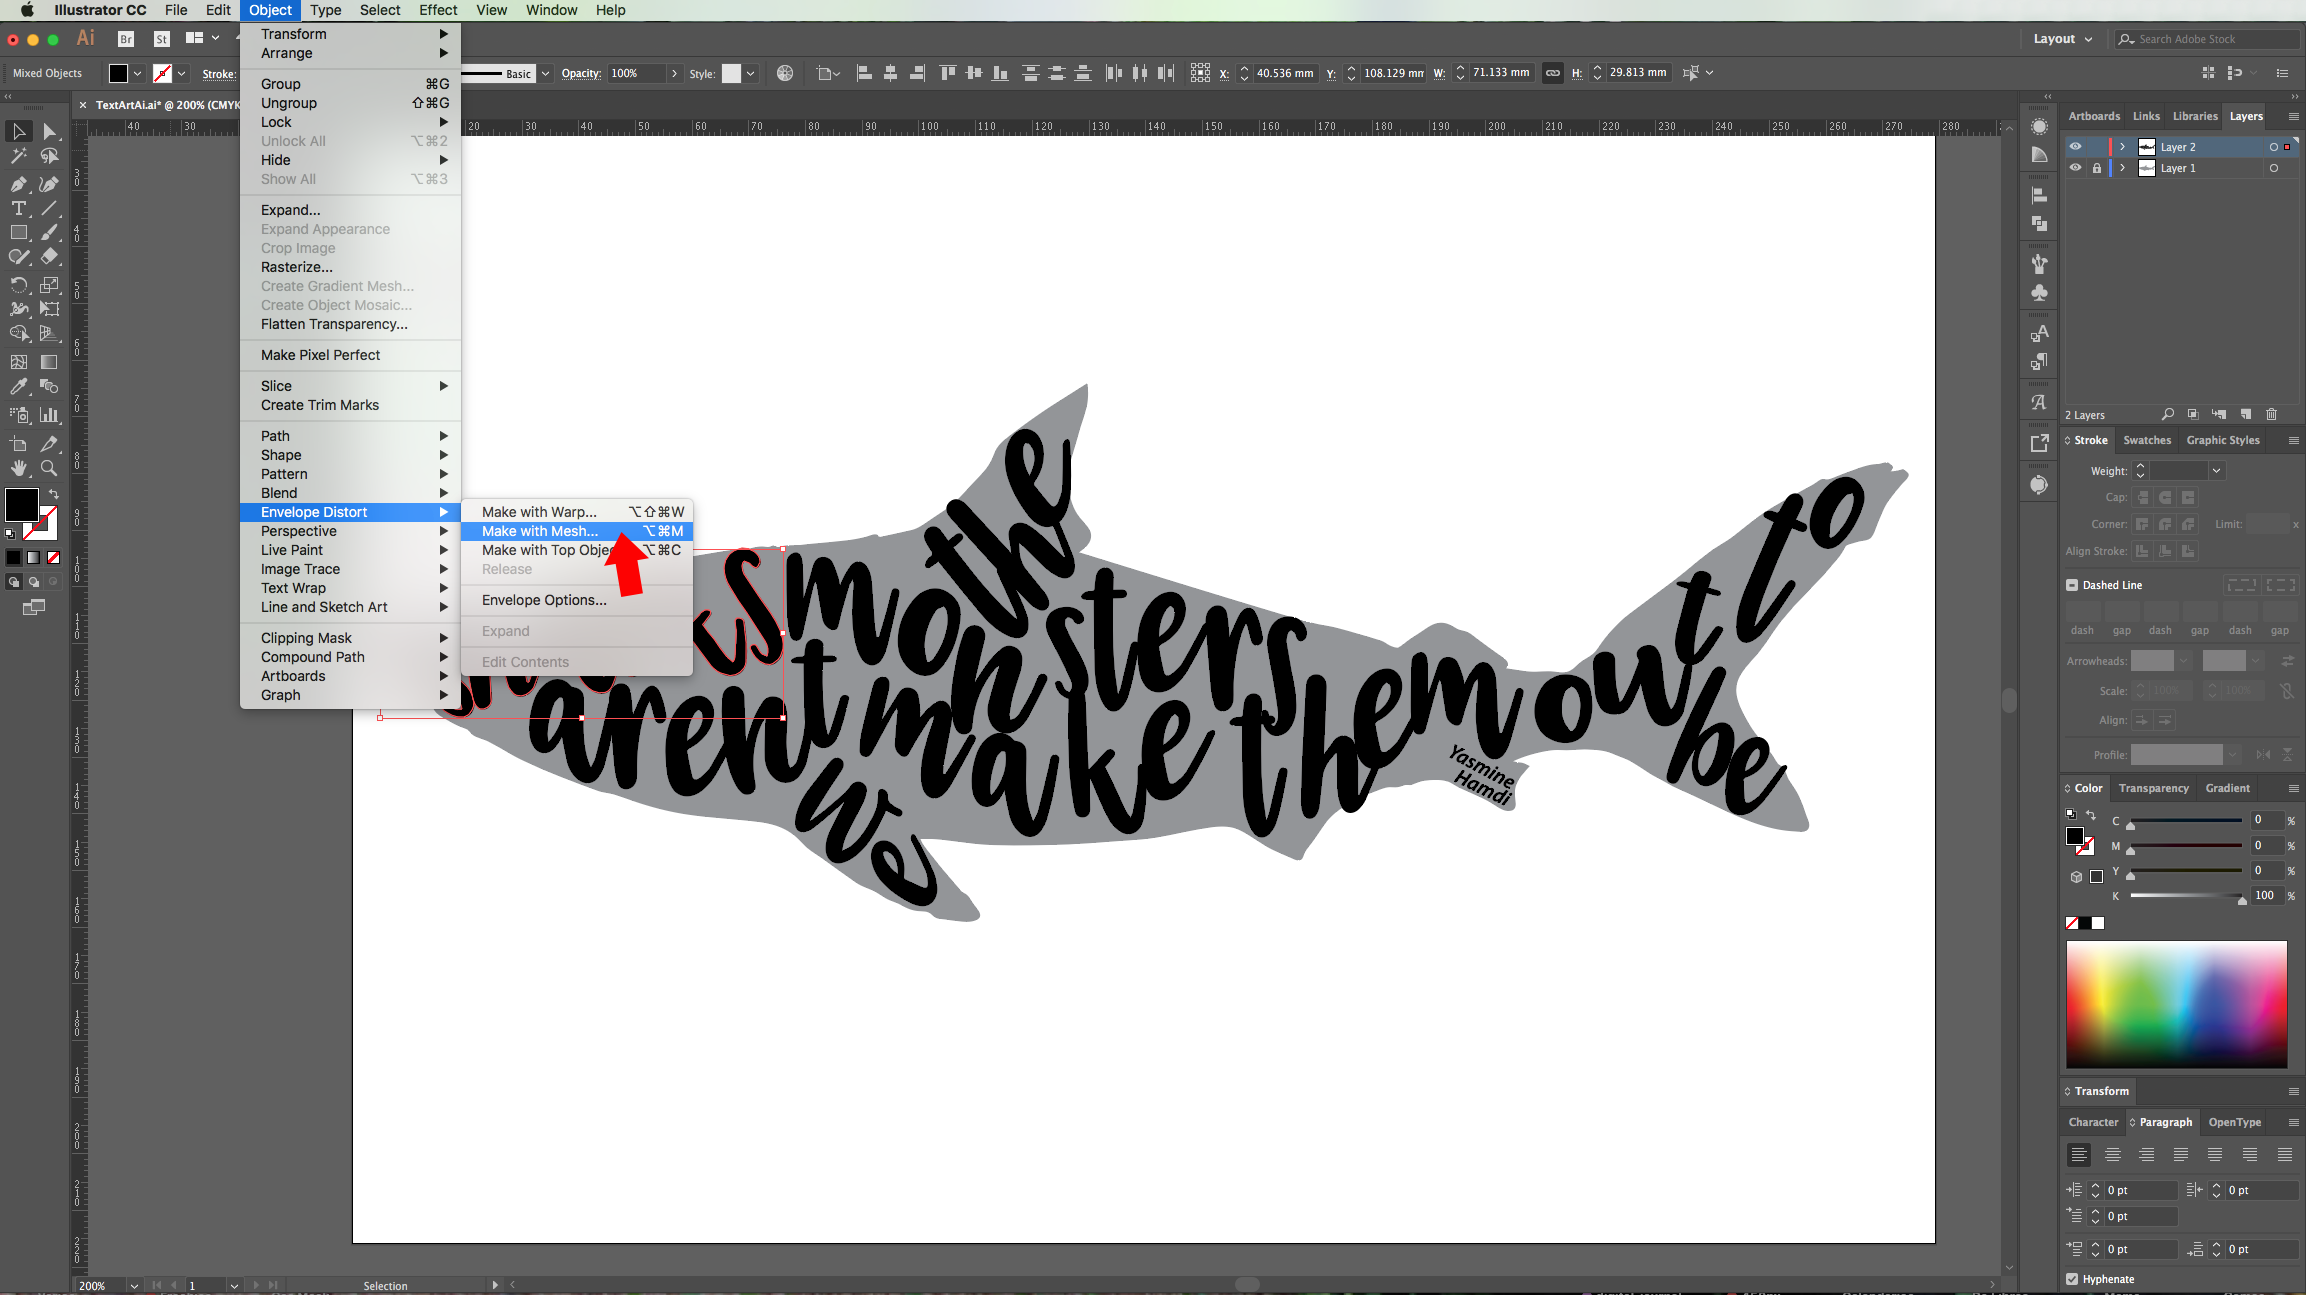
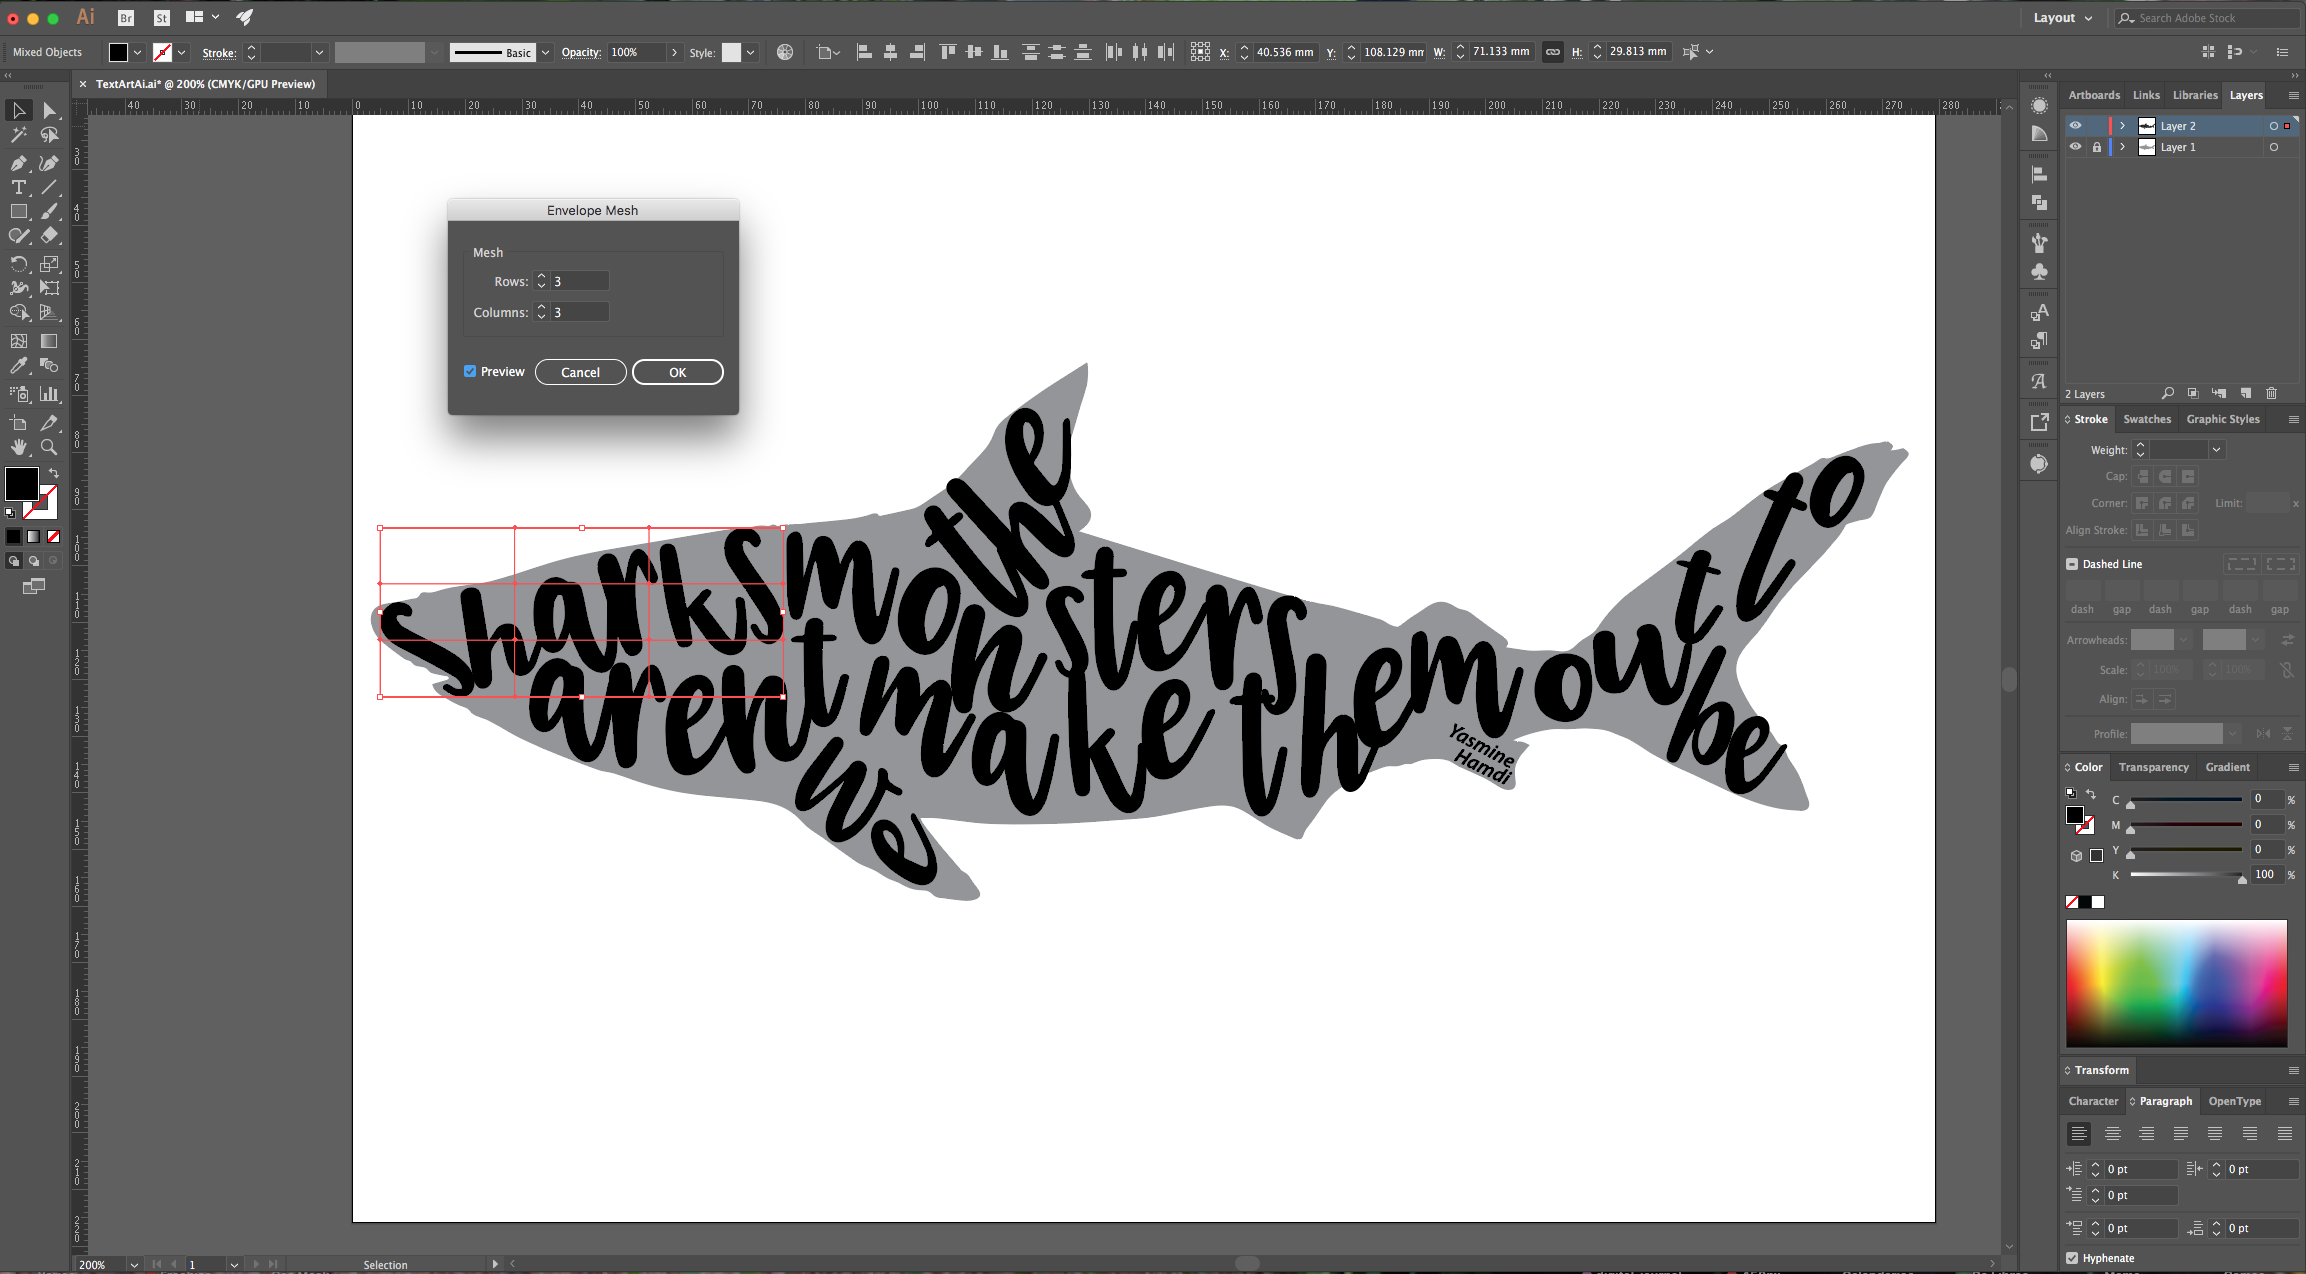
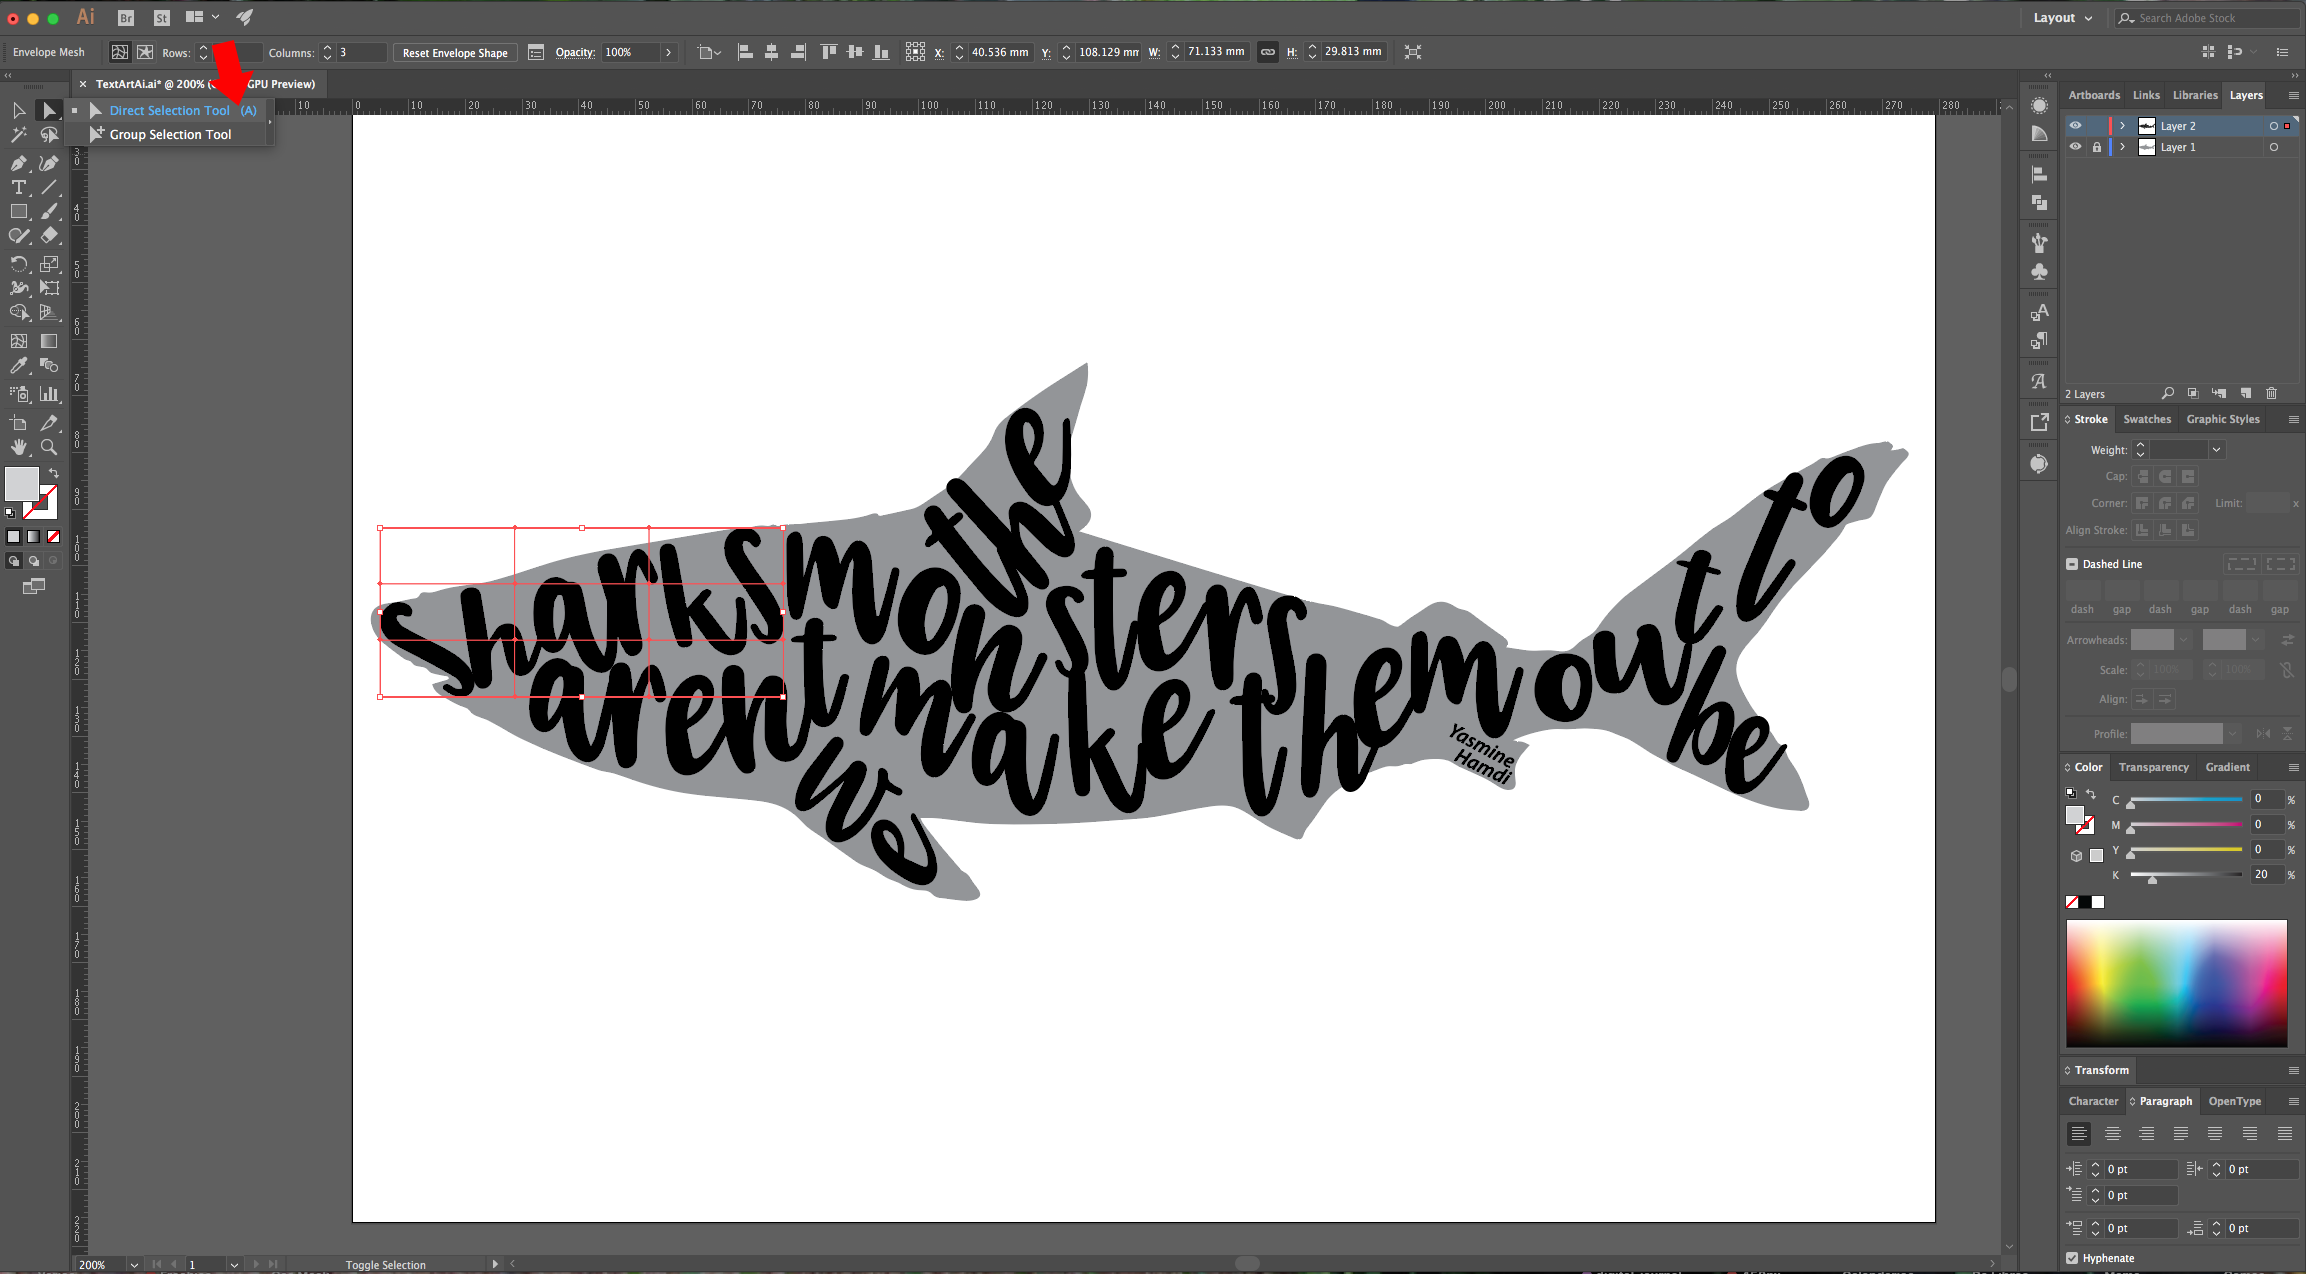
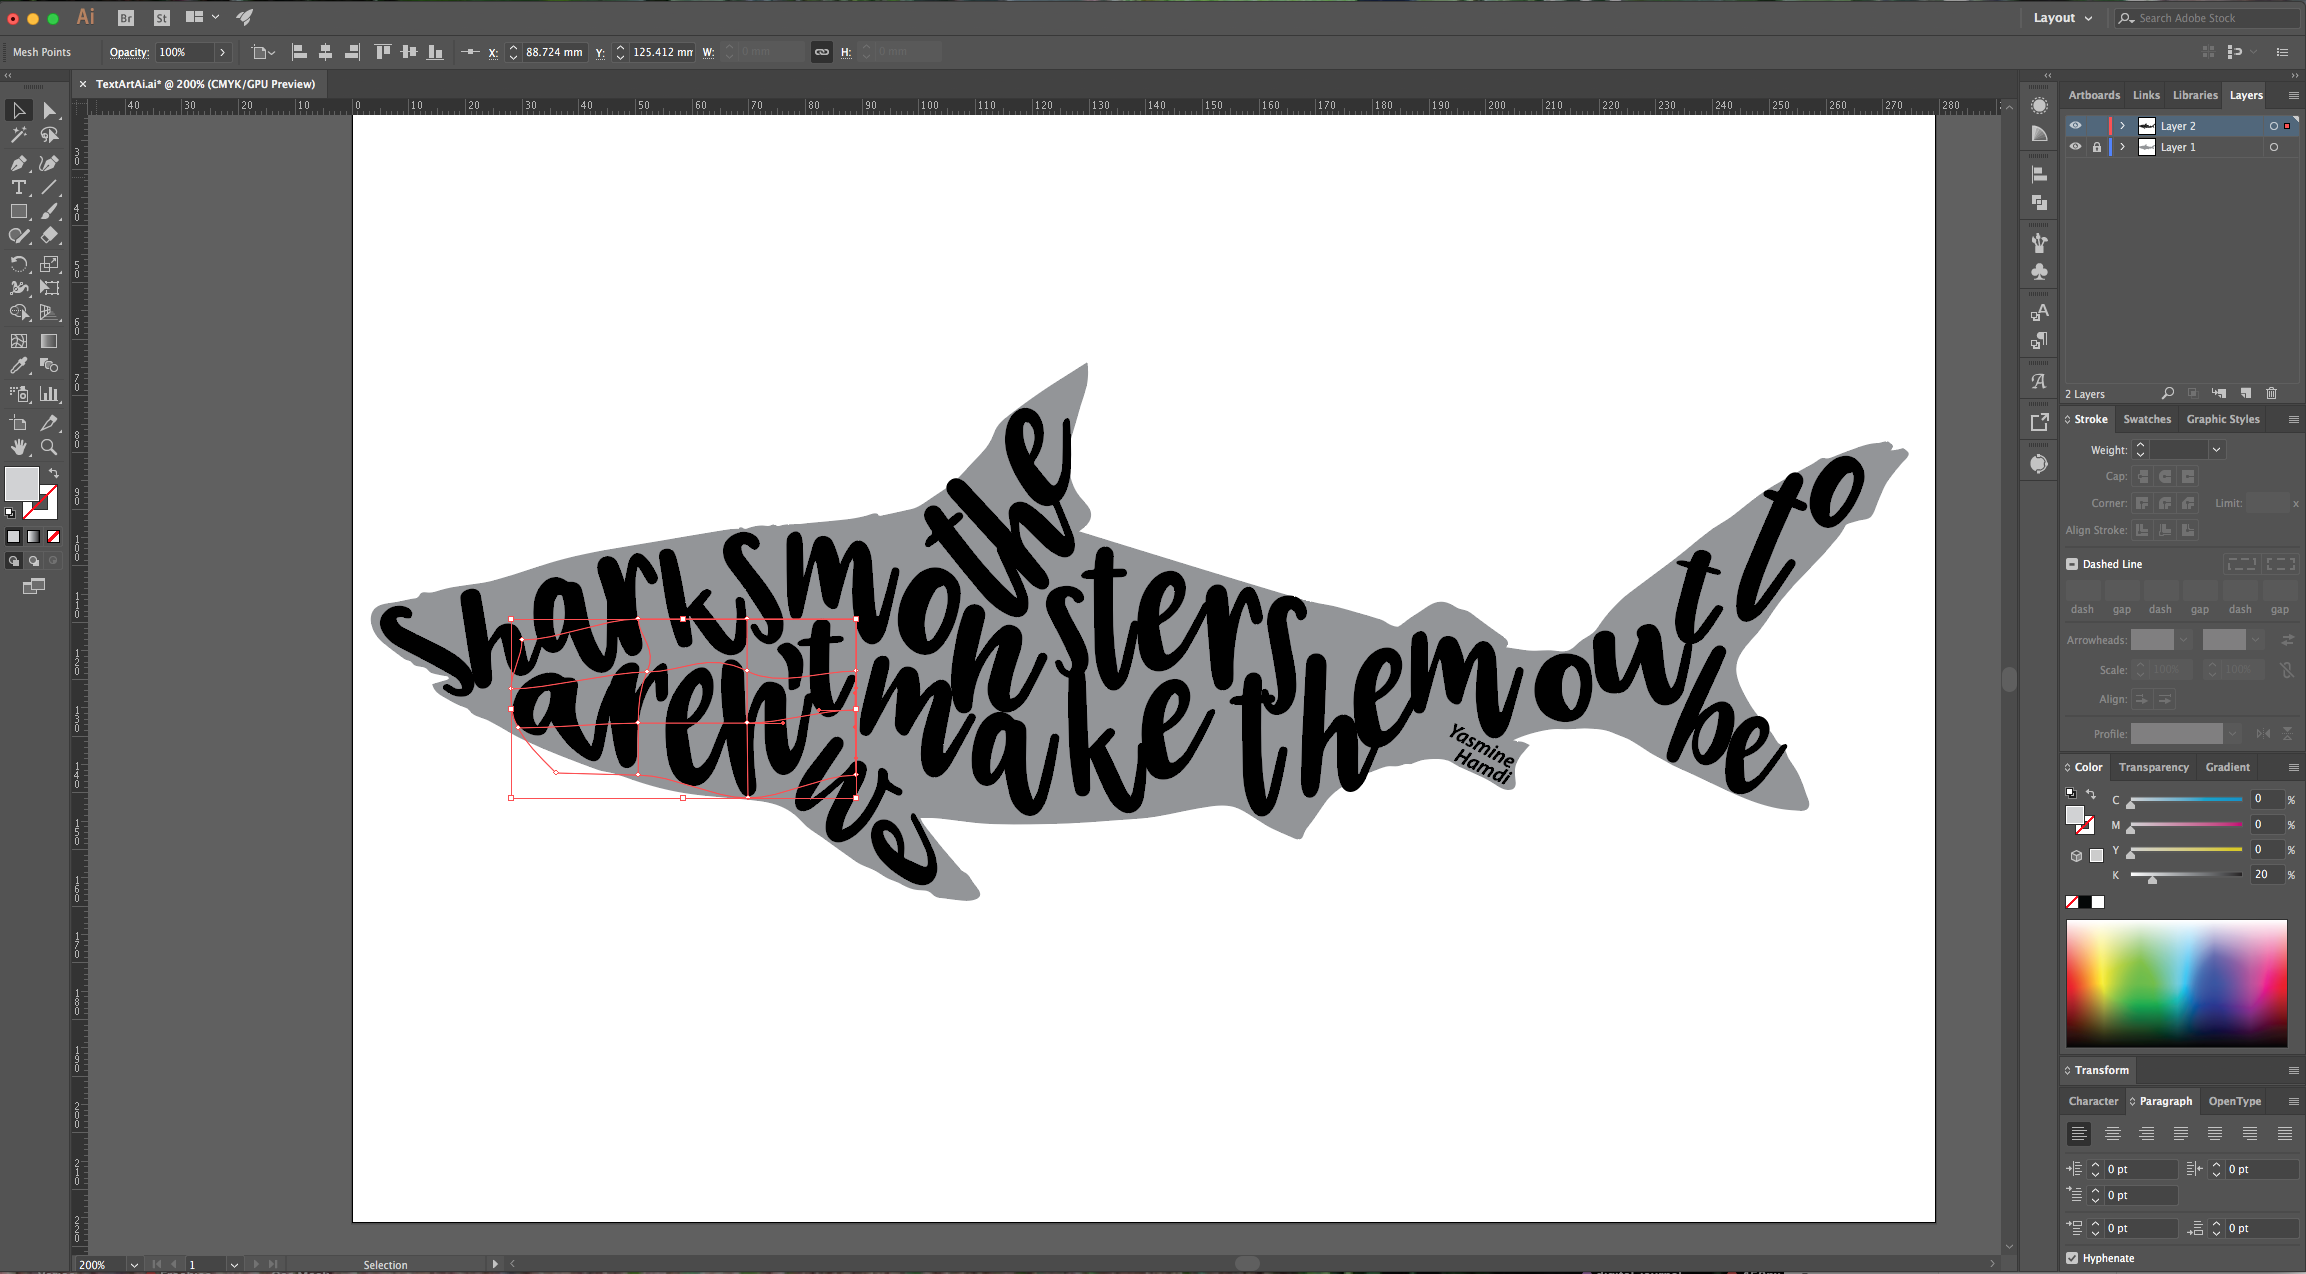
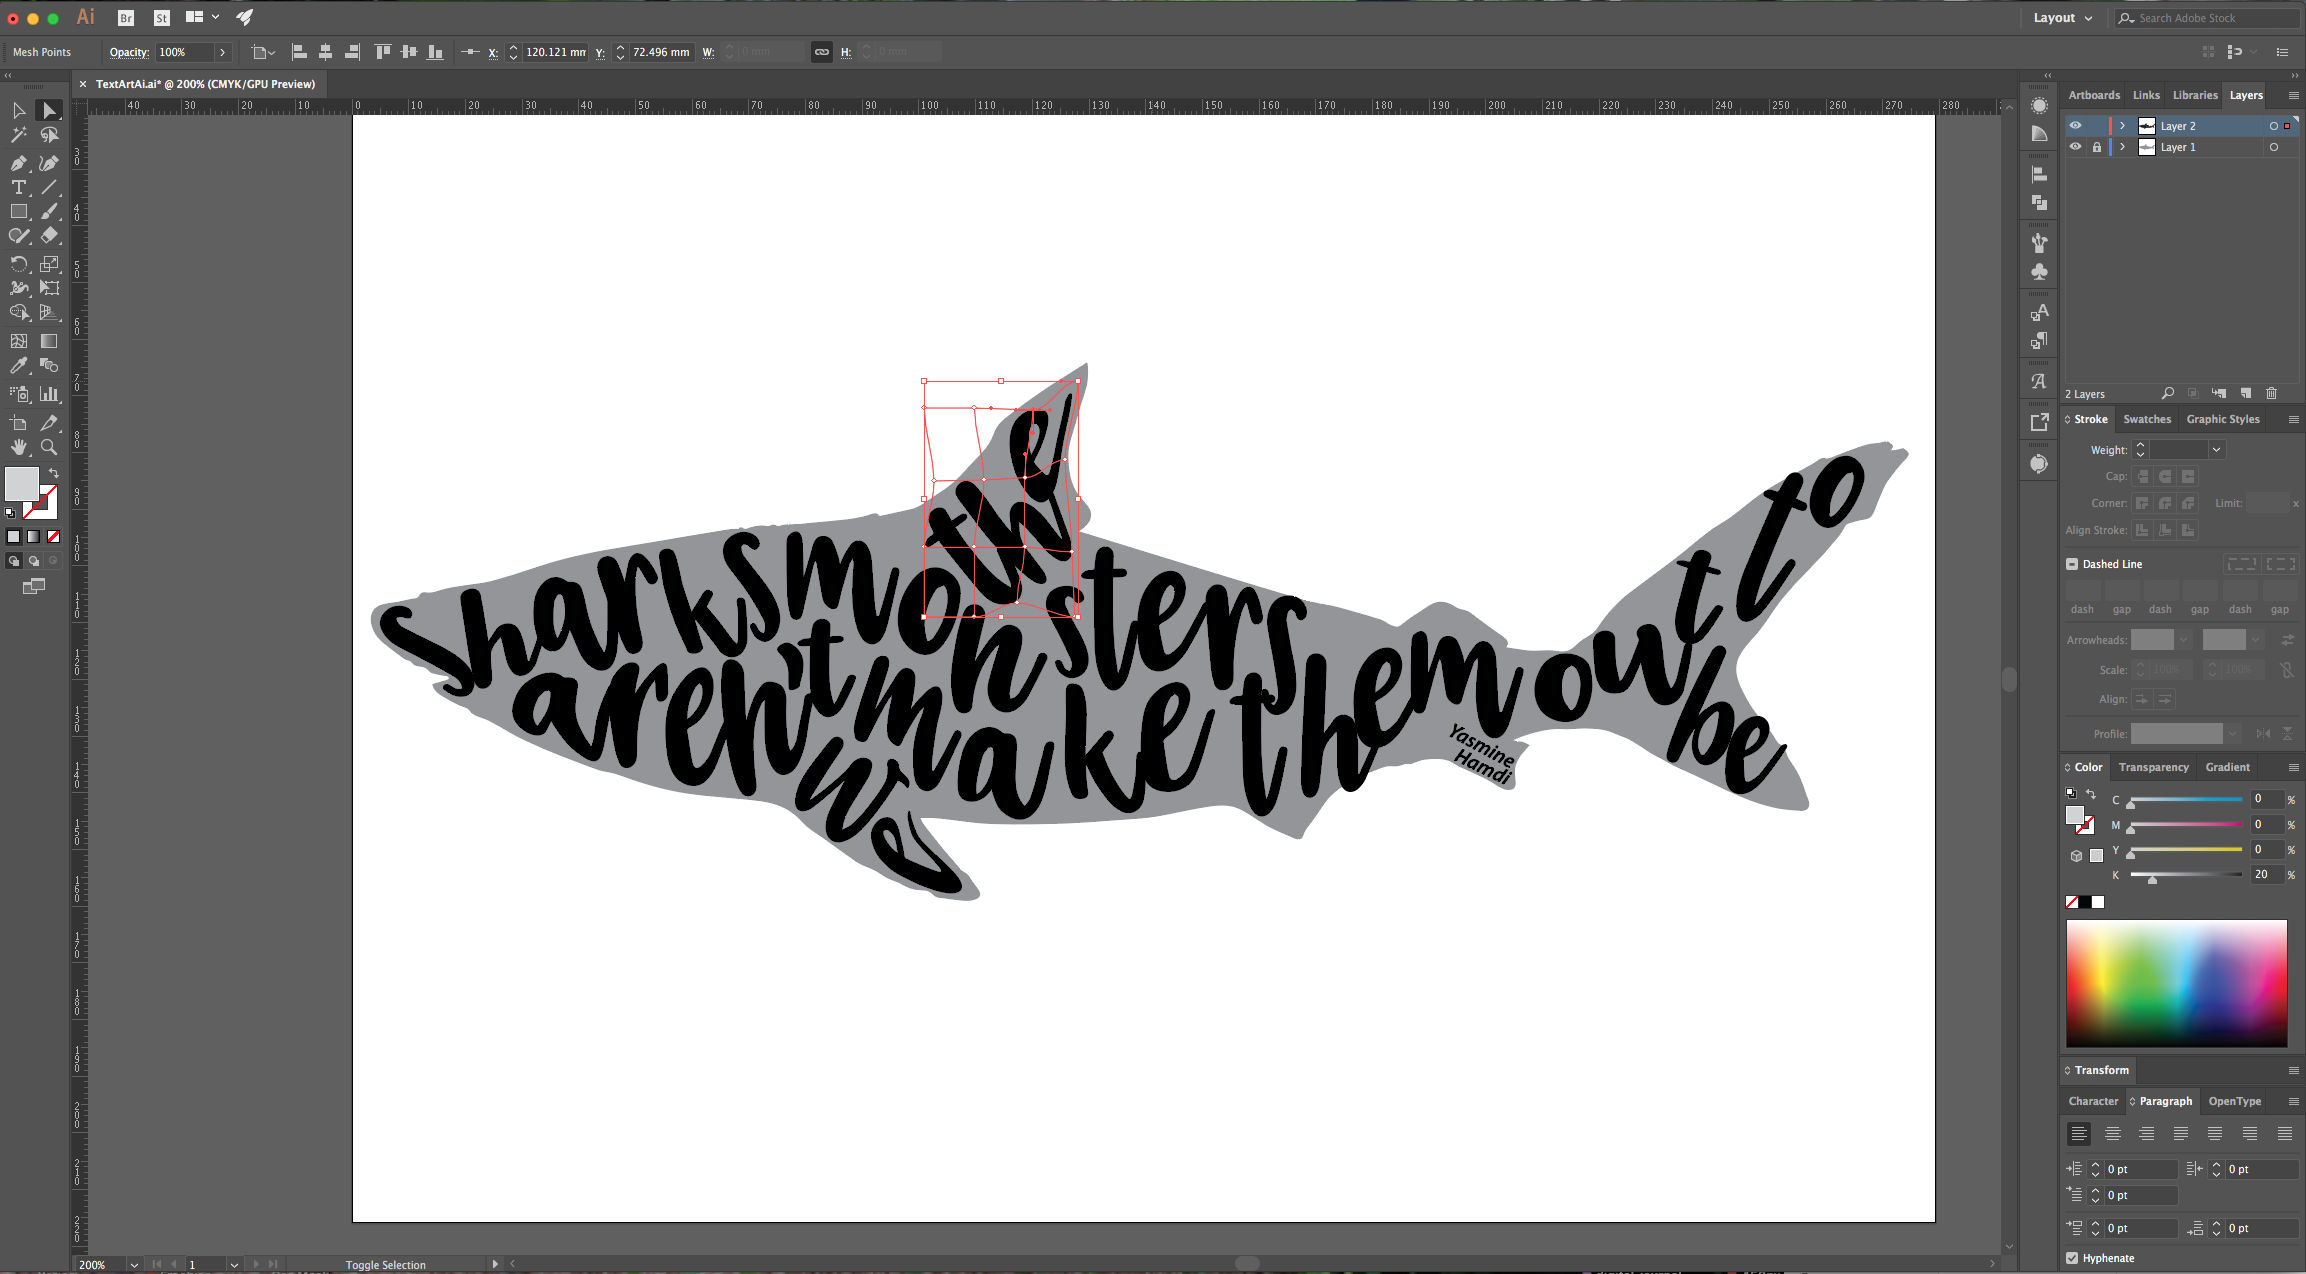
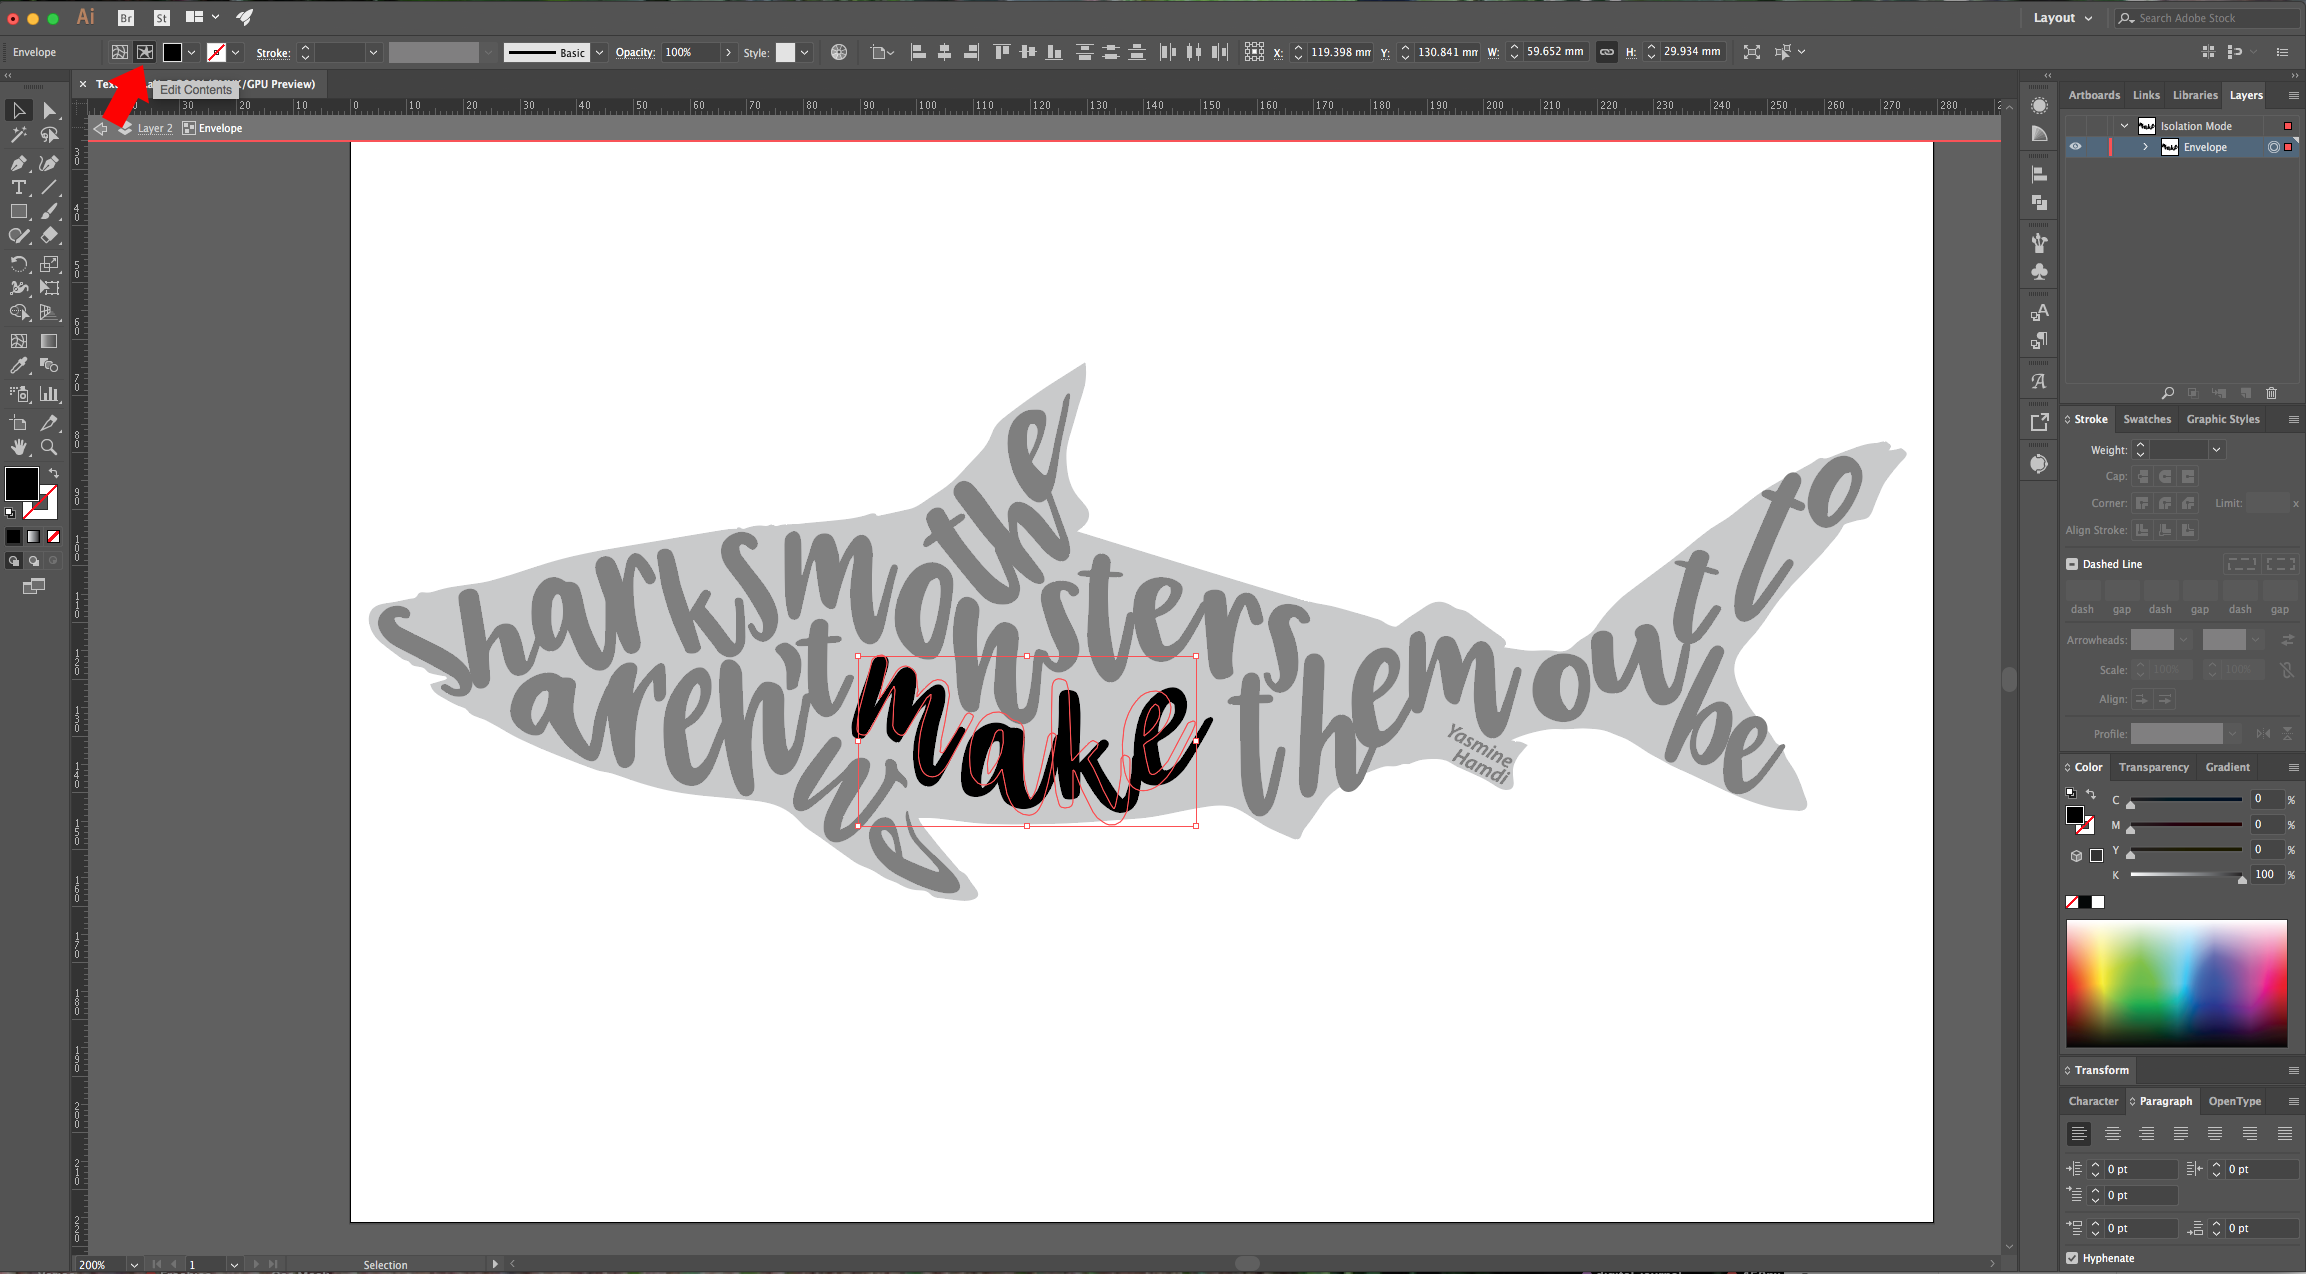
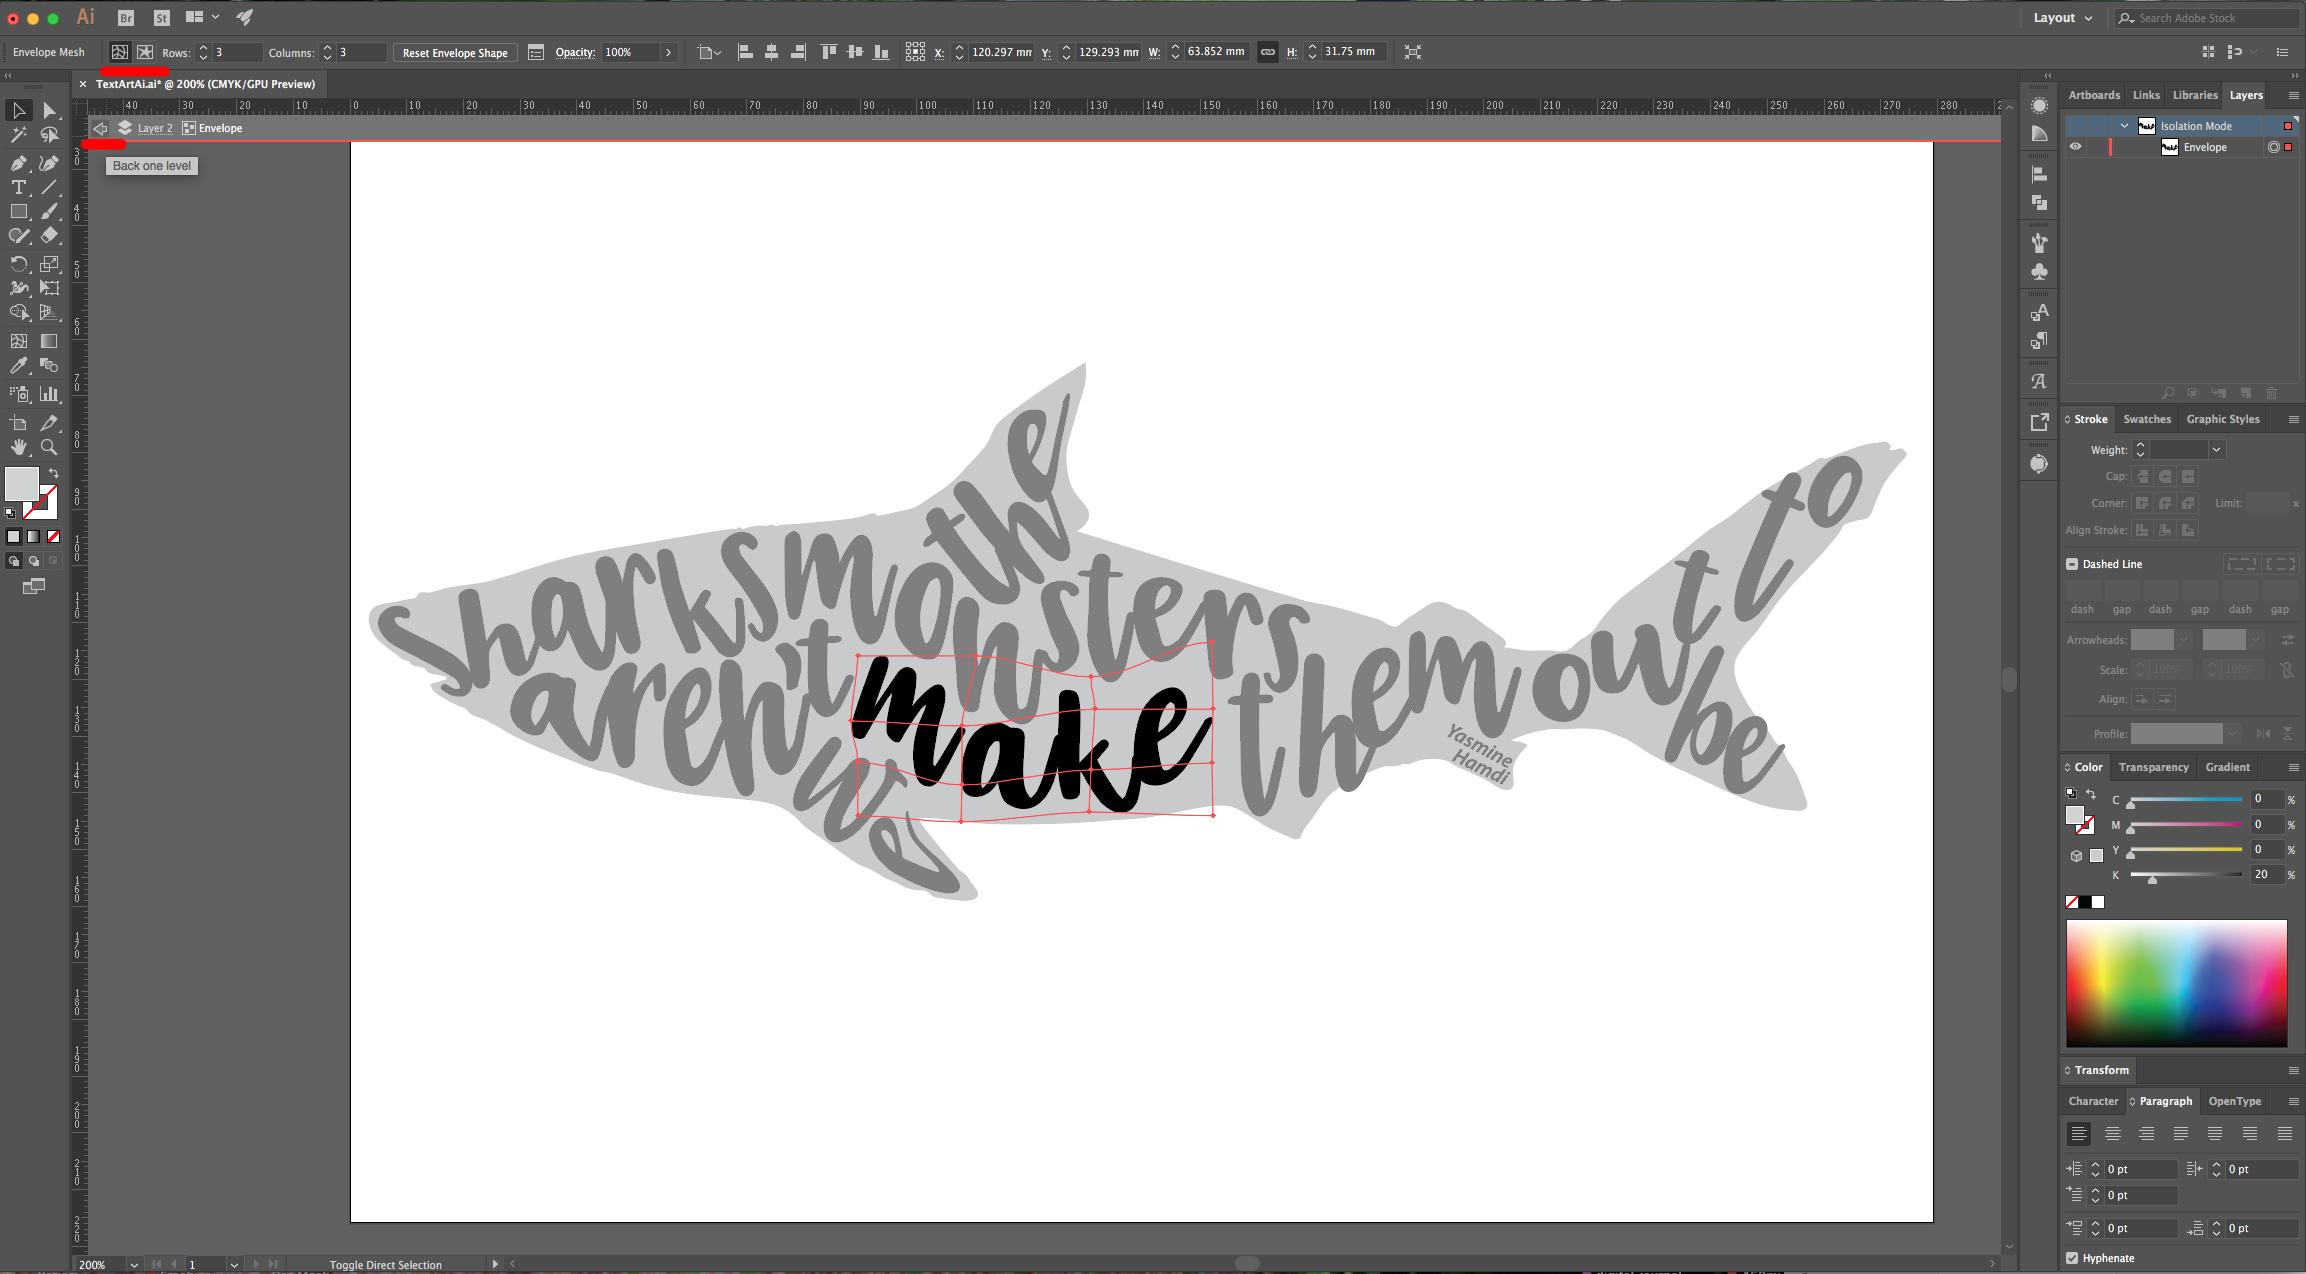
10 - You can double-click on the “Mesh” to edit the letters. To get back into the “Mesh” click on the “Edit Envelope” button on the top menu (you can go back and forth). Once you are done, click on the left facing arrow to go “Back to Level”.
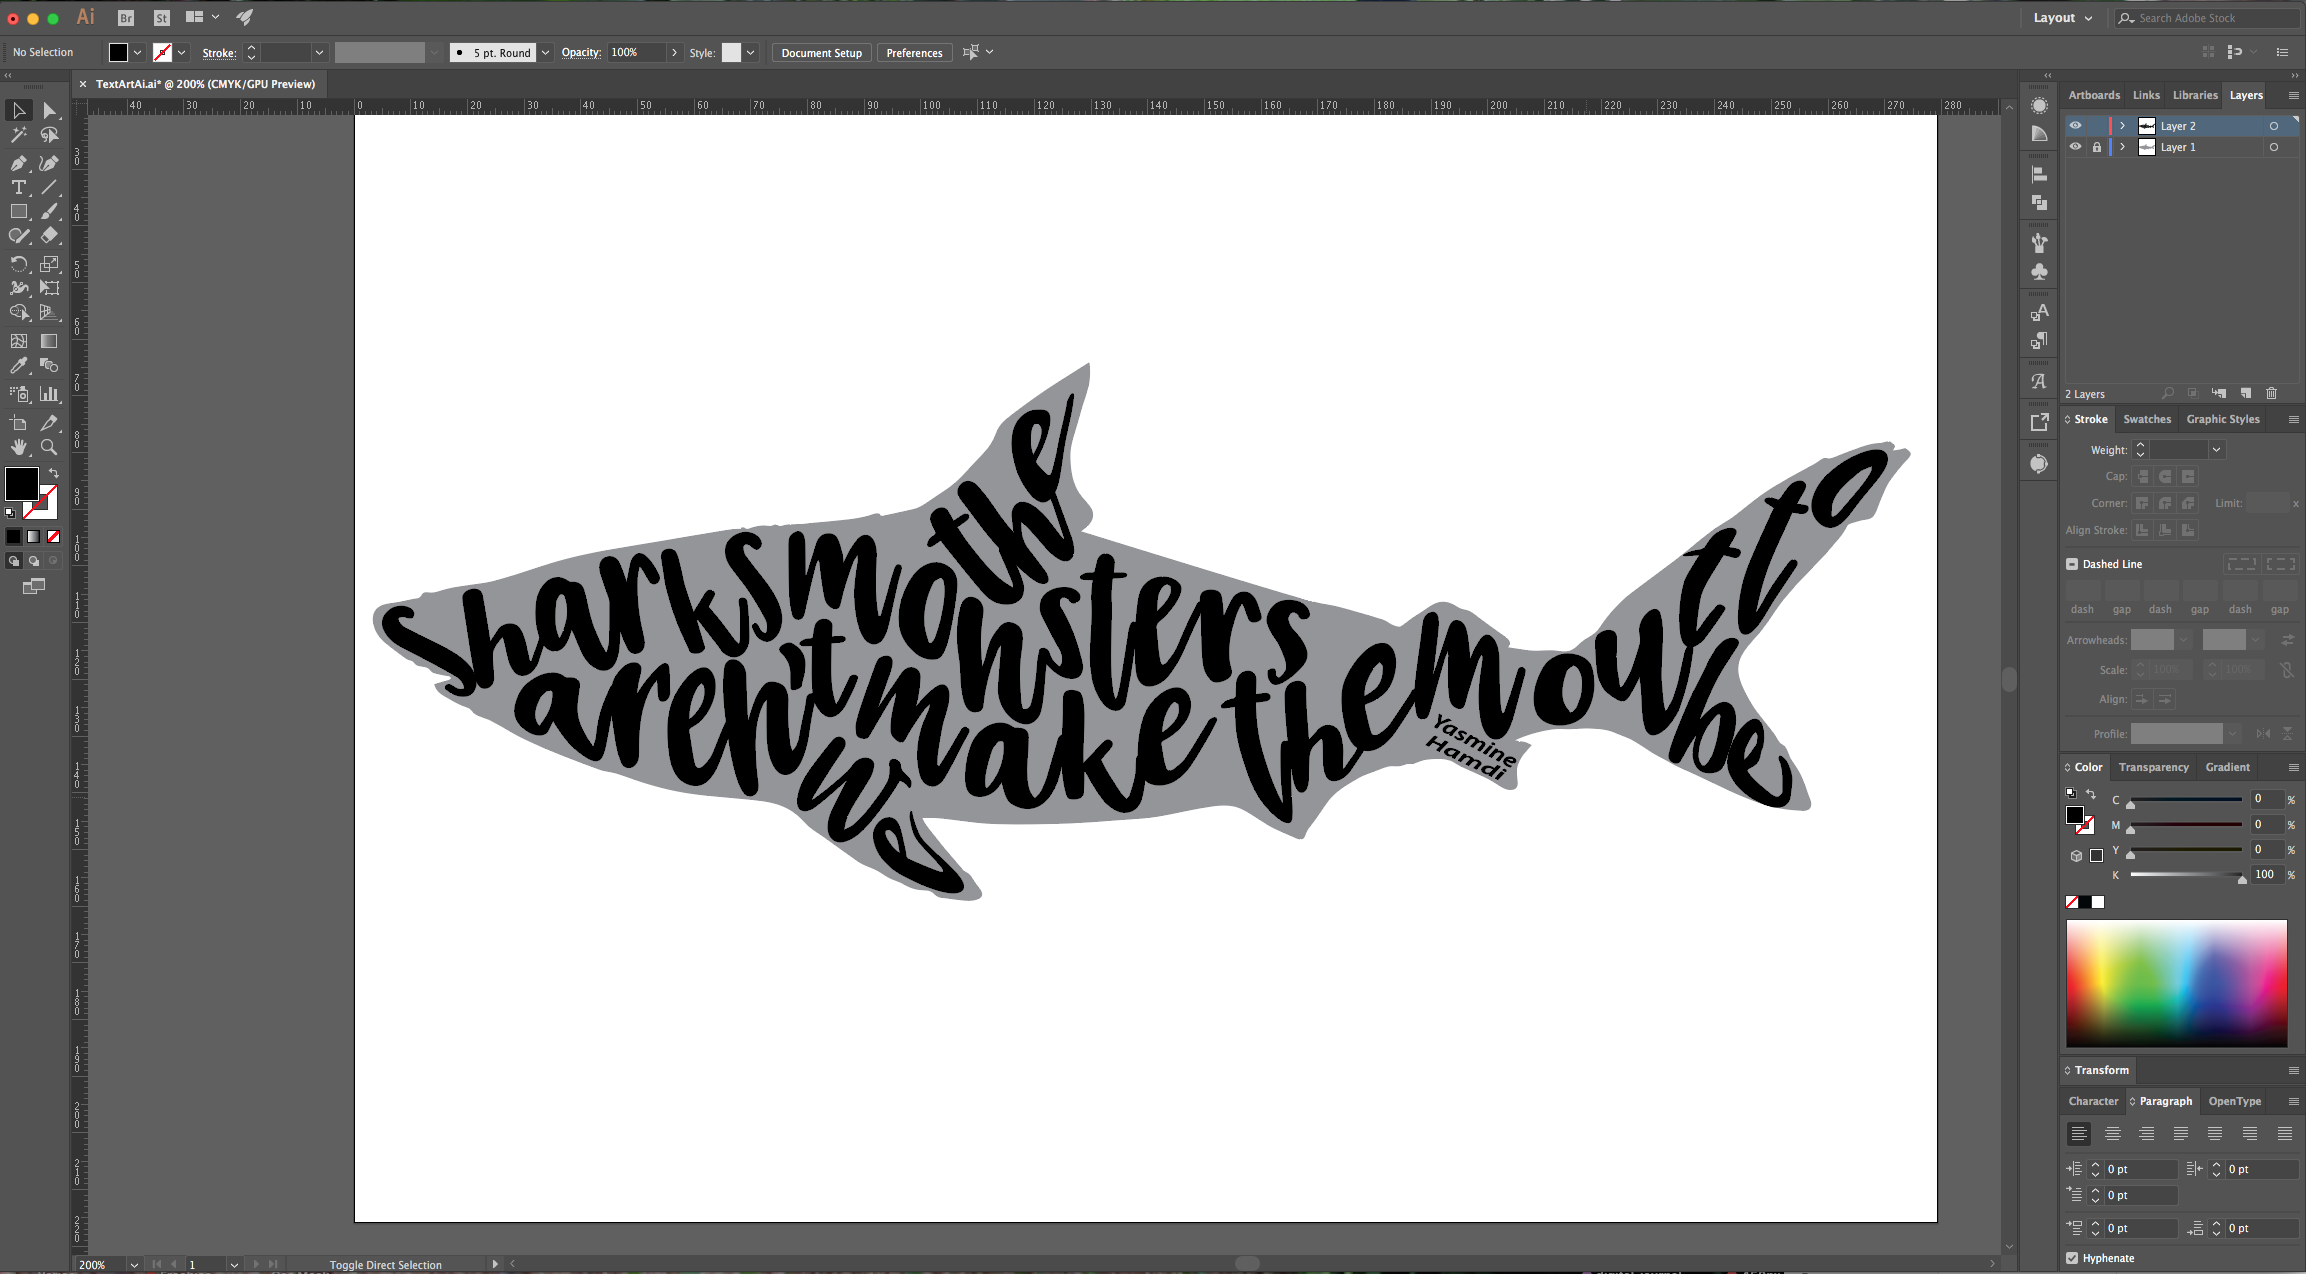
11 - Once you are done, create a “New Layer” and place it at the bottom. Go to Image > Place (Shift + Command/Control + P) and navigate to the place where the image you wish to use as “Background” is saved. Select it and click “Place”. Resize the image to fit your document if needed and “Lock” the Layer.
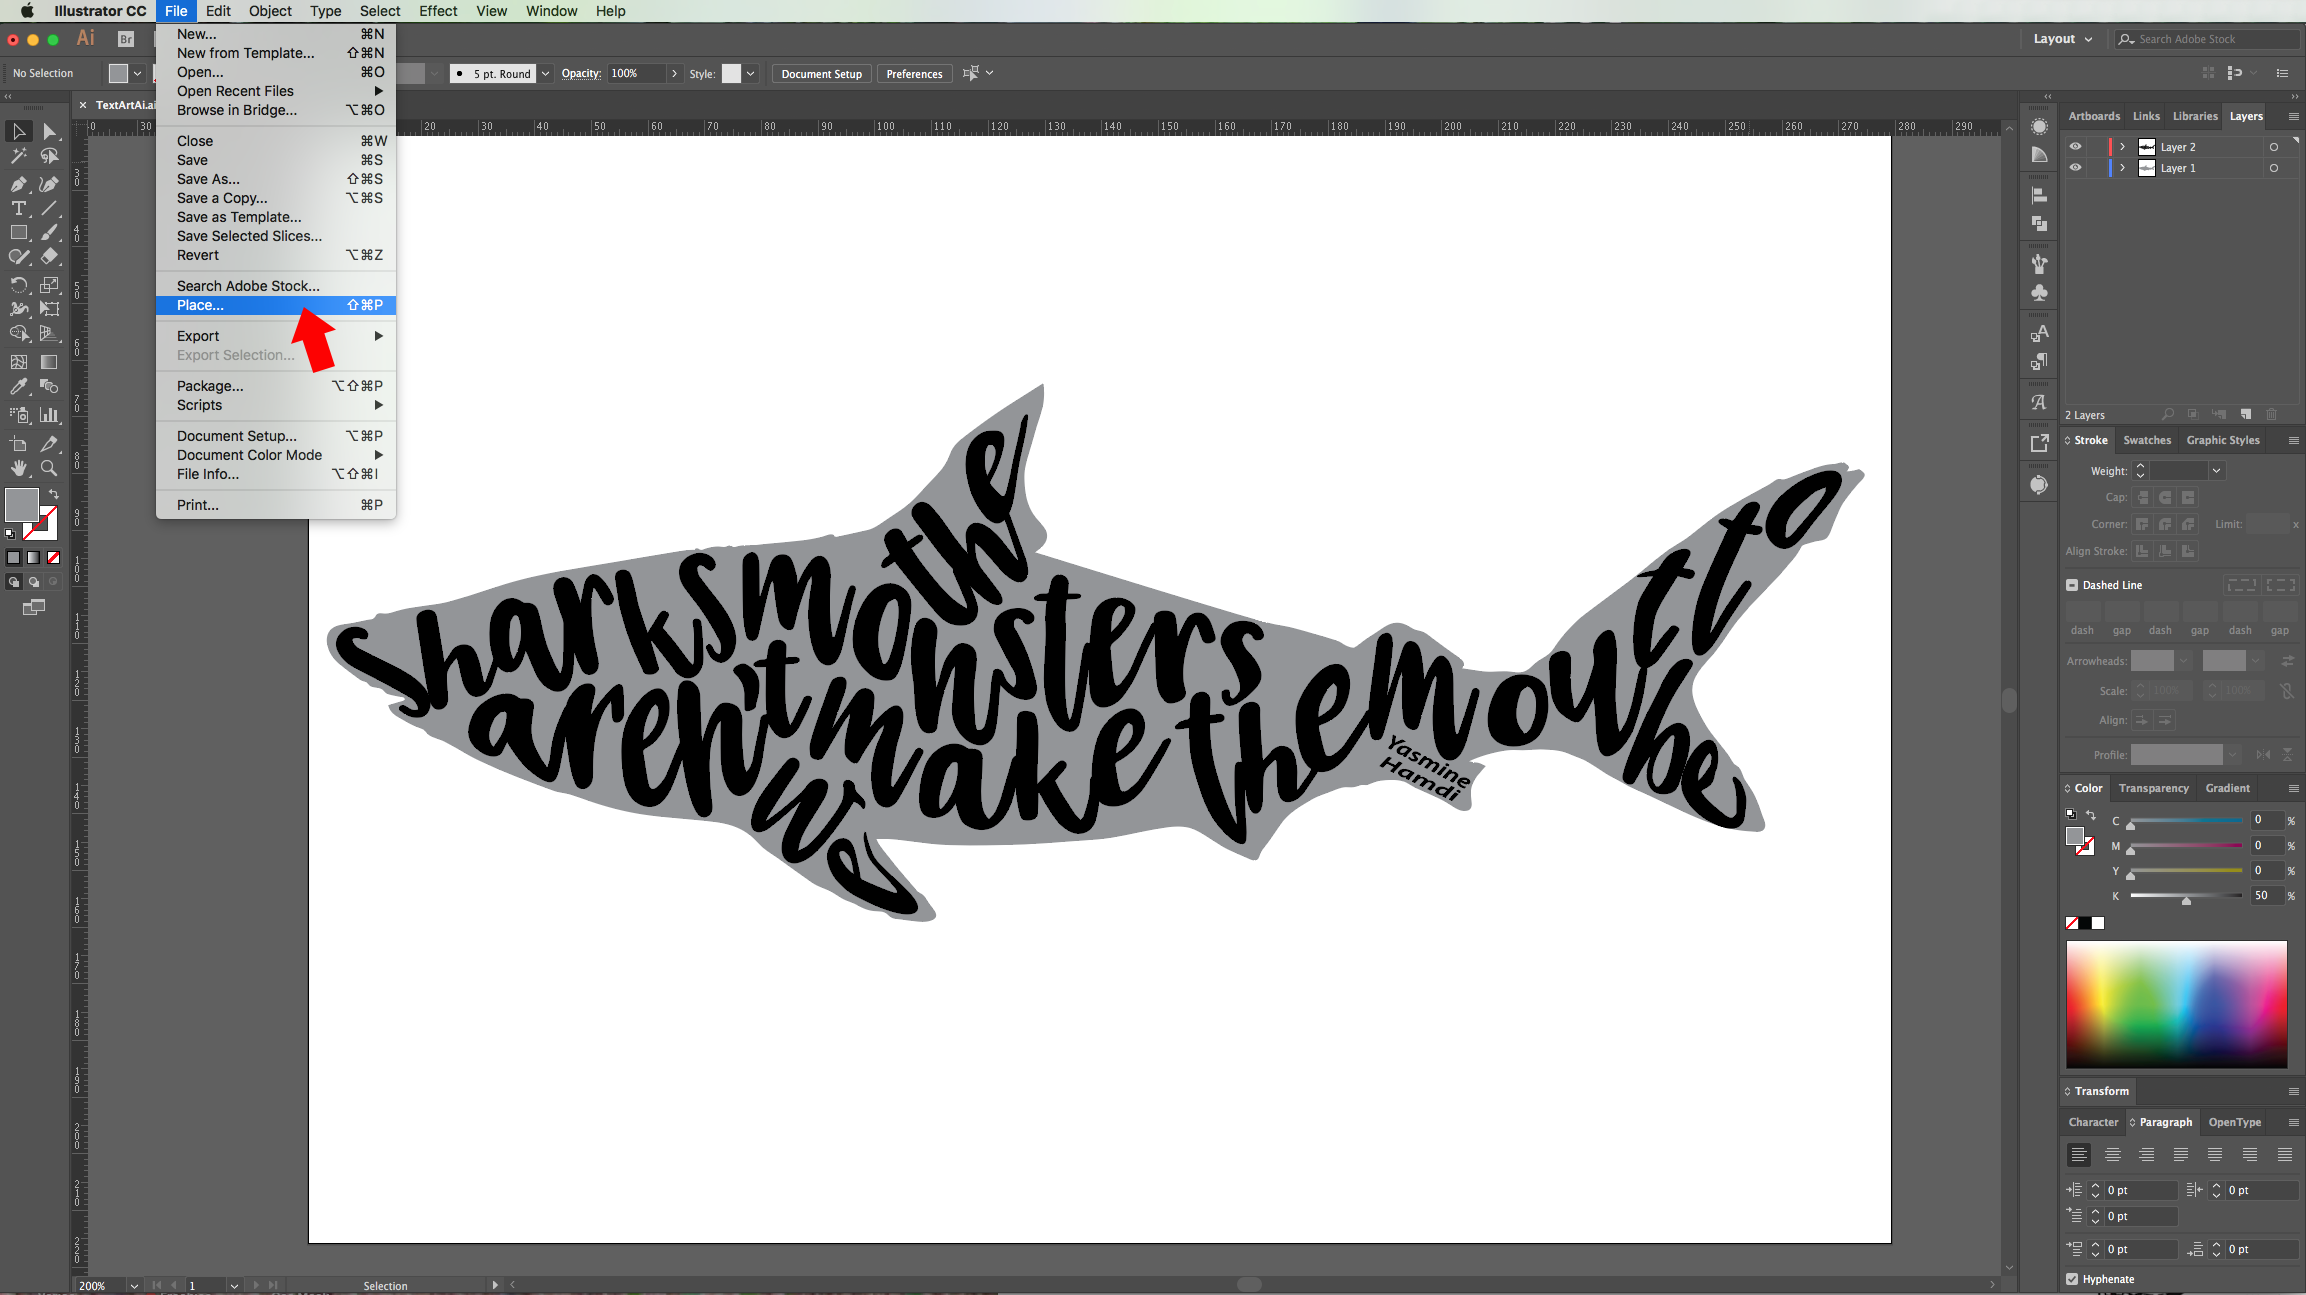
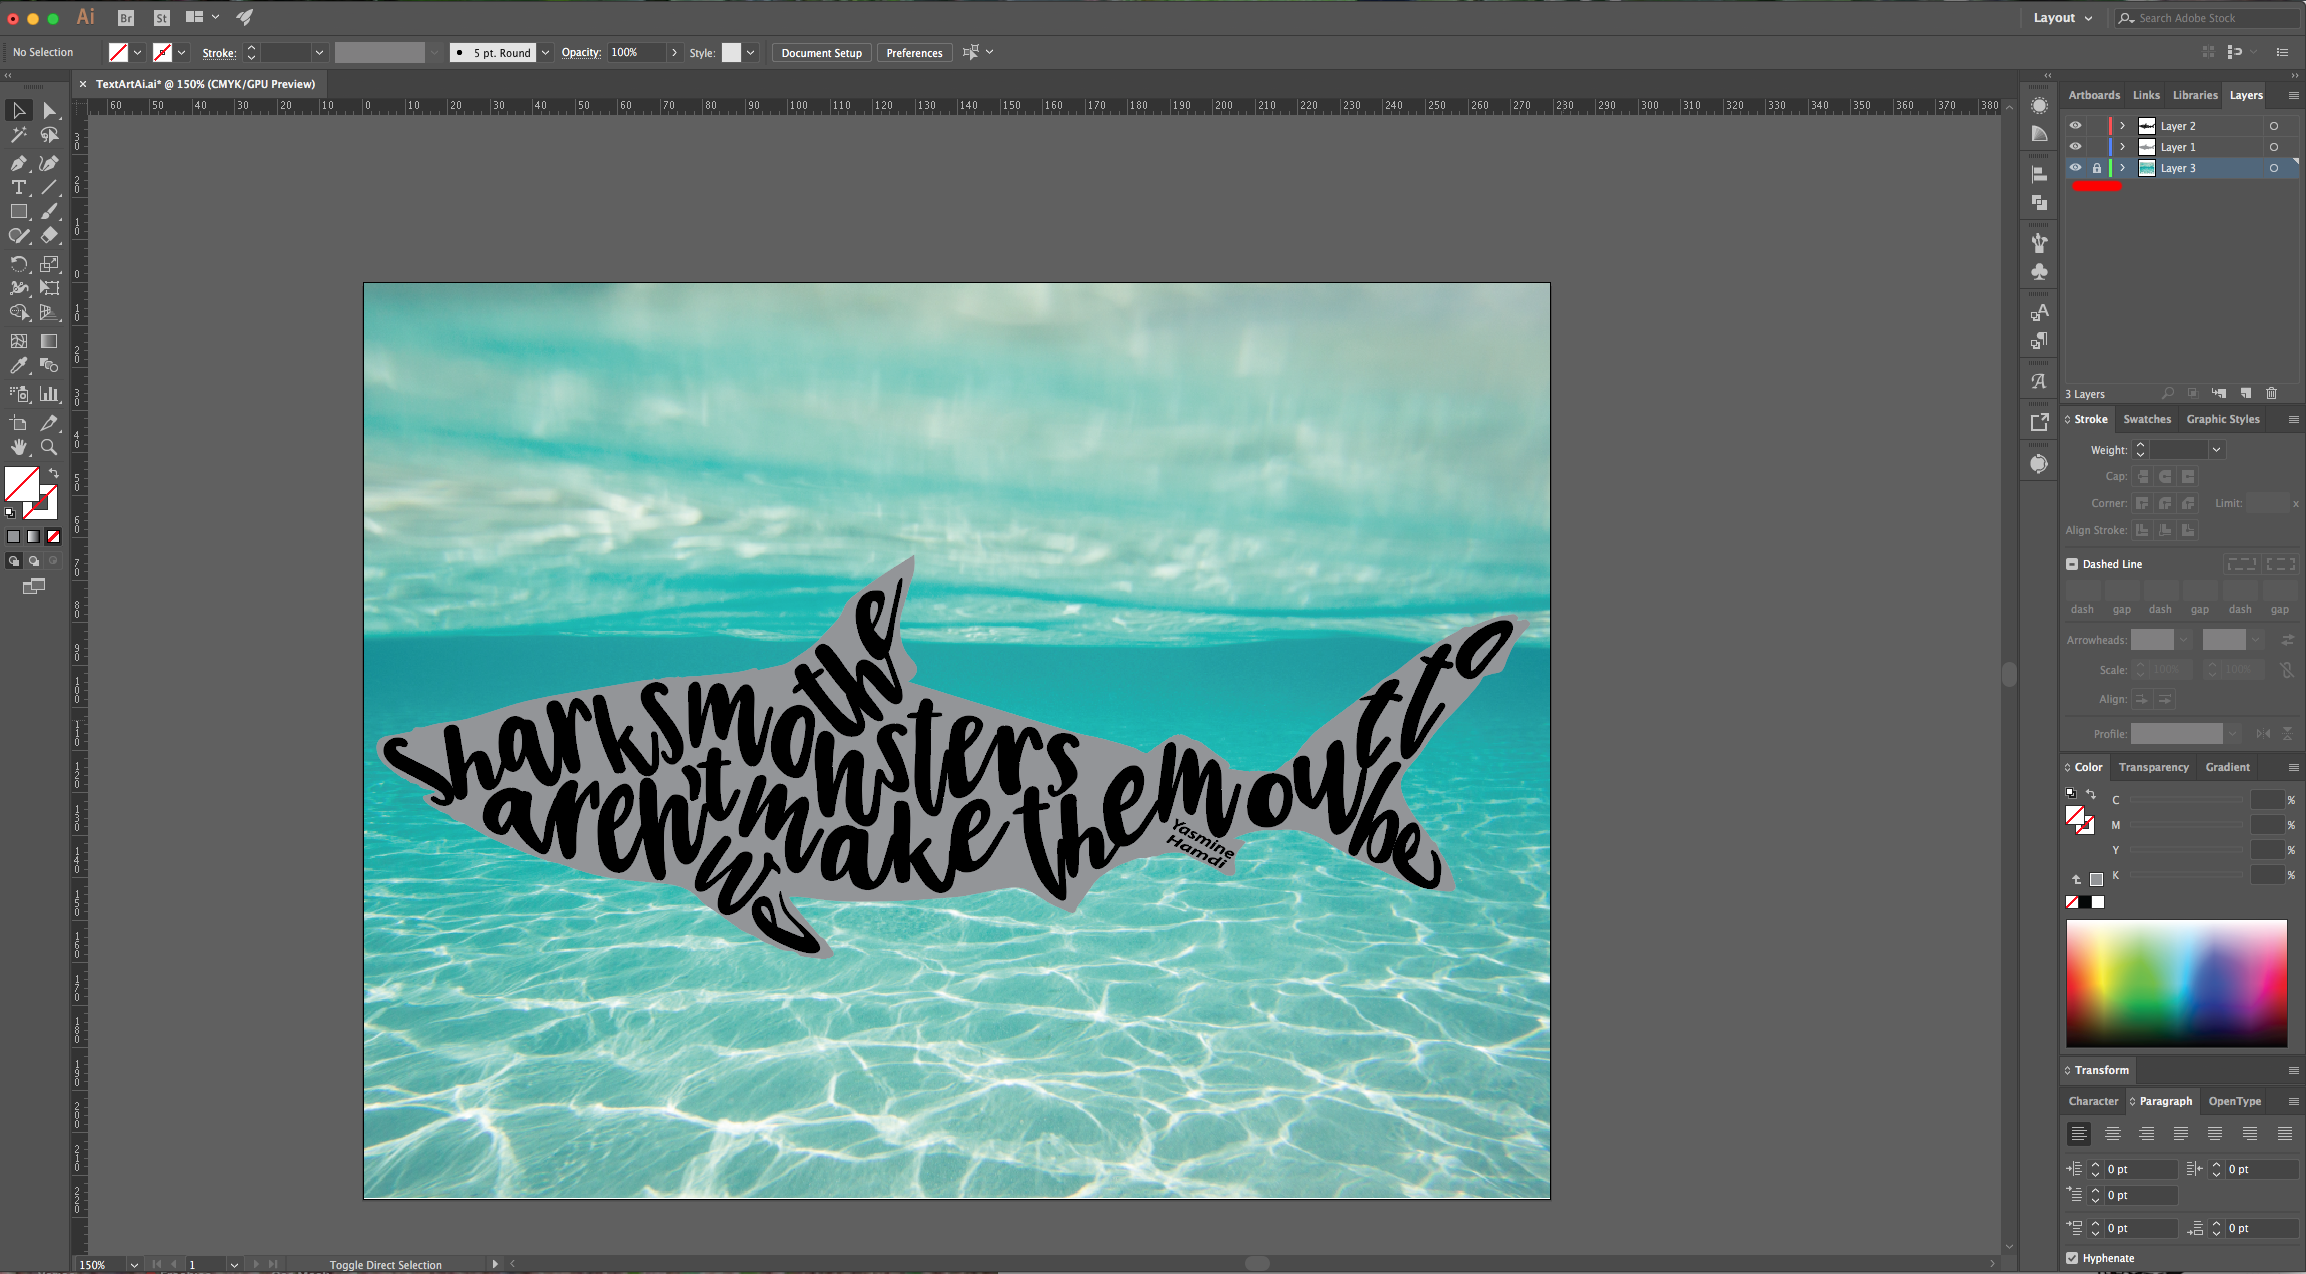
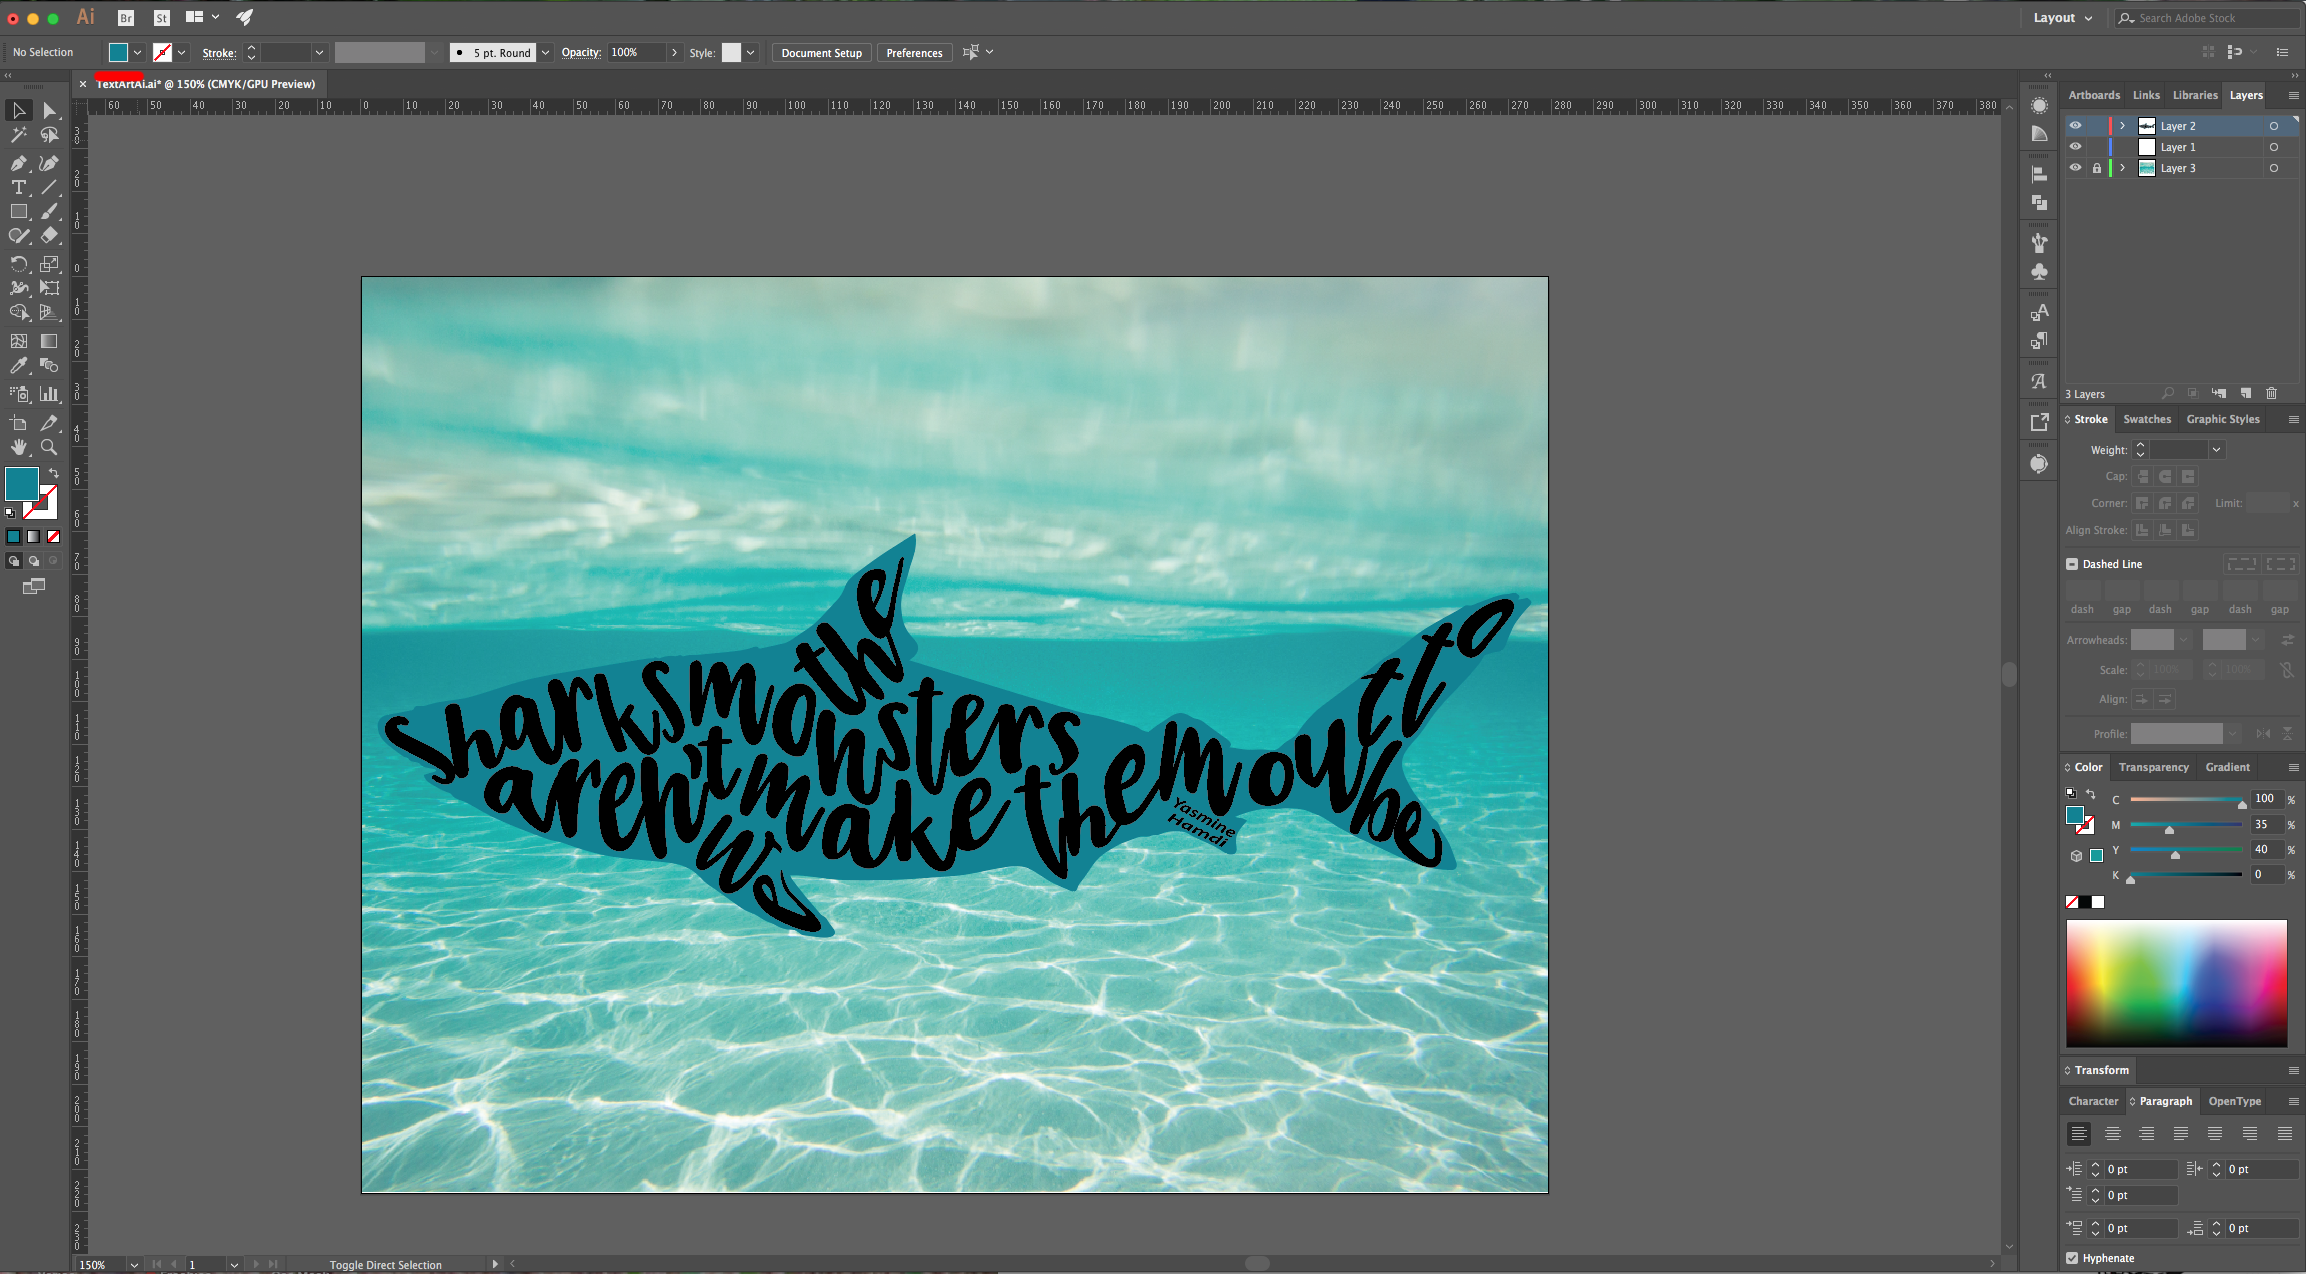
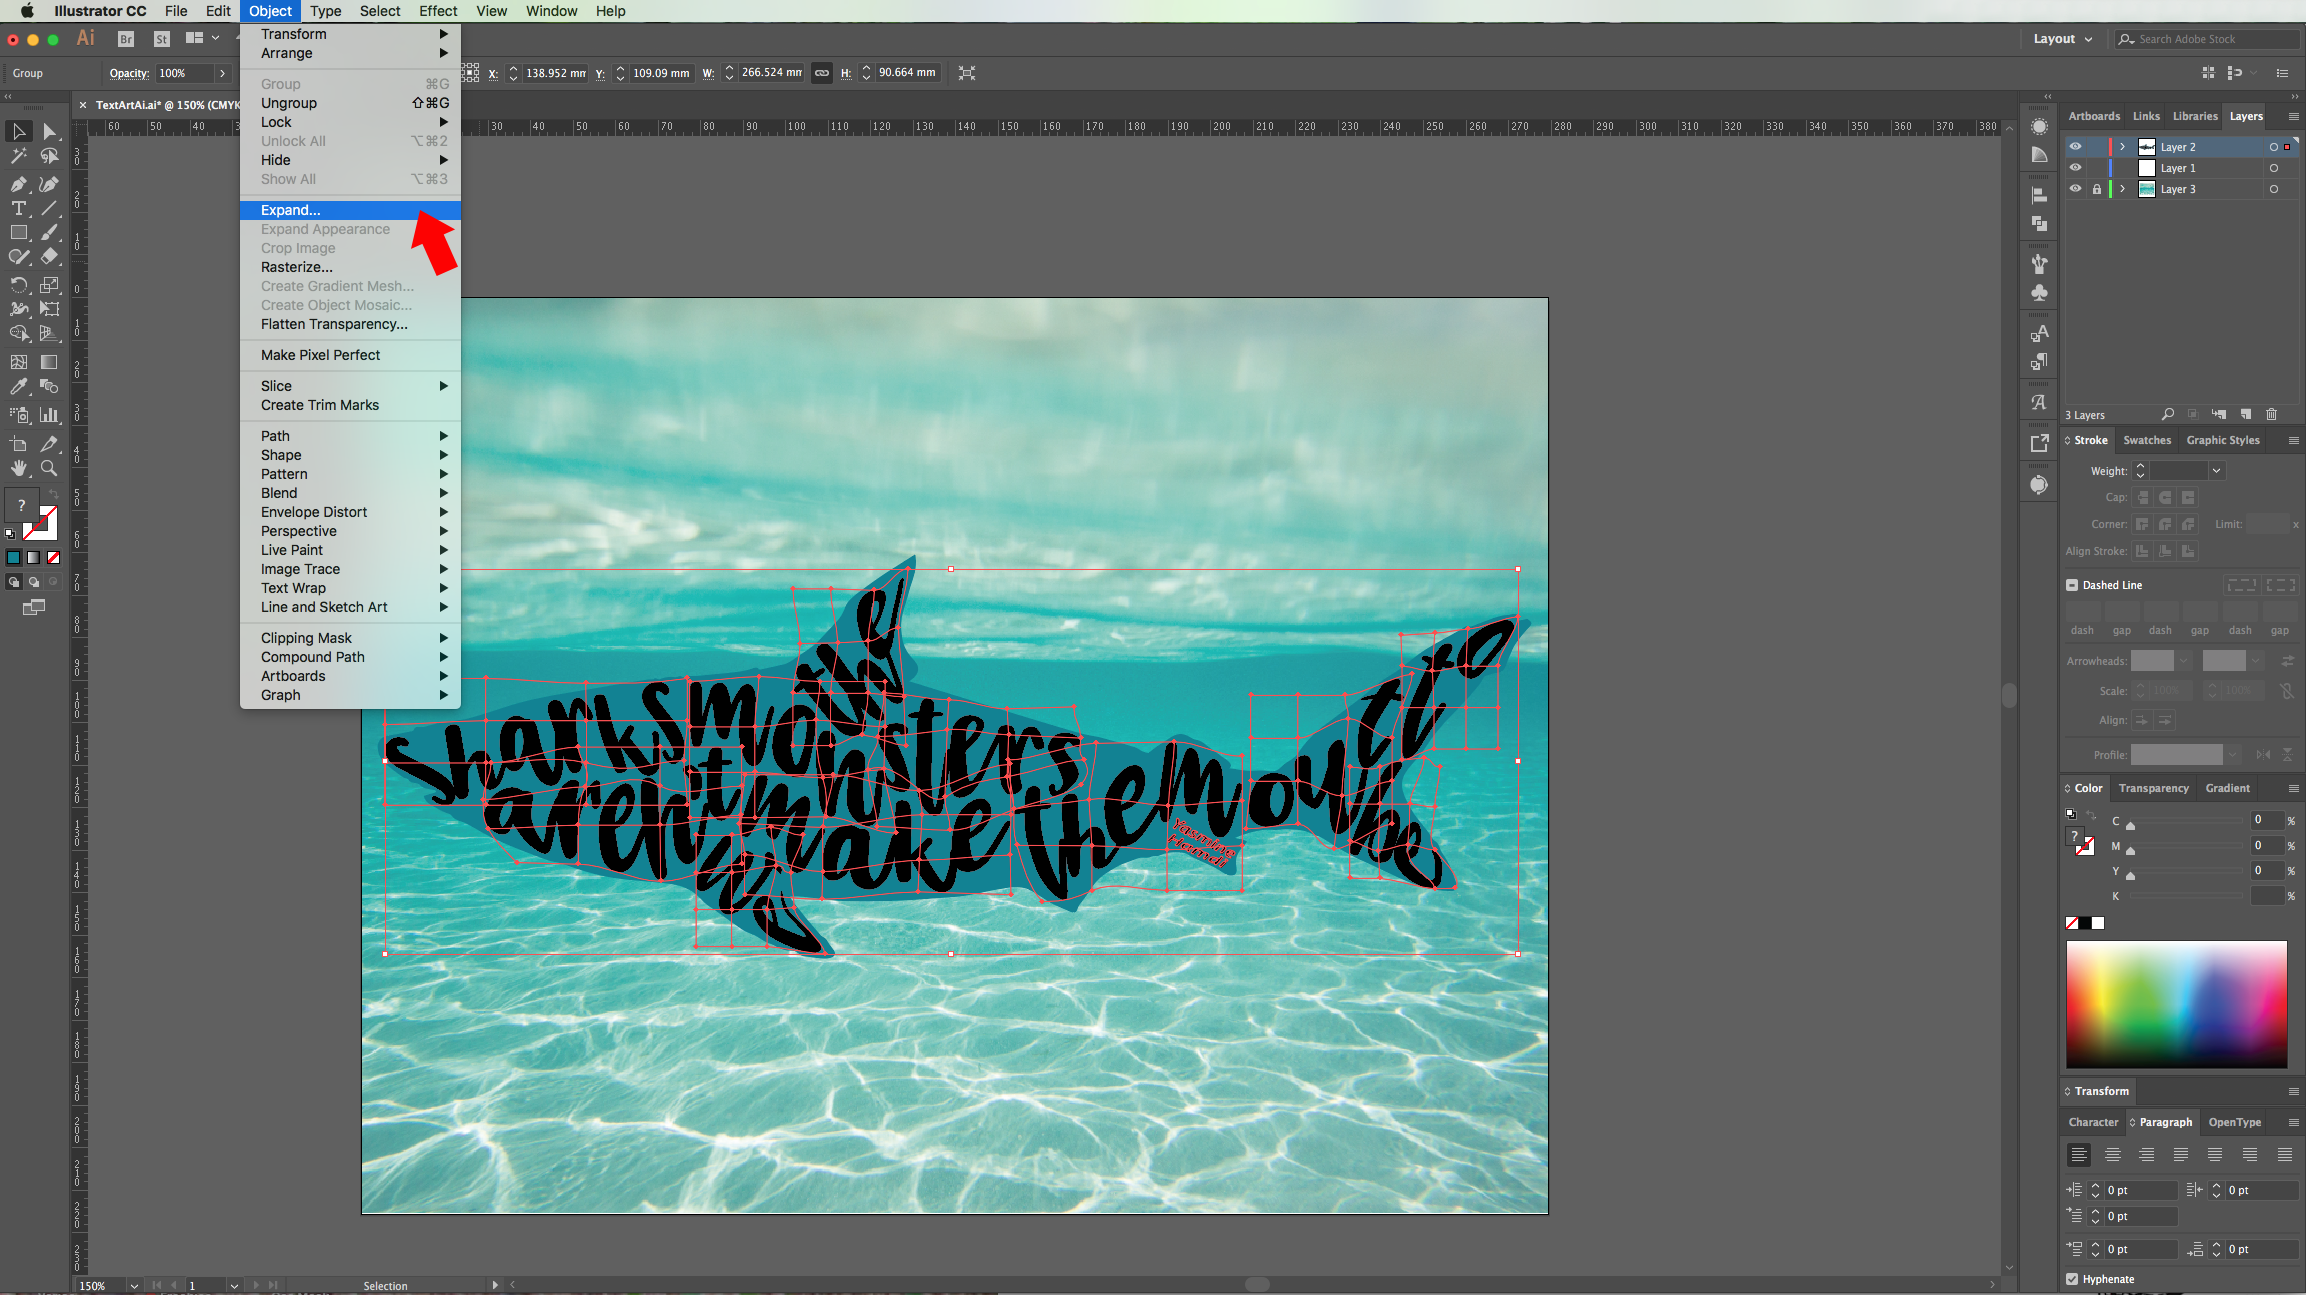
12 - Change the “Fill” color of your “Shape” to a color that works better with your “Artwork”. Select your text and go to Object > Expand, make sure that the “Object” and “Fill” and boxes are checked and click “OK”. Now, you can change the color of your text. Try using the “Eyedropper Tool” to pick a shade from the “Background”.
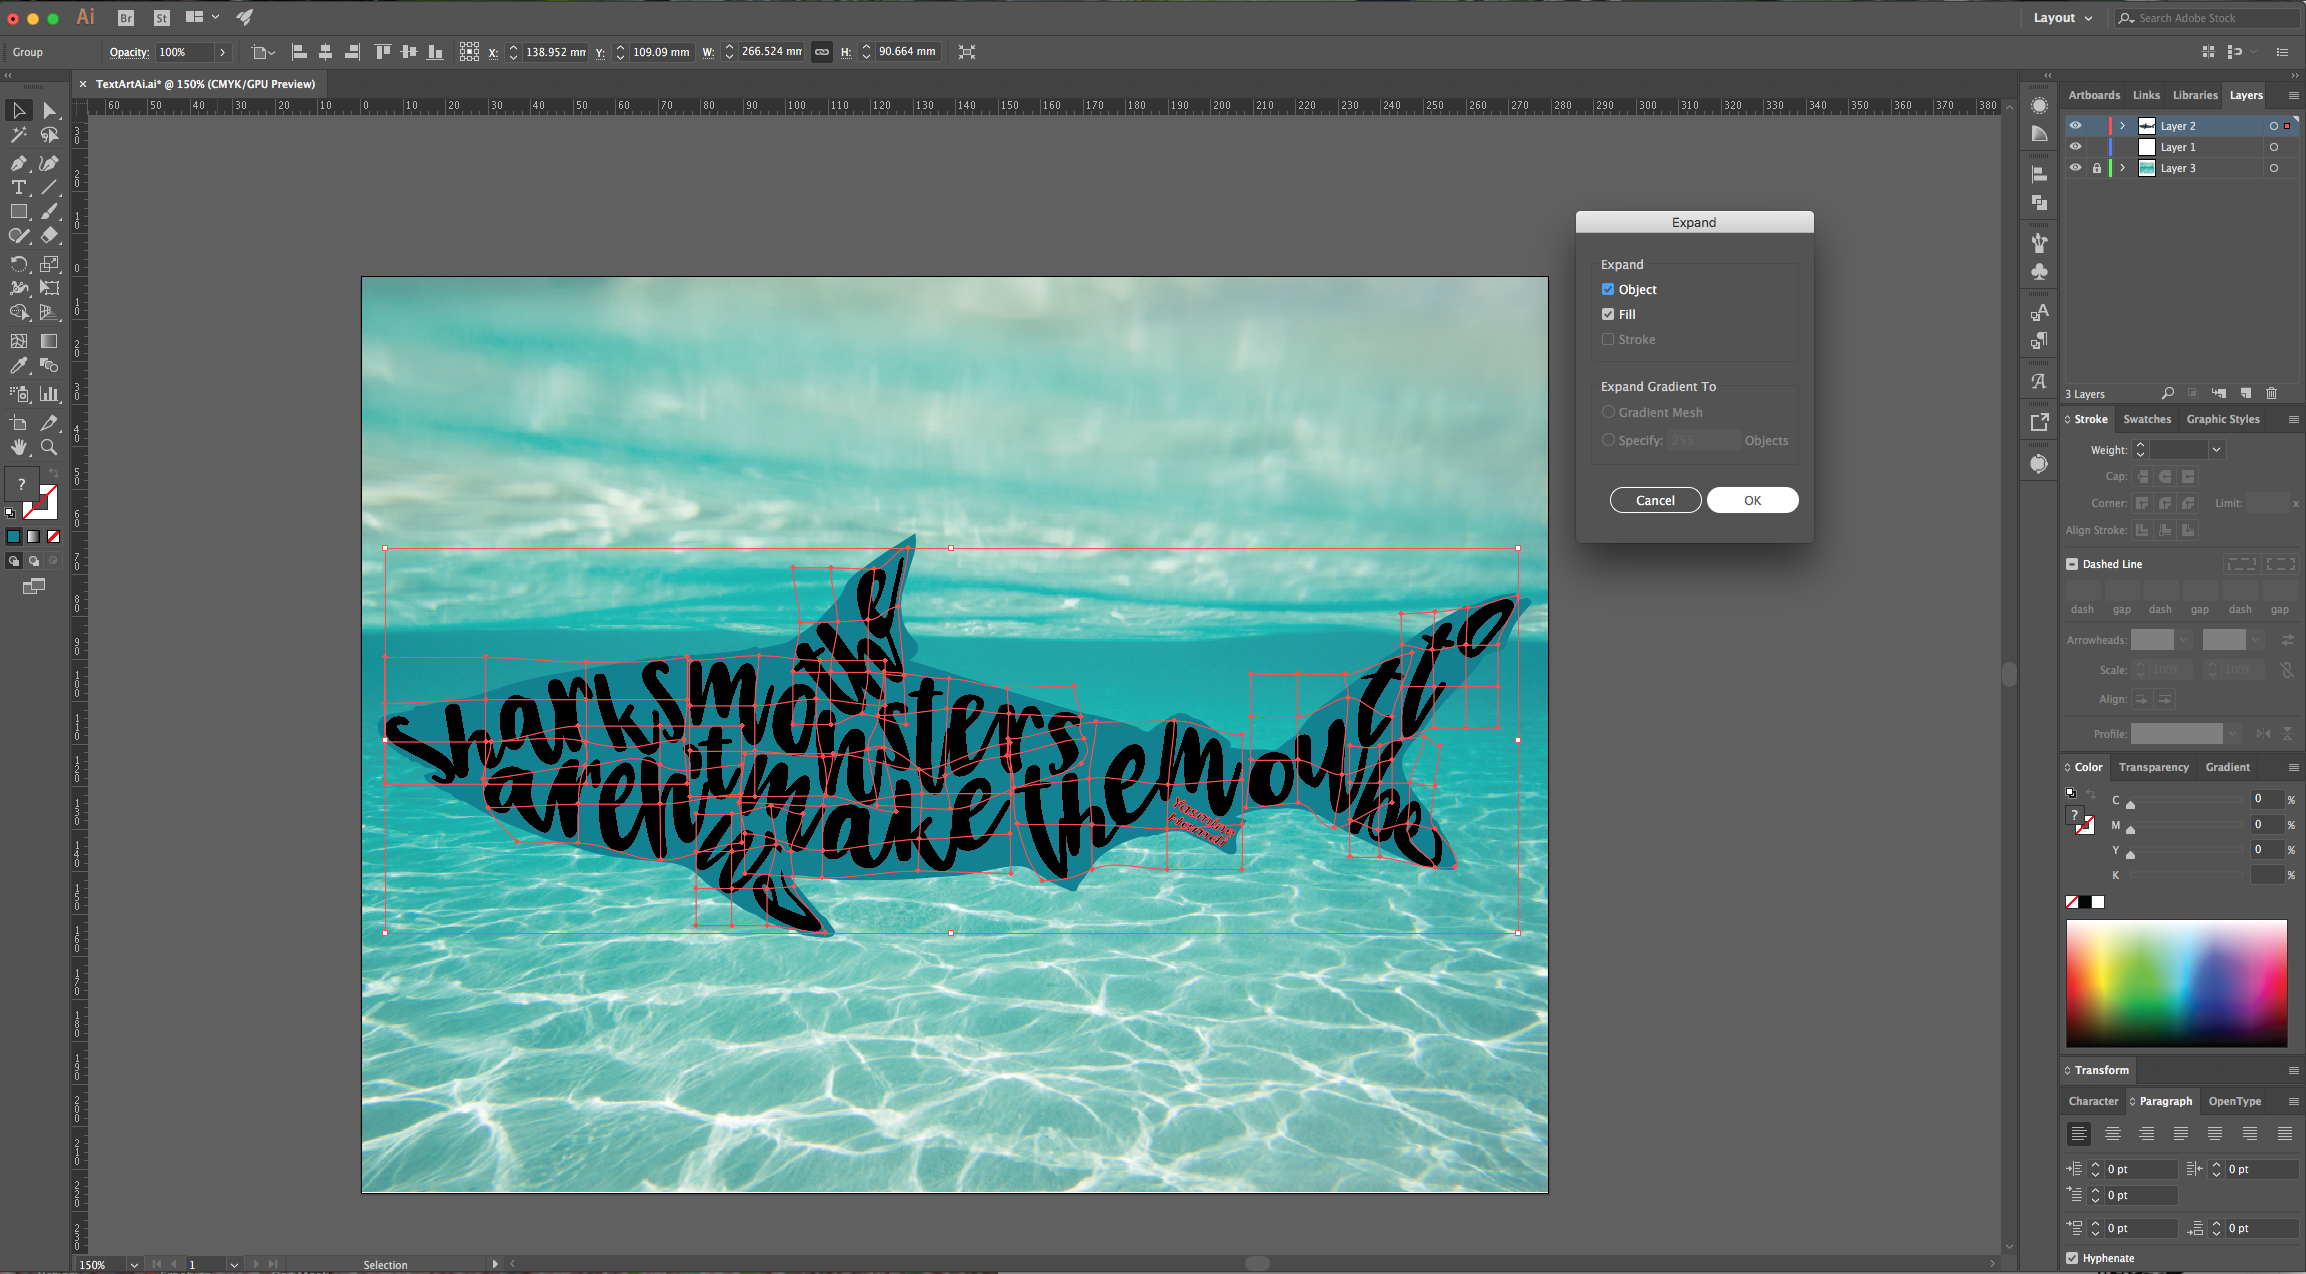
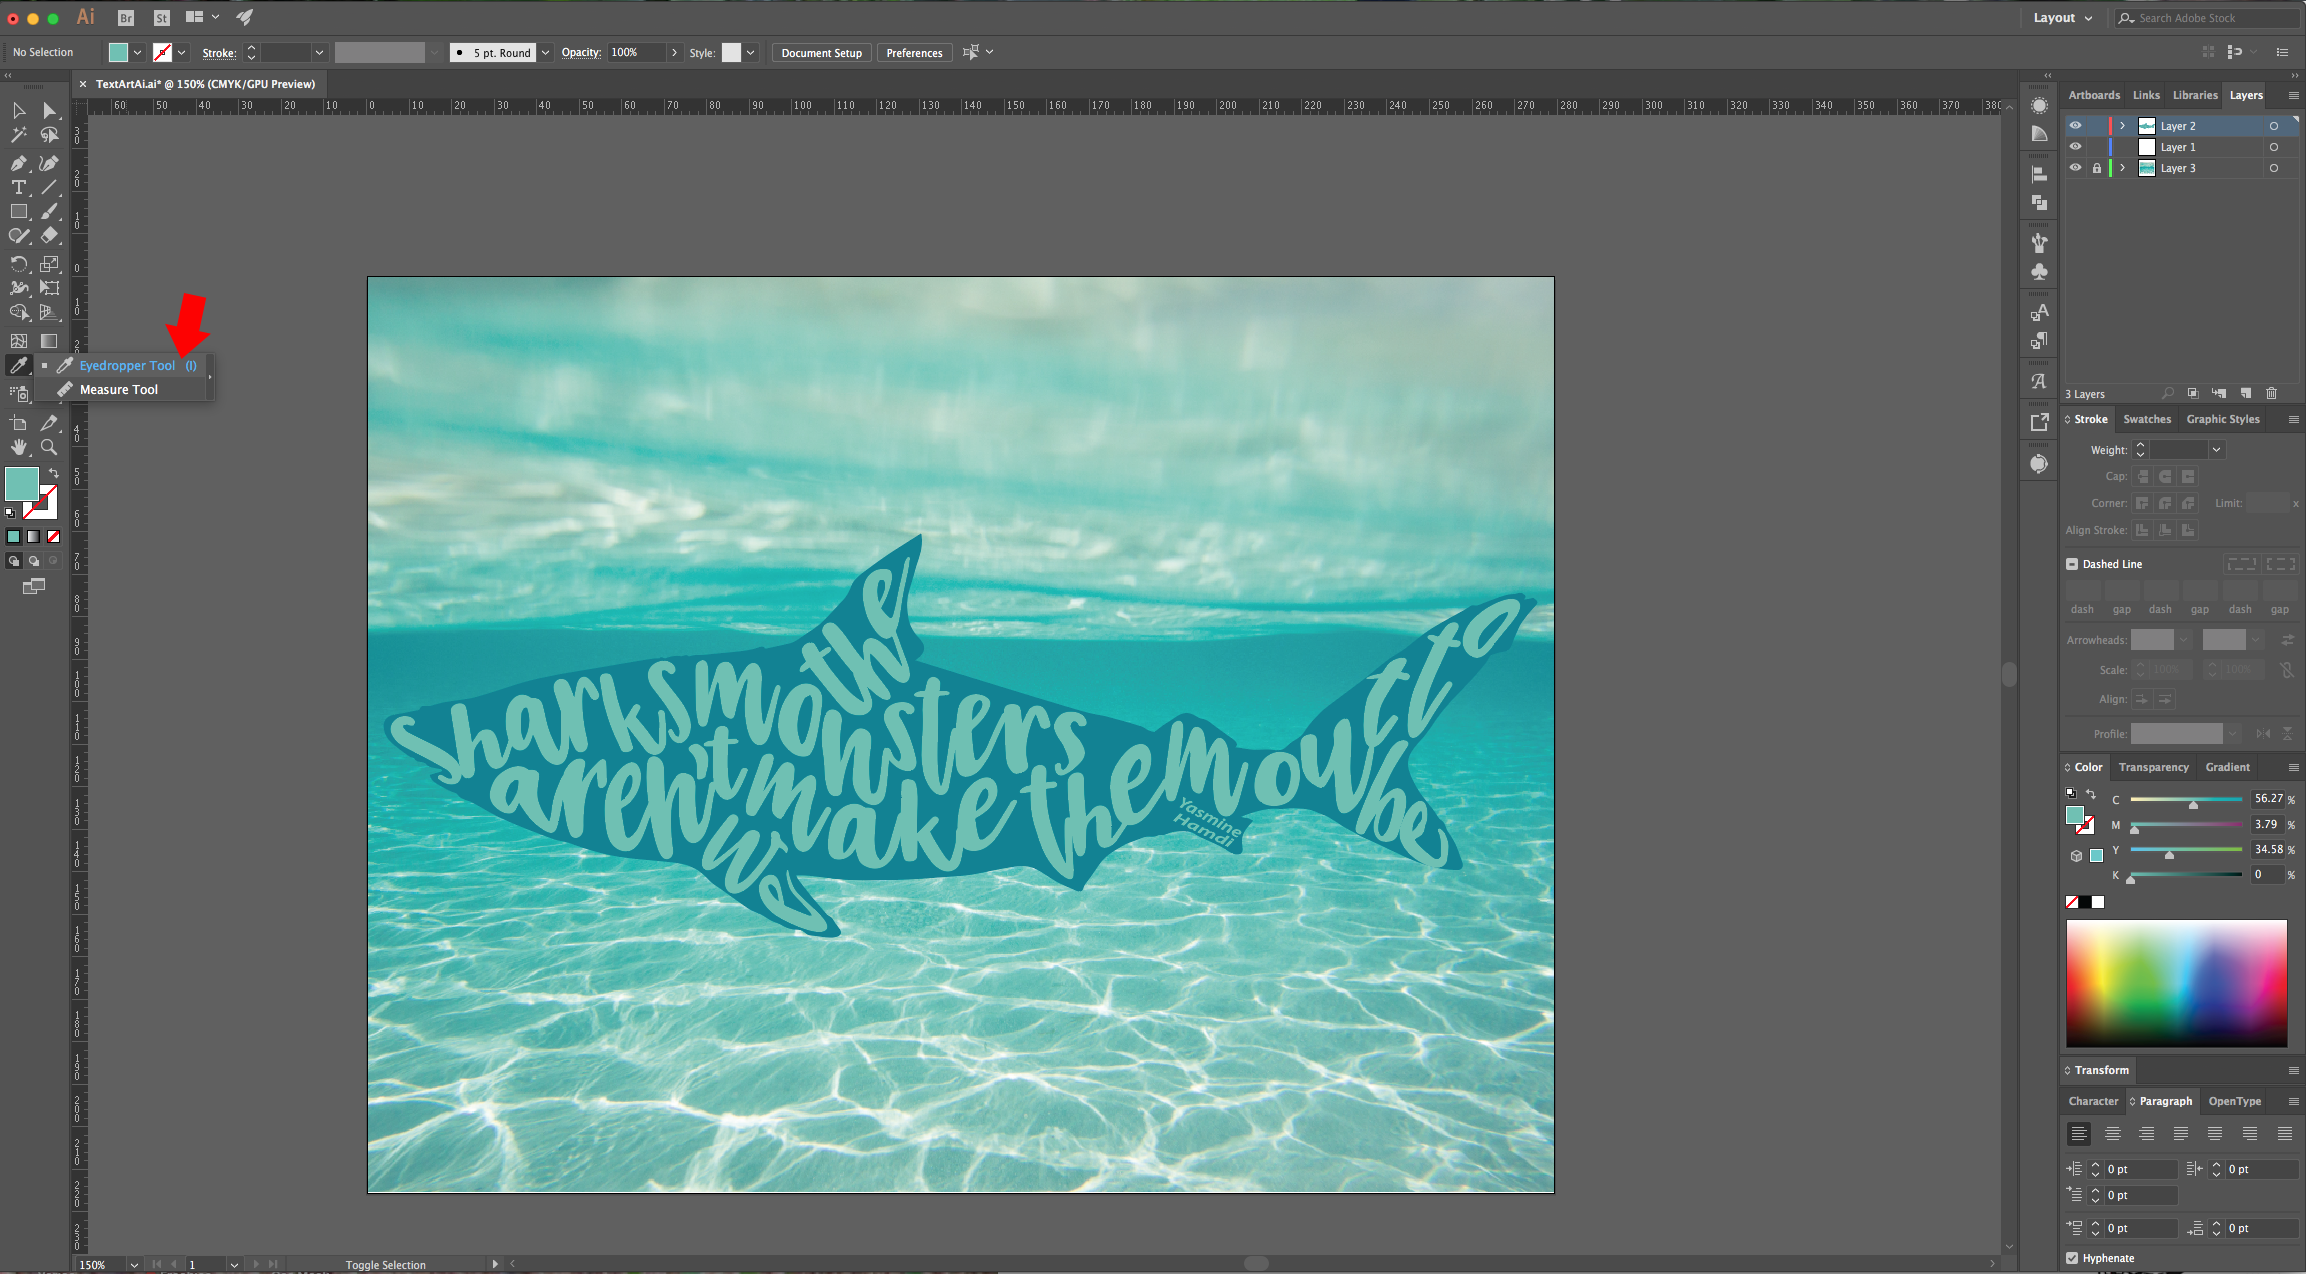
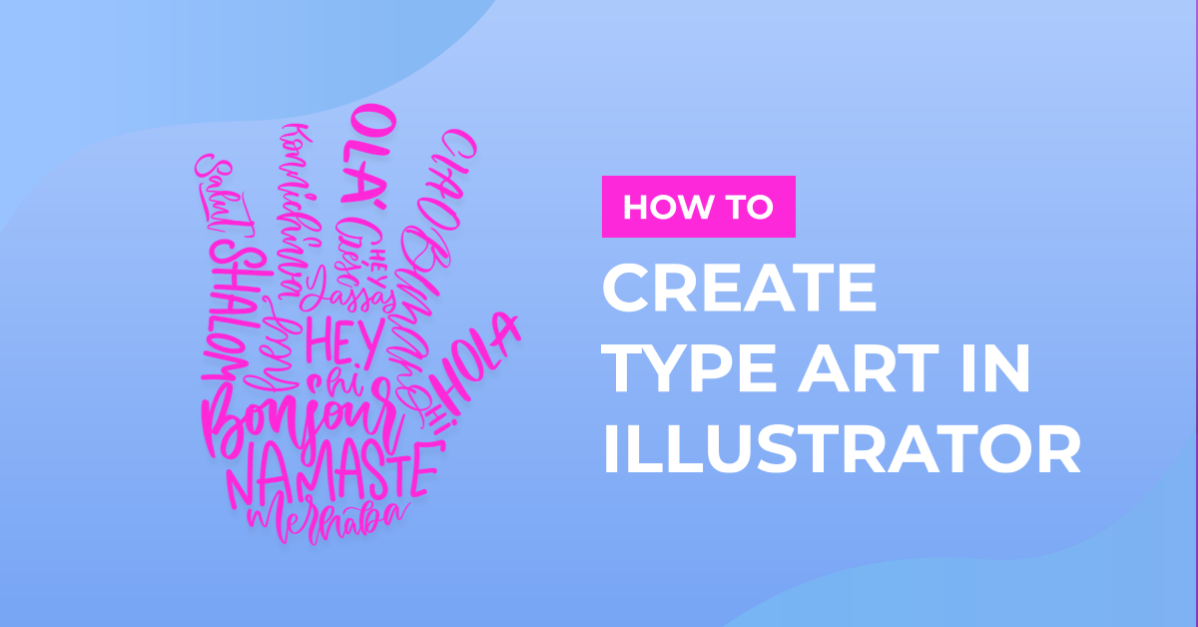
13 - This is how our “Artwork” looks.
1 - In Illustrator, create a “New Document”.
2 - Open the file you wish to use as reference for the shape then “Copy” (Command/Control + C) the portion you wish to use, “Paste” it (Command/Control + V) on your document and Re-size your path if needed.
3 - Lock the Layer by clicking on the left side of its thumbnail to invoke the small padlock, then, create a “New Layer” by clicking on the small button at the bottom of the “Layers Panel”.
4 - Select the “Type Tool” (T), choose your font (we used “Dallon”) and type your text. You can use a different font for the name if you are typing a quote.
5 - Once you are done, right-click on top of your text and choose “Create Outlines”. Right-click again and choose “Ungroup”.
6 - You can “Group” some words together (Command/Control + G) if you want.
7 - Change the color of your shape (or your text) so they are contrasting and you are able to place your text on top of the image and see it fine. Don’t forget to lock your layer back if you had to unlock it.
8 - Position your words on top of the shape roughly where you like them to be. Then, you can resize, rotate and play around with words and letters to make them fit better into your shape.
9 - Select a word or some of your letters (They don’t have to be grouped together) and go to Object > Envelope Distort > Make with Mesh (Shift + Command/Control + M) and use 3 as value for “Rows” and “Columns”, then click “OK”. Use the “Direct Selection Tool” (A) to click on one of the “Points” in the “Mesh” and play around with the letters until you get them to the shape you want. Repeat with the rest of your text.
10 - You can double-click on the “Mesh” to edit the letters. To get back into the “Mesh” click on the “Edit Envelope” button on the top menu (you can go back and forth). Once you are done, click on the left facing arrow to go “Back to Level”.
11 - Once you are done, create a “New Layer” and place it at the bottom. Go to Image > Place (Shift + Command/Control + P) and navigate to the place where the image you wish to use as “Background” is saved. Select it and click “Place”. Resize the image to fit your document if needed and “Lock” the Layer.
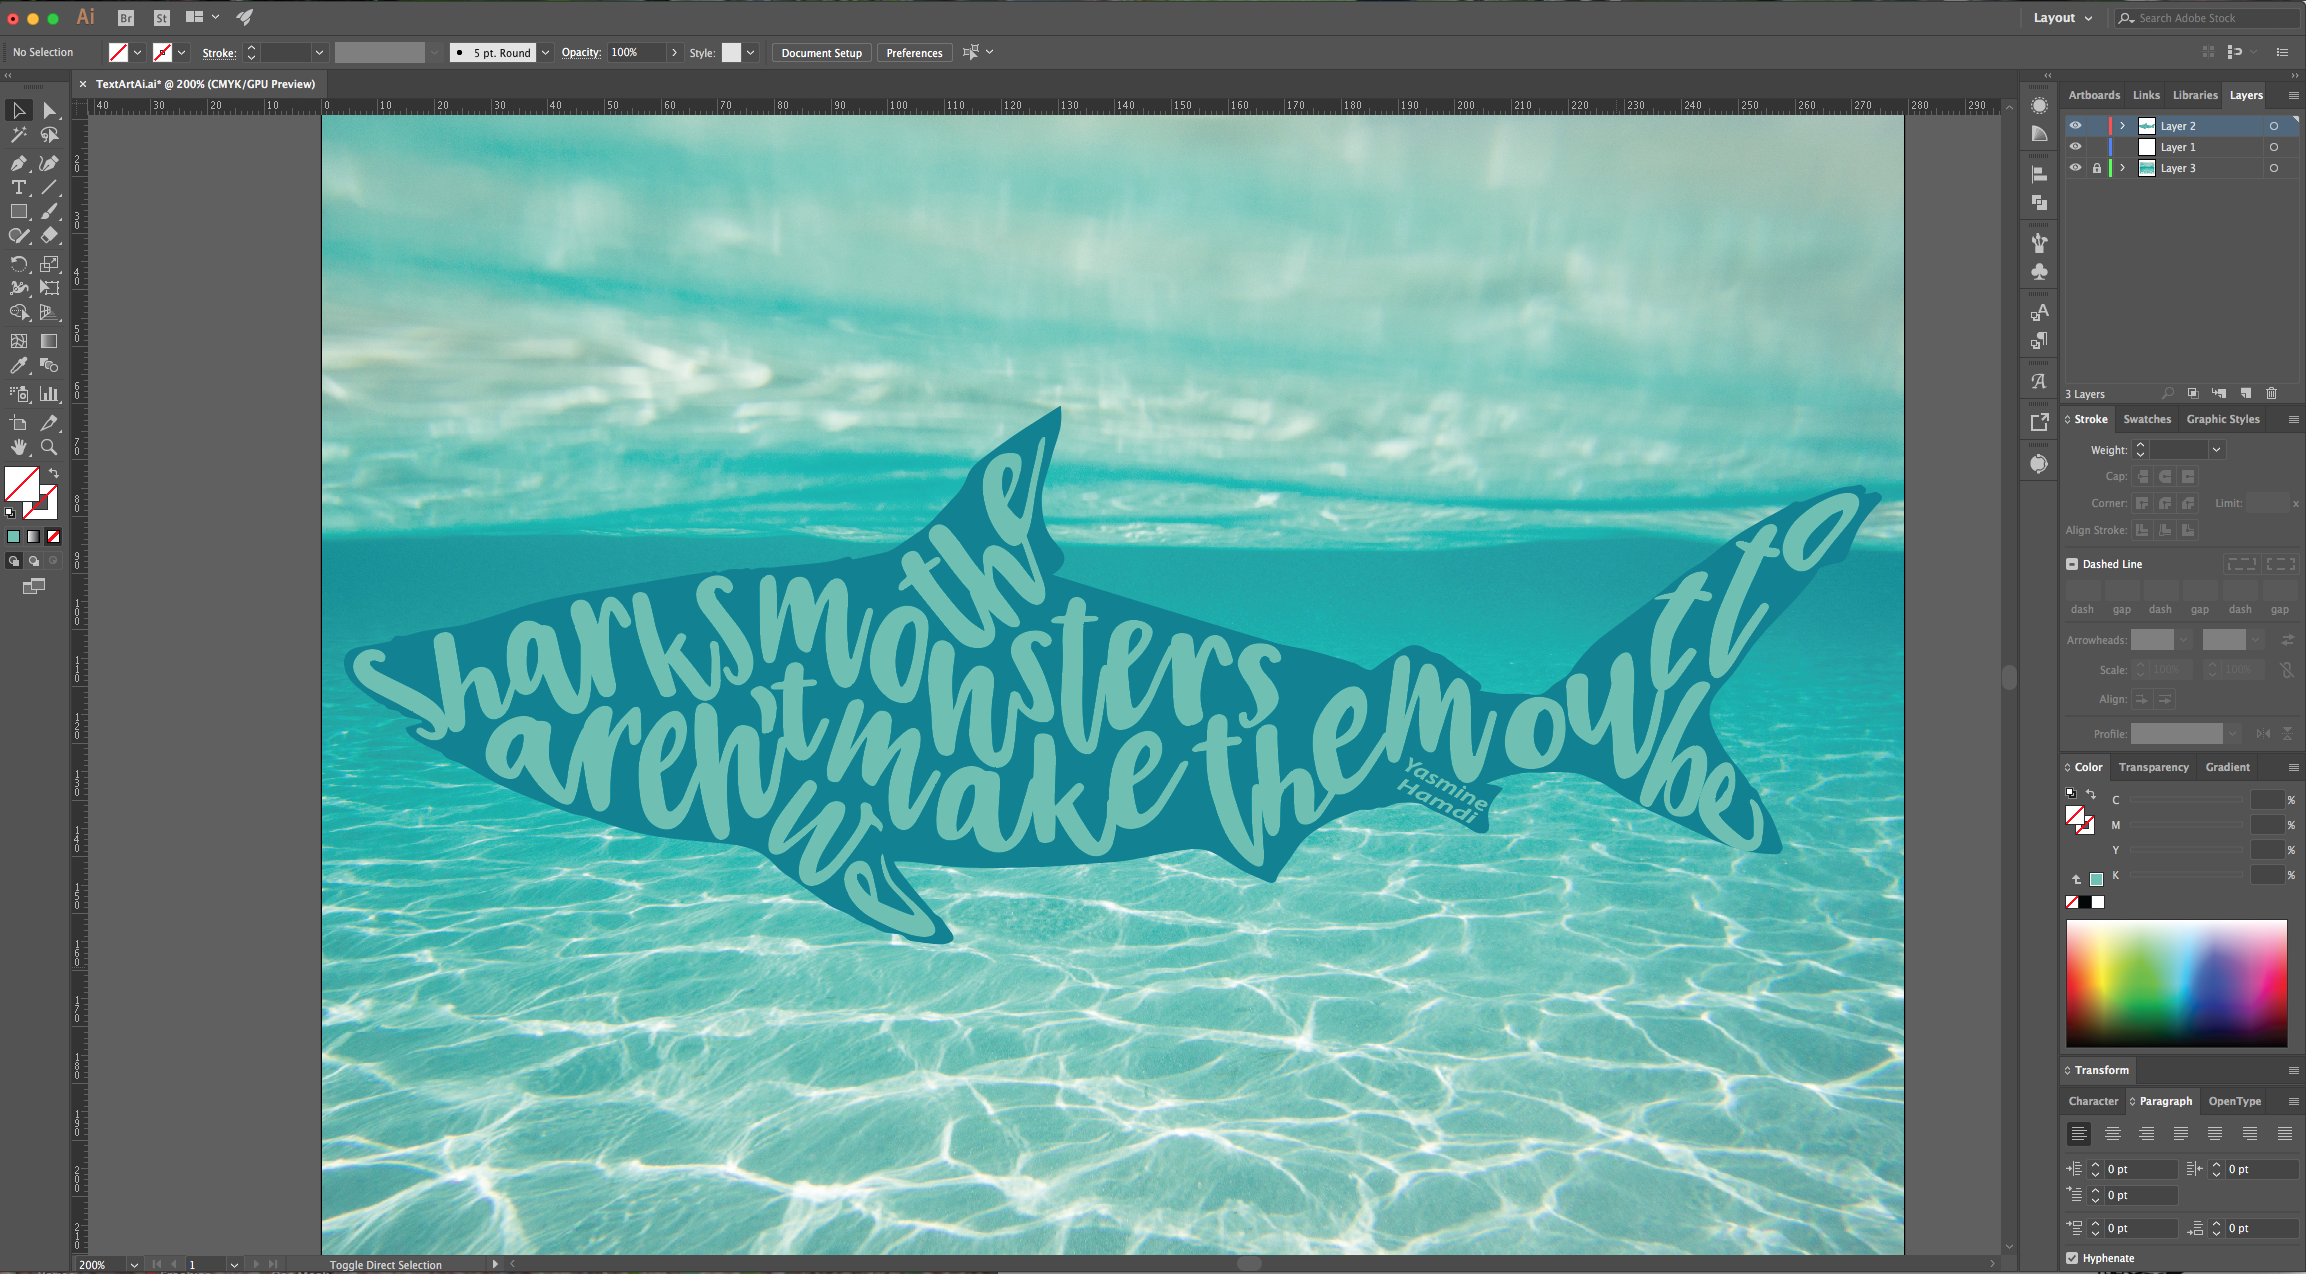
12 - Change the “Fill” color of your “Shape” to a color that works better with your “Artwork”. Select your text and go to Object > Expand, make sure that the “Object” and “Fill” and boxes are checked and click “OK”. Now, you can change the color of your text. Try using the “Eyedropper Tool” to pick a shade from the “Background”.
13 - This is how our “Artwork” looks.
by @lornacane
Related Tutorials
Illustrator Tutorials
How to Type on Path in Illustrator
We will show you how to type on a path with this Adobe Illustrator tutorial.
Illustrator Tutorials
How to Make Line Art Illustration in Illustrator
Illustrator Tutorials
Pop Art Vector Images in Illustrator
Discover how to make a pop art inspired design in Illustrator with this step by step tutorial.
Illustrator Tutorials
Using the Touch Type Tool in Illustrator
Illustrator Tutorials
Pixel Art Flowers in Illustrator
Illustrator Tutorials