By Design Bundles
How to warp text into the shape of an object in Inkscape
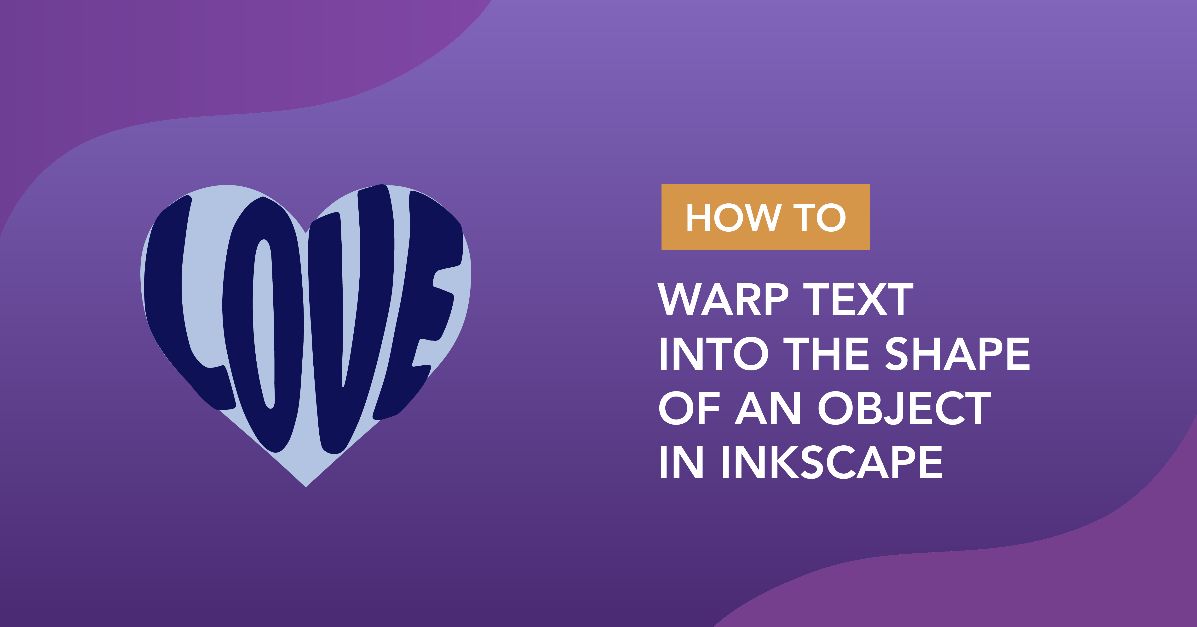
If you want to know how to warp text into shapes in Inkscape, then check out our tutorial. Warping text adds a new perspective to how your text is displayed. This works especially well for projects such as Valentines cards, t-shirts, mugs and more. We will be converting the text to an object so it will be easier to manipulate into a shape. So let’s get started learning how to warp text into shapes in Inkscape.

This technique works best with a nice thick font so it’s still readable after warping. We will be using a fun handwritten font called Amora Brush. Be sure to download and unzip your file then open Inkscape.
Step 1 - Add the Shape and Text
We are going to warp our text into a heart shape. You can also create your own shape using the Bezier Curve for a more customized design.
Once you have opened your shape, go to the Create and edit text objects tool on the left side toolbar.
At the top toolbar, click on the drop down menu for the Font Family. You can also type in the font name. Then, click on the document and start typing. To keep everything uniform, use Caps for all the letters.

You can change the color of your shape and text by using the Fill and Stroke panel. To access it, go to Object > Fill and Stroke. The panel will appear on the right hand side. You can also change the color using the Color Palette bottom of the screen.
You may want to adjust the opacity of the shape if it makes the text easier to see.
To resize the text object, click on the Select and Transform tool on the left side toolbar. For easier reference we will call it the Move Tool. Now click and drag out a corner node to resize the text. You can move the text around by clicking + dragging from the center.

Step 2 - Use the Path Effects Editor
We need to first convert our text to a path before we can warp it to the heart shape. Go to Path > Object to Path and once done your text will be separated into individual letters.
Open Path Effects Editor
With the text still selected, go to Path > Path Effects and the Path Effects Editor will open on the right hand side.

In the Path Effects Editor, click on the “+” sign to add a new effect. A new window will open, now select Envelope Deformation.

Warp Top Nodes of Text
You will see the effect has been added to the Path Effects Editor. Make sure to remove the tick for the box Enable Left & Right Paths. Next, click on the icon for Top bend path and a green line will appear on top of the text.

On each side of the green line is a node. Click + drag on one corner node to warp it to the one side of the shape. Repeat for the other side.
You will notice that the middle of the word overlaps on the shape. You can click + drag on the middle of the green to move it down. You can also add another node by double clicking on the line and adjusting.

Warp Bottom Nodes of Text
On the Path Effects Editor panel, click on the icon for Bottom bend path. Repeat the step above and move the nodes as needed.

You can go back and forth between the top and bottom nodes to keep adjusting until you are happy.

To make the changes permanent and lock the warped text in place, go to Path > Object to Path.
Step 3 - Clip Text to the Shape
You can go one step further to create a type of cut off style to the text. Select the heart shape, right click > Duplicate. This will create a copy on top of the text and shape. We need to select this top copy and text beneath it.
Click on the top copy to select, then hold Alt + click on the copy again. This will now select the text object beneath it. With the text selected, hold Shift + click on the top copy so that both are now selected.
The benefit of using Alt + click is so that you can access an object that is hidden beneath another.

Go to Object > Clip > Set. The text will be clipped to the shape of the heart.

You can now save the file in your desired format or export it as a PNG.

There you go, now you know how to warp text into shapes in Inkscape. You have the flexibility to warp text into any shape of your choice. Have fun experimenting and creating unique designs for your projects.