By Design Bundles
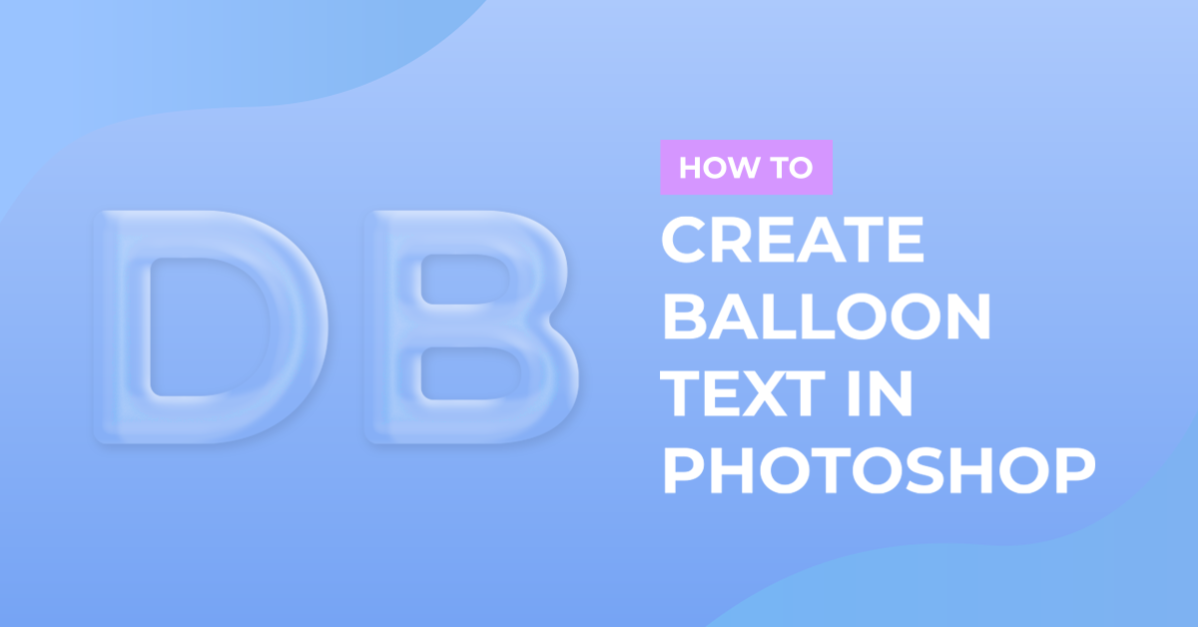
Balloon Text in Photoshop
For this Tutorial, we are an image of the sky with clouds as our Background, and the Free Font Jellee from Alfredo Marco Pradil.
1 - In Photoshop, open your background image. Select the “Type Tool” (T) and type your text. Choose a font of your liking (we used Jellee), the size will depend on your background image. Use white as “Fill” color.


2 - To get your letters in different positions, select the one you want to move and change the “Baseline Shift” value in the “Character” window. Repeat with each letter (you can use negative numbers). Play around until you are happy with your letter placement.


3 - Right-click on your text and choose “Convert to Smart Object” from the menu.

4 - Double-click on the text layer to apply the following “Layer Styles”:

Bevel & Emboss:

Contour:

Inner Shadow: (use a color from your background, we used #1b7cc1)

Inner Glow: (use a lighter shade of the color used above, we used #5494c2)

Satin: (color #000000)

Gradient Overlay: (Colors #78797a and #ffffff, alternated. Locations: 0%, 25%, 50%, 75% and 100%)

Drop Shadow:

5 - Select your text layer and go to Filter > Distort > Spherize and use an “Amount” of 25%.


6 - Then, go to Filter > Distort > Waves and use the following values:


7 - Now, to color your letters, Command/Control-click on your text layer thumbnail to make a selection.

8 - Then, go to “Adjustments” window (or click on the small button at the bottom of the “Layers” window) and create a “Hue Saturation Adjustment Layer”. Since you had a selection a “Mask” will be created so the adjustments will affect your text only. Now, you can move the levers and change the “Hue”, “Saturation”, etc. to color your text.


9 - If you want each letter to have a different color, you will need to do “Steps 7 and 8” for each individual letter. To subtract some letters from the selection, use “Subtract from Selection” from the upper menu and with the “Rectangular Marquee Tool” (M) draw a rectangle covering the letter you don’t want to use.


10 - You can experiment with other type of “Adjustment Layers” to achieve other results. (In this case we used a “Gradient Map” and changed the “Blending Options” to “Color”).

11 - Check your text:

by @lornacane