By Design Bundles
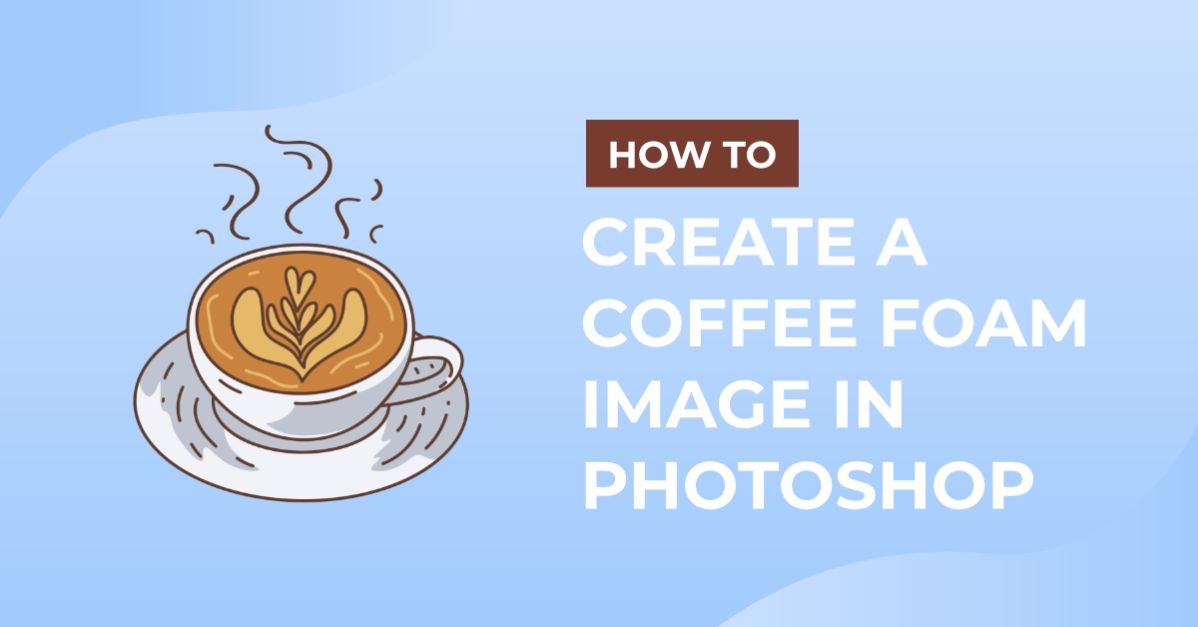
Coffee Foam Image in Photoshop
For this tutorial, we will need the image of a Cup of Coffee seen from the top to use as “Background” and Coffee Foam Texture too. You can also use some Vector images if you want.
1 - In Photoshop, open the image you chose as “background”. Open the “Overlay” file you want to use and place it in your original image.
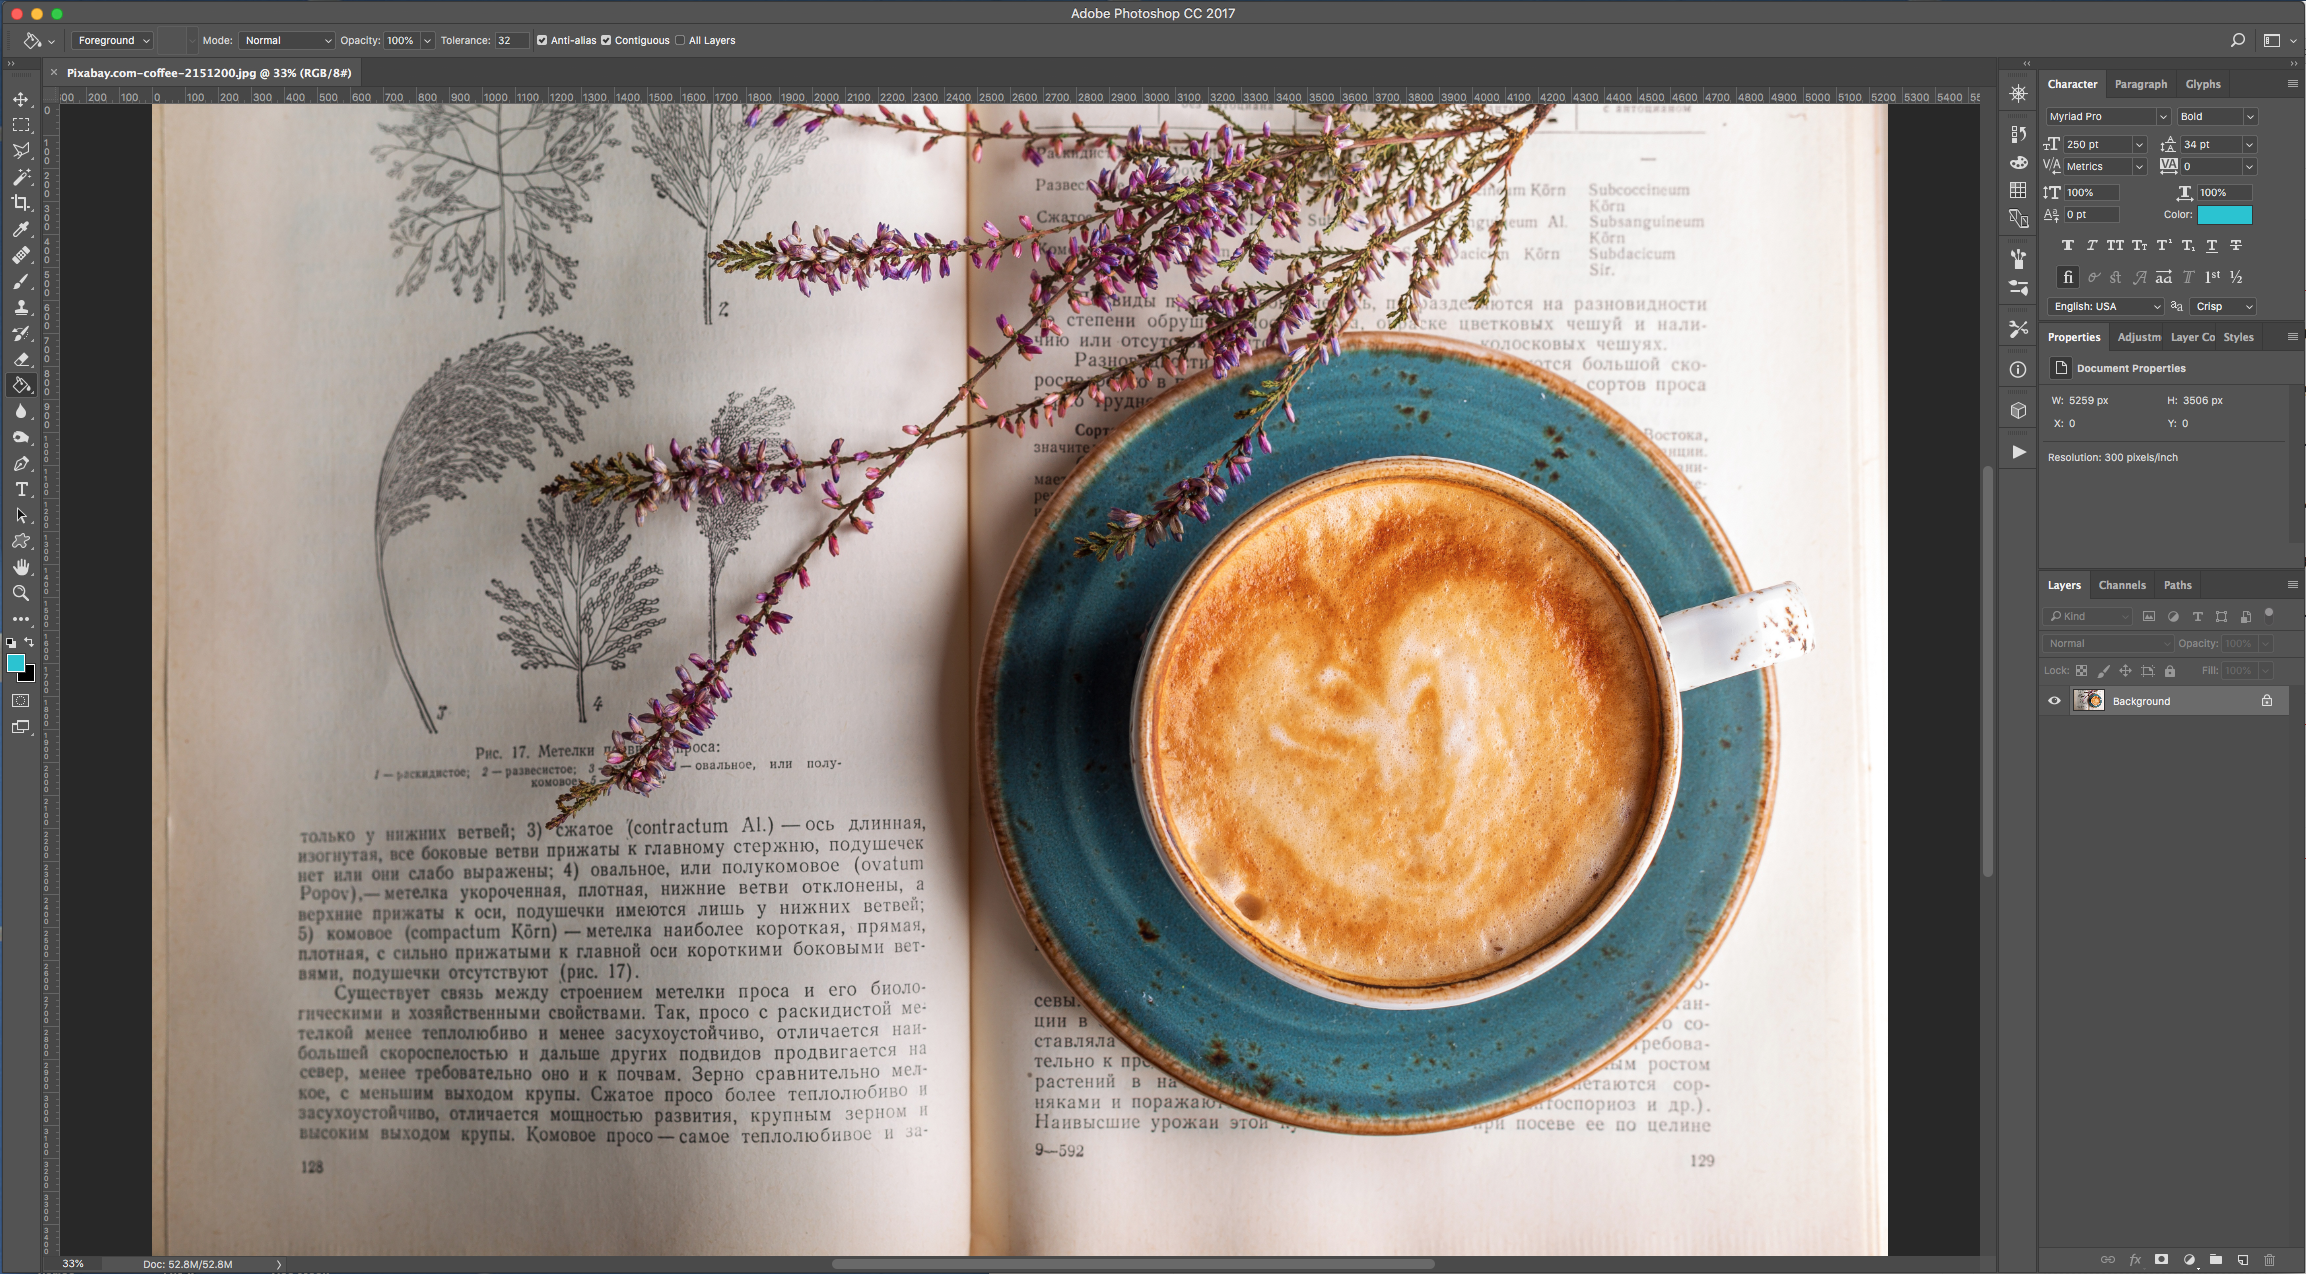
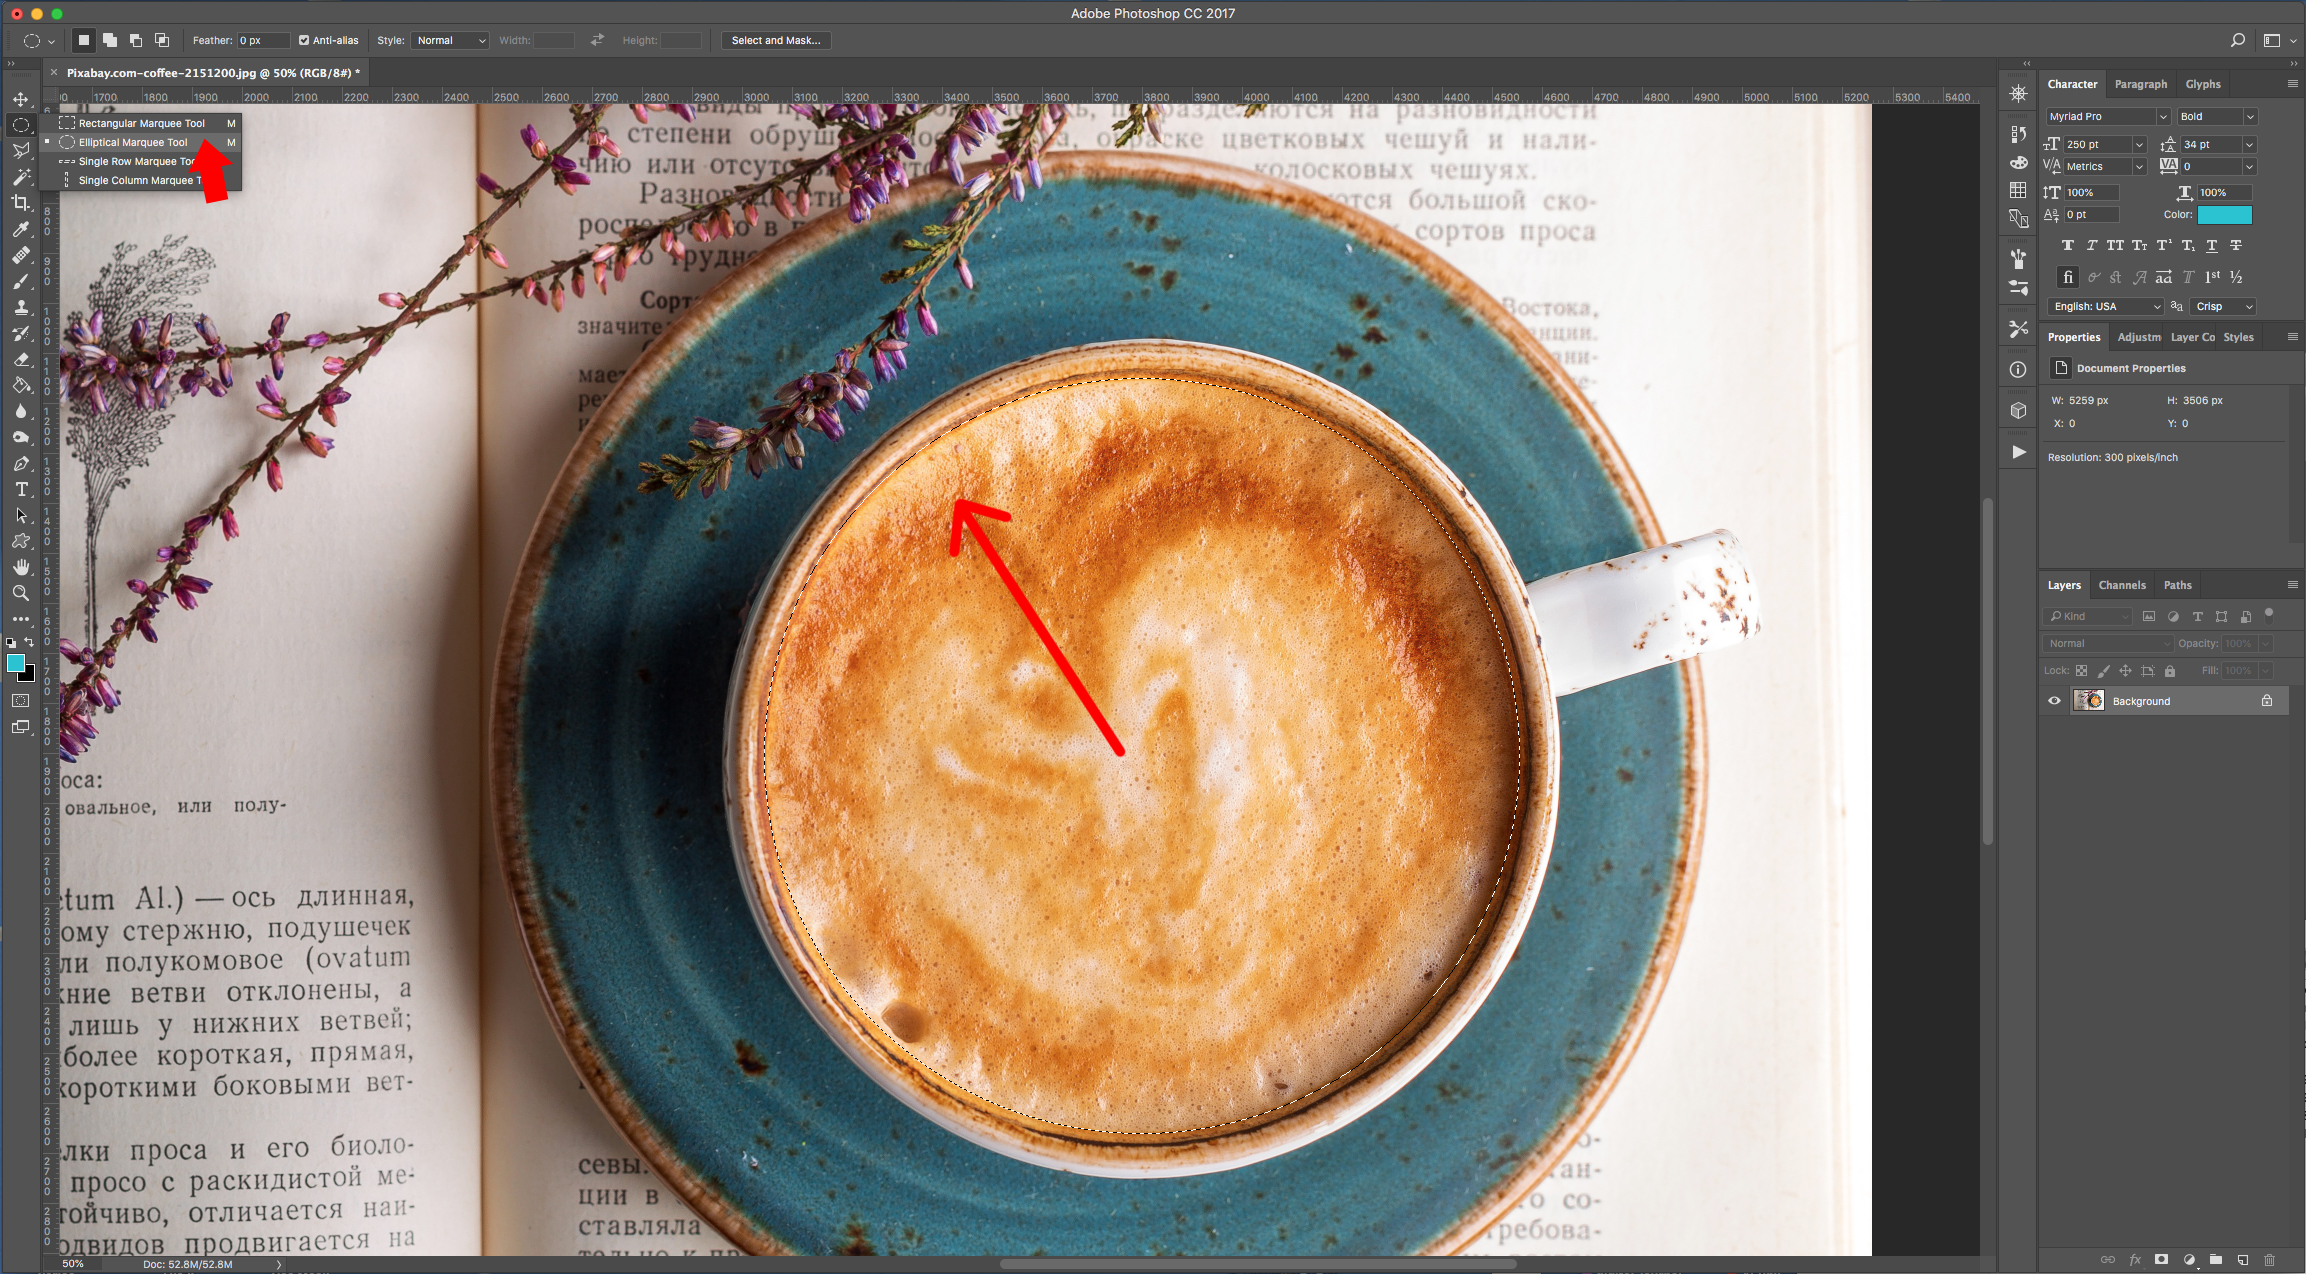
2 - Use the “Elliptical Marquee Tool” (M) to create a round selection of the interior of the Cup. To start from the Center and make it perfectly round hold the “Shift” and “Option/Alt” keys while dragging your cursor from the center to the edge of the cup.
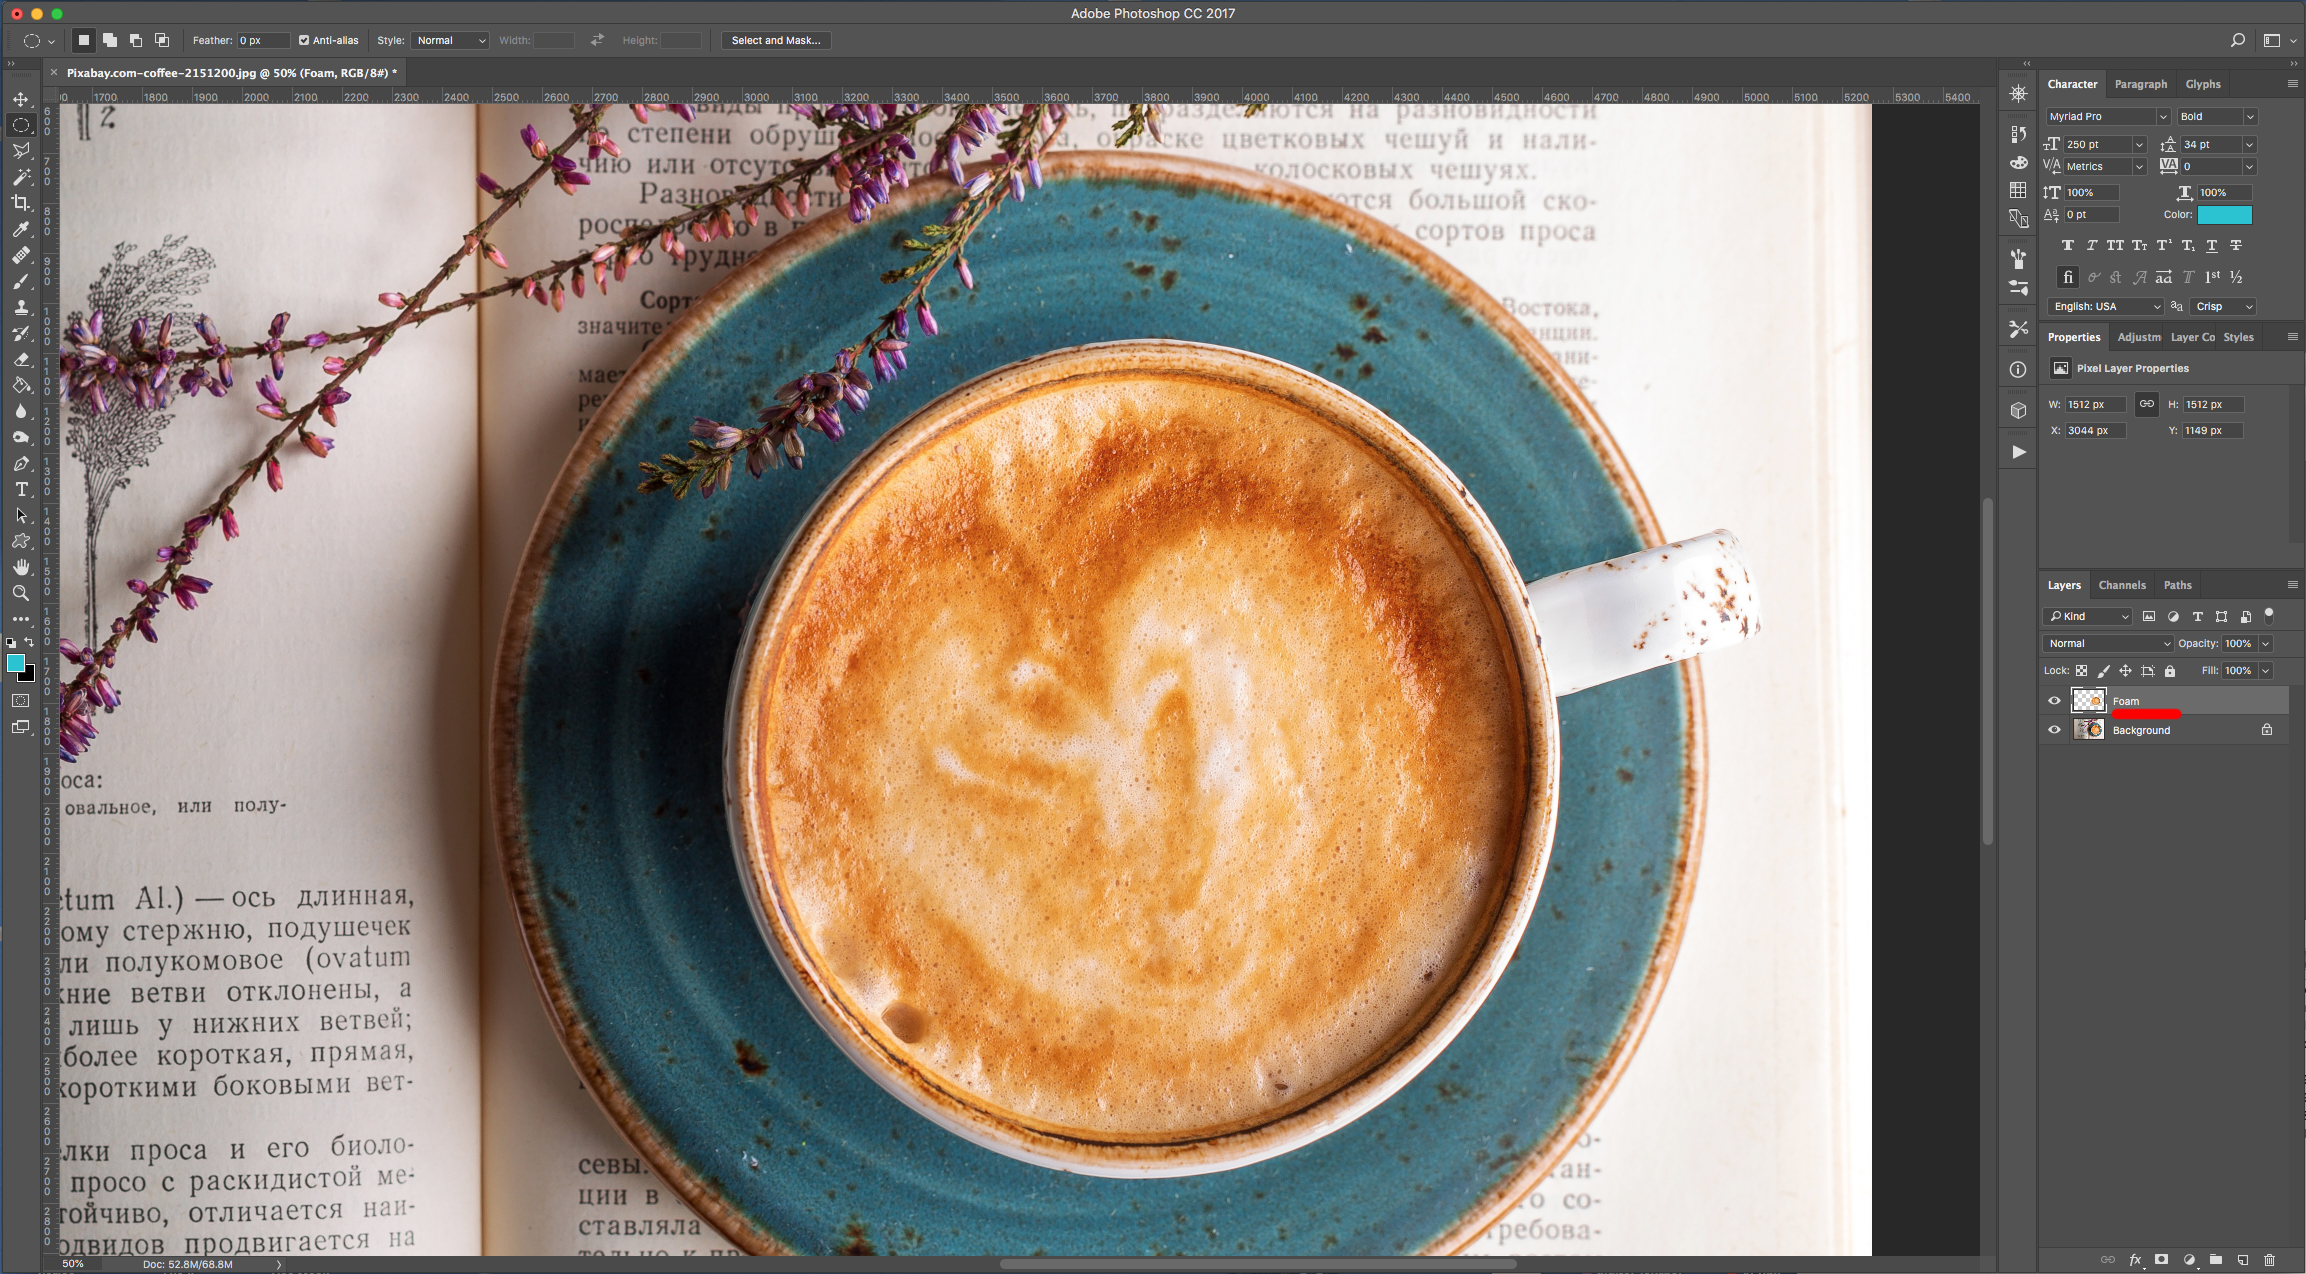
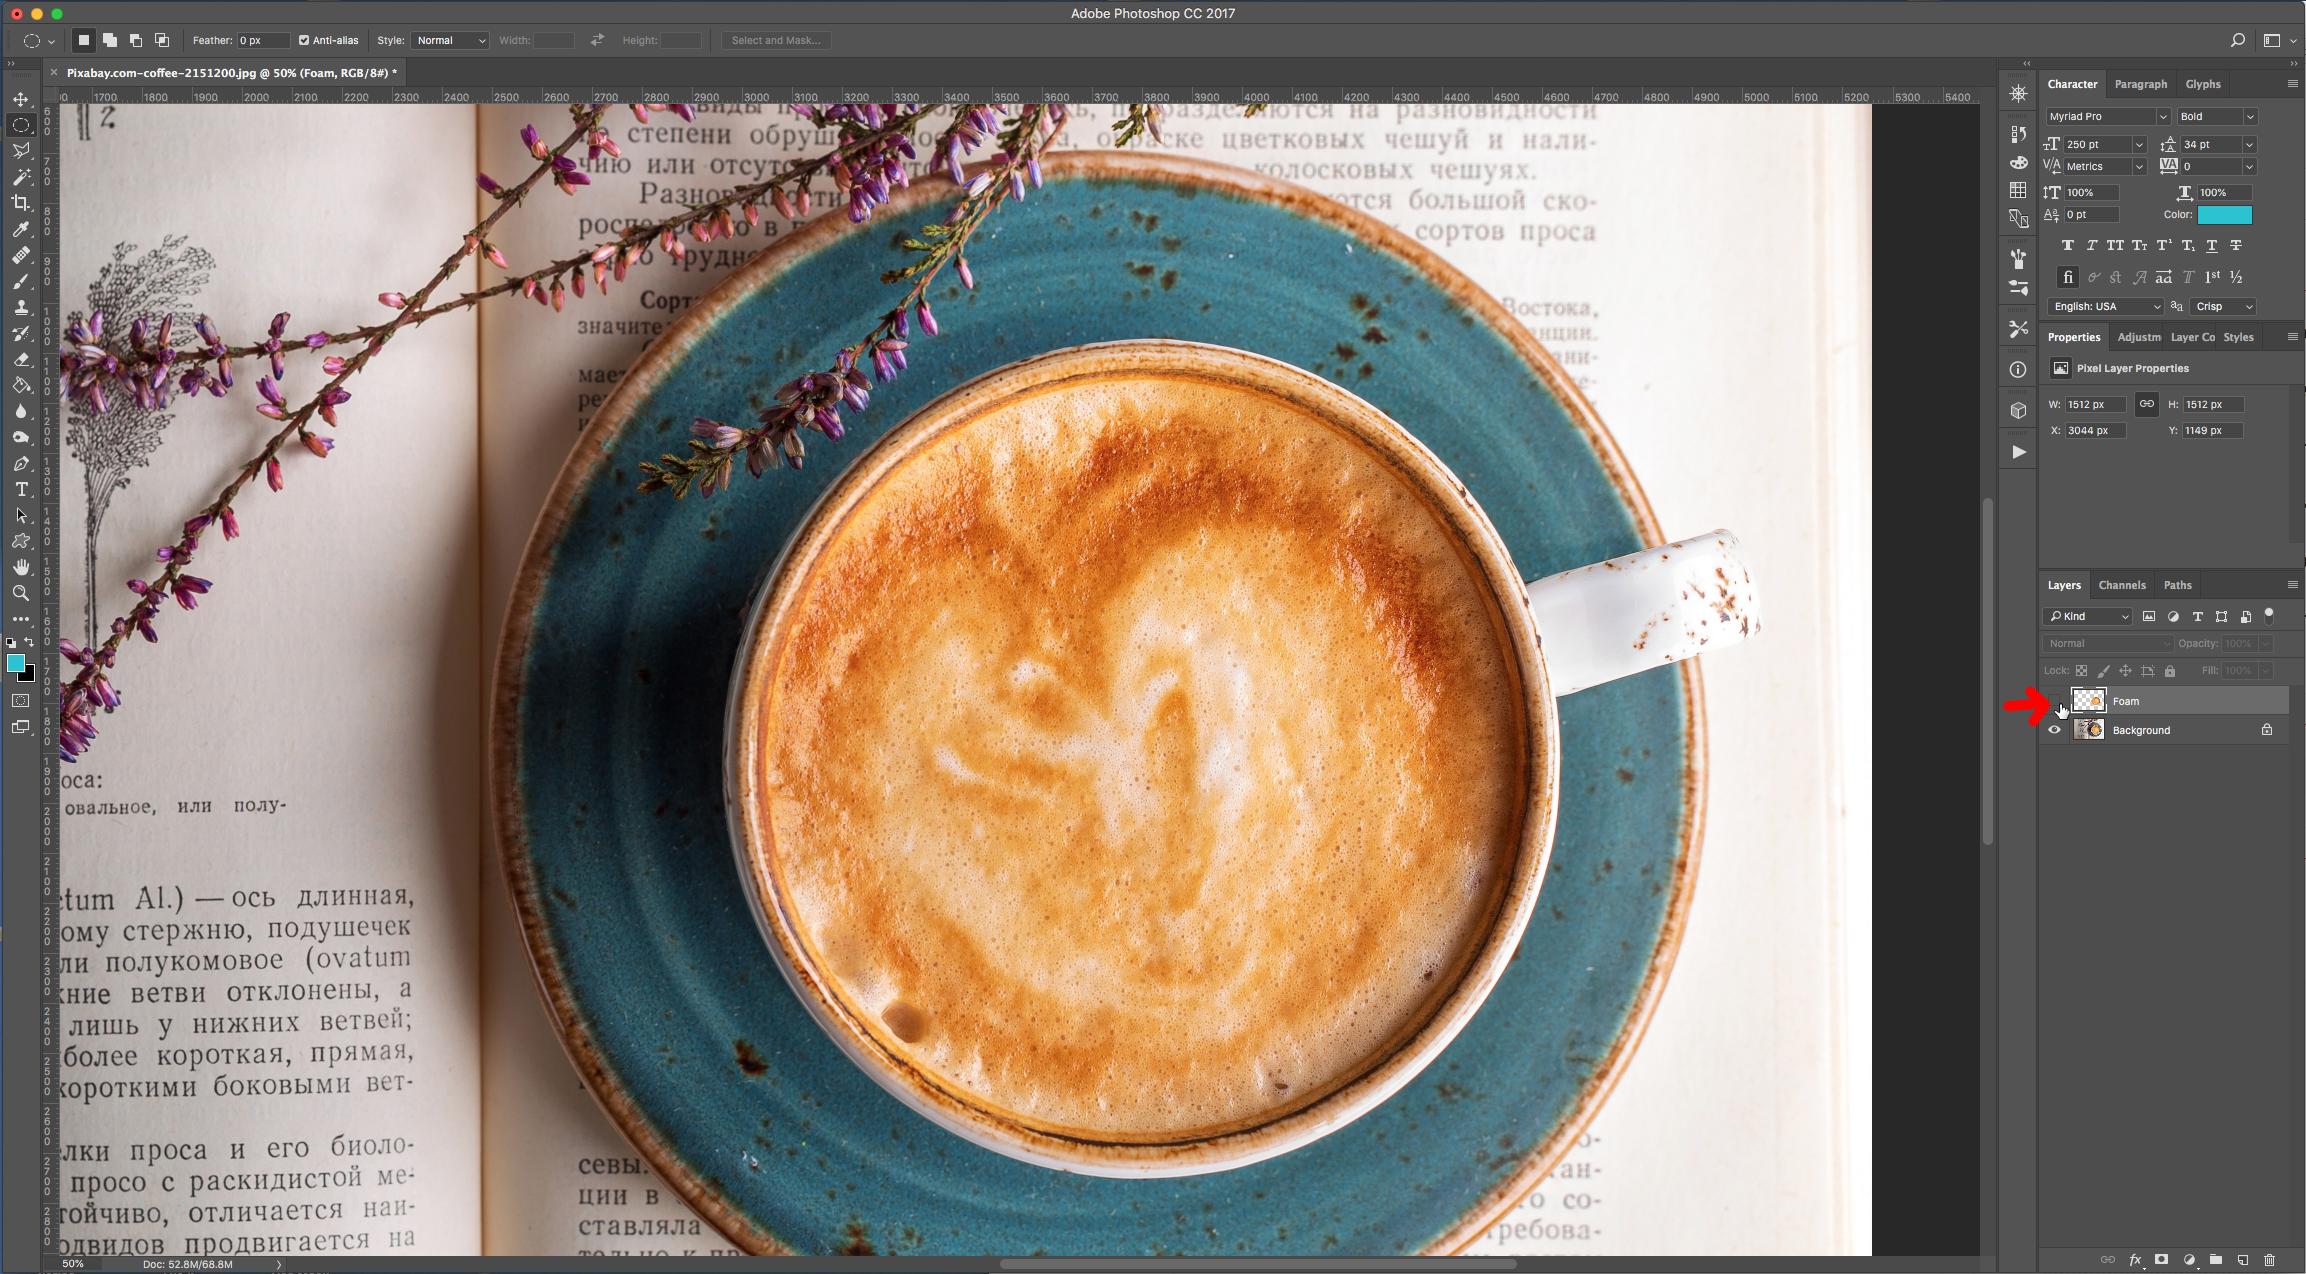
3 - “Copy” your selection (Command/Control + C) and then “Paste” it (Command/Control + V) to create a copy in a new Layer. Hide the Layer for now by clicking on the small eye icon on the left side of its Thumbnail.
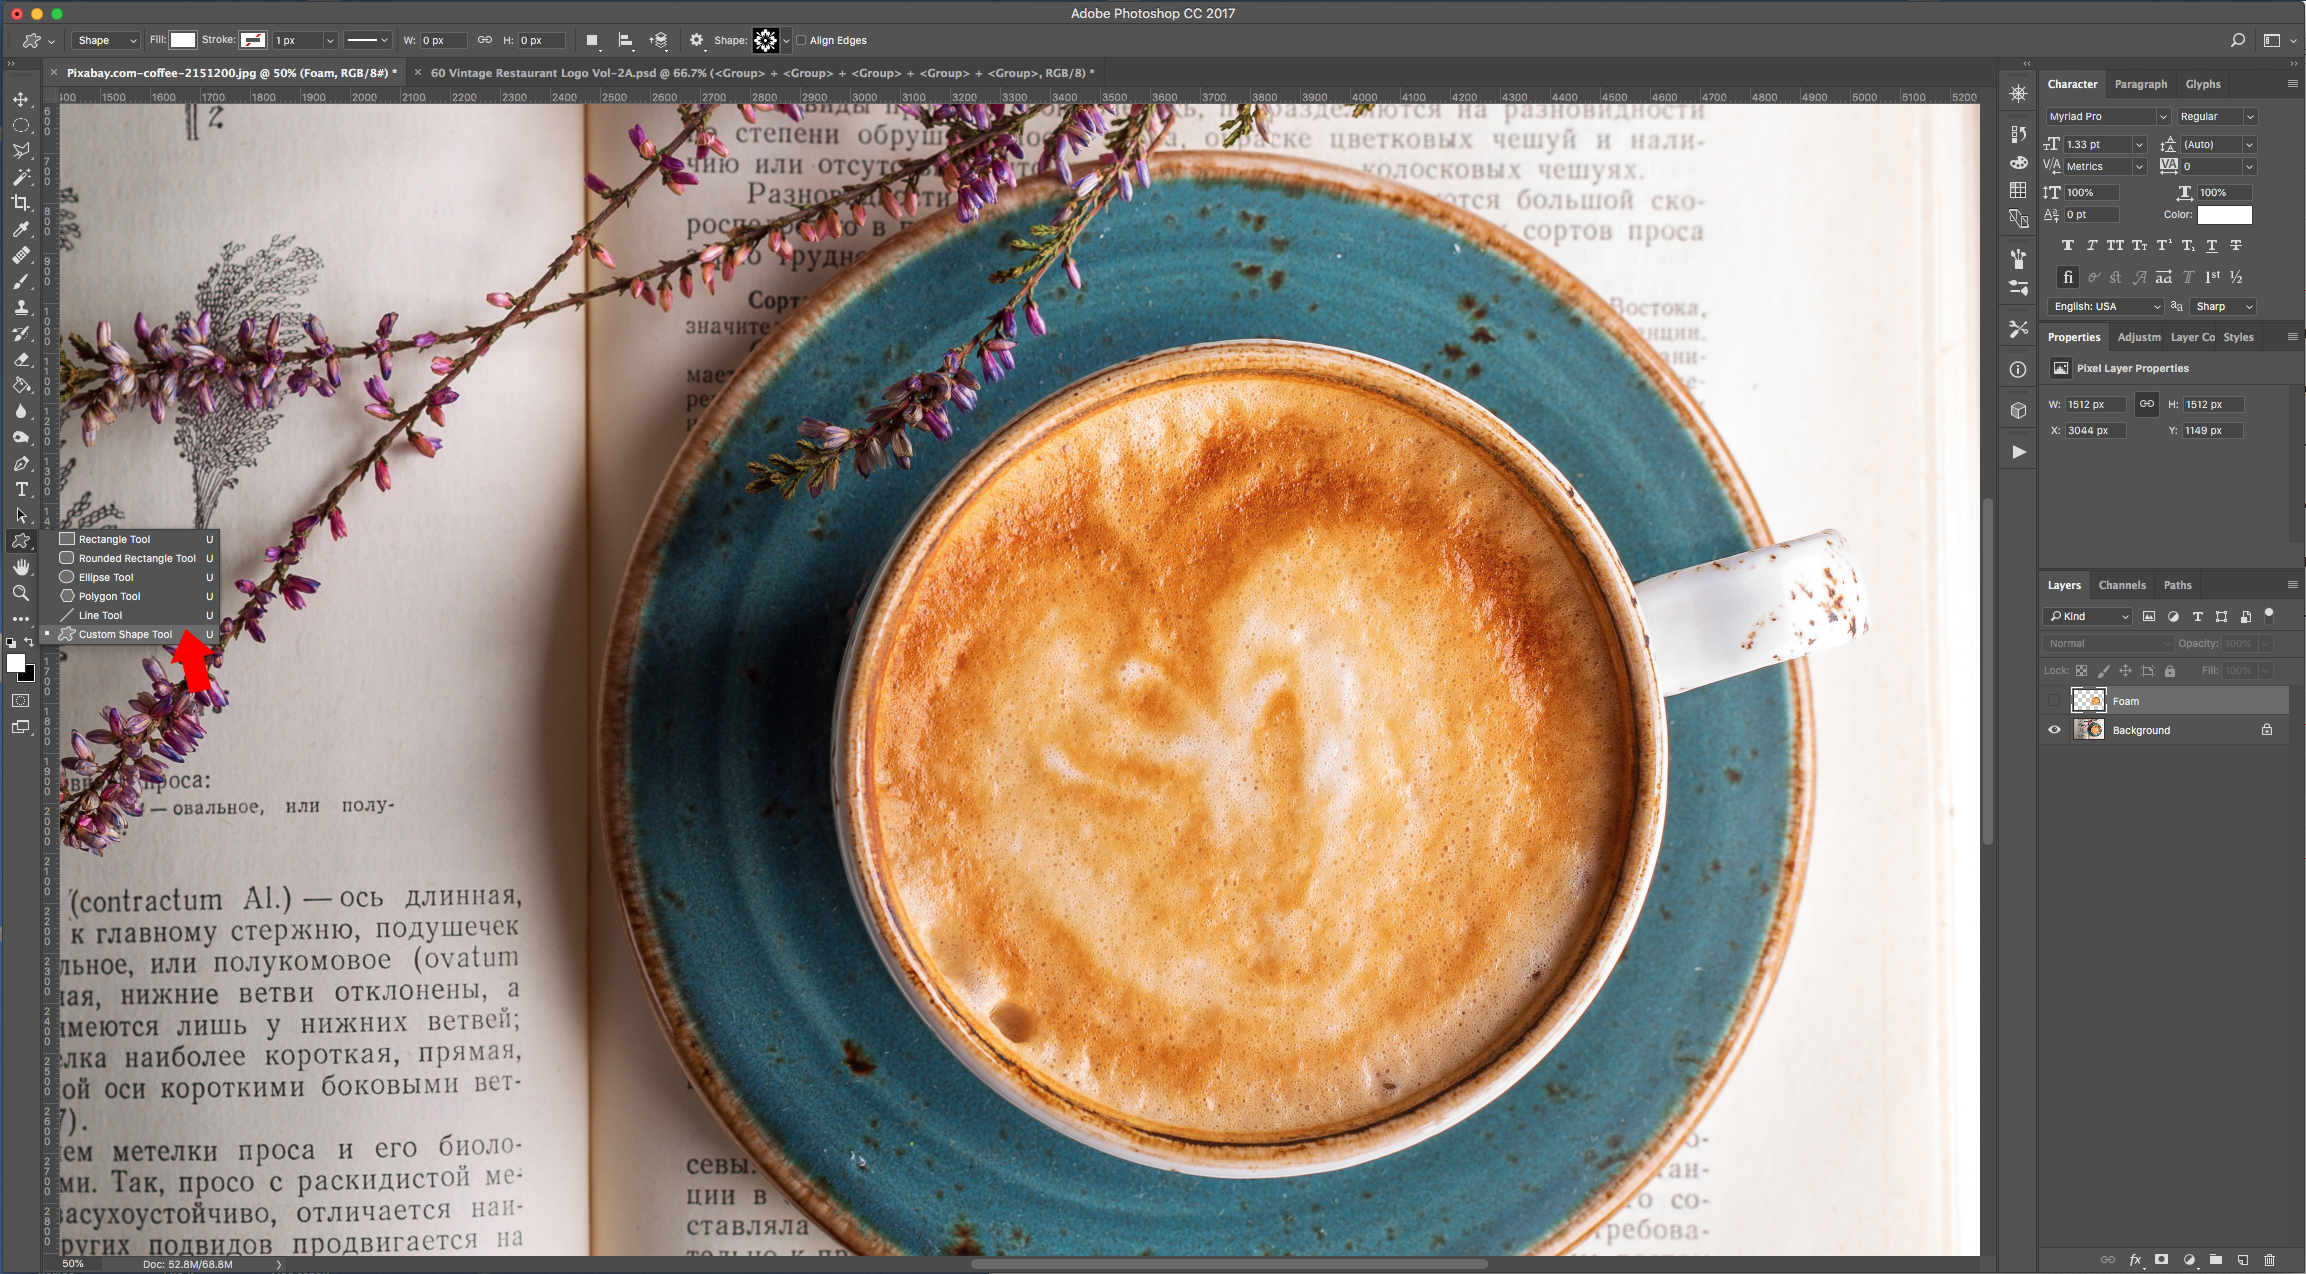
4 - Select the “Custom Shape Tool” (U) and choose a Shape from the ones that Photoshop provides (we used “Floral Ornament 2”). Make sure that “Shape” is selected and that Black is your “Fill” color and drag your cursor on top of the cup (hold the “Shift key). Or import any other image you want to use making sure it is filled with Black or Shades of Grey and resize it to fit the inside of the cup.

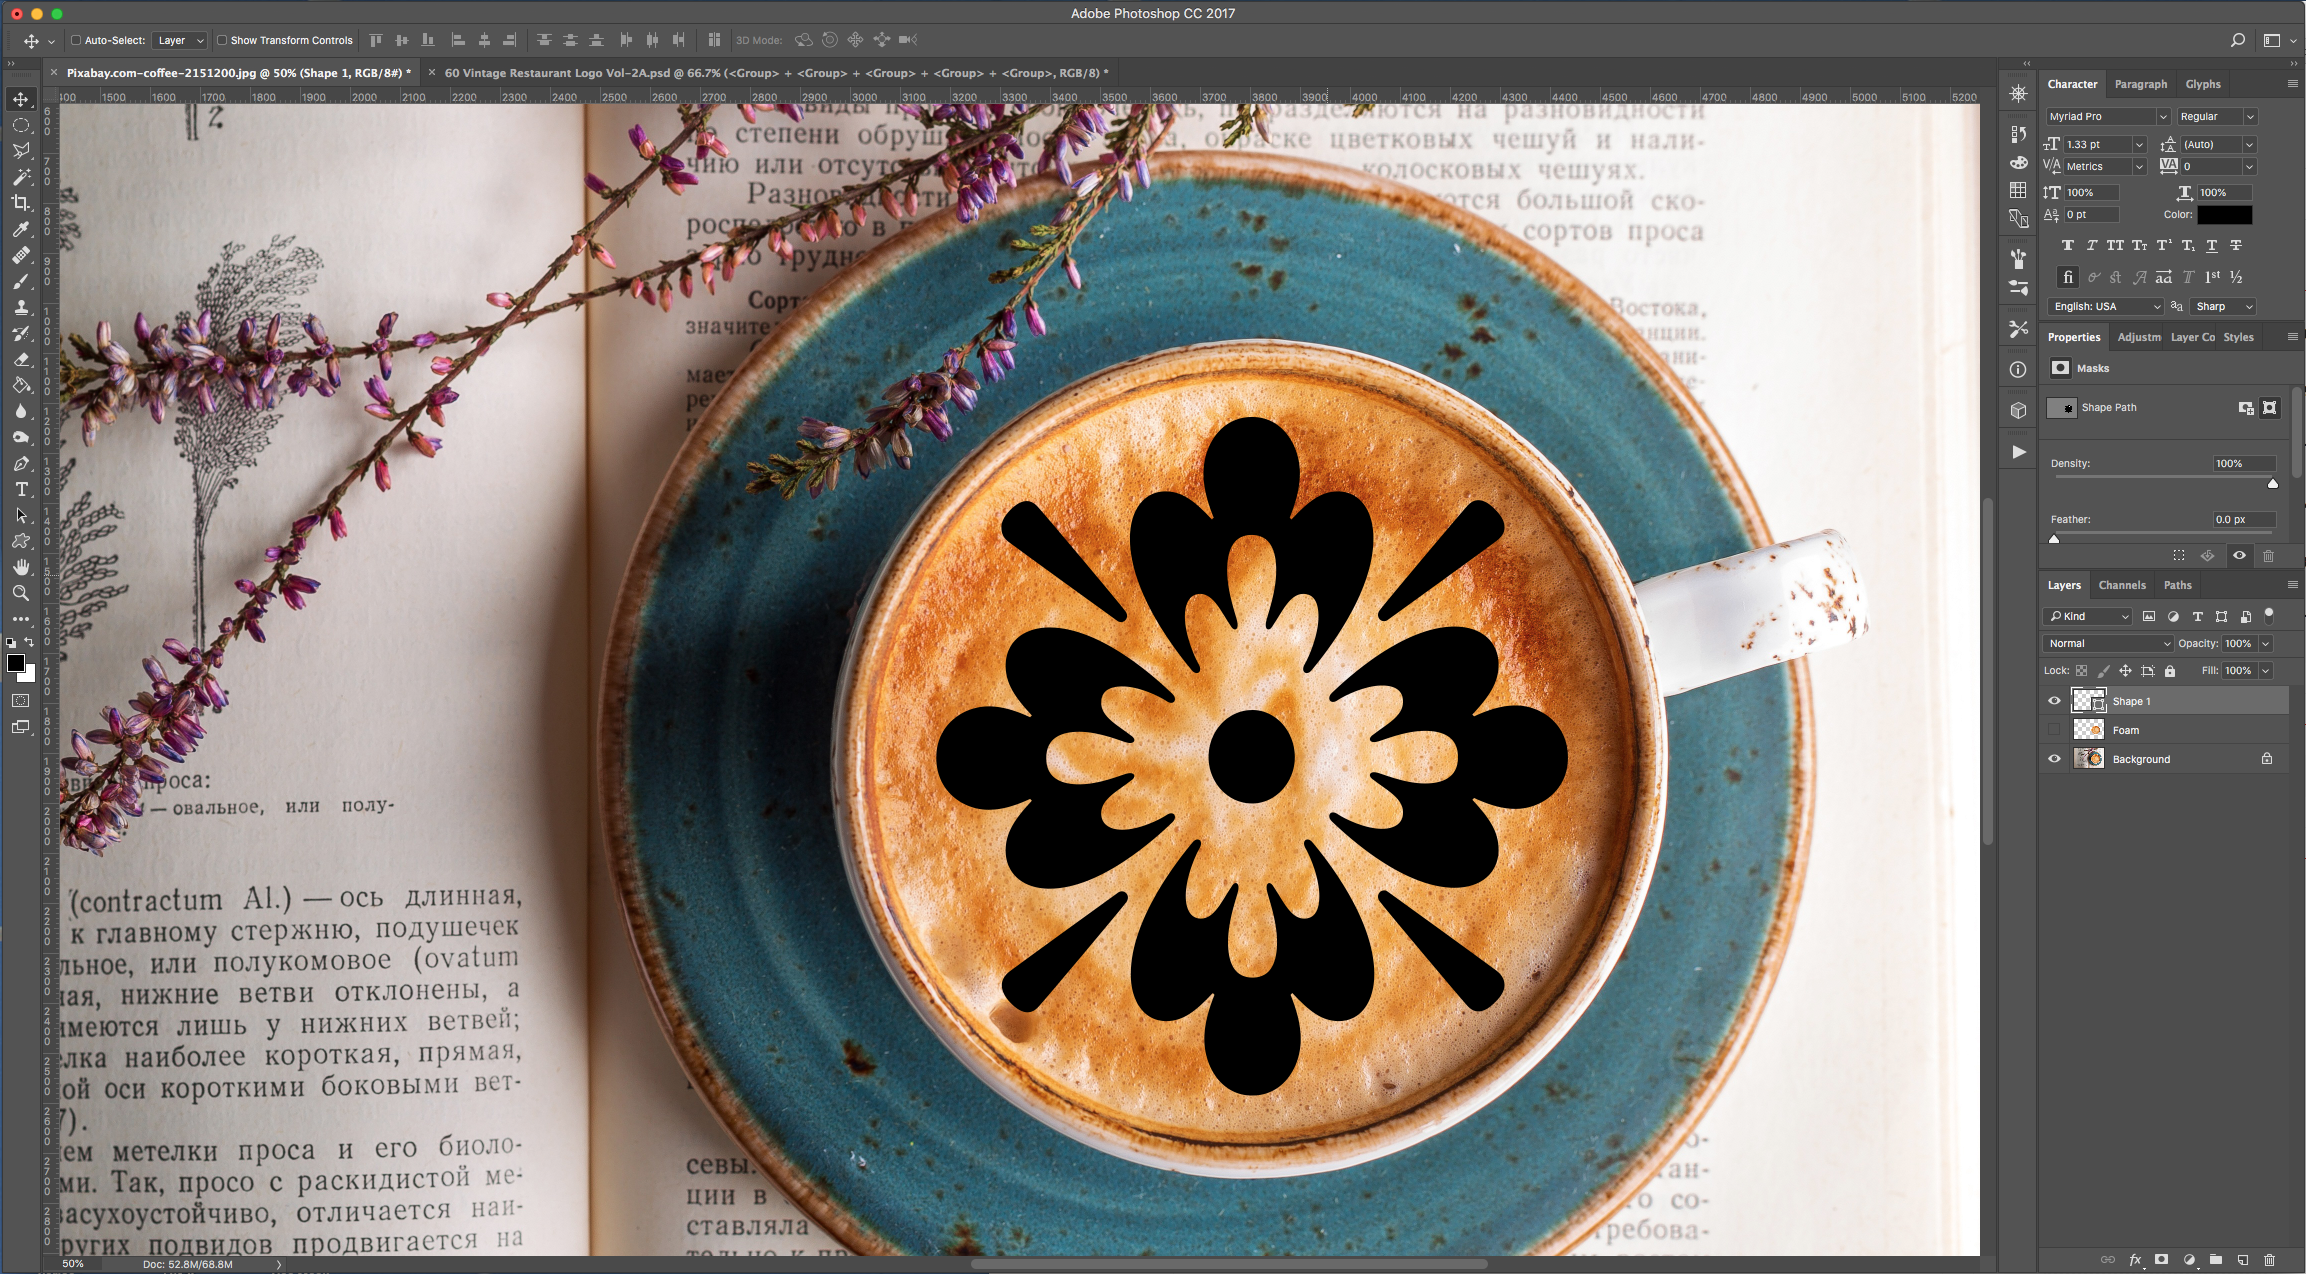
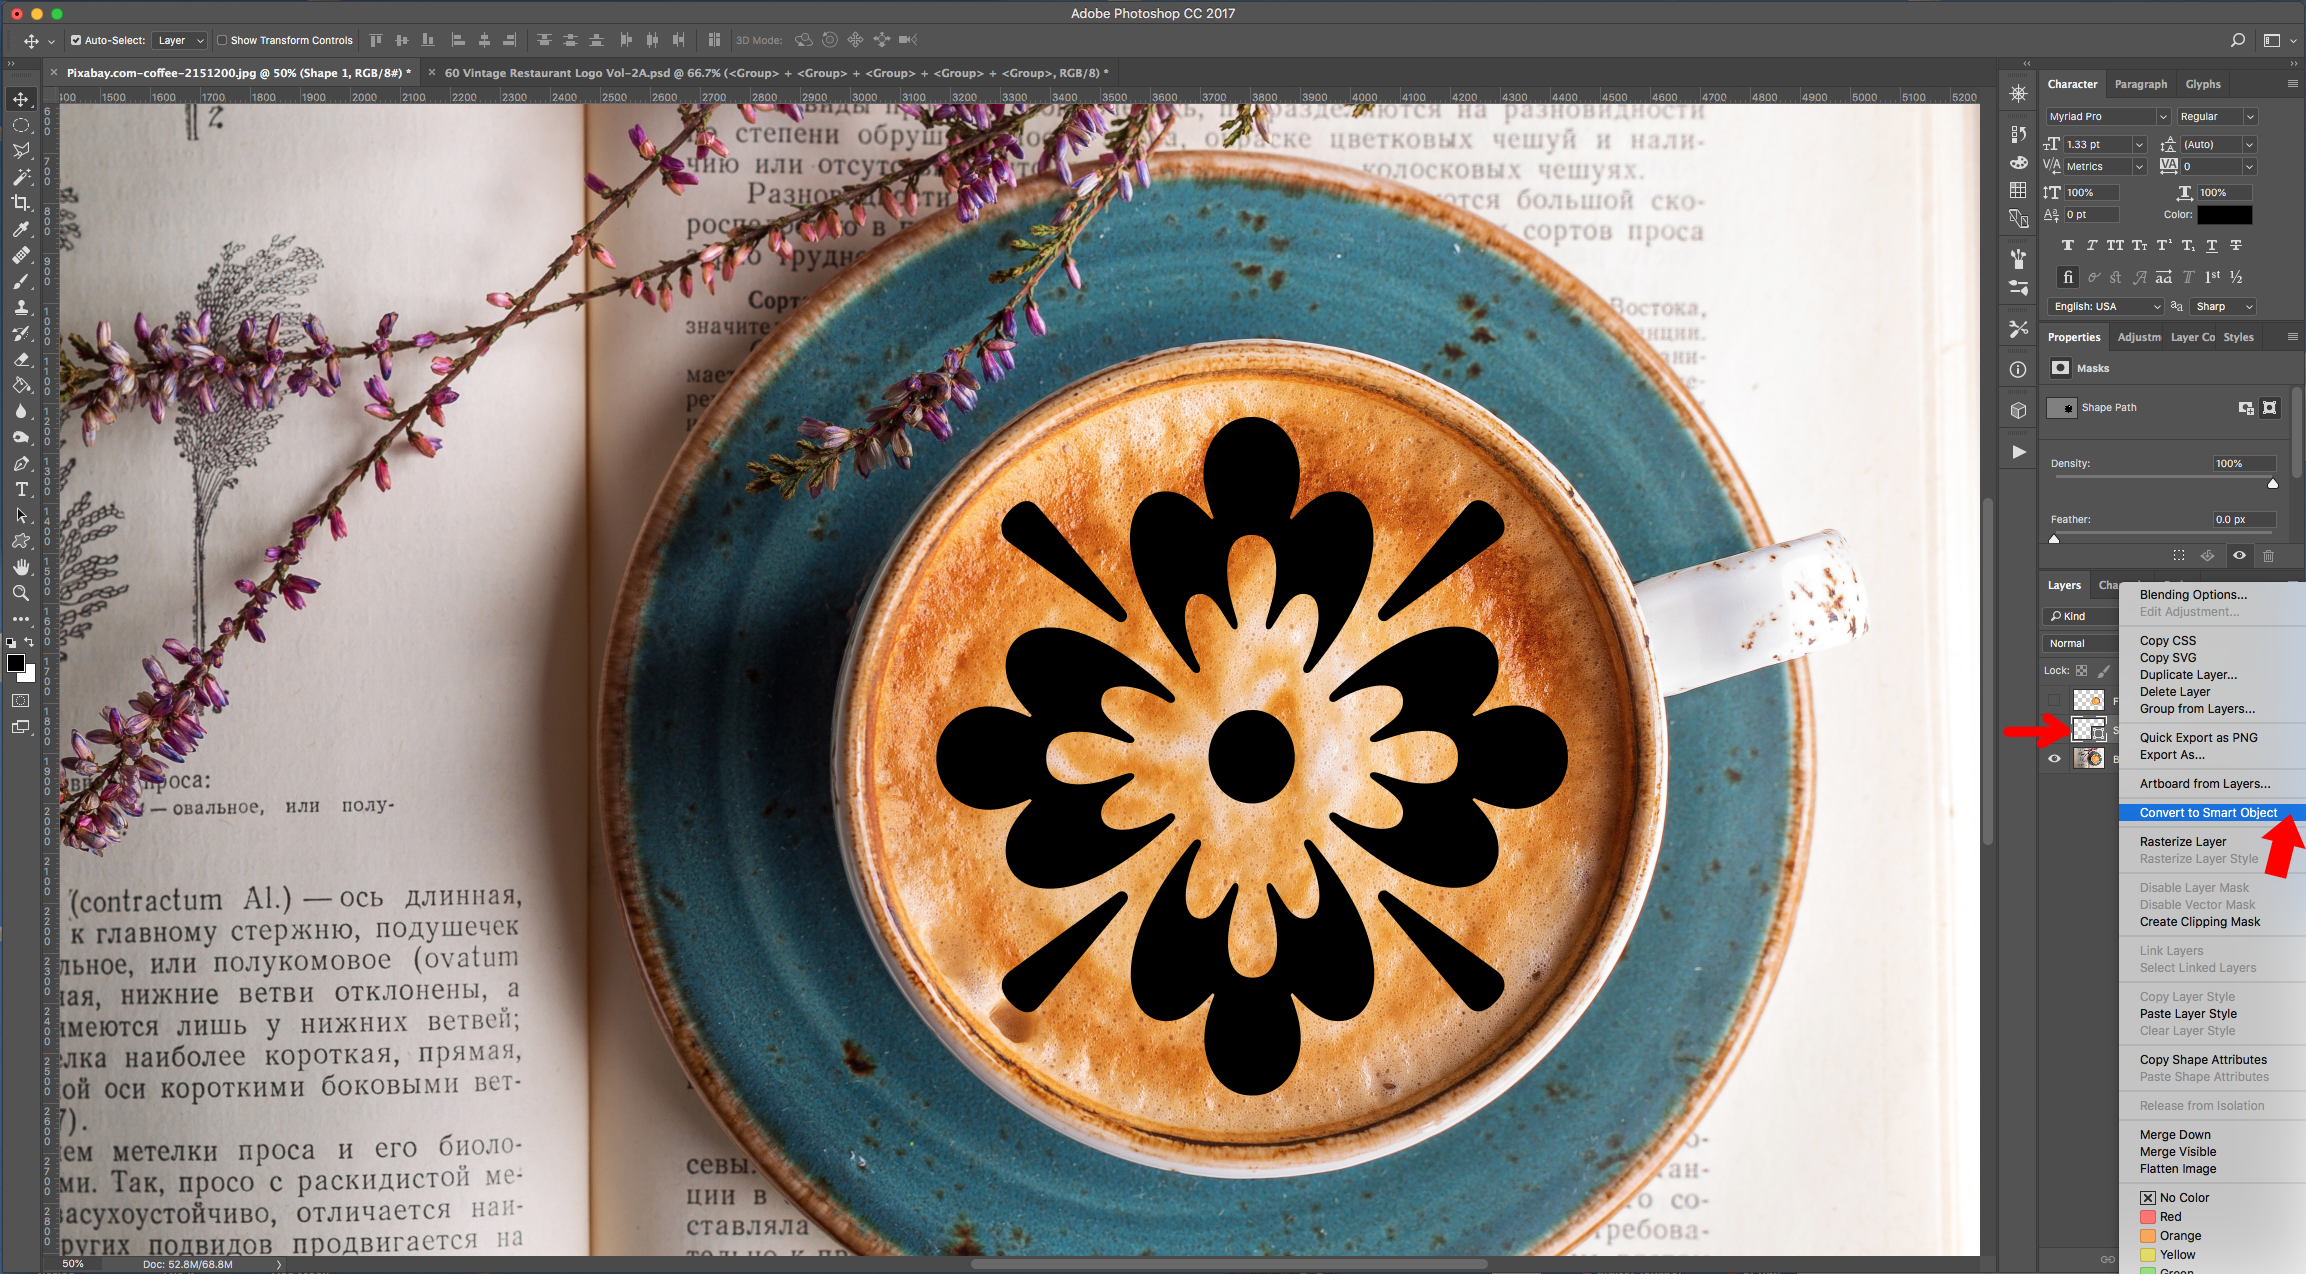
5 - Right-click on top of its Thumbnail and choose “Convert to Smart Object”.
6 - Open the “Coffee Foam” Texture you want to use and go to Edit > Define Pattern… name it and click “OK”. Close the image.


7 - Double-click on top of the “Smart Object” Thumbnail and apply the following “Layer Styles”:
Blending Options:
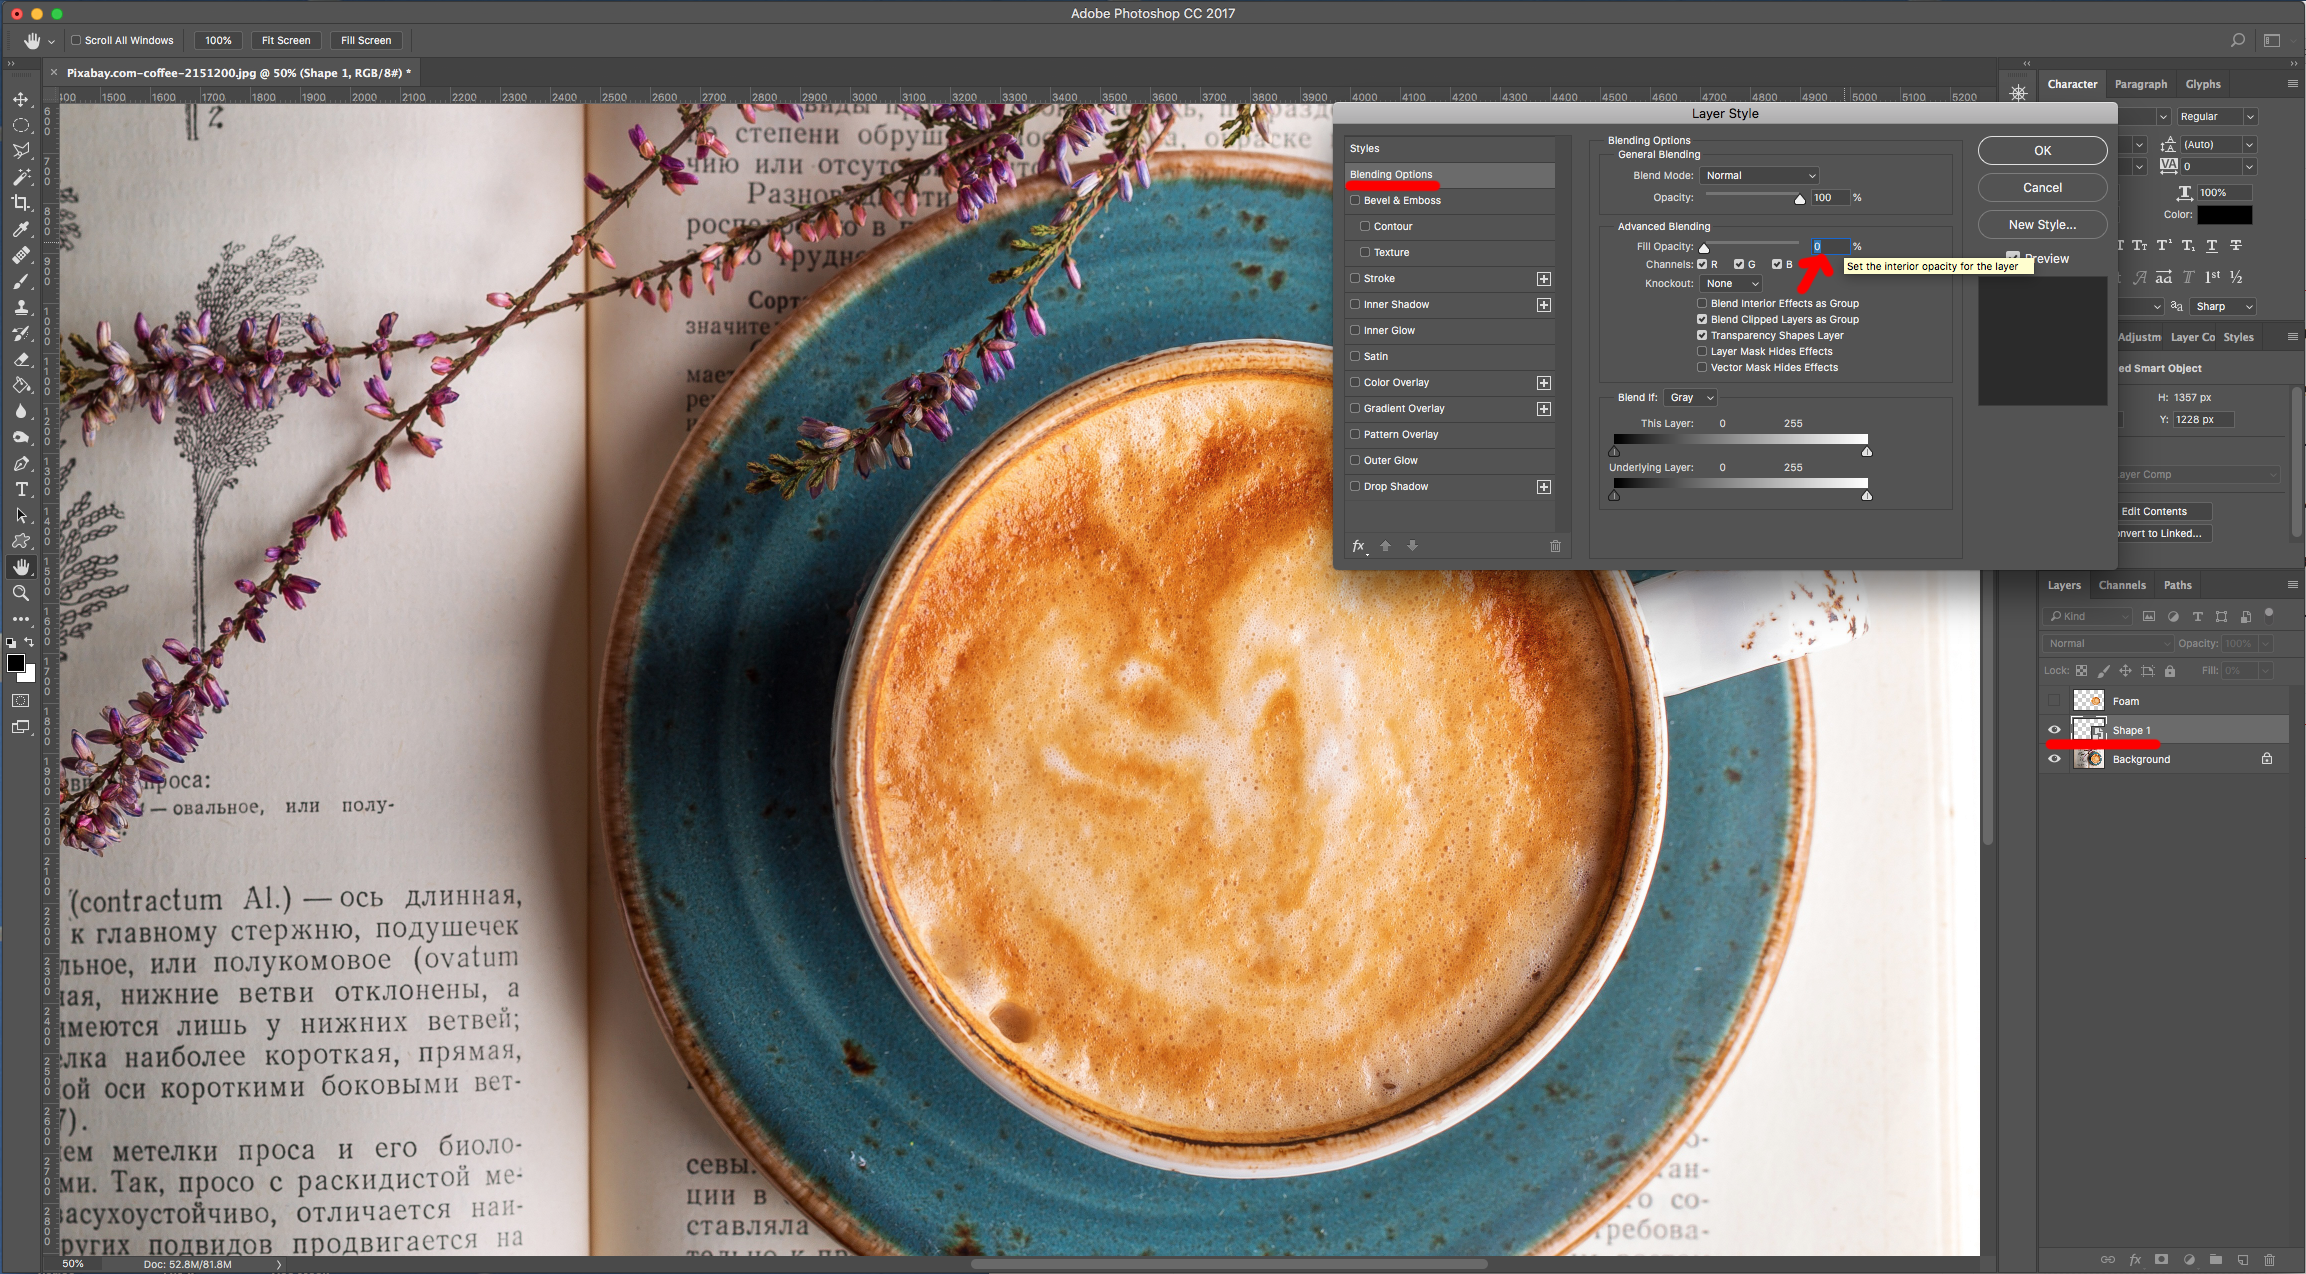
Pattern Overlay: (CoffeeFoam)


Bevel & Emboss: (Highlight Mode: #f8ddc8 and Shadow Mode: #6e2401)
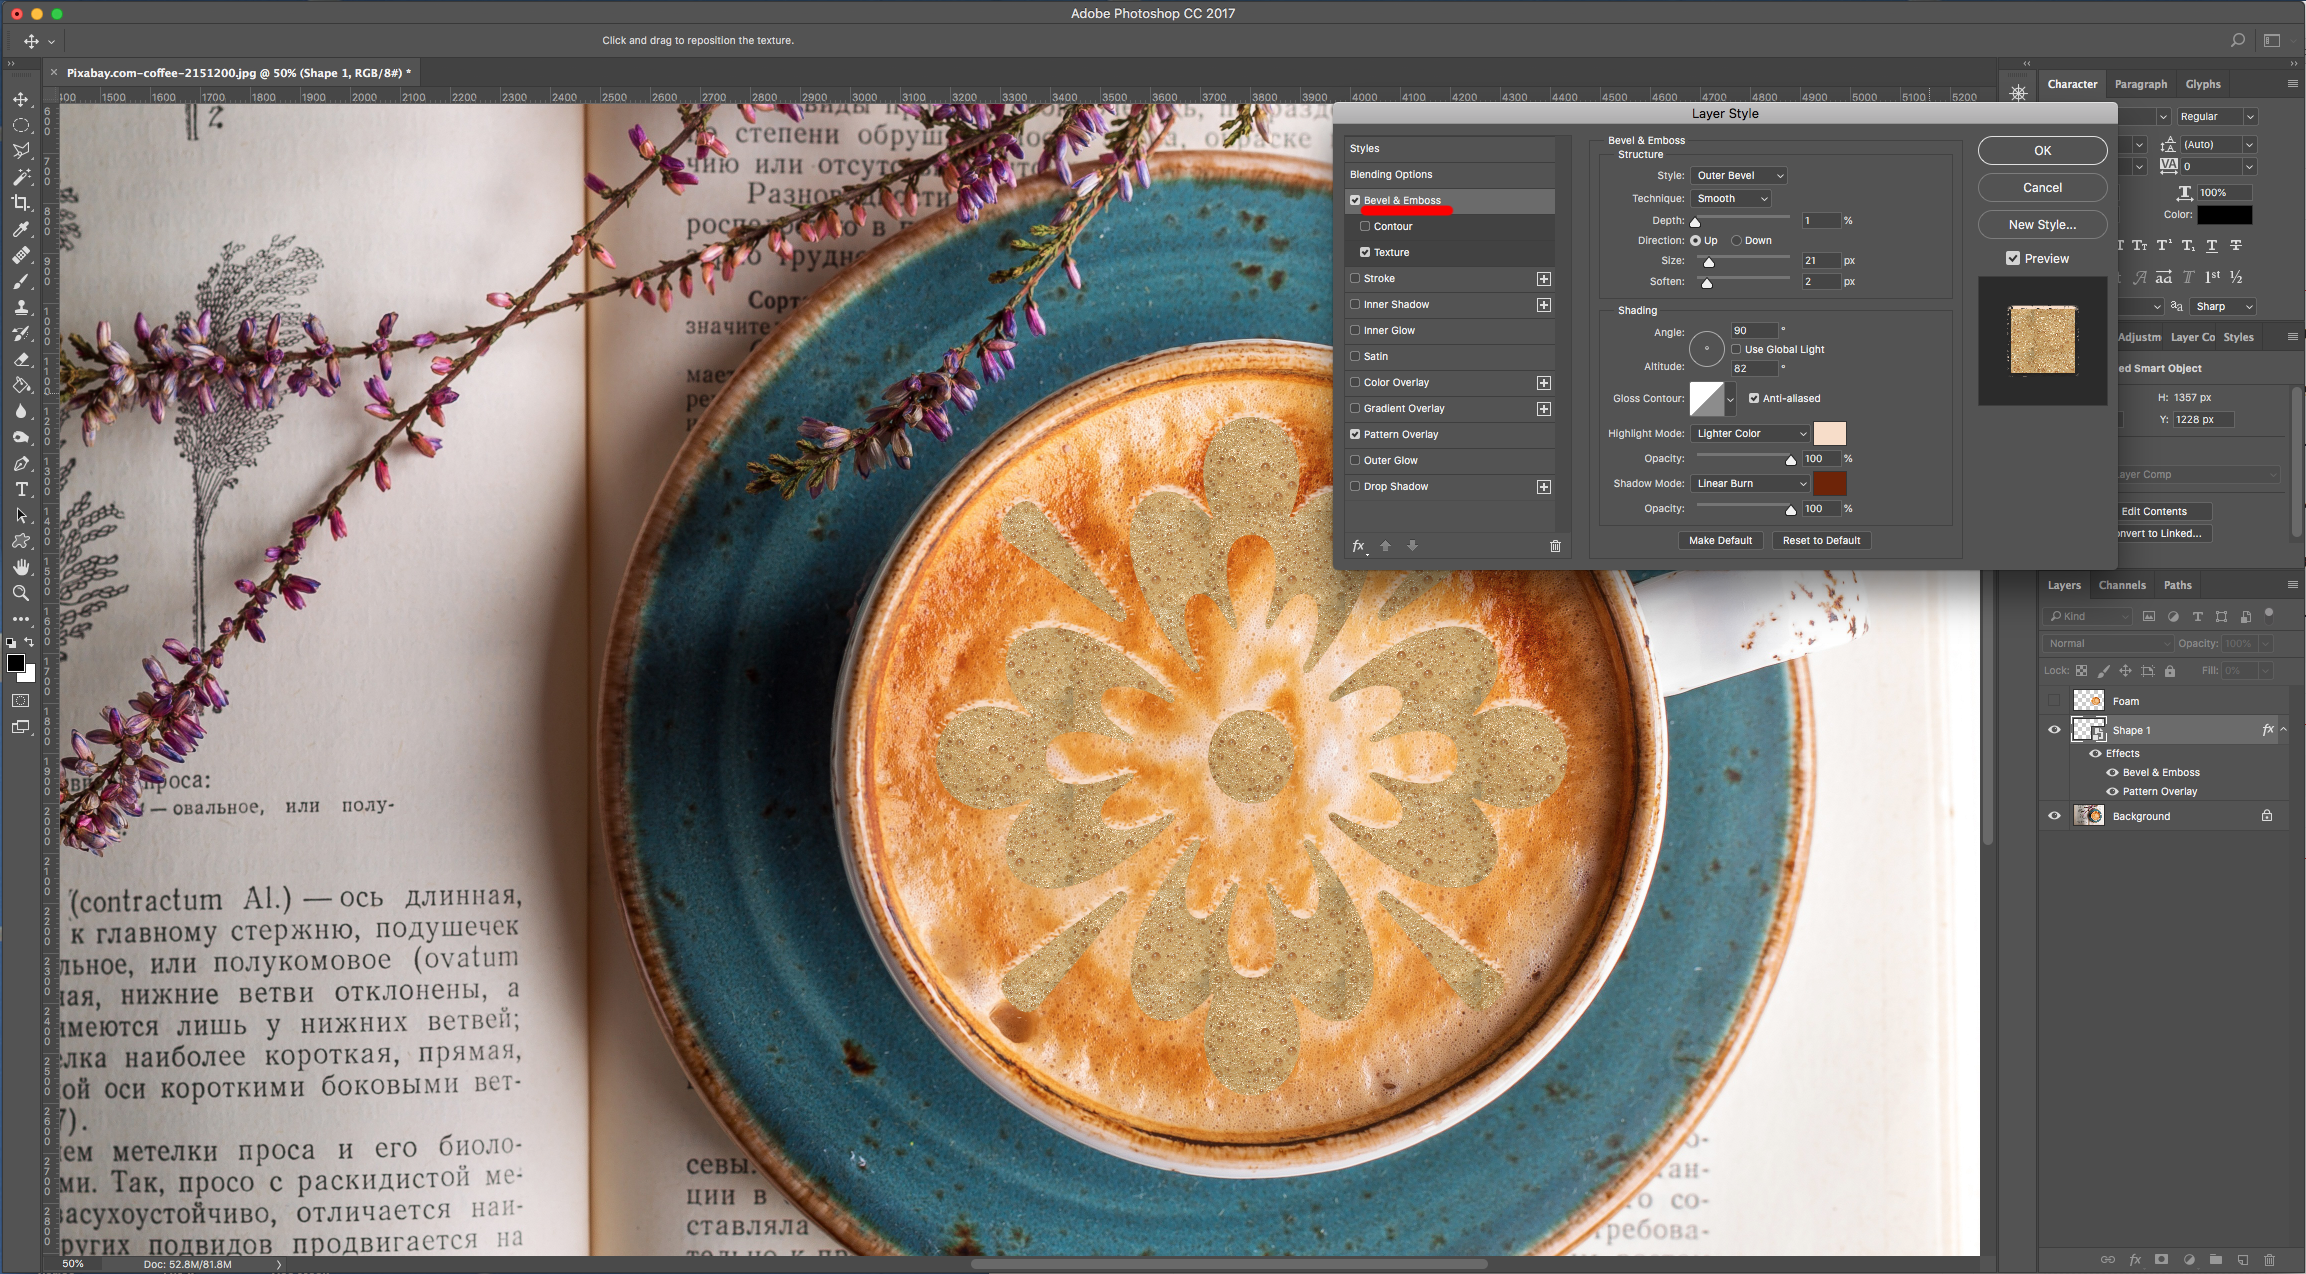
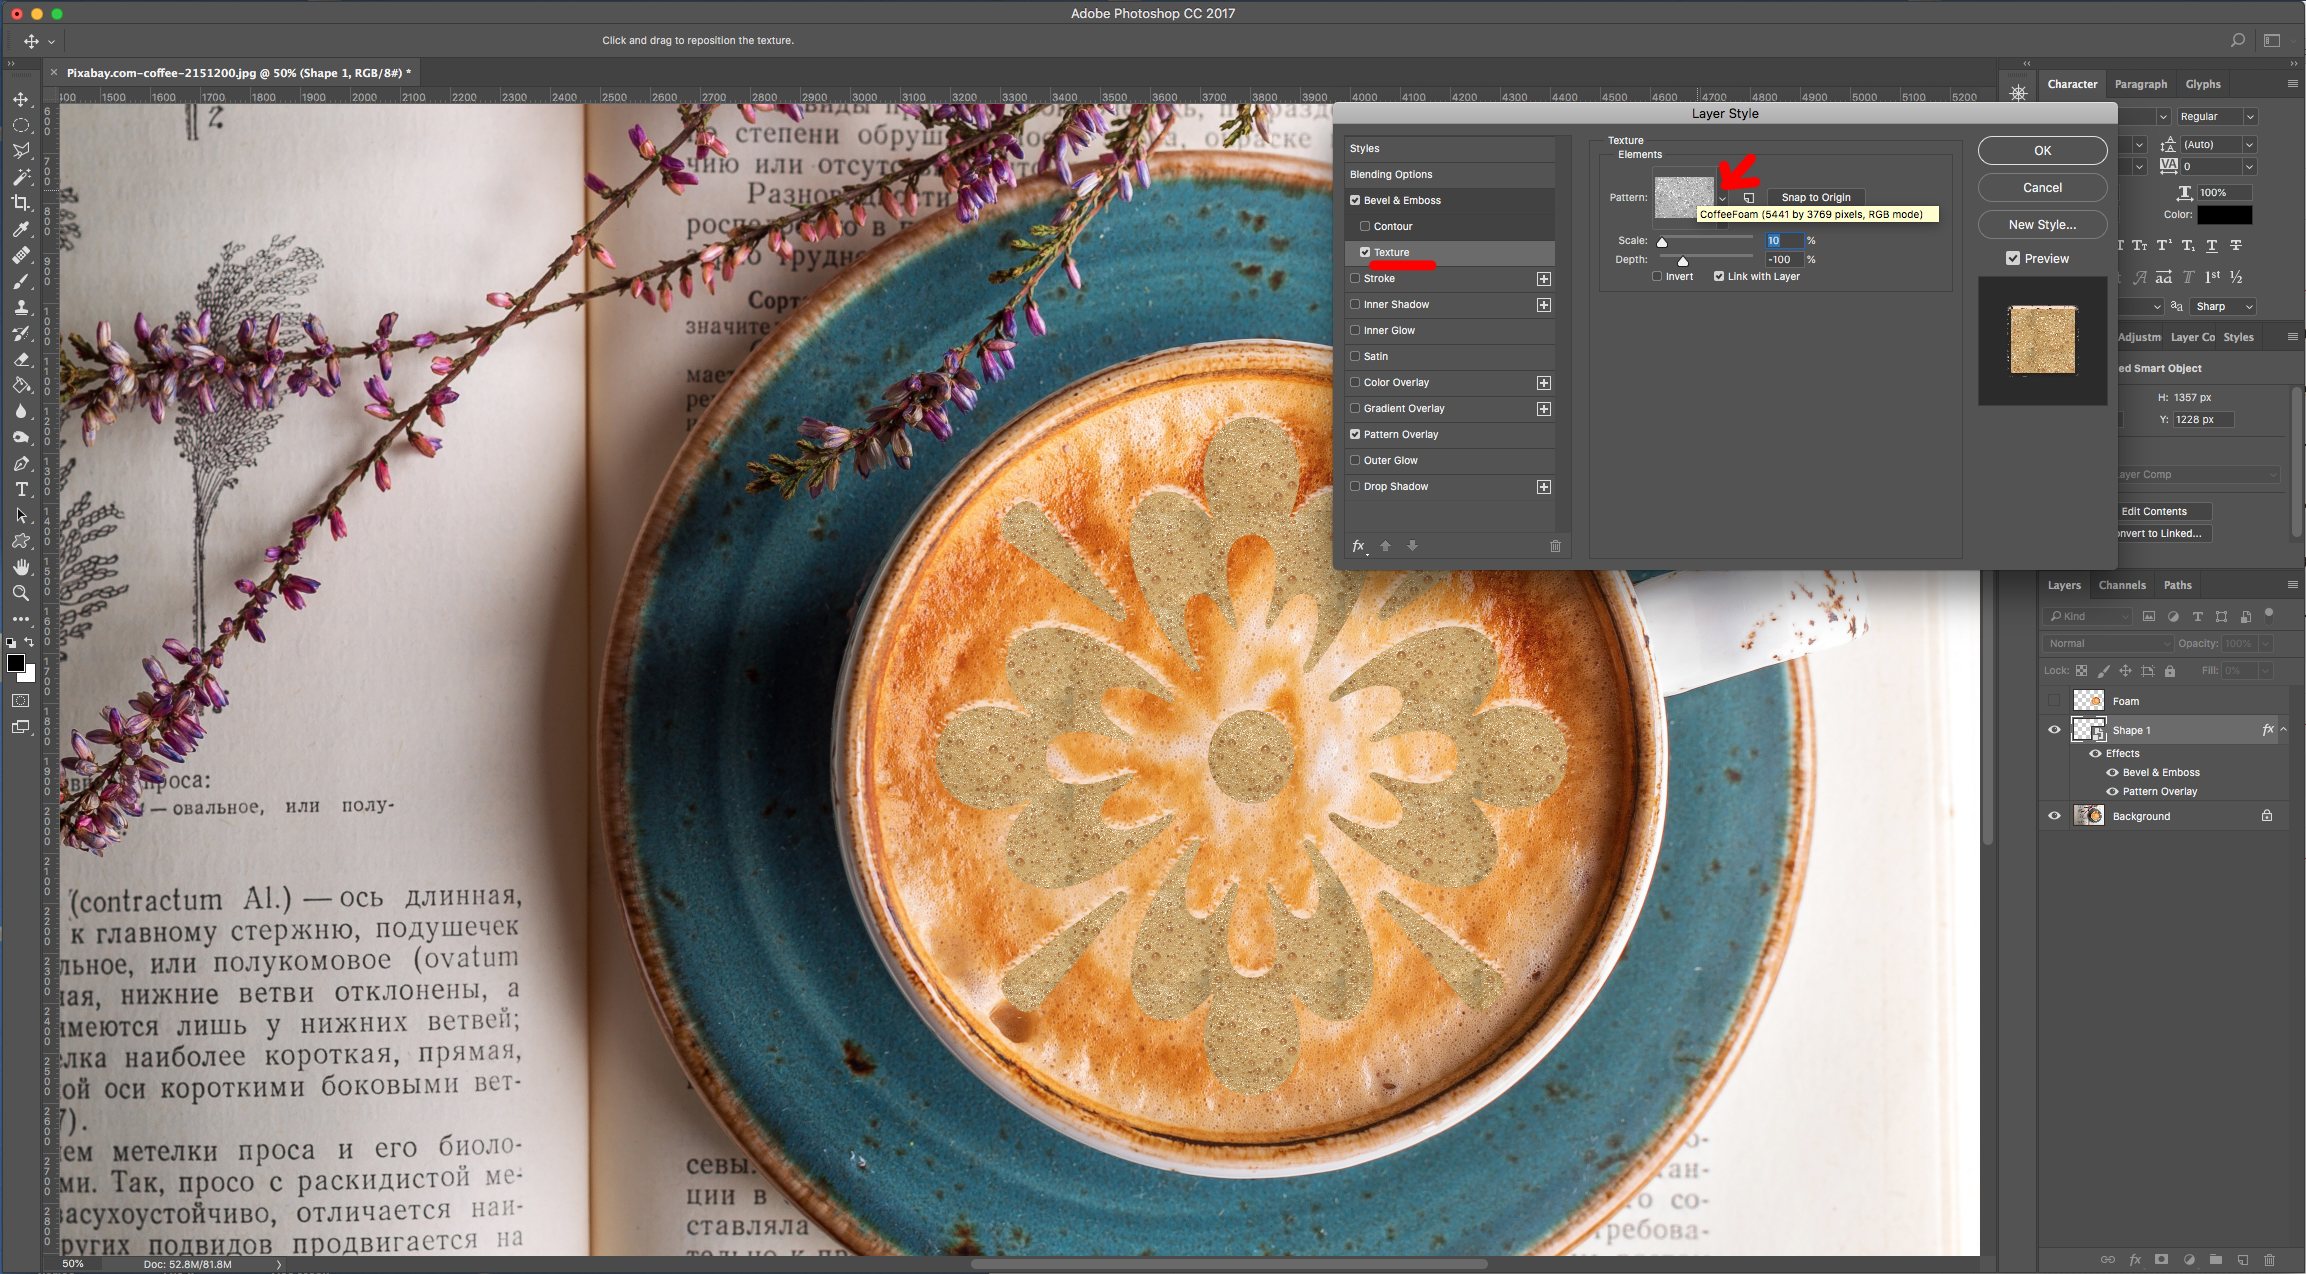
Texture: (CoffeeFoam)
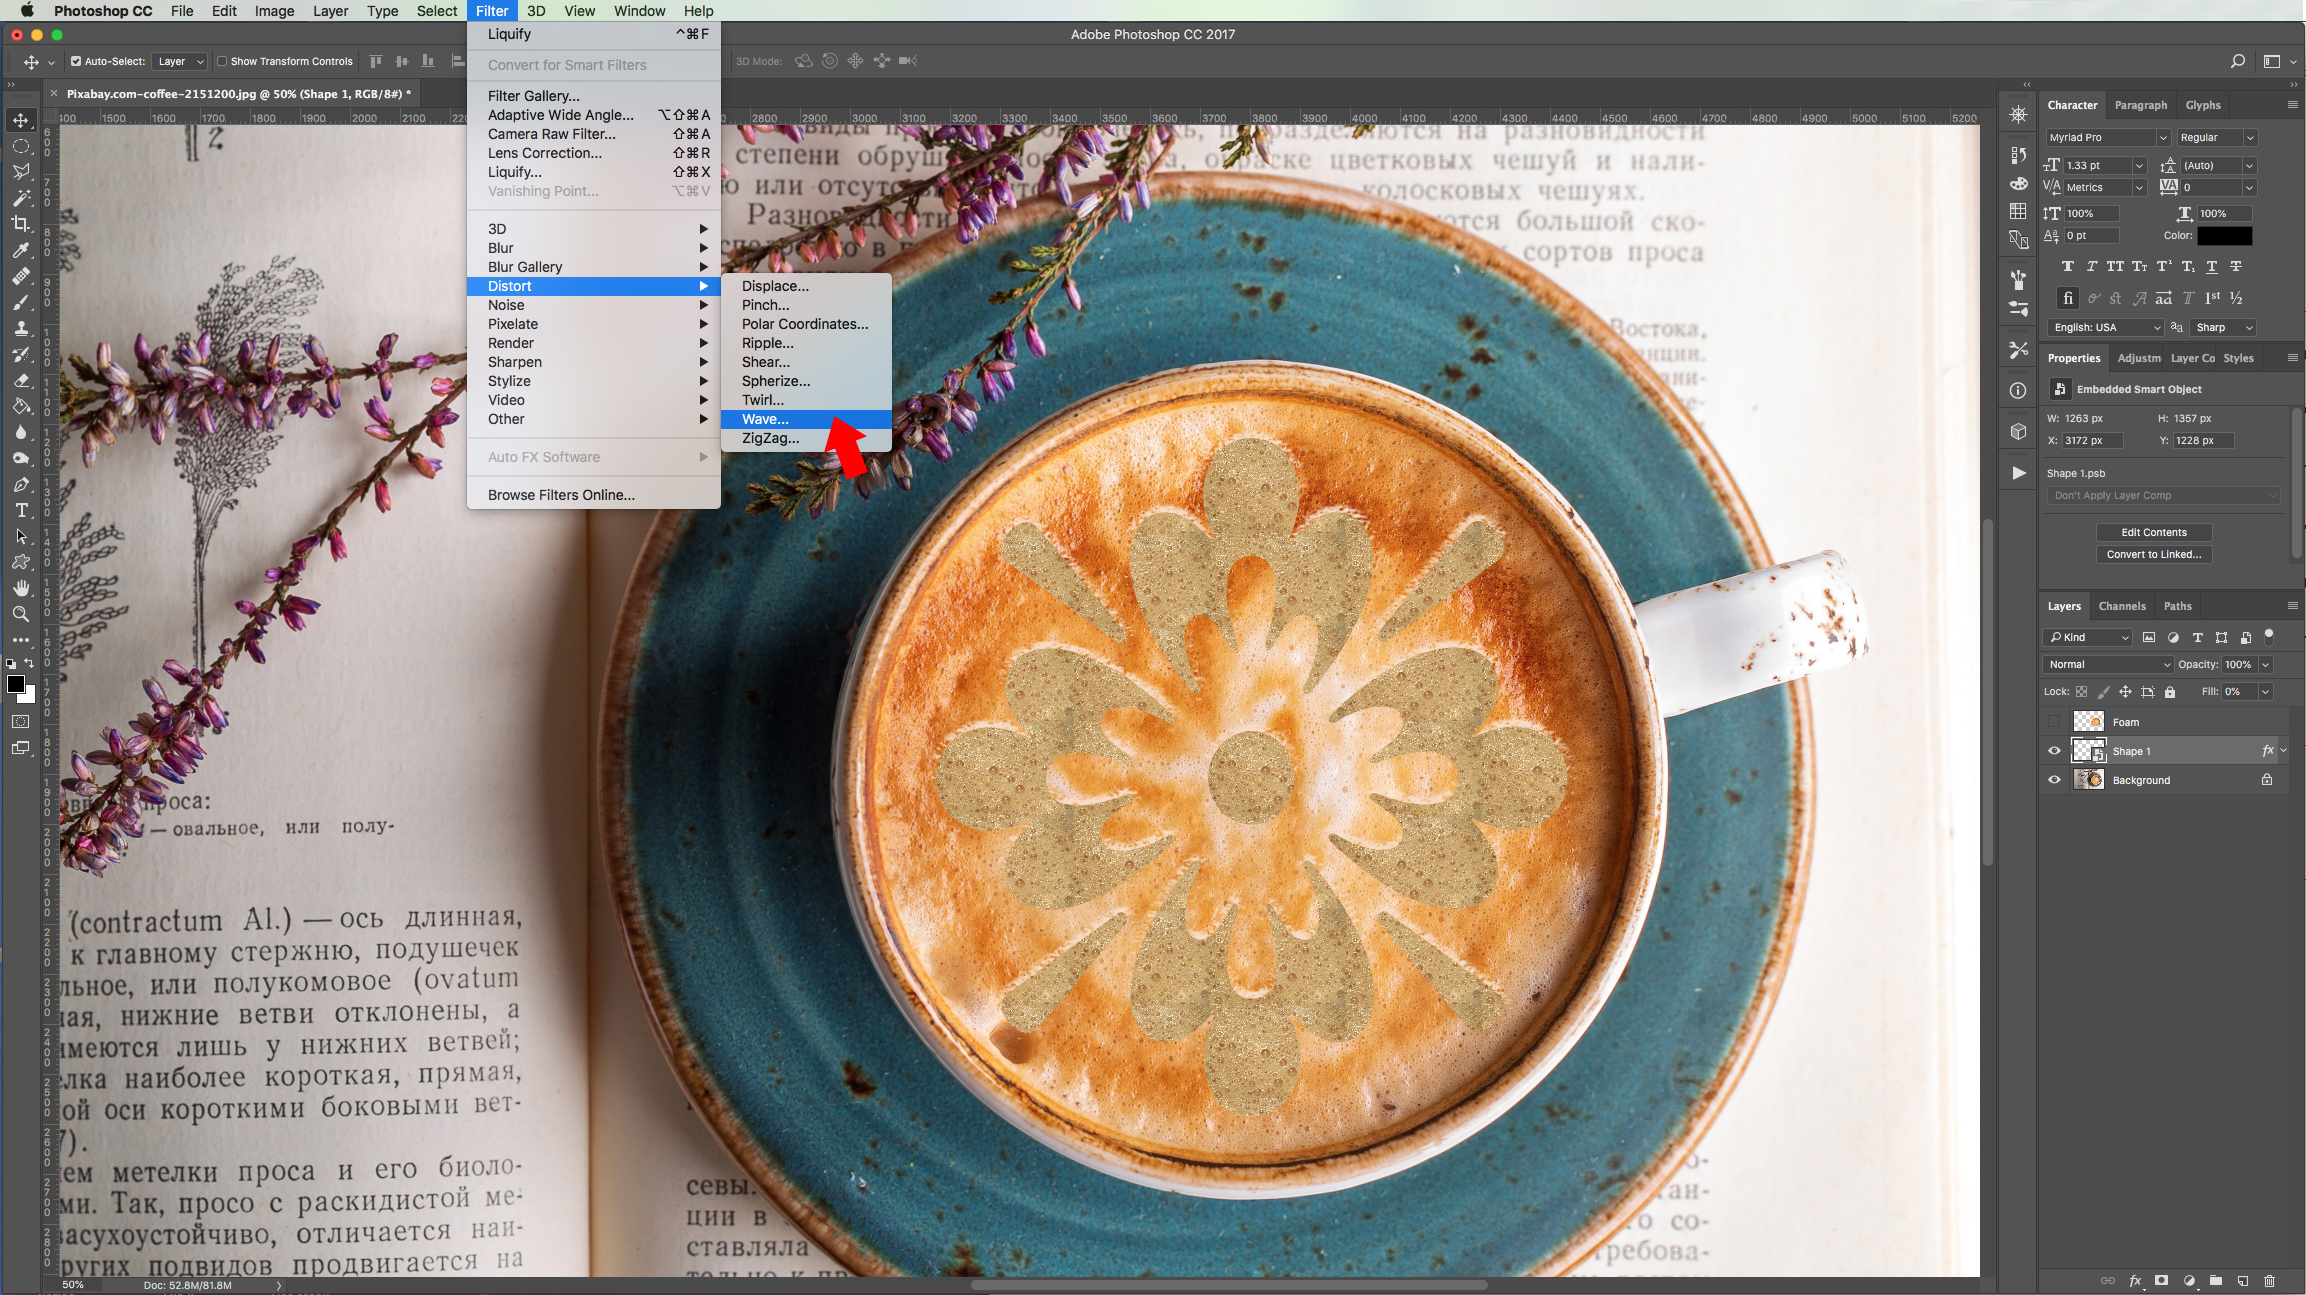
8 - Go to Filter > Distort > Wave… and use the following values:

9 - Then go to Filter > Blur > Radial Blur… and use the following values:


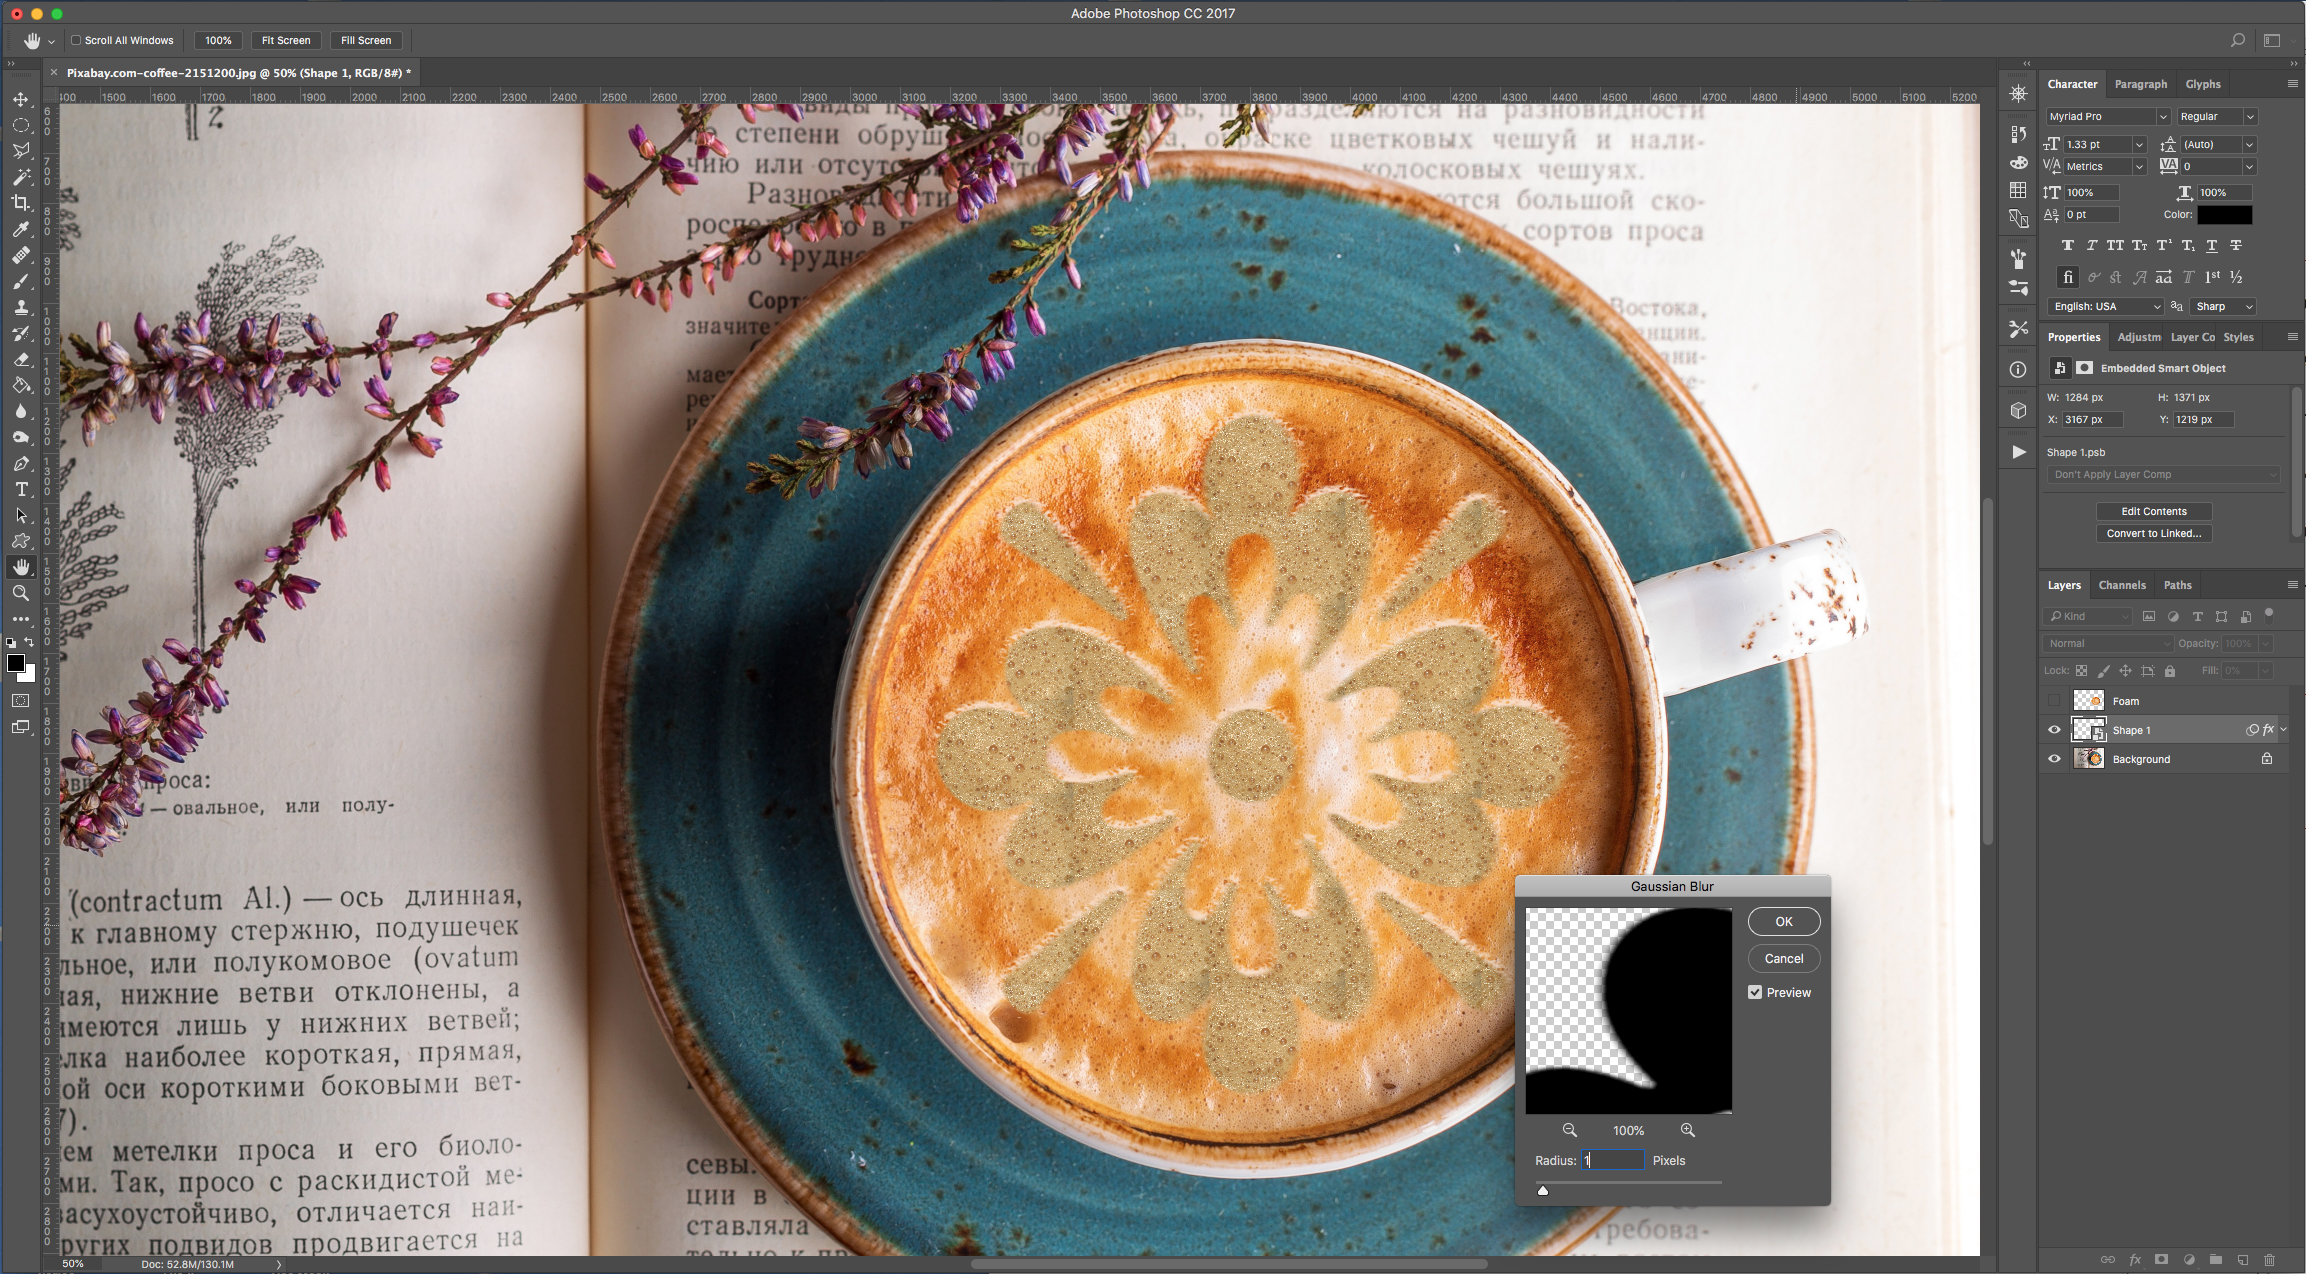
10 - Go to Filter > Blur > Gaussian Blur… and use a “Radius” of 1 Pixel.

11 - Double-click on top of the “Smart Object” Thumbnail again and add the following “Layer Styles”:
Inner Glow: (#472903)

12 - Turn On the copy of the cup interior you did before, make sure it is on top of everything and changeits “Blending Mode” to “Soft Light” and lower the “Opacity” to 50%.
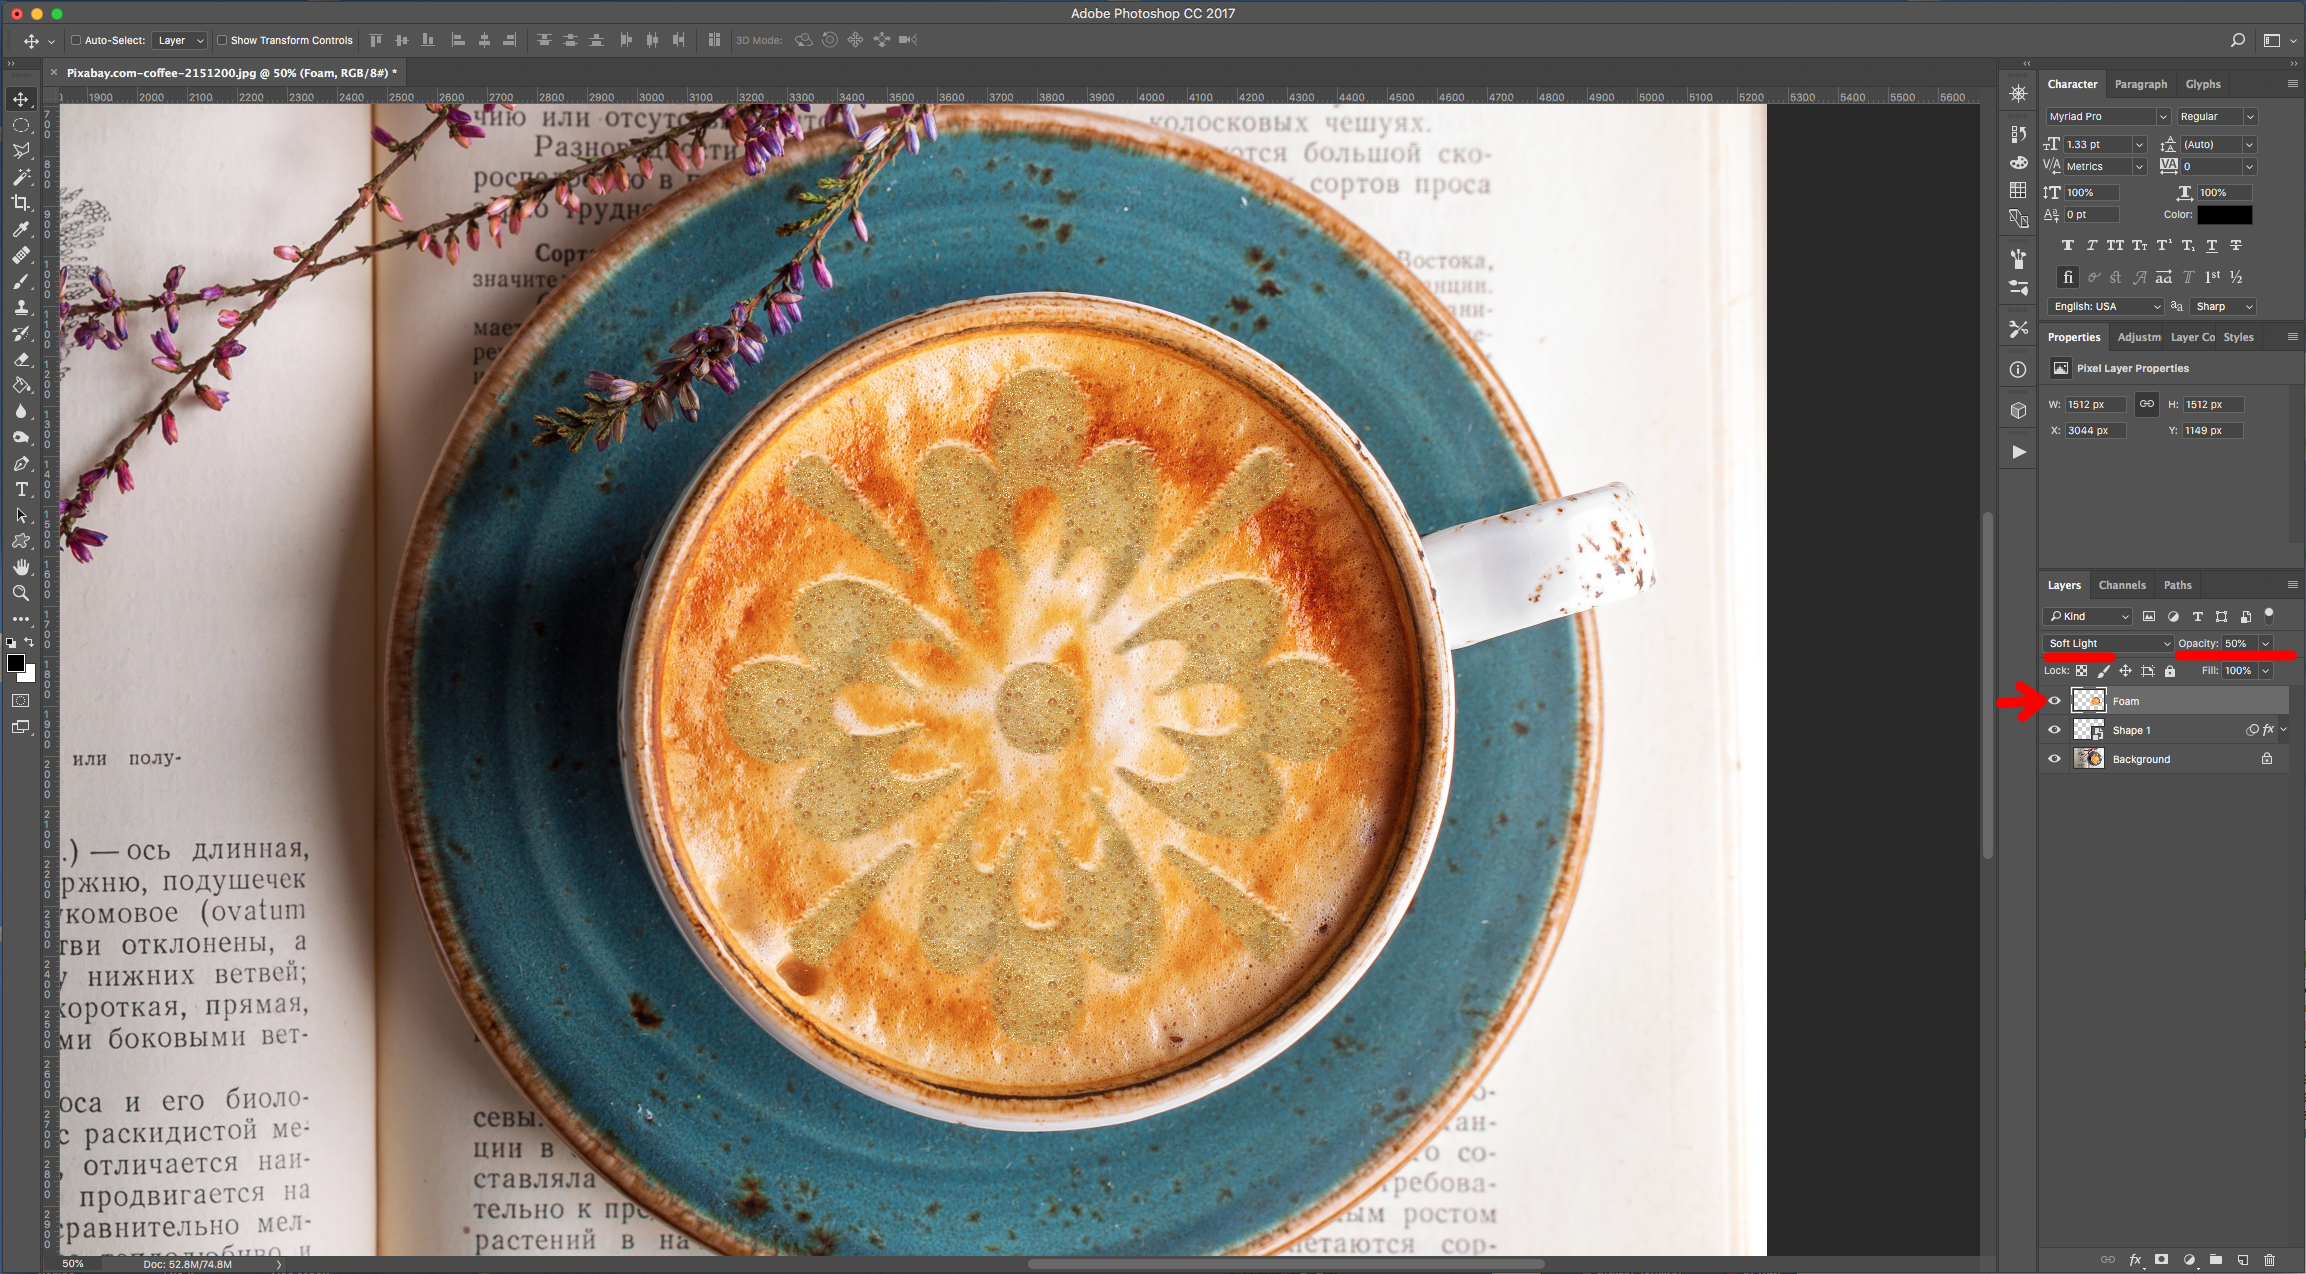
13 - Check it out.
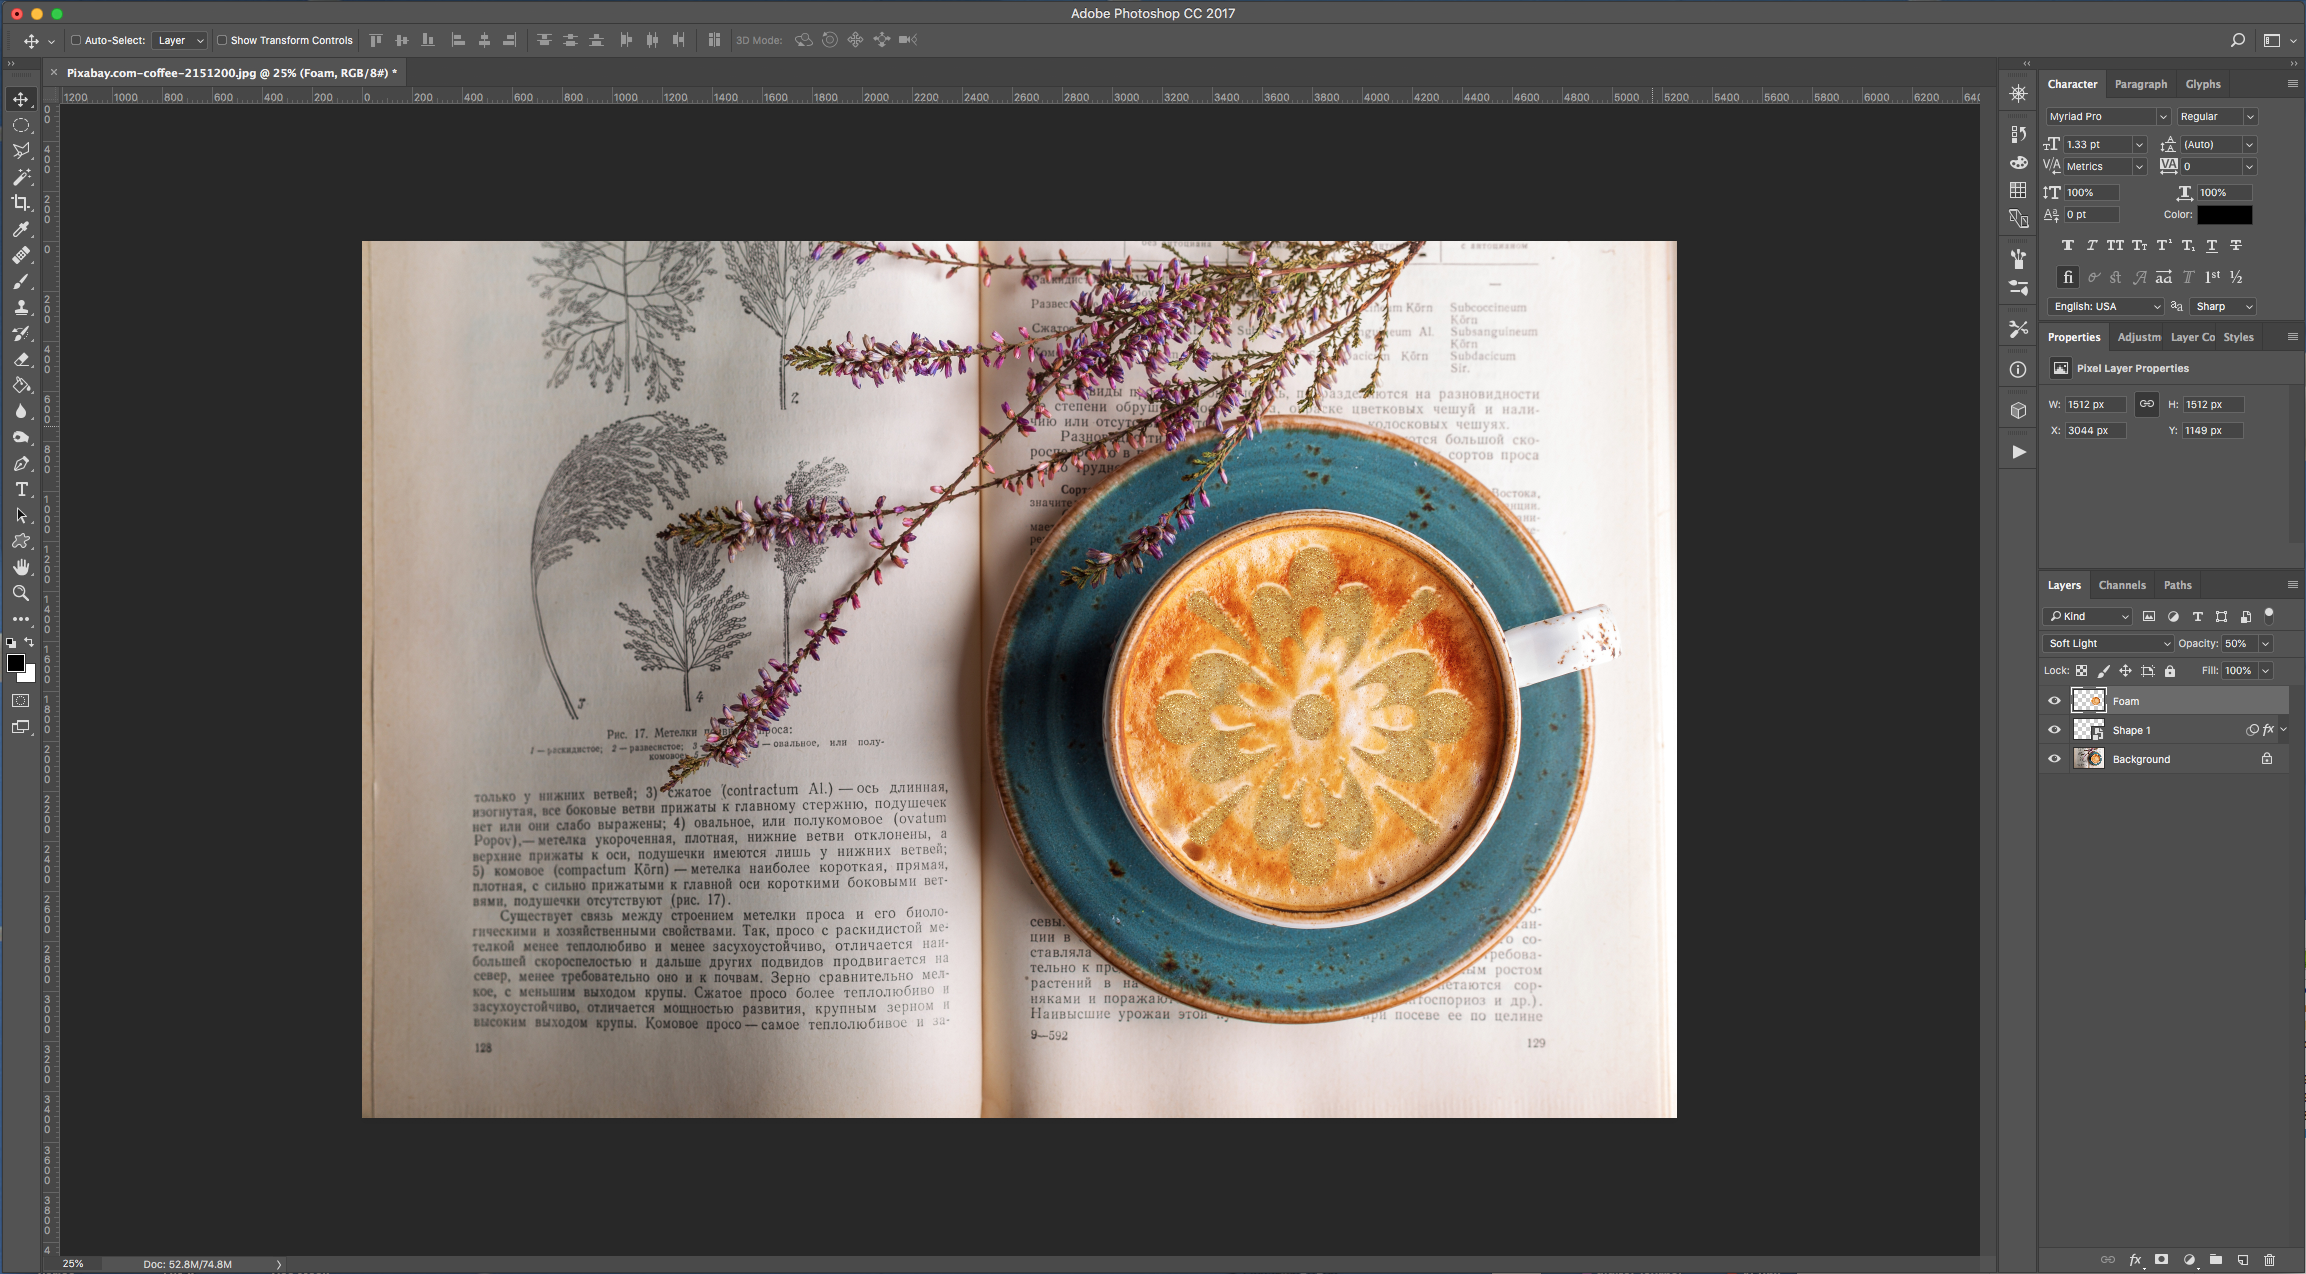
by @lornacane