By Design Bundles
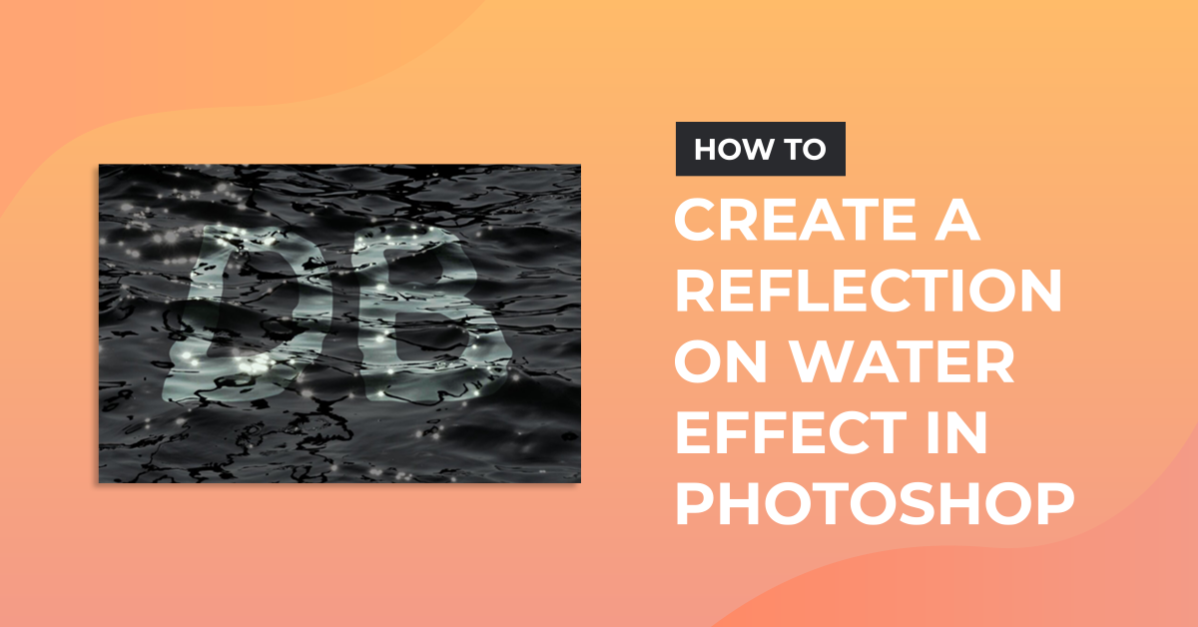
Reflection on Water Effect Photoshop
For this tutorial, you will need a picture of water with some ripples. And for the reflected text we used Pathout Script from Fontbundles.net (https://fontbundles.net/graptail/10575-pathout-script)
1 – In Photoshop create a New Document or open an existing one. Make your “Background” color black.

2 – Import or paste your water image and then change its “Opacity” to about 60 %

3 – In the “Adjustments” palette create a new “Hue/Saturation” Adjustment Layer and use 0 as your “Hue” and “Lightness” value and -34 for “Saturation”. Then create a “Levels” Adjustment layer and use 0, 0.70 and 250 as your values. Finally create a “Brightness/Contrast” Adjustment layer with 0 for “Brightness” and -30 for “Contrast”.


4 – Create a “New Layer” by clicking the button at the bottom of your “Layers” menu. Fill the layer with black with your “Paint Bucket Tool” (G), change its Blending Mode to “Multiply” and an “Opacity of 80%. Making sure white is your “Foreground” color select the “Brush Tool” (B) choose a very soft and fairly large brush and “erase” some of the black in the middle of your image and create a “Vignette” effect. Once you are happy save your document.


5 – Now add your text or design using a white fill color. We decided to use some text, but you can use a logo or some other vector object.

6 – Go to Filter > Distort > Displace. If you are using text a you will me prompted to “Rasterize” your text or convert it to a “Smart Objet”. Choose the option you prefer. Then apply the following values: 20 for “Horizontal” and “Vertical” Scale. Choose “Tile” for “Displacement Map” and “Wrap Around” for “Undefined Areas”. Then choose your saved file (the one you are working in) when asked to open a document.


7 – Check your text. You can play with the filter settings if you converted your text into a “Smart Object”.

8 – Go to Filter > Blur > Gaussian Blur and give it a “Radius” of 2.0 Pixels.


9 – Add a “Layer Mask” by clicking on the button at the bottom of the “Layers” menu and select the “Brush Tool” (B) choose a brush with a “Hardness” of 0% and a “Size” about 190 px, an “Opacity” of 65% and make sure your “Foreground” color is black. Then paint over the edges on the top and bottom of the text making them darker and giving the idea they are a bit underwater.


10 – Change the “Blending Mode” of your layer to “Overlay” and then duplicate your layer twice by dragging it on to the “New Layer” button a couple of times. You can select your layers, right-click on top of them and “Link Layers” to keep them together.


11 – Your image should look like this.

by @lornacane
Save