By Design Bundles
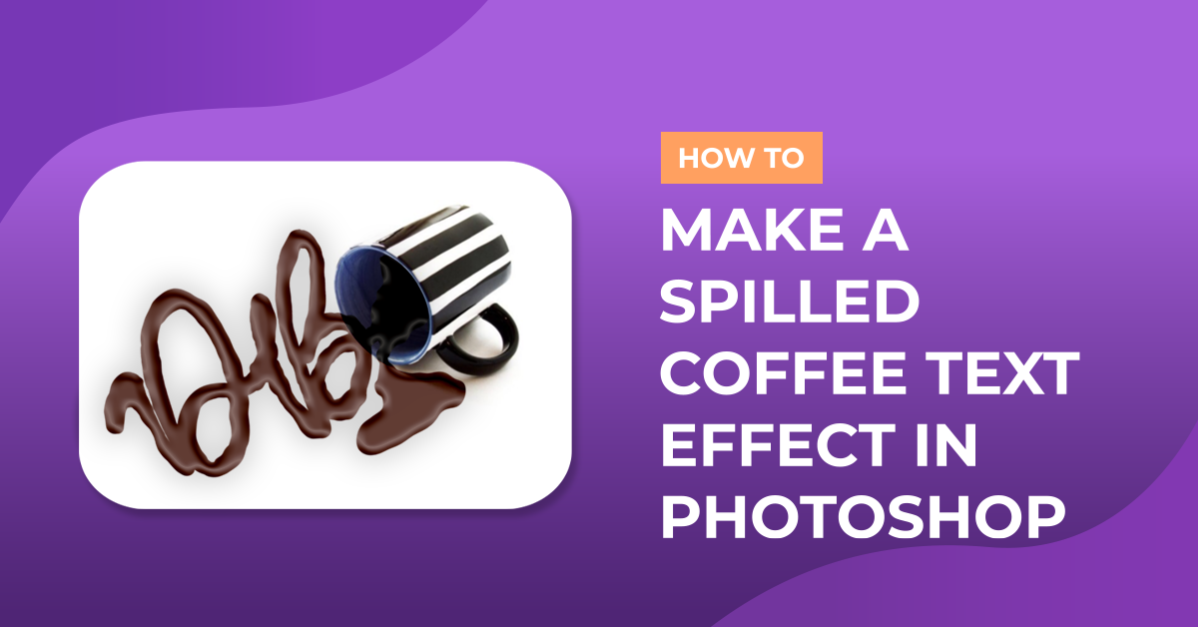
Spilled coffee text effect in Photoshop
For this tutorial you will need some images, one for the background, one of a cup of coffee (you can use this one for the background too but you probably will need to make an outlined copy of the cup), and maybe an image of spilled liquid to use as a reference. You will also need some font you like. We chose Naila Script Lite from Font Bundles.
1 – In Photoshop create a New Document or Open an existing one. In our case the image we chose can be used without any major editing. We just moved the cup and its shadow a little bit to make more space for the spilled liquid.


2 – Select the “Type Tool” (H) choose your font and write what you want. You can use black as your fill color. Click Command/Control + T and rotate your text to align it to your cup. We will make more adjustments to the text later.


3 – Double-click on the text layer to bring the “Blending Options” dialog and apply the following values:

Blending Mode: Normal 85 % Opacity.

Bevel & Emboss: Highlight Mode color: #ffffff, Shadow Mode color #ff9900.

Inner Shadow: color #7d2609.

Inner Glow: color #6d3c0b.

Satin: color #58451c.

Color Overlay: color #492b00.

Drop Shadow: color #000000.

4 – Go to Edit > Transform > Skew and move your text to give it a more natural look. This is all you can do without converting your text to pixels. So, make sure you are happy with it (and/or make a copy) and then go to Type > Rasterize Type Layer. Now you can go back and apply some other distortions. We used it some “Distort” and “Perspective” and then “Wrap” to make it look more like spilled liquid.


5 – Then, to make the edges softer go to Filter > Blur Gallery > Path Blur and apply the following values.


6 – Change the layer “Blending Mode” to Hard light. You can draw your coffee drops on the same layer as your text or create a “New Layer” by clicking on the button at the bottom of your “Layers Panel” and then right-click on your Coffee layer to copy the “Layer Style” and the paste it to your new layer. Don’t forget to change the layer “Blending Mode” to Hard light.


7 – Use your “Lasso Tool” to draw the shape of liquid spilling from the cup. You can use the image you saved as reference. Then use the “Paint Bucket” (G) Tool to fill your selection. Then use the “Eraser Tool” (E) and the “Smudge Tool” to correct how the liquid fills the inside of the cup and the parts where the drops overlap with the text. (You can let some overlapping occur because we are going to fix it later).


8 – To draw some drops use your “Brush Tool” (B) leave your foreground color black and give it a “Hardness” of 100% and change the size depending on the drop you are drawing. You can add some dripping on top of the letters with the brush and the “Smudge Tool”.

9 – Apply the same filter from the “Blur Gallery”. You can do that by going to the “Filter” menu and the last filter use should be the first choice.

10 – Once you are happy with your coffee right-click on your top layer and select “Merge Down” to put together the text and spilled liquid and get rid of the overlapping.

11 - Make a copy of your layer and change the “Layer Options” to “Overlay” with an opacity of 50% to make the coffee darker. You may have to play around with some of the settings in various steps since the lights and shadows of your image might be in different angles than the one used in this tutorial.

by @lornacane
Save