
By Design Bundles
Sugar Text in Photoshop
For this Tutorial, we are using a nice background image, some reference images of brown sugar, and Zesty Orange Free Font fromFont Bundles.
1 - In Photoshop, open your background image.

2 - Select the “Type Tool” (T), and using the font of your choice (we used Zesty Orange), type your text. Use white as “Foreground” color for now. The “Size” and “Leading”, etc. will depend on your background image.

3 - Create a “New Document”, make it 50 x 50 pixels and use black as “Background”. Go to Edit > Define Brush Preset, name your new brush and click “OK”. Now, if you open your “Brush Panel” you will see it.


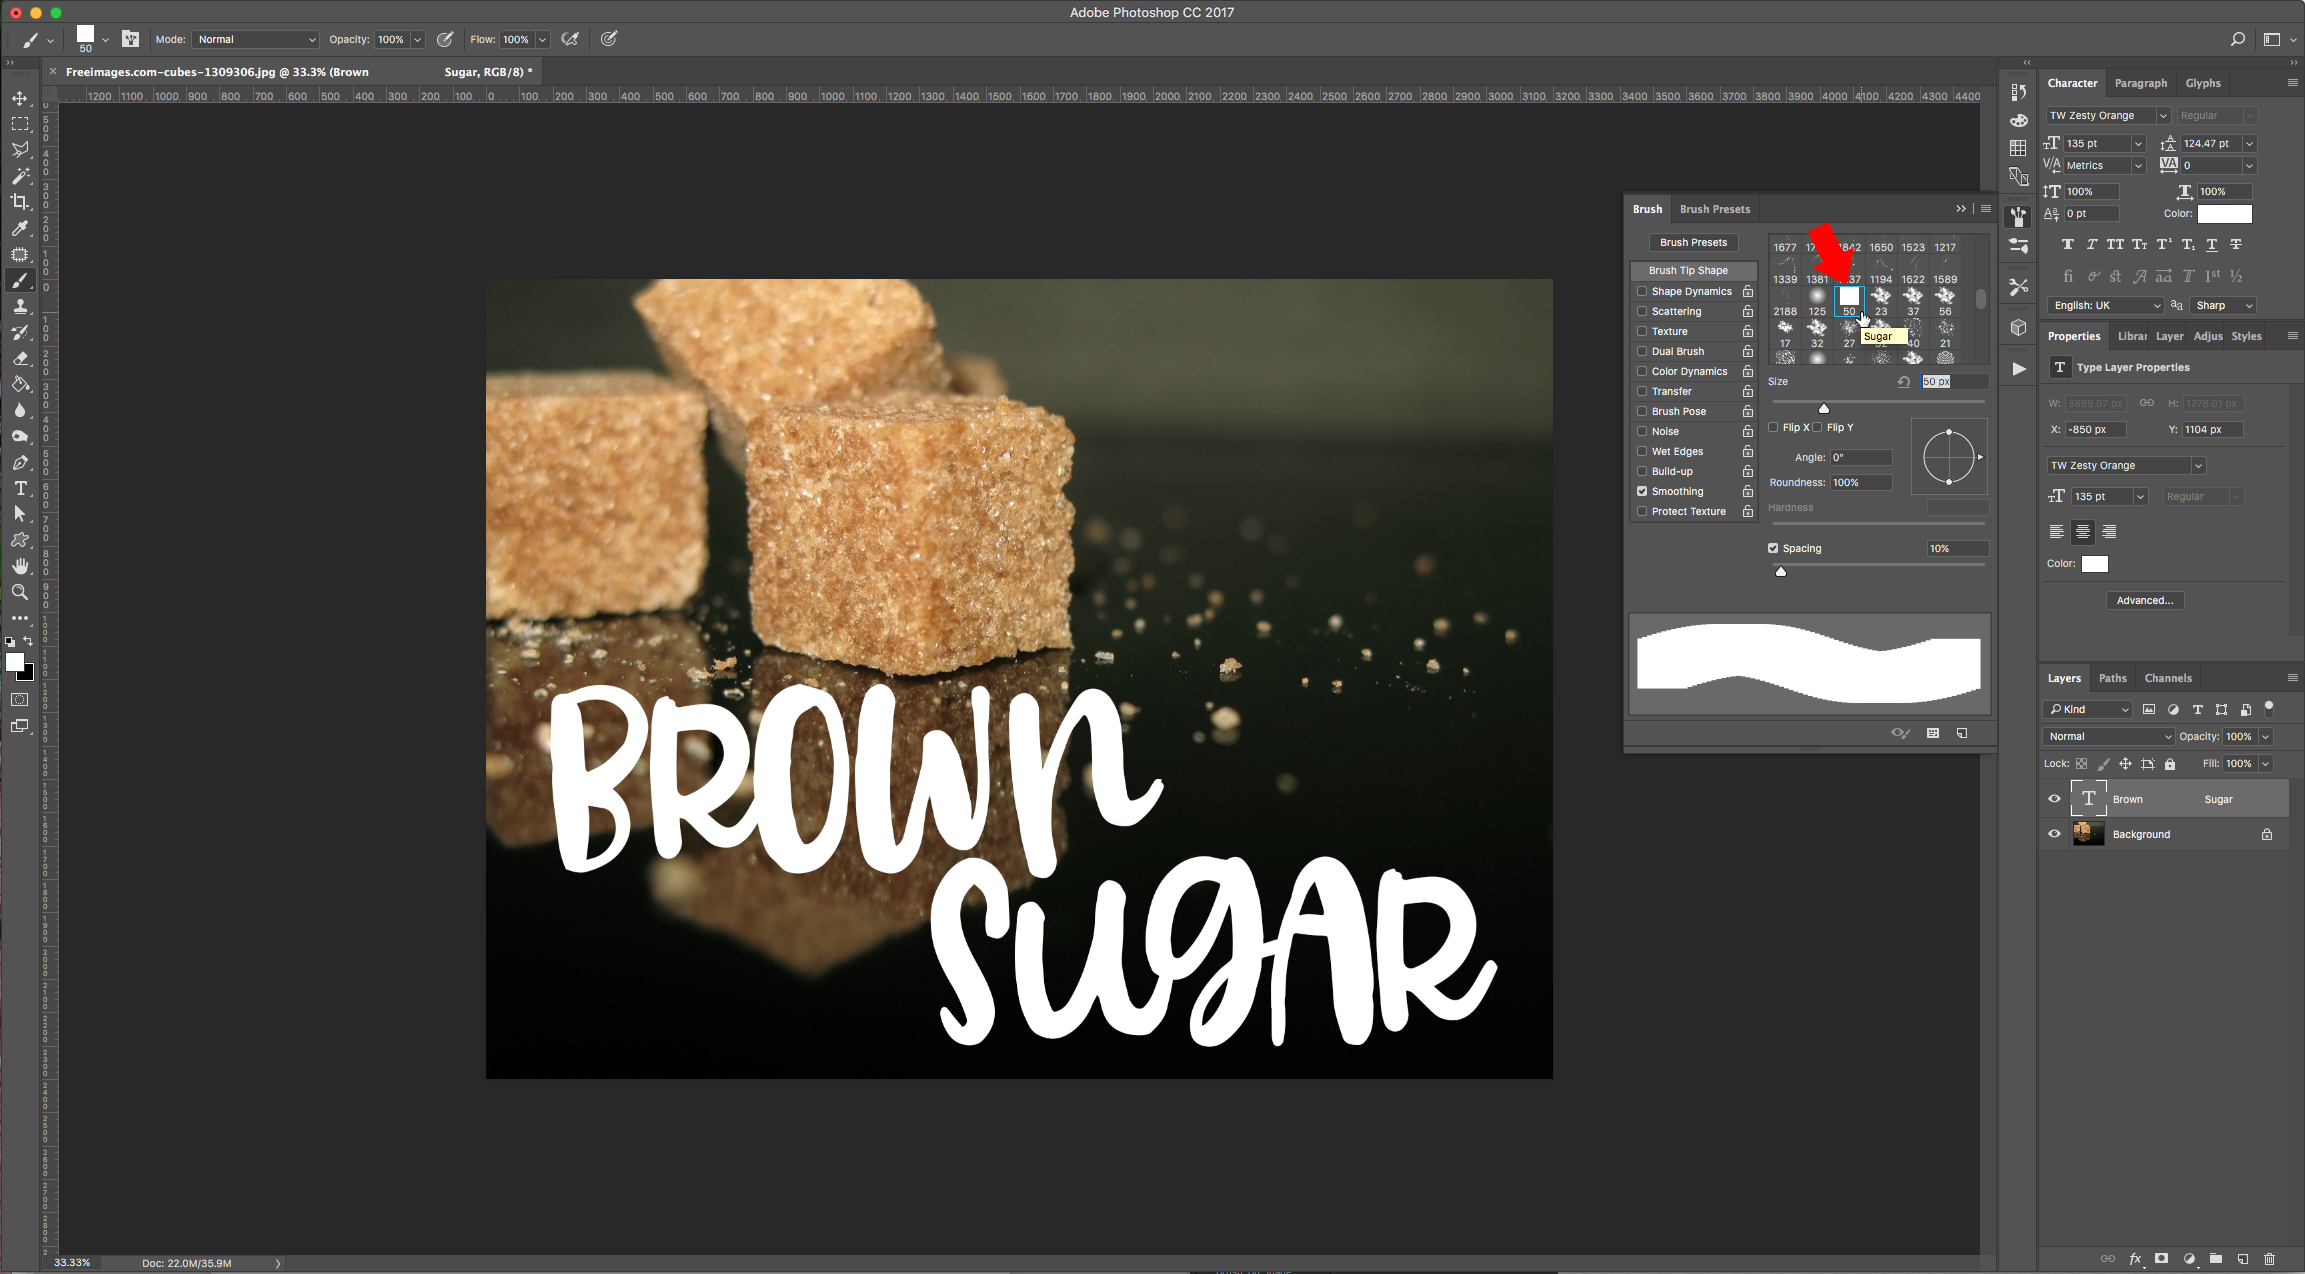
4 - Choosing colors from the brown sugar reference image, change your “Foreground” and “Background”. We used #dac294 and #ae7233.


5 - In your “Brush Panel”, select your “Sugar” brush and apply the following values:

Shape Dynamics:

Scattering:

Color Dynamics:

(If you want your sugar to be white just skip the “Color Dynamics” step and use white as “Foreground” color).
6 - Right-click on your text layer thumbnail and choose “Create Work Path”. Using the “Direct Selection Tool” (A), go to the top menu, click the “Path Operations” button and choose the “Merge Shape Components” from the drop-down menu.


7 - Hide your text layer by clicking on the small eye icon to the left of its thumbnail and create a “New Layer” by clicking on the button at the bottom of the “Layers” Panel. Then, with the “Path Selection Tool” (A), right-click on top of your Path and choose “Stroke Path”. Use “Brush” as “Tool” and make sure that the “Simulate Pressure” check box is unchecked. Click “OK”.


8 - Create a “New Layer” and repeat “Step 7” but reduce the “Brush Size” to 6 Pixels. Create another layer and change the “Brush Size” to 4 Pixels, the “Spacing” to 10% and the “Scattering” to 500% and stroke the path again. Finally, create another layer and change the “Brush Size” to 2 Pixels and the “Scattering” to 1000%, then repeat the stroking process several times in this layer (we did it five times). Hit “Enter” to deselect your path.


9 - Double-click on one of the “Sugar” layers and apply the following “Layer Styles”:
Bevel & Emboss:

Drop Shadow:

10 - Right-click on your layer and “Copy Layer Style”, then “Paste Layer Style” on the rest of the “Sugar” layers.


11 - Reverse the order of the “Sugar” layers so the bigger grains are on top and the smaller ones on the bottom.

12 - Create a “New Layer” and place it under the “sugar” layers and paste the “Layer Styles” to it too. Select the “Brush Tool” (B), change the “Brush Size” to 6 Pixels and the “Spacing” to 500. Paint some sugar grains scattered around your text.


13 - Turn the text layer back on and set the “Fill” to 0%. Double-click on the thumbnail an apply the following “Inner Shadow” values:


14 - Check your artwork:

by @lornacane