By Design Bundles
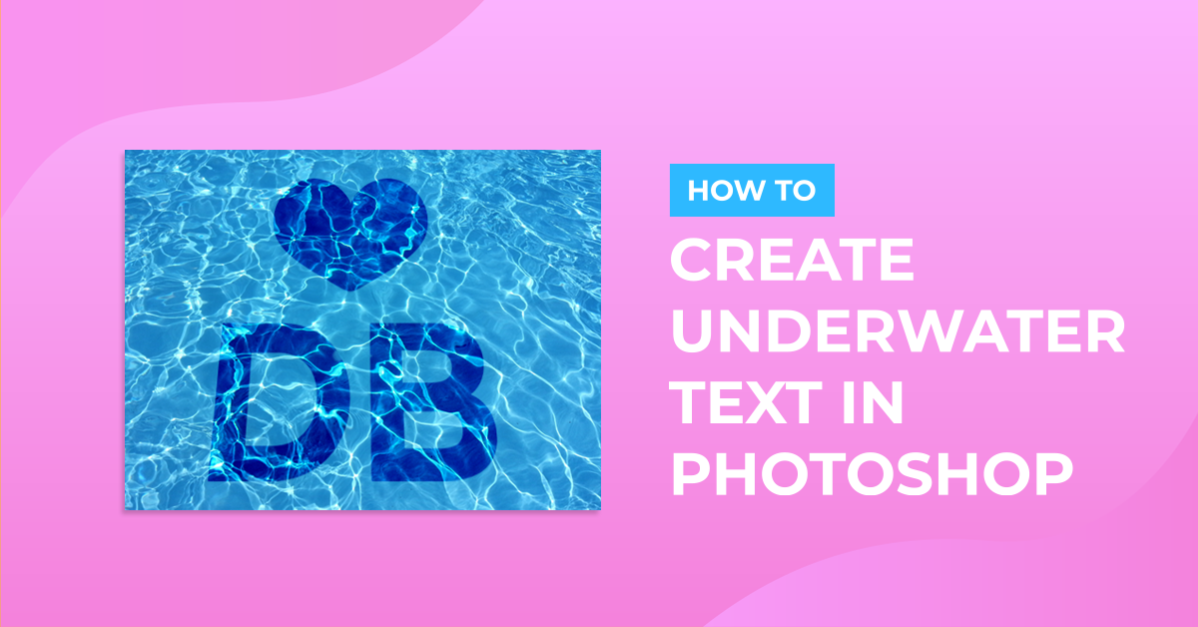
Underwater Text in Photoshop
For this Tutorial, we need the image of a pool viewed from the top. We also used Fester Free Font from Nawras Moneer
1 - In Photoshop, open the image you chose and duplicate it (Command/Control + J).


2 - Select the duplicate and go to Filter > Blur > Gaussian Blur and use a “Radius” of 3.0 Pixels.


3 - Go to Layer > Duplicate Layer, in the “Destination” section choose “New” for “Document” and name it “DisplacementMap”, then click “OK”. Save your image using the “Save As” option (Shift + Command/Control + S), choose a location with easy access and make sure you are using the “Photoshop” file format (.PSD). Click “OK” if the “Maximize Compatibility” Pop-up window appears.


4 - In your original image, drag the duplicate layer (the one with the “Gaussian Blur” filter) to the trash. You can also close the “DisplacementMap” file if you want. Select the “Type Tool” (T), choose your font (we used Fester) and make sure black is your “Fill” color then type your text. Place your text centered but slightly closer to the bottom of your document and about 30 pixels to the left since the filter we are going to apply later is going to move it.


5 - Right-click on your text and choose “Convert to Smart Object”.

6 - Go to Filter > Blur > Gaussian Blur and use a “Radius” of 1.0 Pixel.

7 - Then, go to Filter > Distort > Displace. Use a value of 30 for the “Horizontal” and “Vertical Scale”, “Stretch to Fit” for “Displacement Map” and “Repeat Edge Pixels” for “Undefined “Areas”. Click “OK”. A window will open, choose your “DisplacementMap” document and click “Open”.


8 - Change your layer “Blending Mode” to “Overlay” and decrease the “Opacity” to about 80%.

9 - You can replicate this with something other than text. Use the “Custom Shape Tool” (U) and select the “Waves” shape and place it in your document. Hold the “Shift” key while dragging from top-left to bottom-right to scale your shape proportionally. Then use “Move Tool” (V) to place it where you want.


10 - Convert your shape into a “Smart Object”, right-click on the text layer and choose “Copy layer Style”, then select the “Shape” layer and “Paste Layer Style”.


11 - Click Shift + Command/Control + Option/Alt + E to make a Composite Snapshot of your image, then go to Edit > Transform > Perspective. Zoom out of your document (Command/Control -) and pull the bottom corners to modify the image’s perspective. Once you are happy, click “Enter”.


12 - Bring out the “Levels” window (Command/Control + L) and click “Auto”, then click “OK”.

13 - Check out your artwork:

by @lornacane