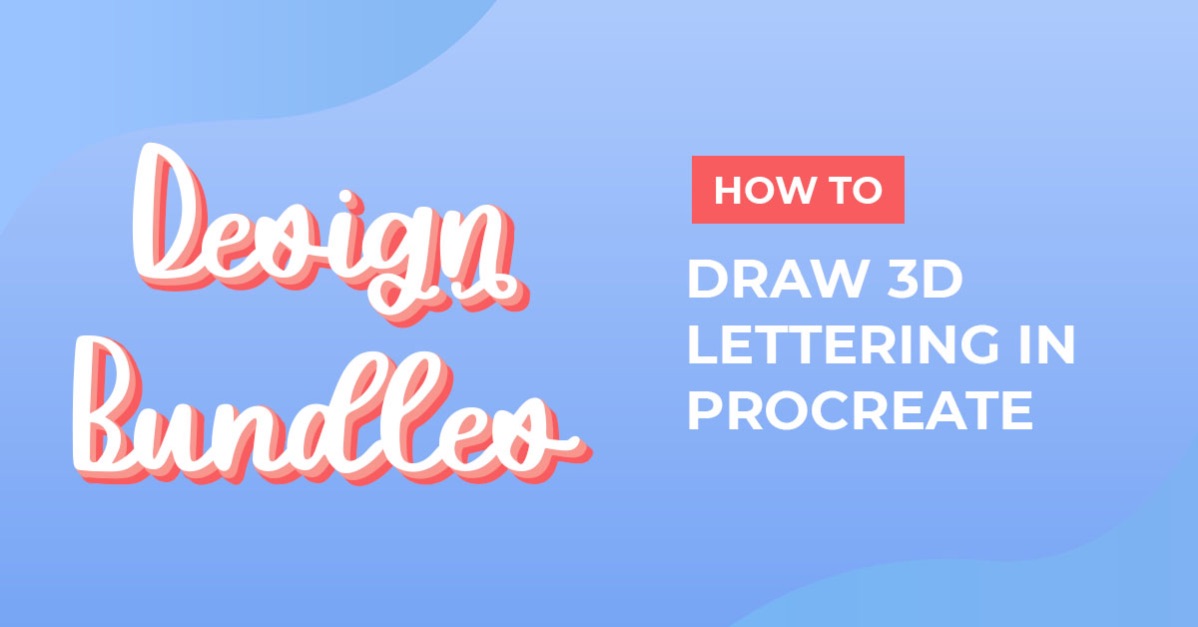
By Design Bundles
How to Draw 3D Lettering in Procreate
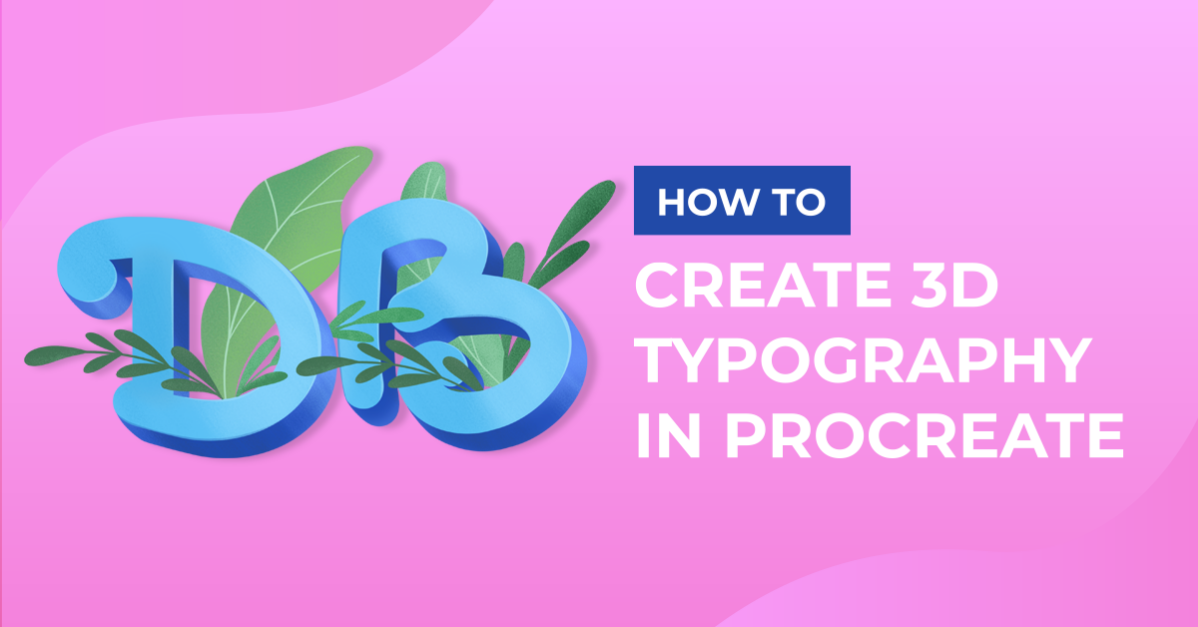
This tutorial will show you 2 different ways to achieve a 3D lettering effect in Procreate. Whether you are new to using Procreate or want to brush up on the different methods on how to draw 3D lettering this tutorial is for you. Below you will find stepsfor the old school 3D lettering method as well as the motion blur 3D Lettering method.
For this tutorial, we are using this fantastic 9 Procreate Lettering Brushes bundle to draw our 3D lettering. We are using the latest version of Procreate (v5.2) and recommend that you have version 4.1 or higher. Our canvas is the “Screen size” canvas size provided by Procreate.
Old School 3D Lettering Method
The old-school method of drawing 3D Letters is the easiest way and very beginner-friendly. Doing 3D lettering with this method can take a little longer, but if you need a minimal approach to 3D lettering it works perfectly. For long, multiple, or complex lettering, the Motion Blur method would work best.
Step 1 - Draw your lettering
Start with drawing the word or phrase you want to add a 3D effect to. The brush we used is MM Variable for our Design Bundles lettering. You can play around with the brush size and use a light color to start with. Don’t worry too much about the color, you can always recolor it later.

Step 2 - Duplicate your layer
Once you have drawn your lettering we will need to duplicate it. Go to your “Layers” Panel (Stacked Square Icon) in the top right, next to the color circle. Swipe Left on your lettering layer and tap “Duplicate”. Duplicate your lettering layer one more time so that you have 3 layers of your lettering.

Step 3 - Color your lettering
Disableyour top and bottom layer, keeping your middle layer visible. Tap on the middle layer to make sure you are working with the correct layer (Your layer will turn blue). Now Recolor your lettering to a darker color or shade. You can simply press & hold on to the color circle and drag your color onto the lettering.

Step 4 - Position your lettering
Going back into your “layers” Panel, re-enable your top layer. Keeping your middle layer selected, tap on the “transformation” icon (Mouse-pointer Icon) on the Toolbar. Move your lettering down and to the side, enough so that it isn’t hidden behind your top layer. The further away you move it from your top layer, the bigger your (raised) effect will be. Deselect when done.

Step 5 - Bottom layer repeat
Now we repeat steps 2 + 3 for our bottom layer making it our darkest color/shade. Make sure your bottom layer is lower than your top and middle layer.

Step 6 - Fill in the gaps
When you have colored and spaced your layers you will notice gaps between them (See image below). We need to go to our bottom two layers and fill in the gaps starting at the middle layer. Making it look like a seamless extension.

OPTIONAL: Add some extra elements and colors for your final touches.

Motion Blur 3D Lettering Method
Using the Motion Blur effect to make 3D lettering adds more depth and is quicker. There are a couple of advanced steps that we will take in this method to achieve 3D lettering. Have a look at our detailed tutorial on How to Use a Clipping Mask and How to use the Motion Blur effect before continuing.
Step 1 - Draw your lettering
Start with drawing the word or phrase you want to add a 3D effect to. The brush we used is MM Retro Flairfrom the Procreate lettering brushes for our Design Bundles lettering. You can play around with the brush size and use a light color.
Step 2 - Duplicate layer
Once you have drawn your lettering we will need to duplicate it. Go to your “Layers” Panel (Stacked Square Icon) in the top right, next to the color circle. Swipe Left on your lettering layer and tap “Duplicate”. Duplicate your lettering layer one more time so that you have 3 layers of your lettering.

Step 3 - Open Adjustments panel
Diable your top and bottom layer, keeping your middle layer visible. With your middle layer selected open the “Adjustments” panel (Wand Icon) top left in your toolbar.

Step 4 - Enable Motion Blur
In the “Adjustments” panel locate and select “Motion Blur” and tap on “Layer” to apply the effect on your layer.

Step 5 - Set blur direction
Set the direction and intensity of the blur by sliding your finger into one direction. The further you slide from your lettering the more intense your blur will get. We set our motion directed towards the top left corner of our canvas and around 20% intensity. Deselect the “Adjustments” Icon when you are done.

Step 6 - Layer selection
Open your “Layers” panel and tap on the layer you just added a blur too. An additional layer options panel will pop up. Locate and tap on the “Select” option.

Step 7 - Fill in selection
Your Blurred lettering will now have an automatic selection around it. Using your brush at its biggest size and a darker color or shade draw over your selection until filled and opaque. Once you are done deselect the “Selection” tool.

Step 8 - Position your layer
Re-enable the top layer. Keeping the middle layer selected tap on the “Transformation” icon in your toolbar. Move and align your middle layer downward and to the side, in the same direction your Blur was set (make sure there are no gaps between the top layer). When done Tap on the “Transformation” icon.

Step 9 - Repeat steps
Select your bottom layer and repeat steps 2-6. The only thing that we will do a little differently is at Step 4. We will change the direction of our blur sliding to the right and the intensity set to 30% and fill your selection in with black.

Step 10 - Adjust Opacity
Open your “Layers” panel and tap on the (N) of your bottom layer. Adjust your opacity lower, we set ours to 20%.

Step 11 - Position shadow layer
Re-enable your top and middle layer. Keeping your bottom layer selected, tap on the “Transformation” icon. Move and align your bottom layer in the opposite direction you set your middle layer to. This will be the shadow of your lettering. Tap on the “Transformation” icon when done.

OPTIONAL: Add darker shading on the middle layer for your final touches.

Your 3D lettering is complete! If you liked this tutorial, make sure you don't miss our guide on how to blend colors with the smudge tool in Procreate.