By Design Bundles
Understanding the Setting Screens in Brother Scan N Cut
*note CM900 machine used.
1- Turn on your scan and cut machine.
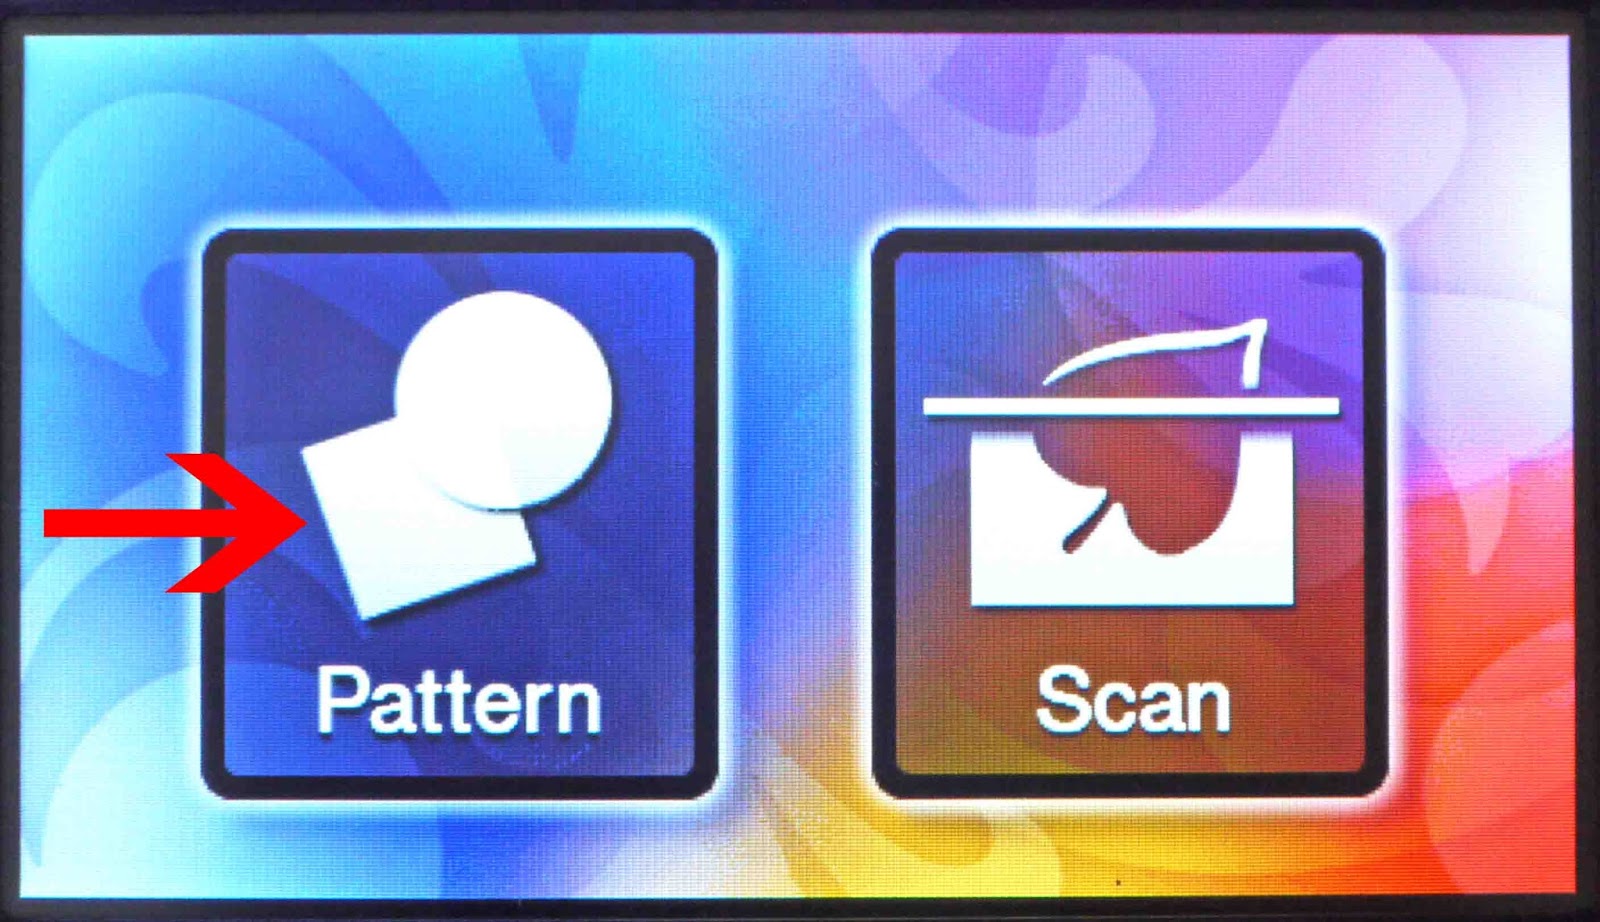
2- Click on the pattern icon.
3- You can create your design once on the cut screen you can select the settings icon.
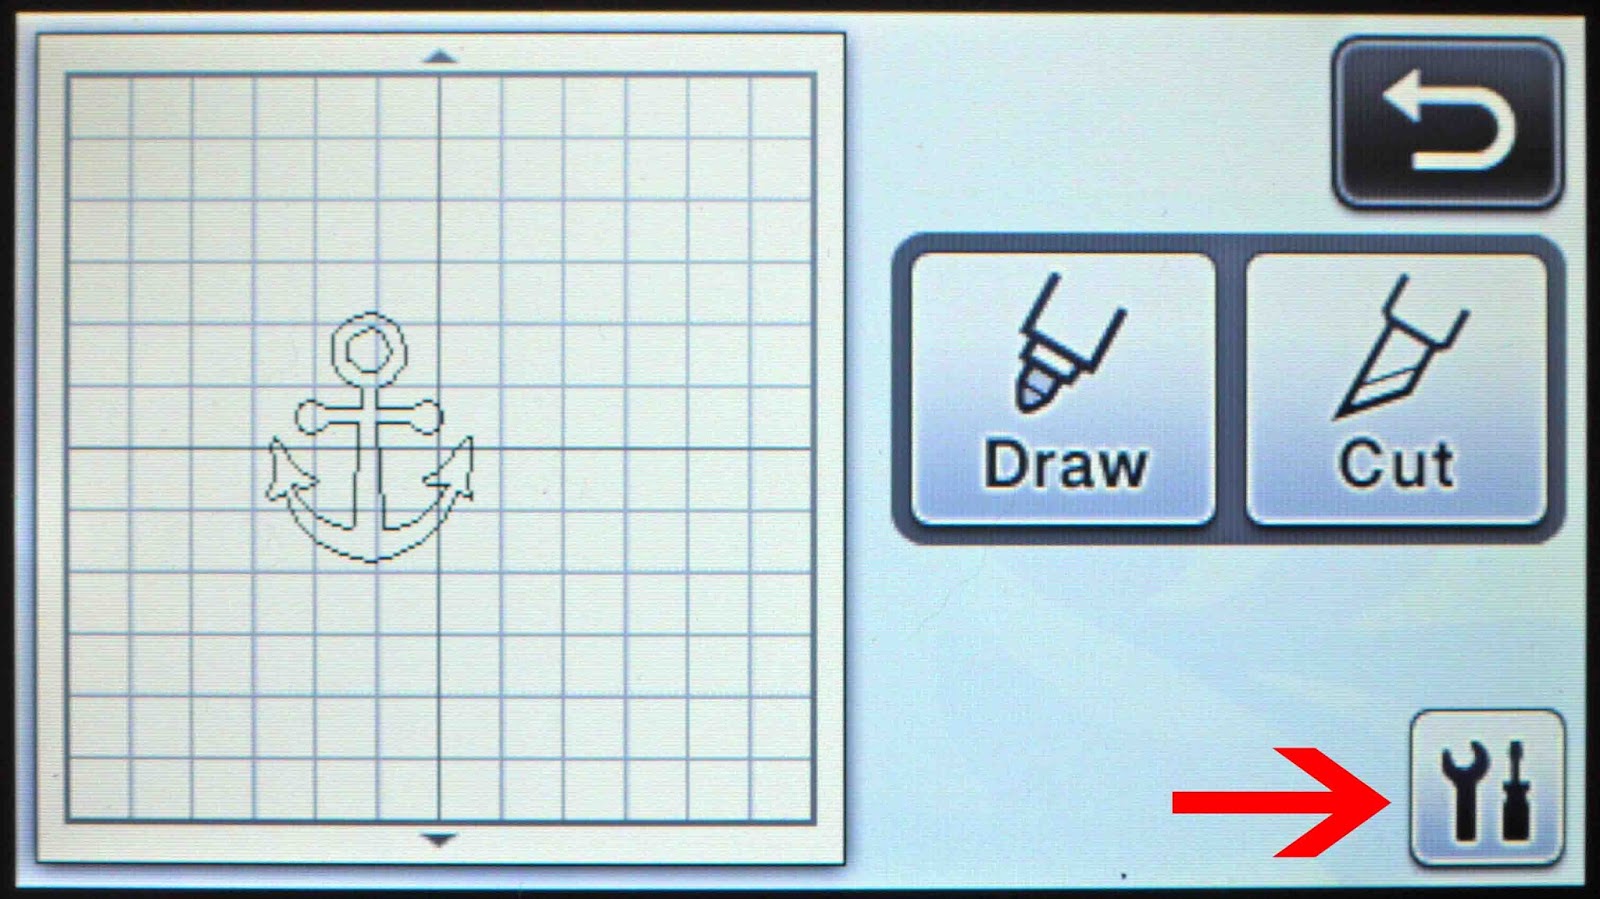
4- The settings icon has several screen which can help you correct and change different settings to help you cut and adjust your design.
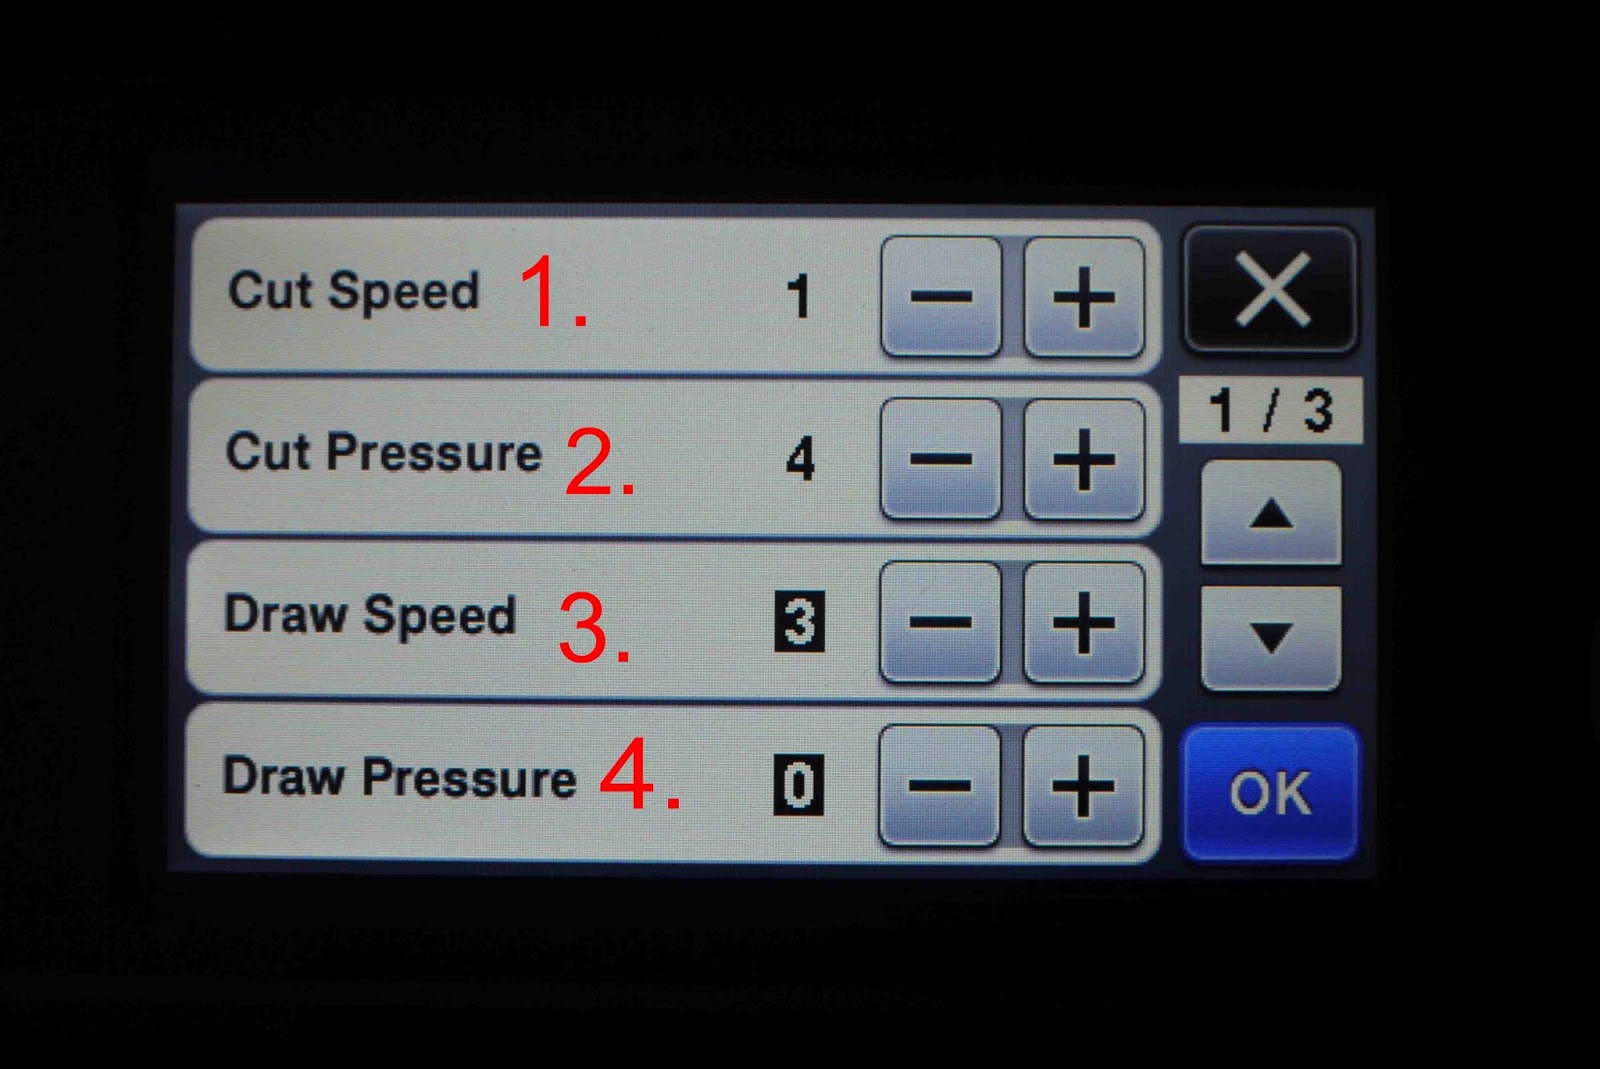
1- Cut speed- this can be changed dependent on the material you are cutting.
2- Cut pressure - change this to affect how much pressure that will be used when cutting the media.
3- Draw speed- when using the scan and cut markers you can change the speed.
4- Draw pressure - this will adjust how hard the pen will push on the media.
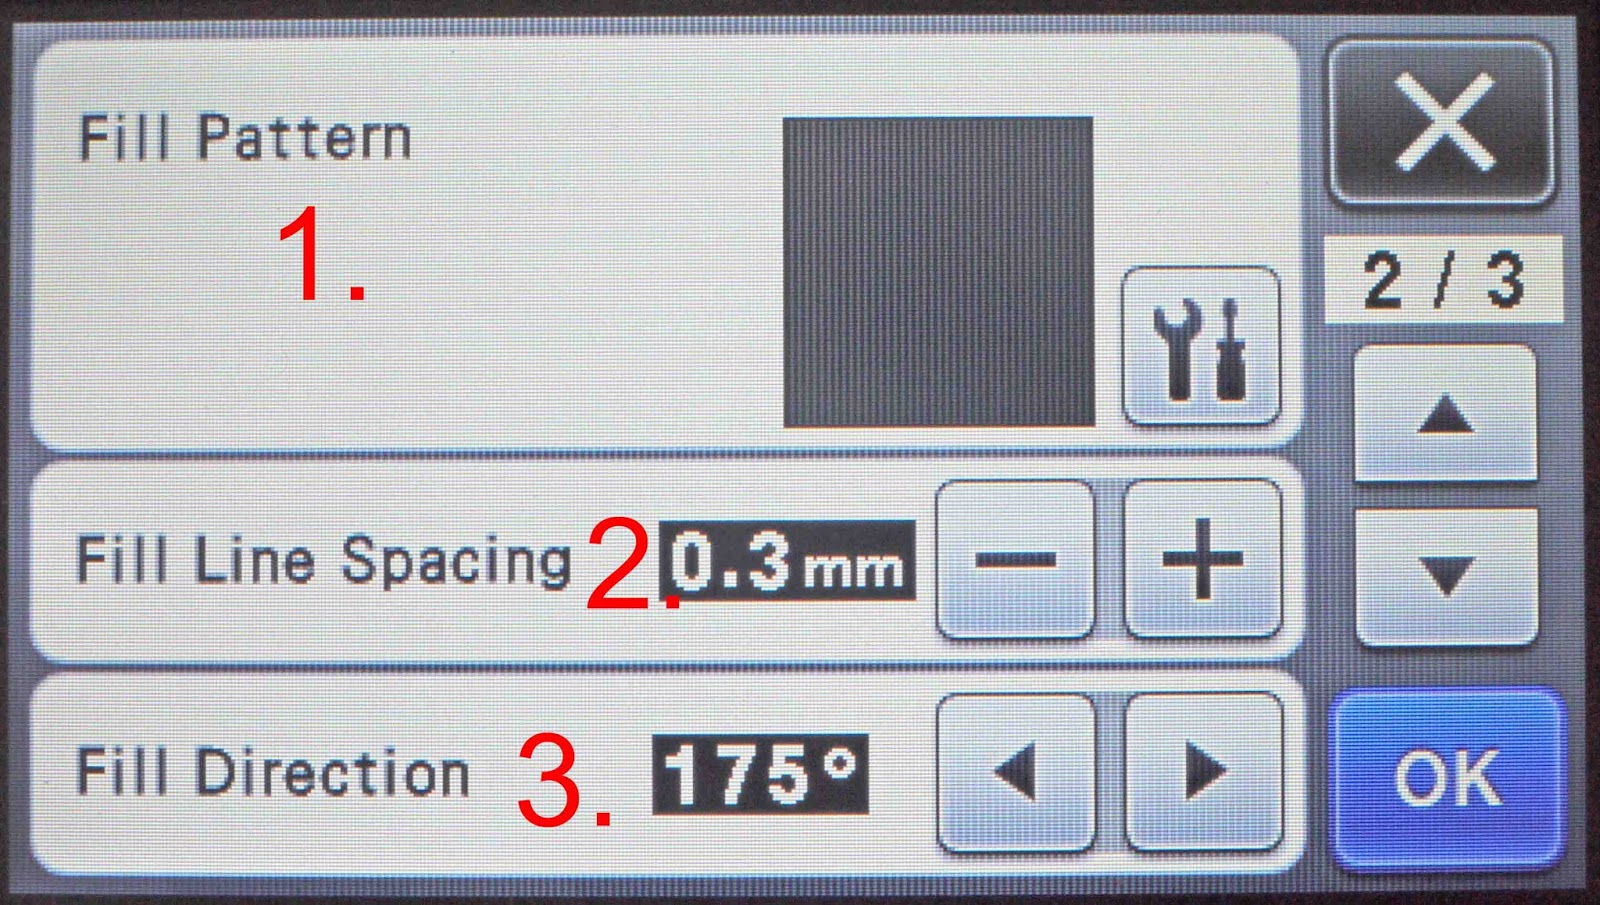
5-1- Fill pattern- you can use this to change the background pattern if using the pen tool.
2- Fill line spacing- you can change the mm on this setting.
3- Fill direction- the angle that the pen will colour and fill in.
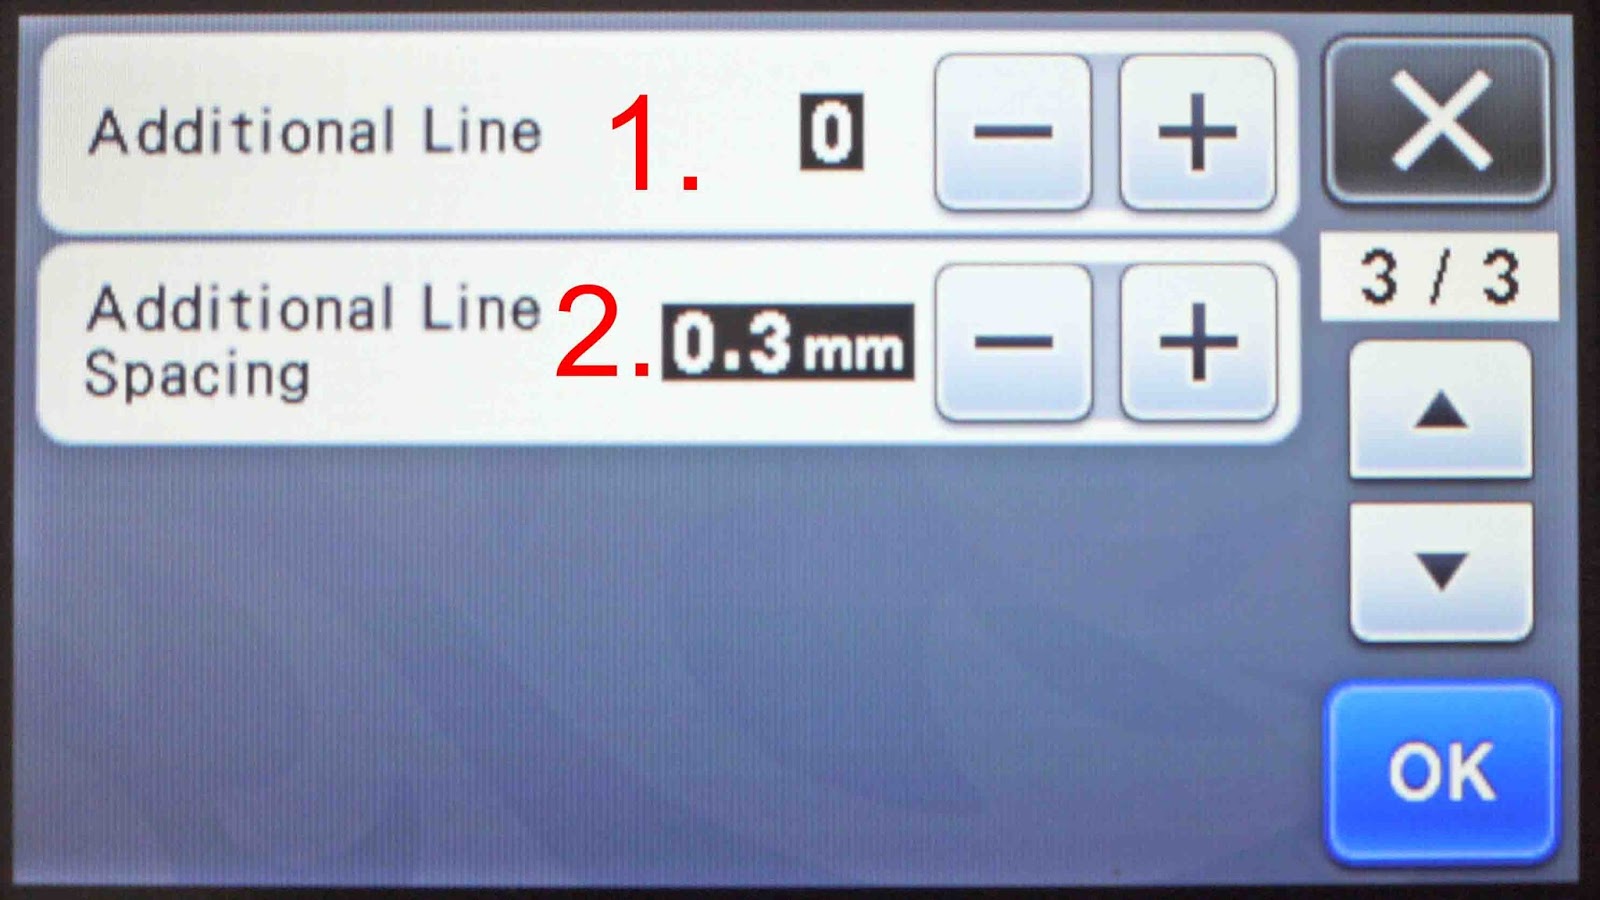
6- 1- Additional line- You can add additional lines when using the pen tool.
2- Additional line spacing- you can change the line spacing.
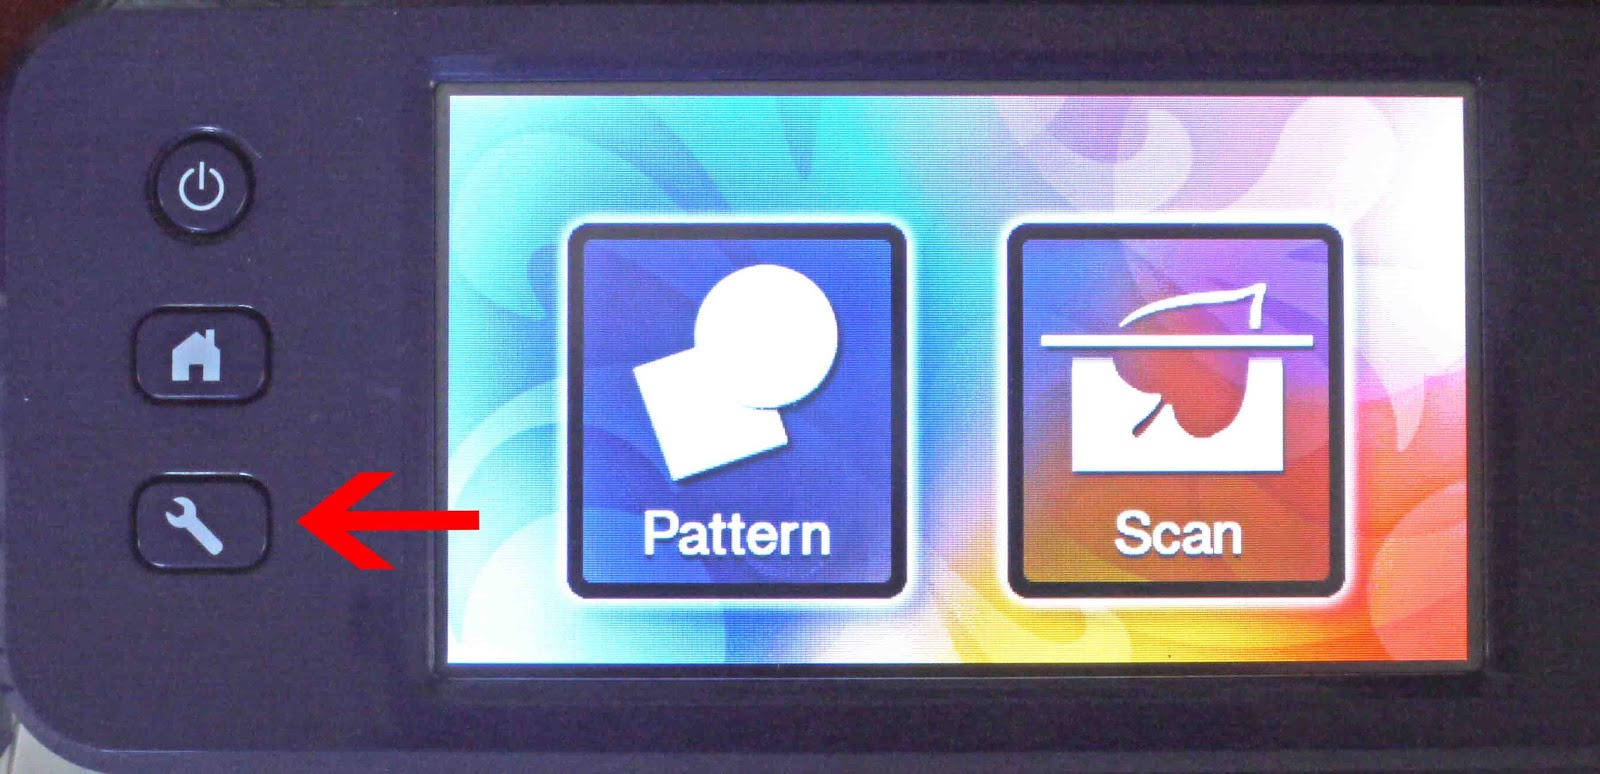
7- You also have a settings button on the actual machine. These settings are general ones for the working of the machine.
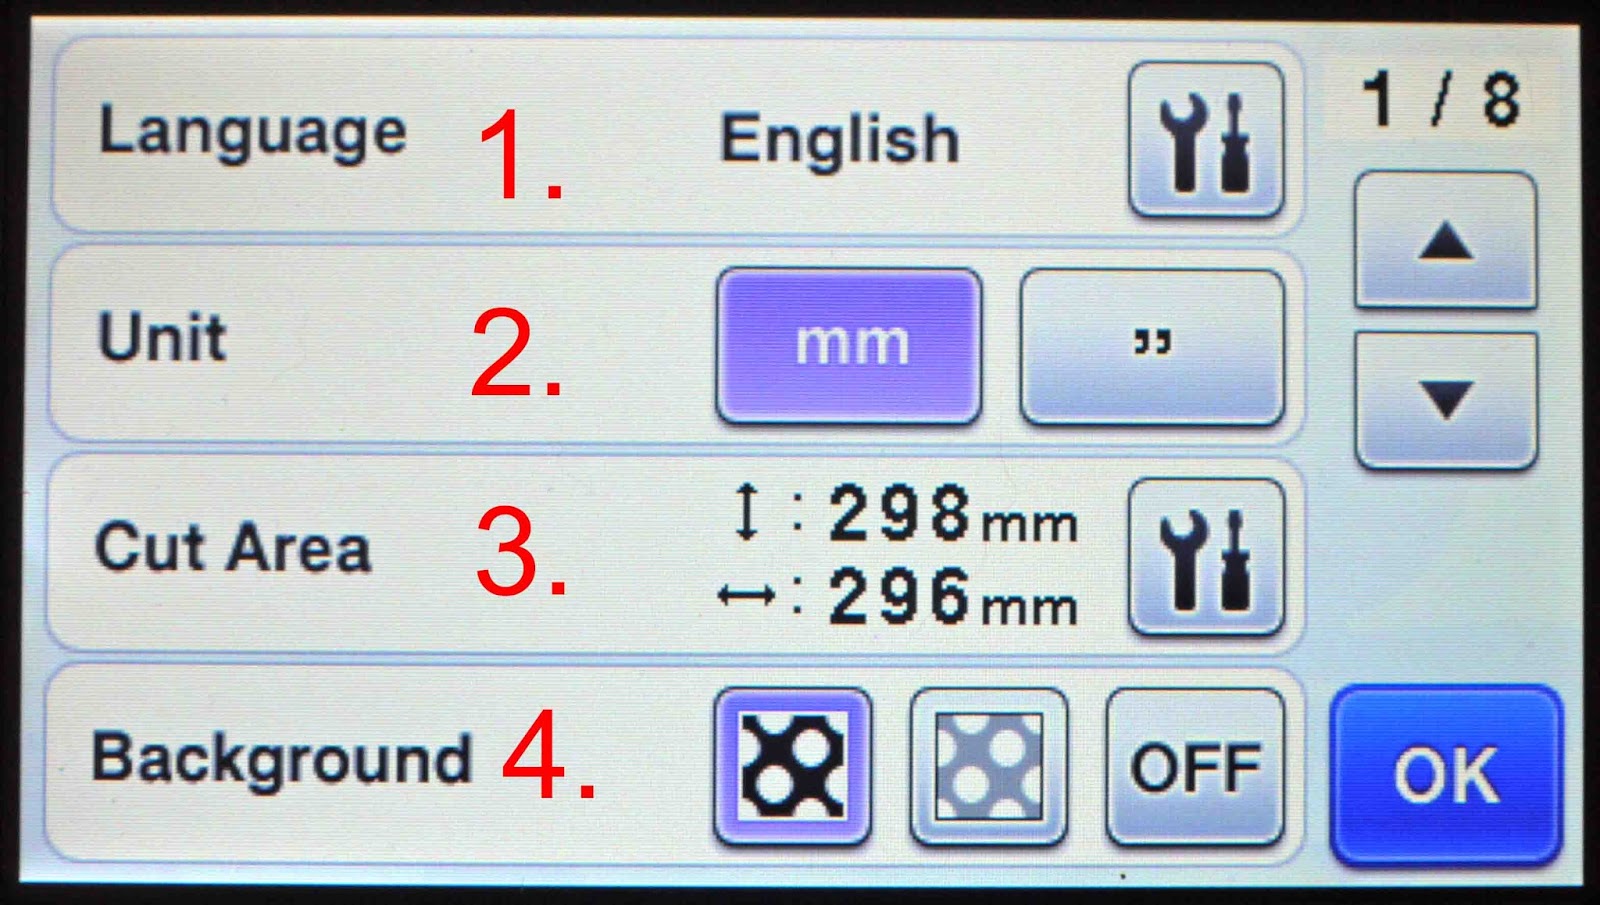
8-1- Language
2- Metric/imperial change.
3- Cut area
4- Screen background.
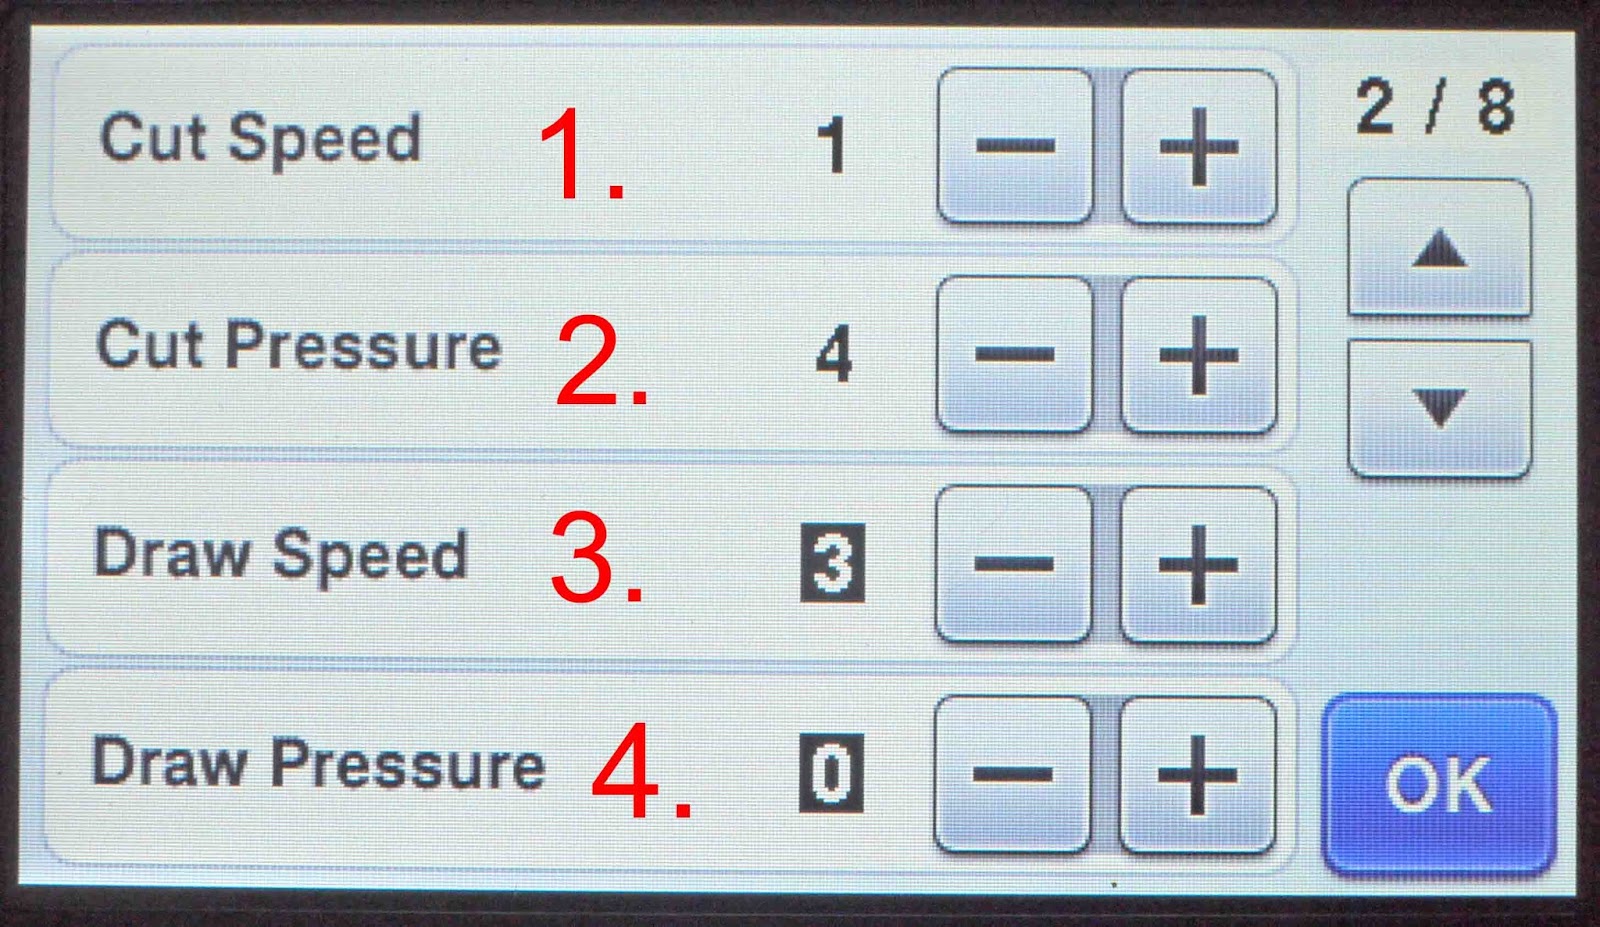
9-1- Cut speed.
2- cut pressure.
3- Draw speed.
4- Draw pressure.
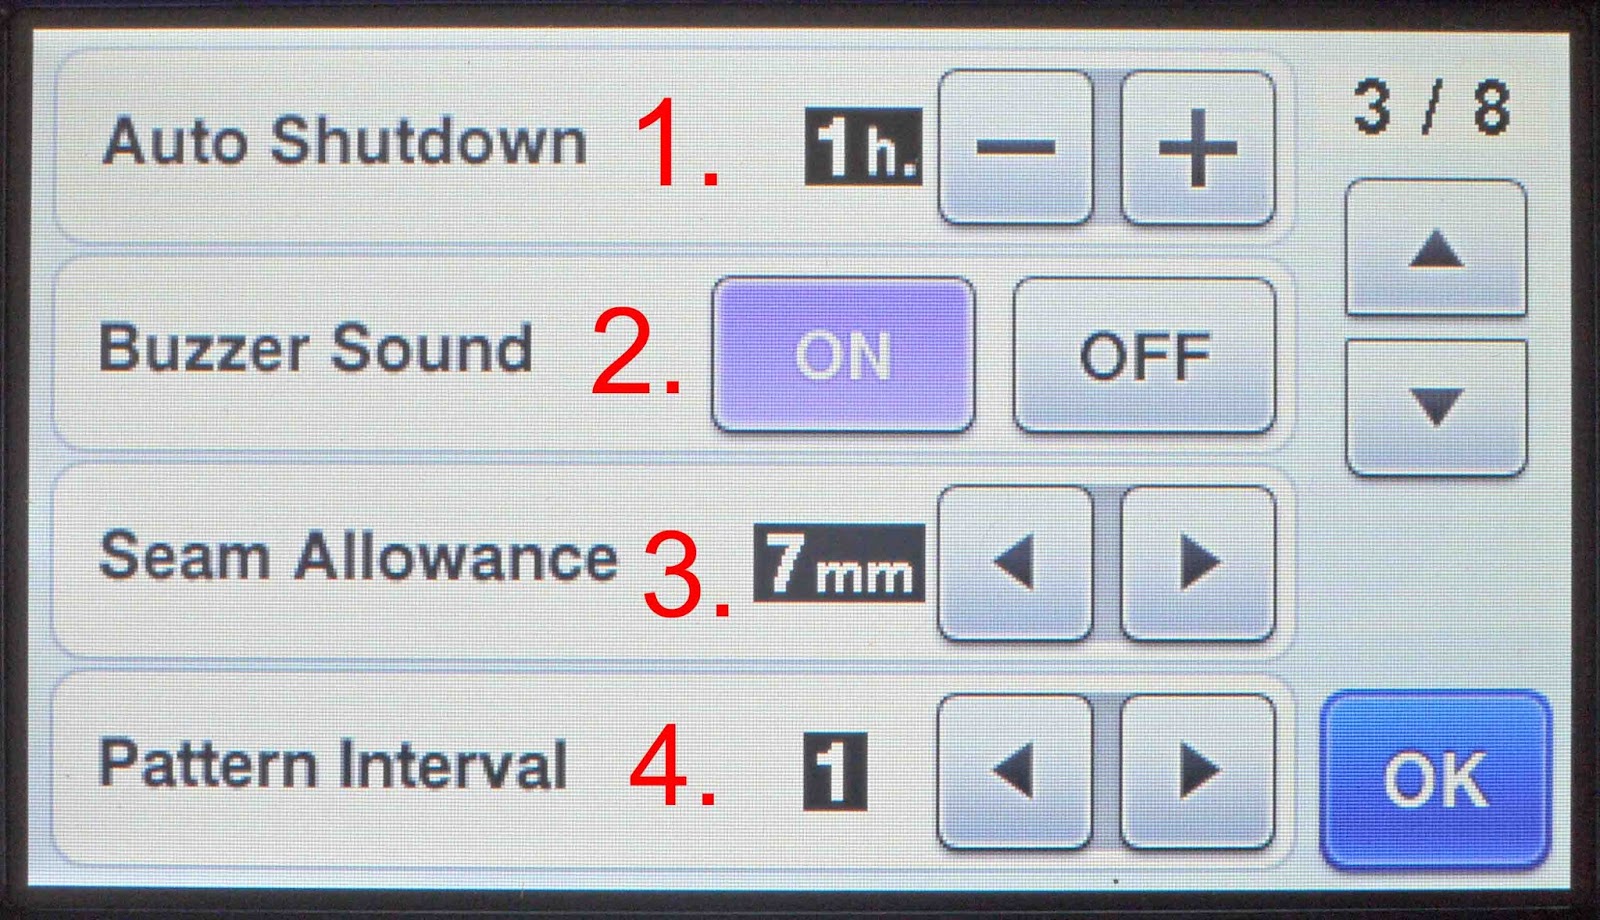
10- 1- Auto shutdown. The amount of time can be changed,
2- Buzzer sound.
3- Seam allowance- for quilting.
4- Pattern interval- set the spacing between patterns.
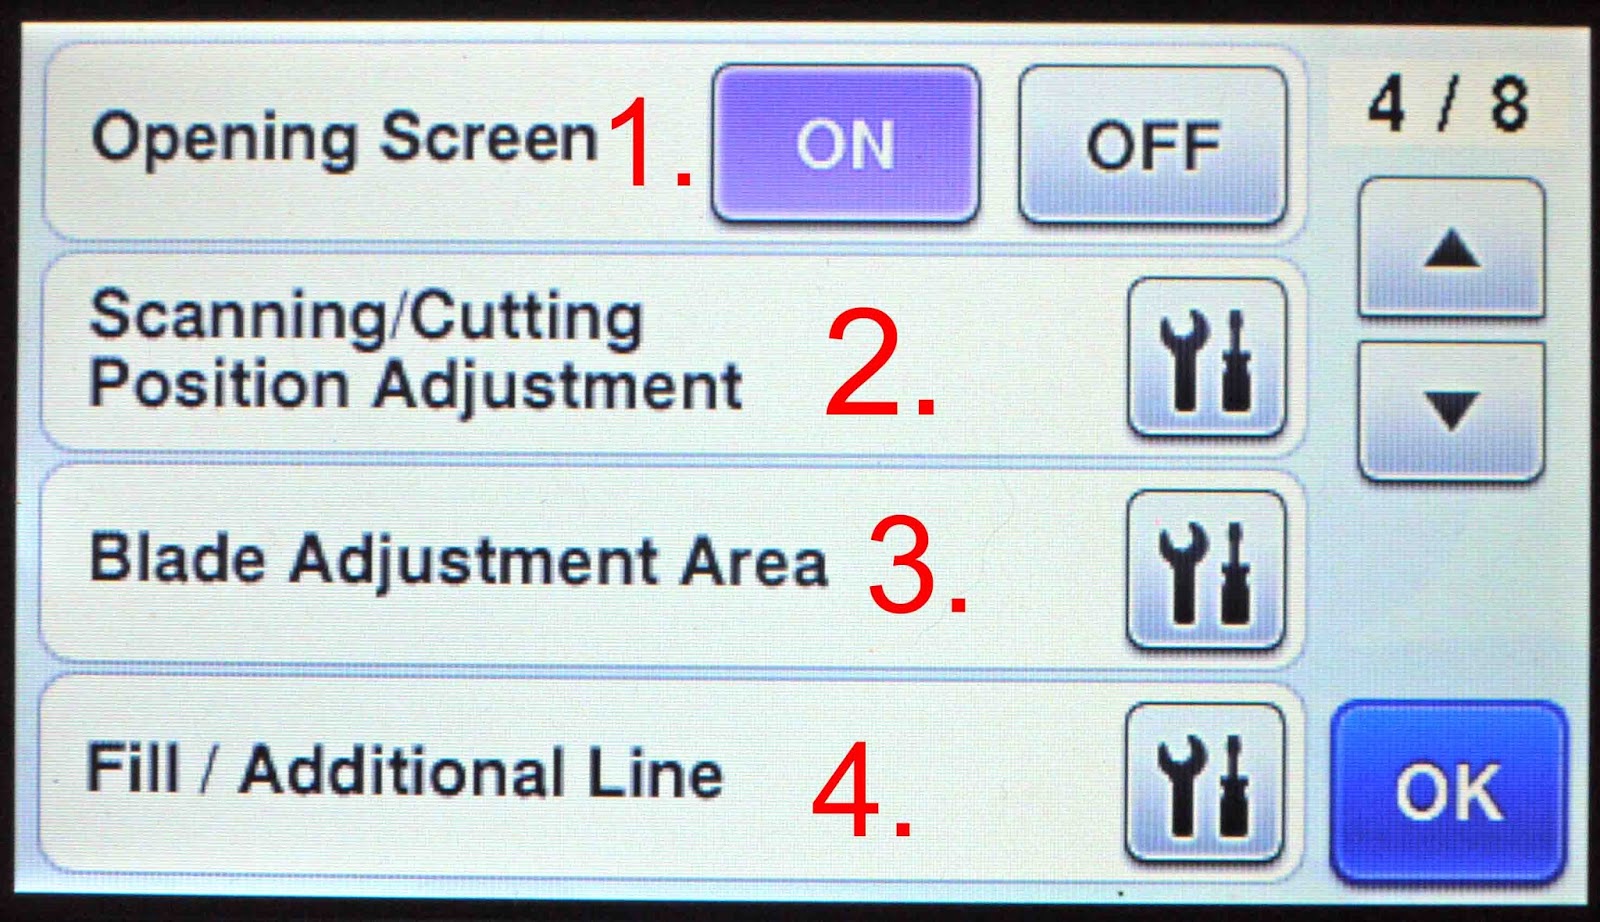
11- 1- Opening screen on/off option.
2- Position adjustment. To adjust the scanning and cutting position.
3- Blade adjustment area.
4- Fill/ additional line.
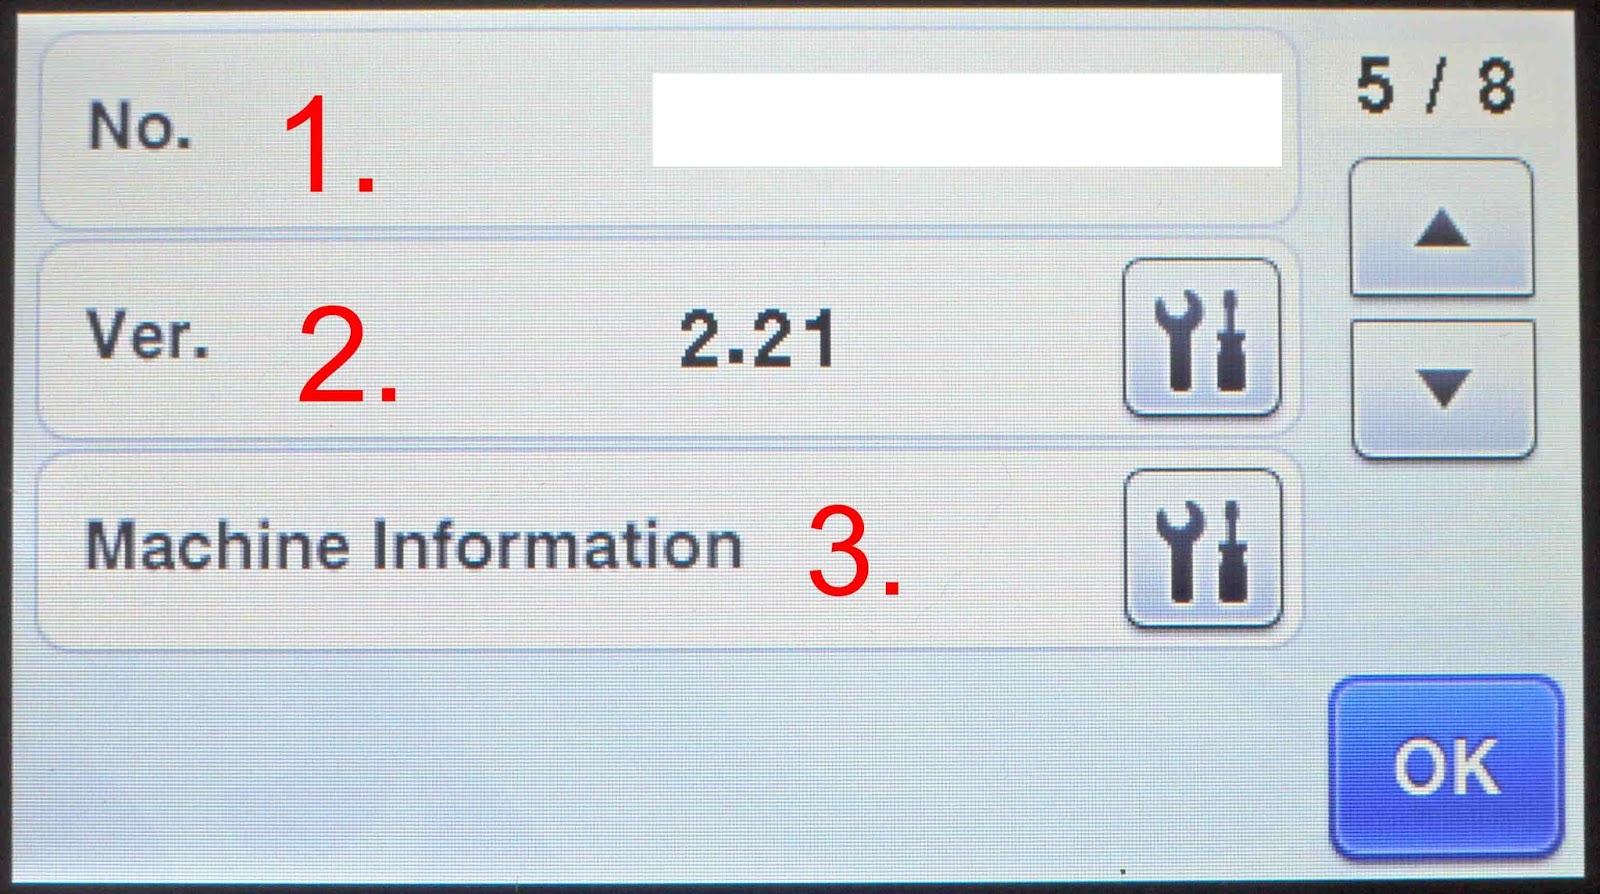
12- 1- Displays the serial number of the machine
2- Displays the software version that is being used.
3- Machine information. click on the icon to get the machine information.
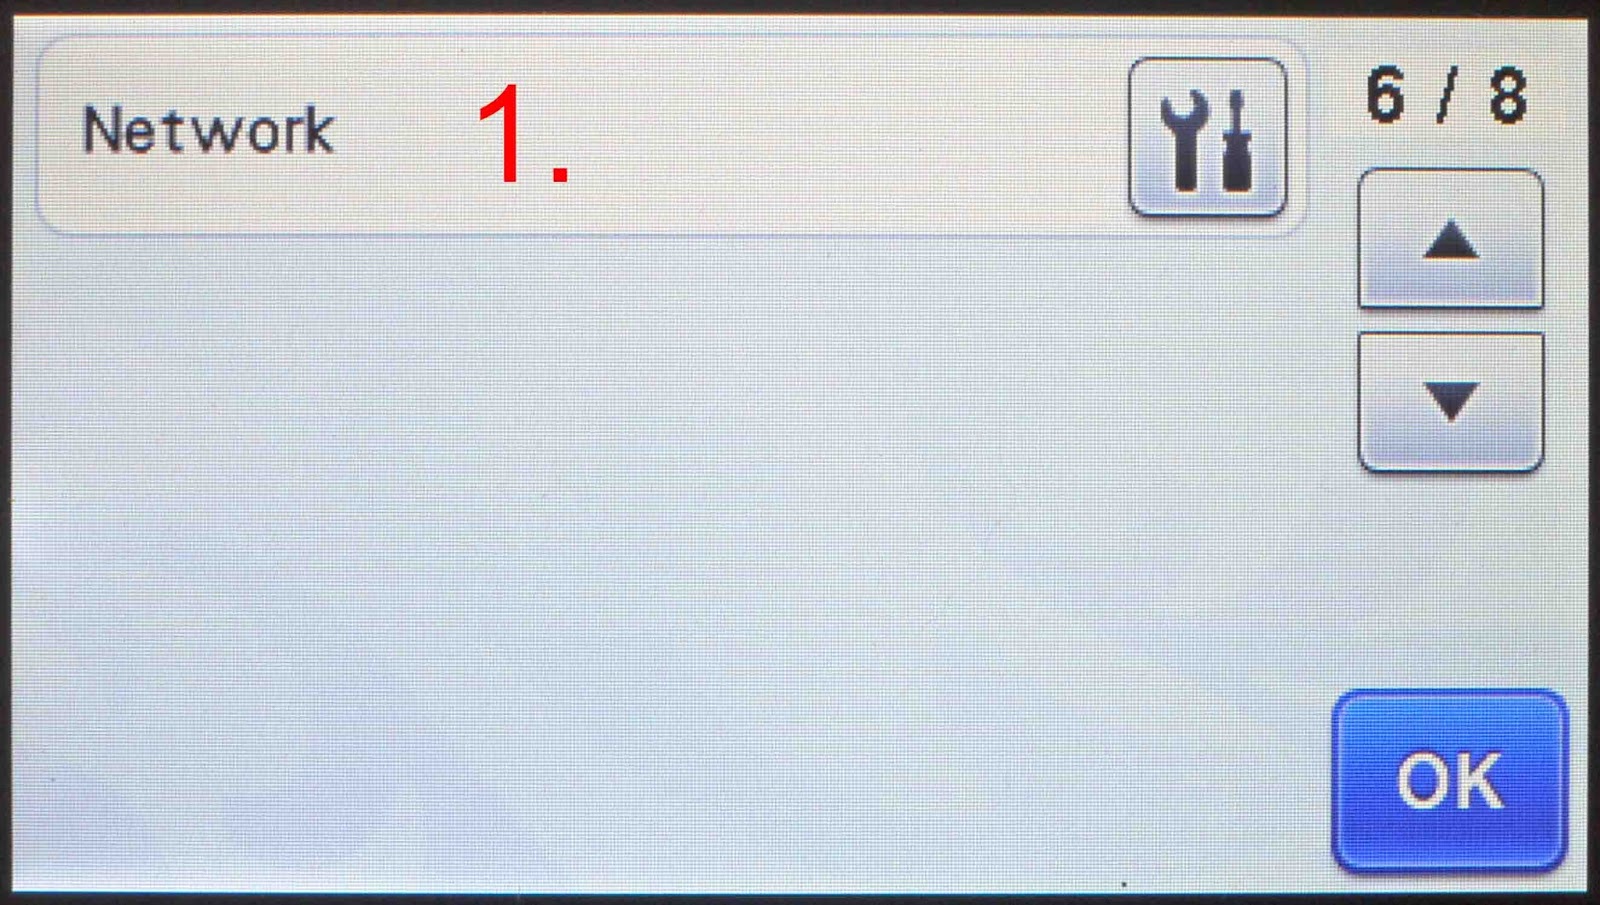
13- Network. Use this to set up a wireless network set up.* only certain models
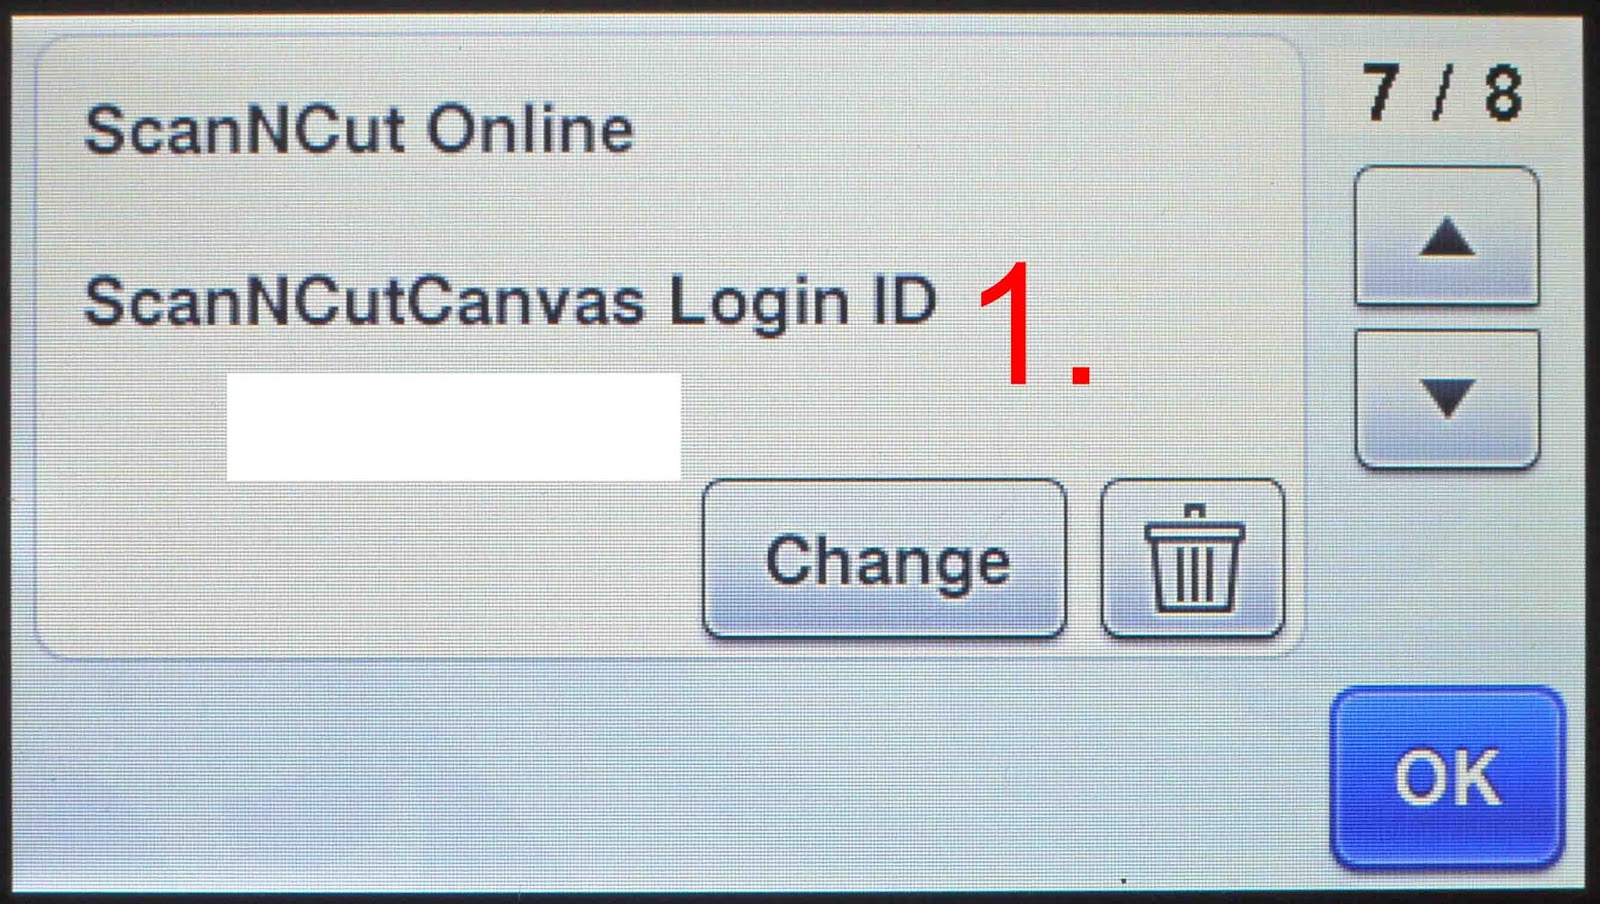
14- 1- Scan and cut online login ID.
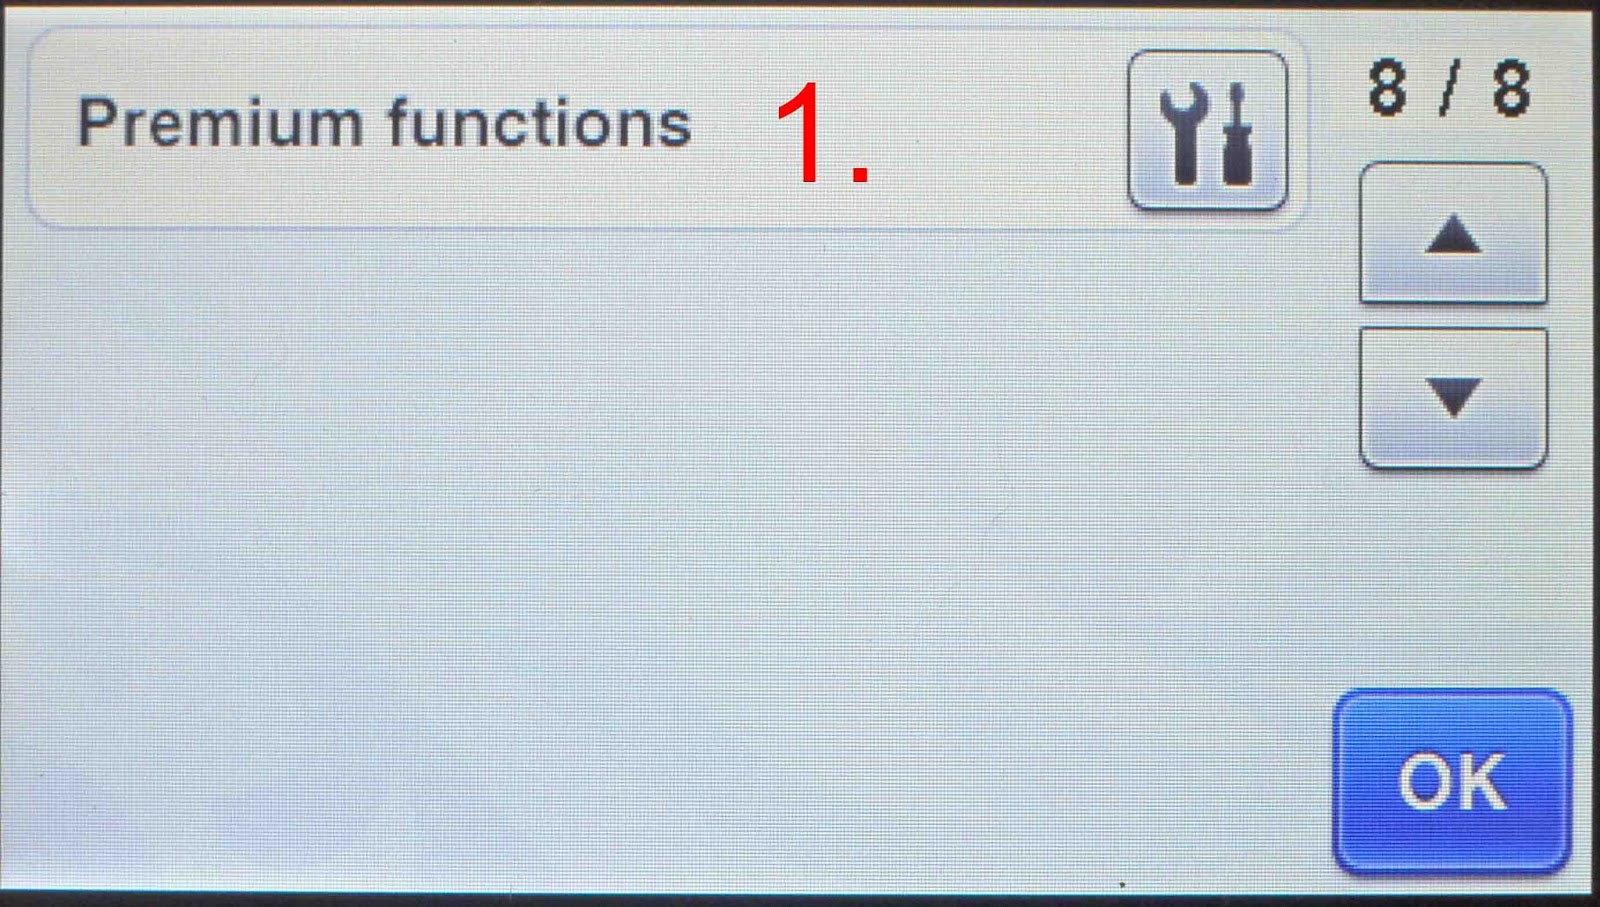
15-1- Premium functions. This is used when you purchase extra premium packs.