By Design Bundles
Scan N Cut Tutorials2 min
Creating your first foiled design in Brother scan and cut with the foil quill
*CM900 used.
1- Turn your foil quill on to warm up. Turn on your Brother scan and cut machine. tap the pattern icon.
2- The scan and cut has many preset designs. Click on a design type.
3- Select a design.
4- Your design will appear in the next screen. adjust if needed.
5- With your design on the mat screen, click on the scan mat icon.
6- You can now see where the foil is placed on your media. Click on ok.
7- On the next screen tap on the resize icon.
8- Adjust the size to fit on your foil.Tap OK.
9- Tap OK again.
10- Tap OK.
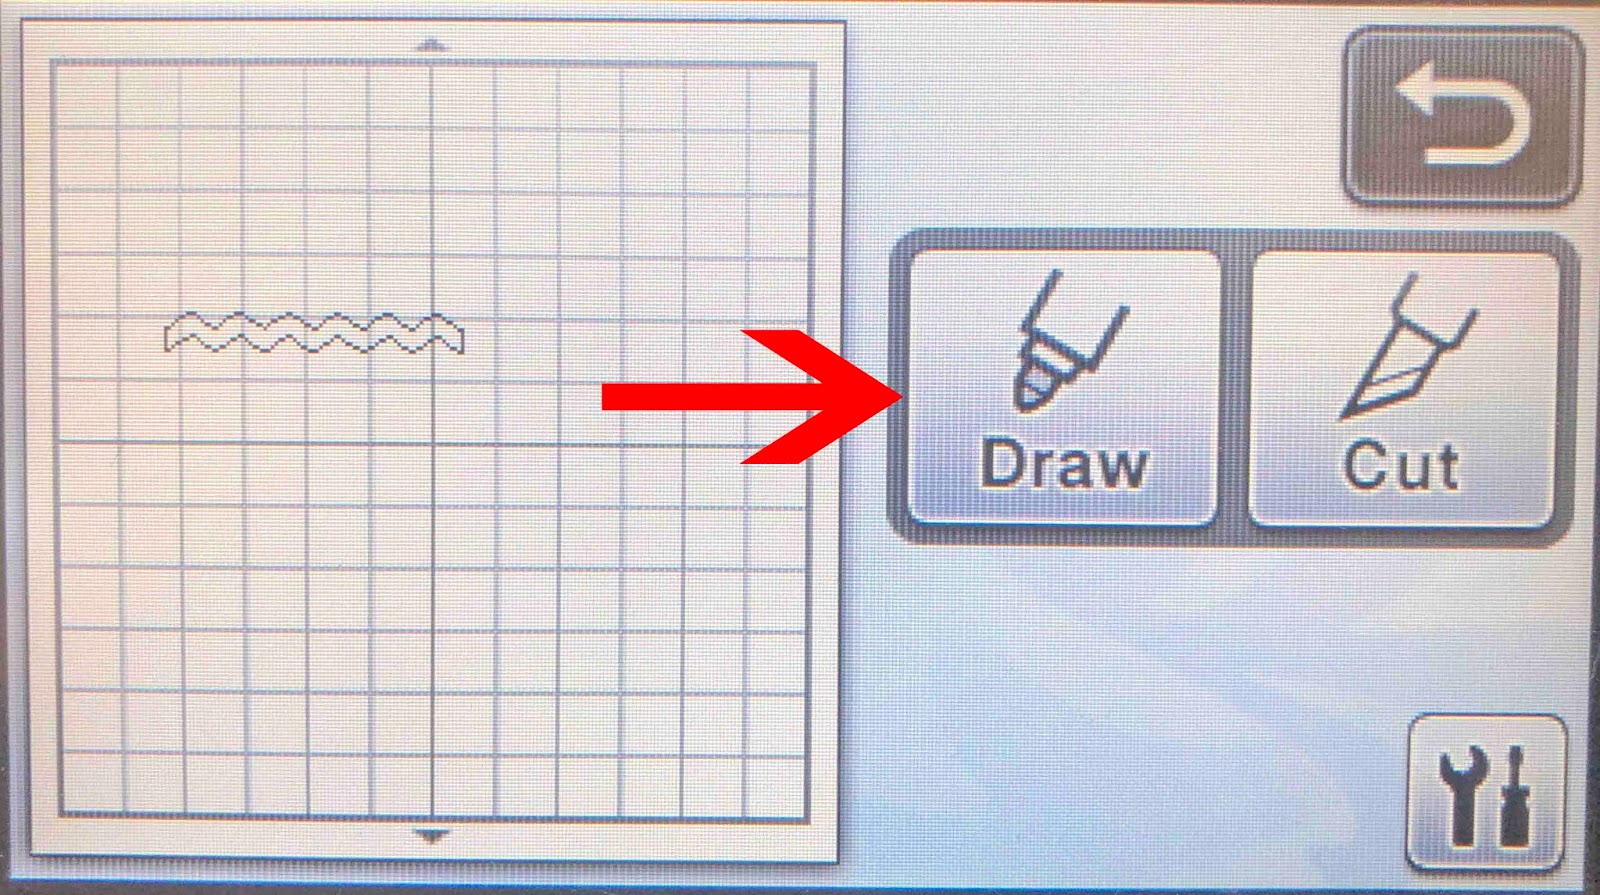
11- Click on the draw icon.
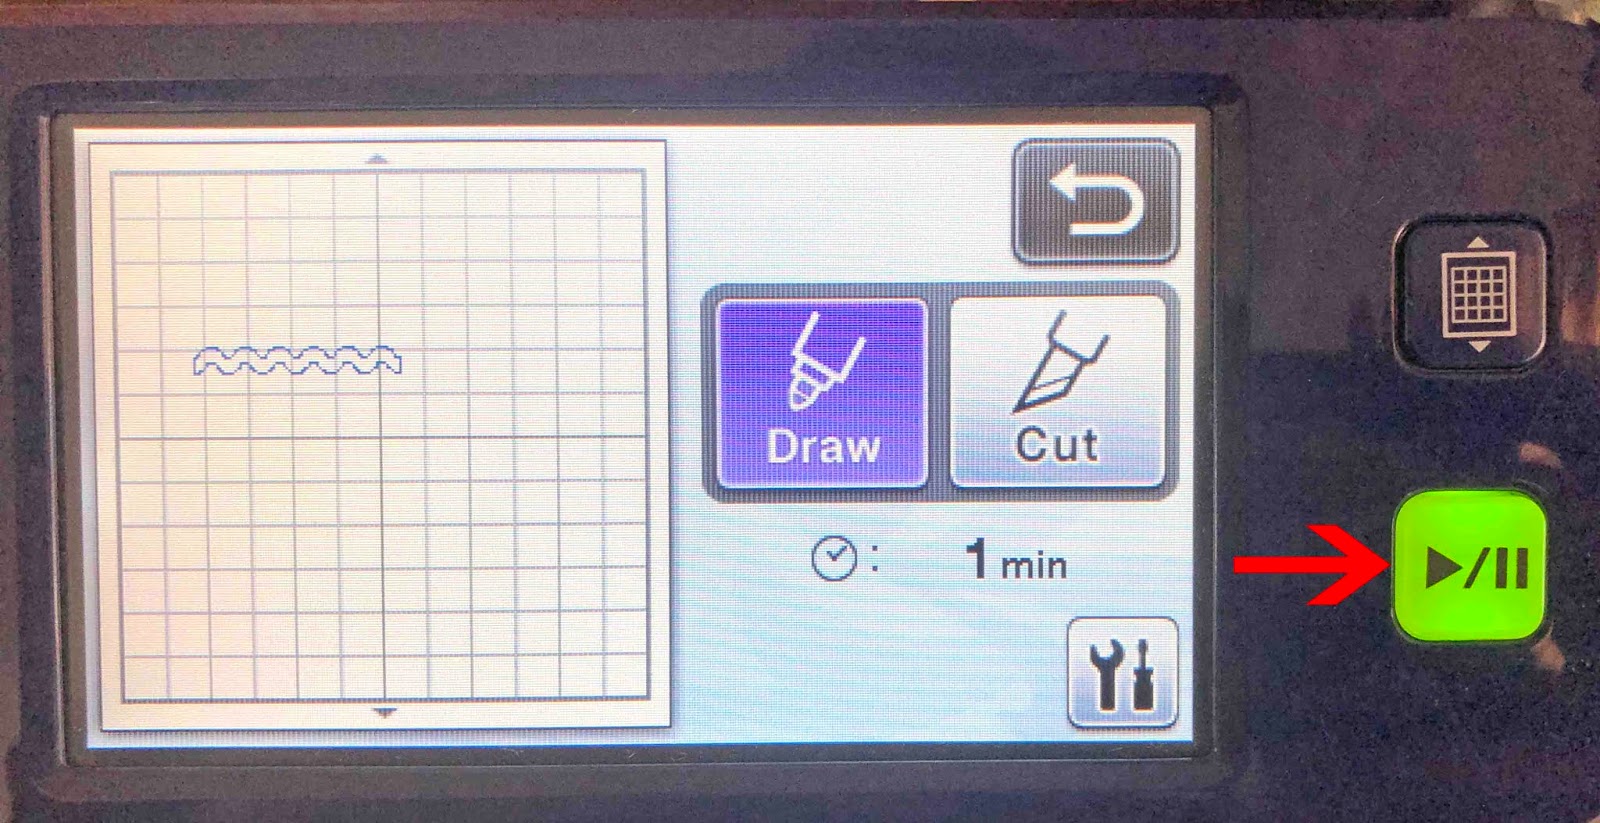
12- Click on the green start button.
13- Your machine will start.
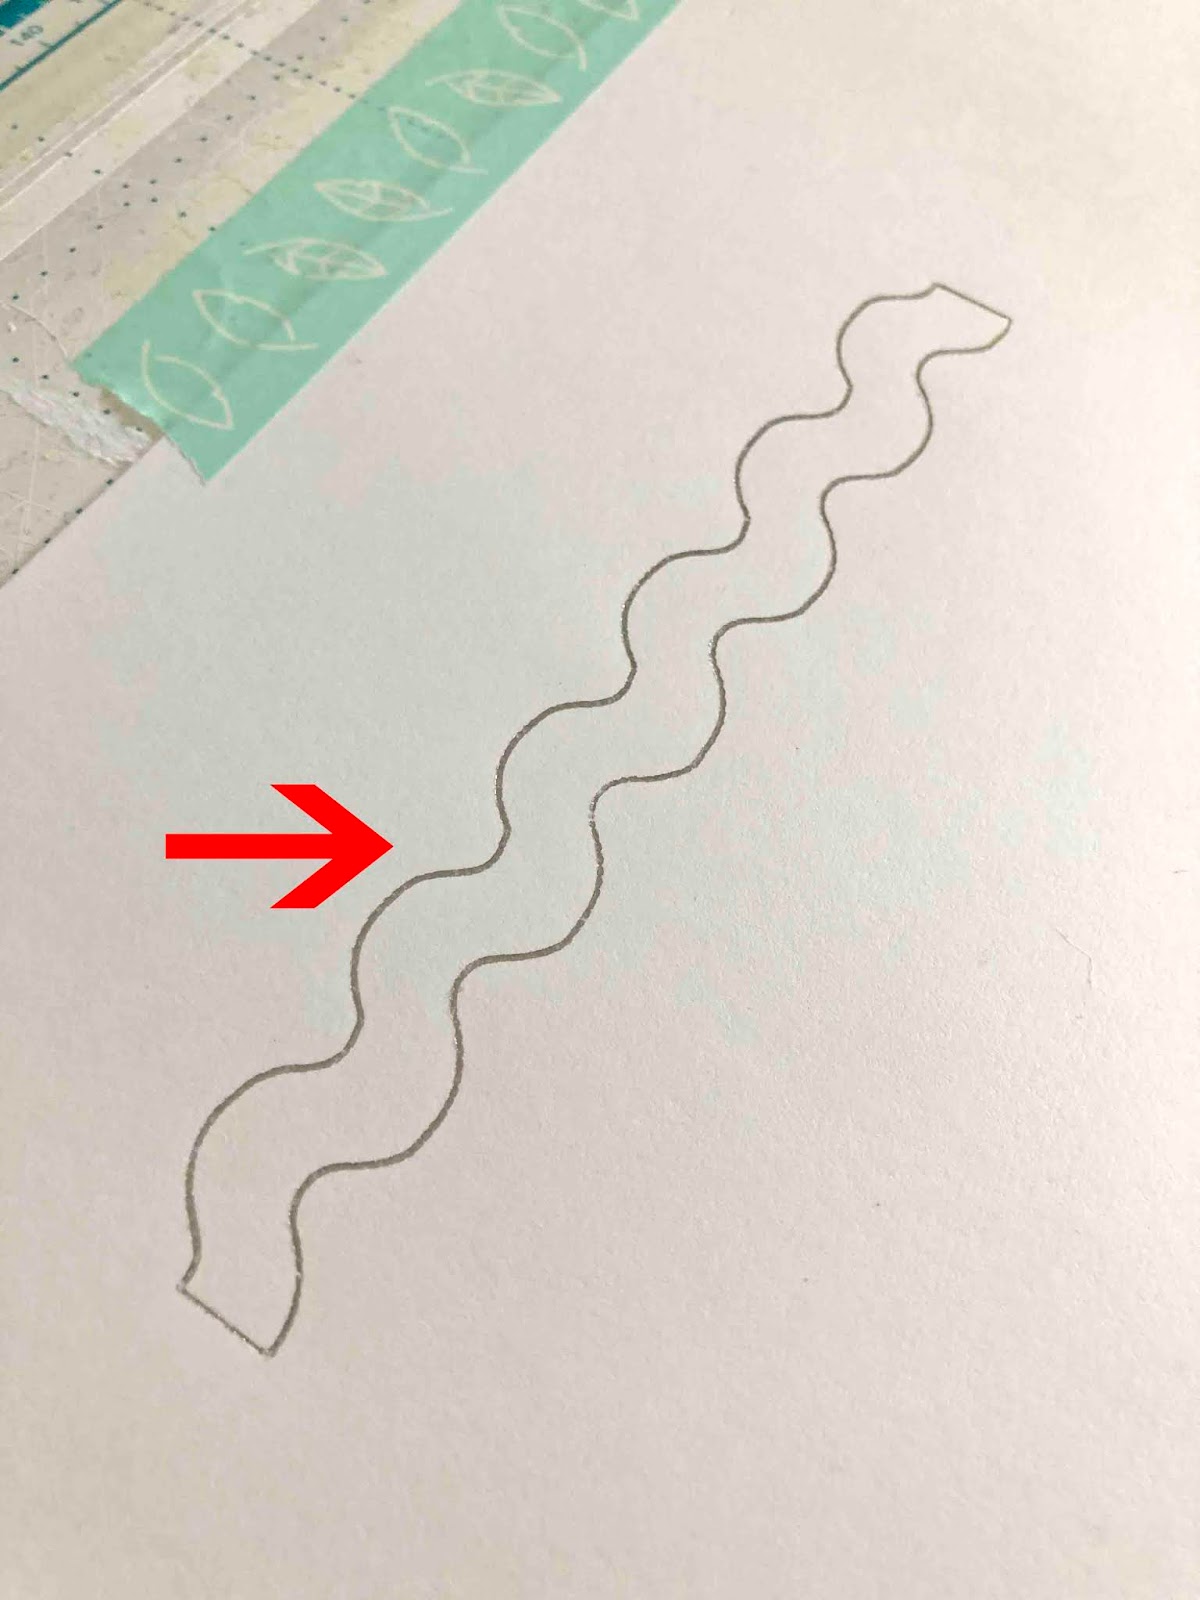
14- Your design will now be foiled.
15- Peel off the foil. Your design will be finished.
1- Turn your foil quill on to warm up. Turn on your Brother scan and cut machine. tap the pattern icon.

2- The scan and cut has many preset designs. Click on a design type.

3- Select a design.

4- Your design will appear in the next screen. adjust if needed.
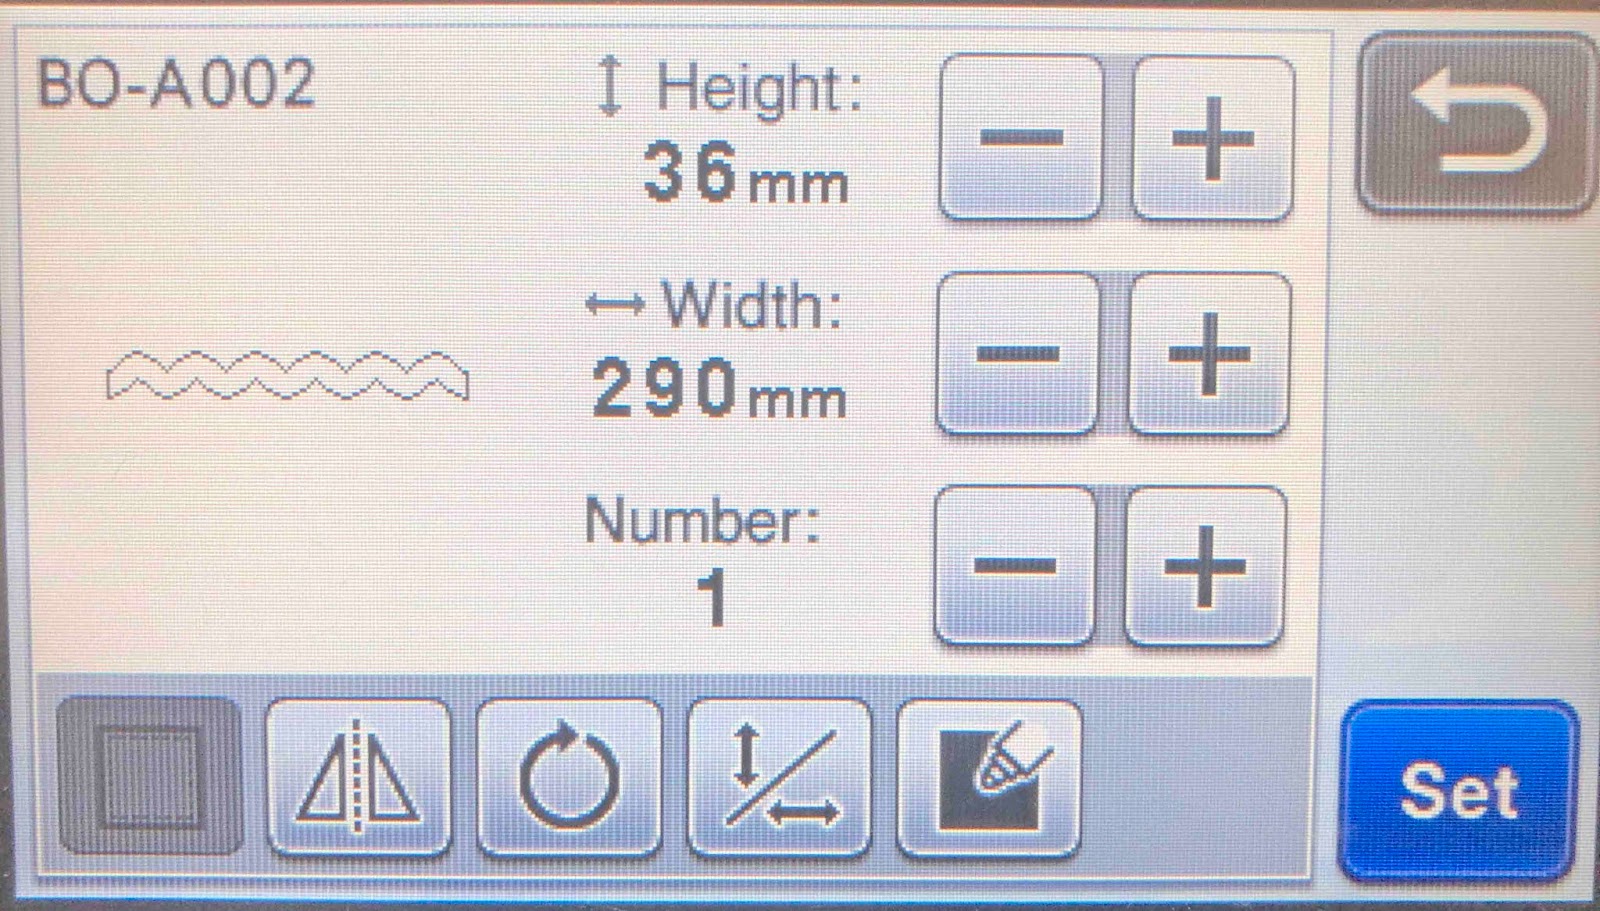
5- With your design on the mat screen, click on the scan mat icon.

6- You can now see where the foil is placed on your media. Click on ok.
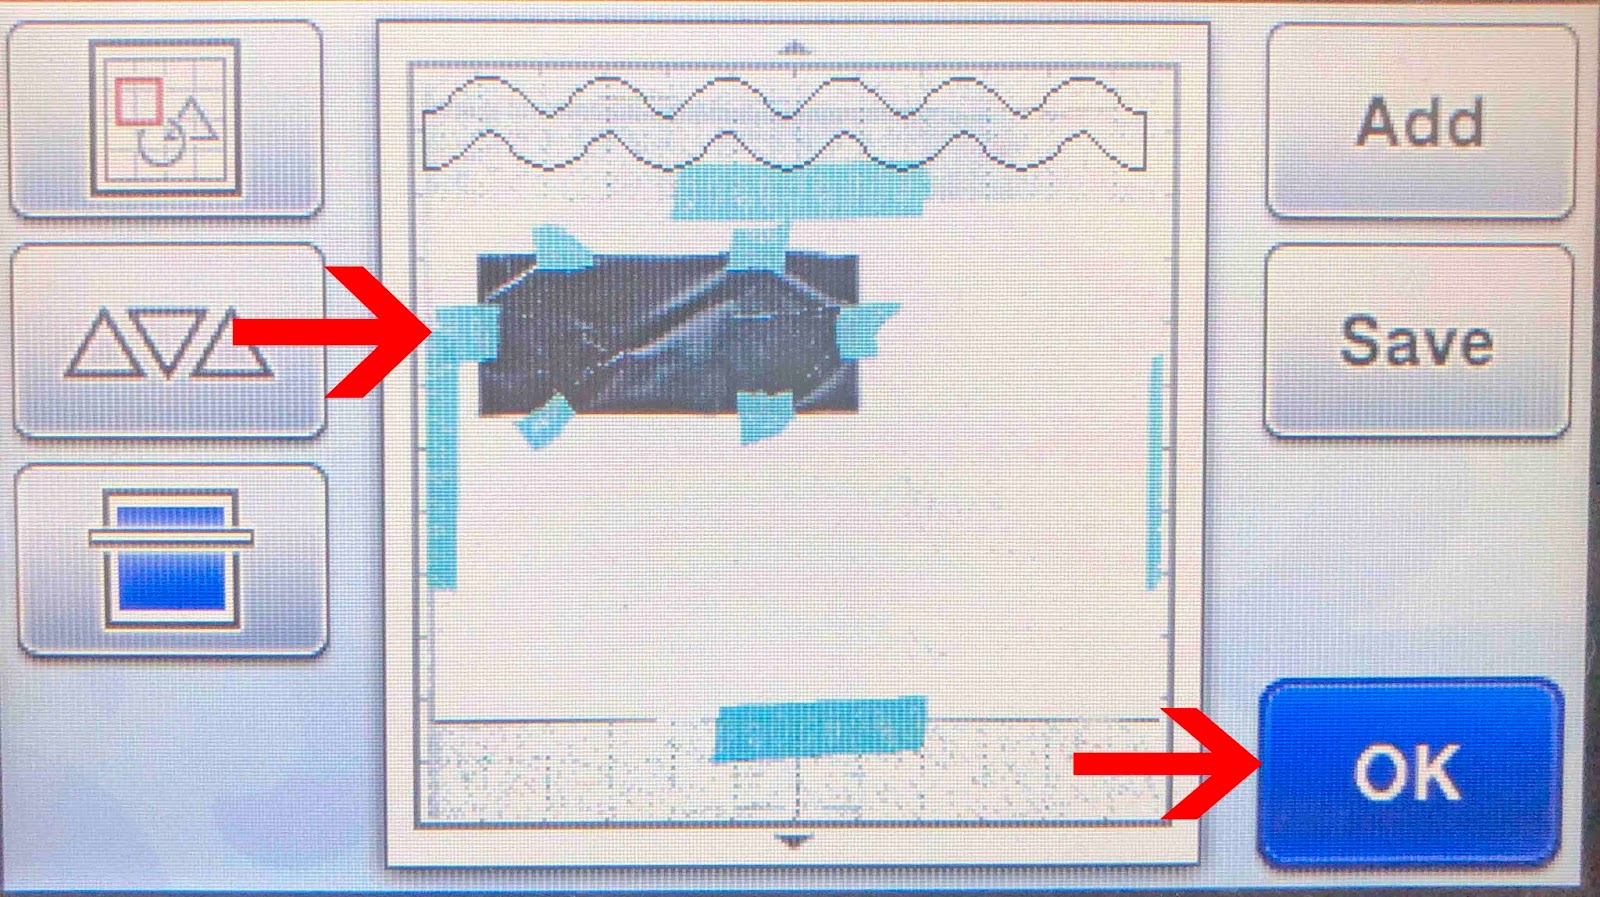
7- On the next screen tap on the resize icon.
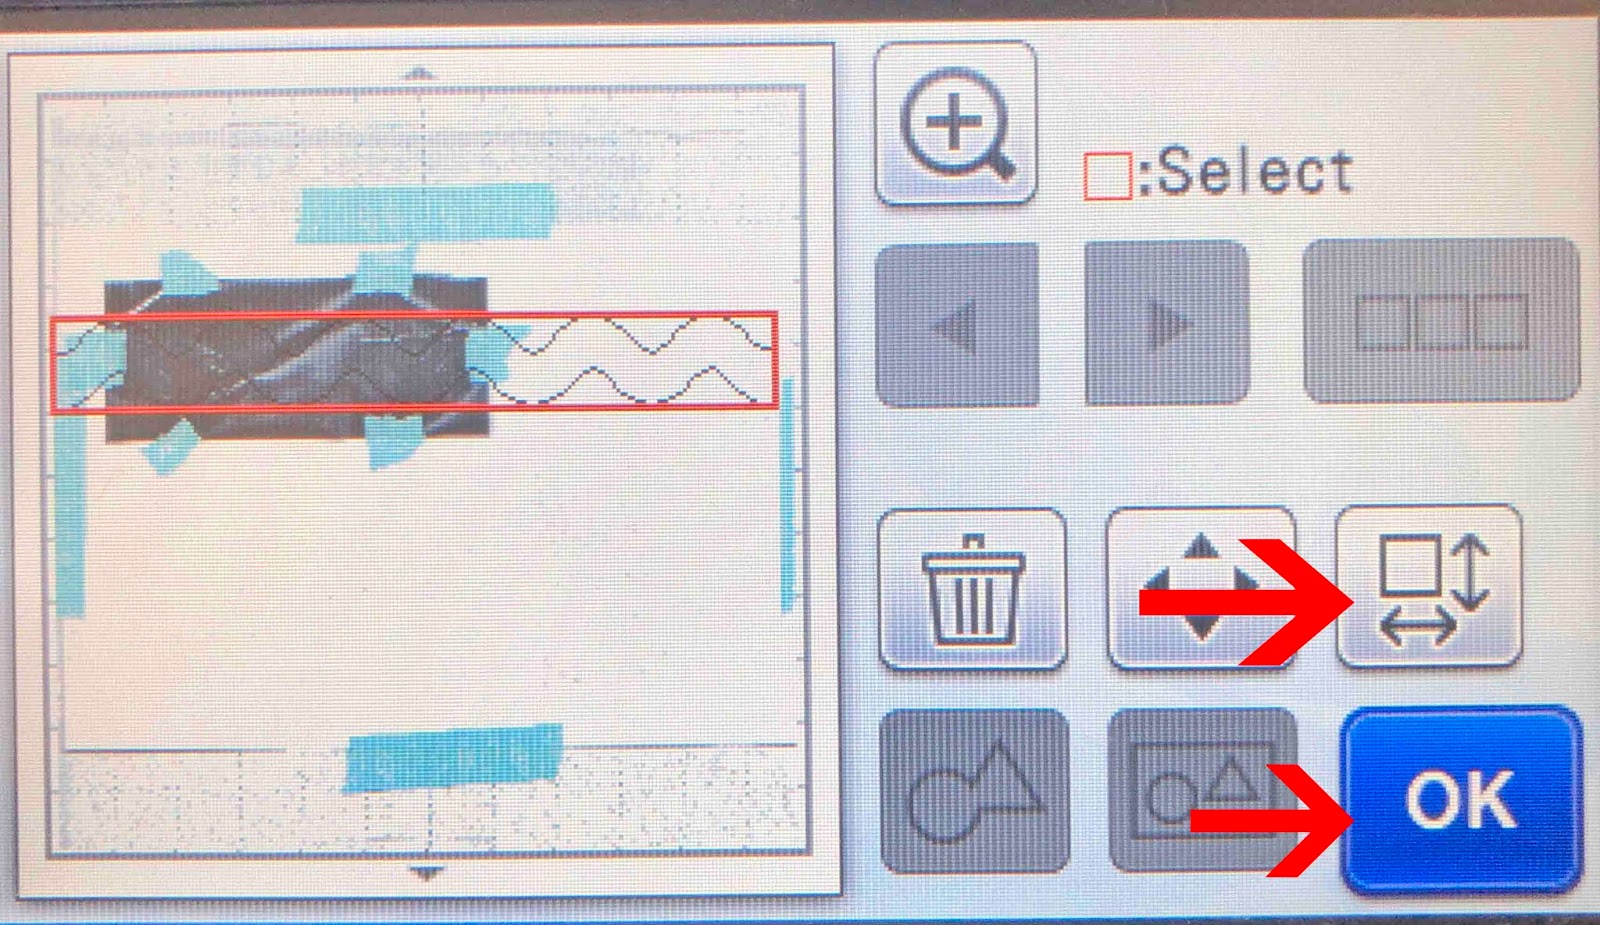
8- Adjust the size to fit on your foil.Tap OK.
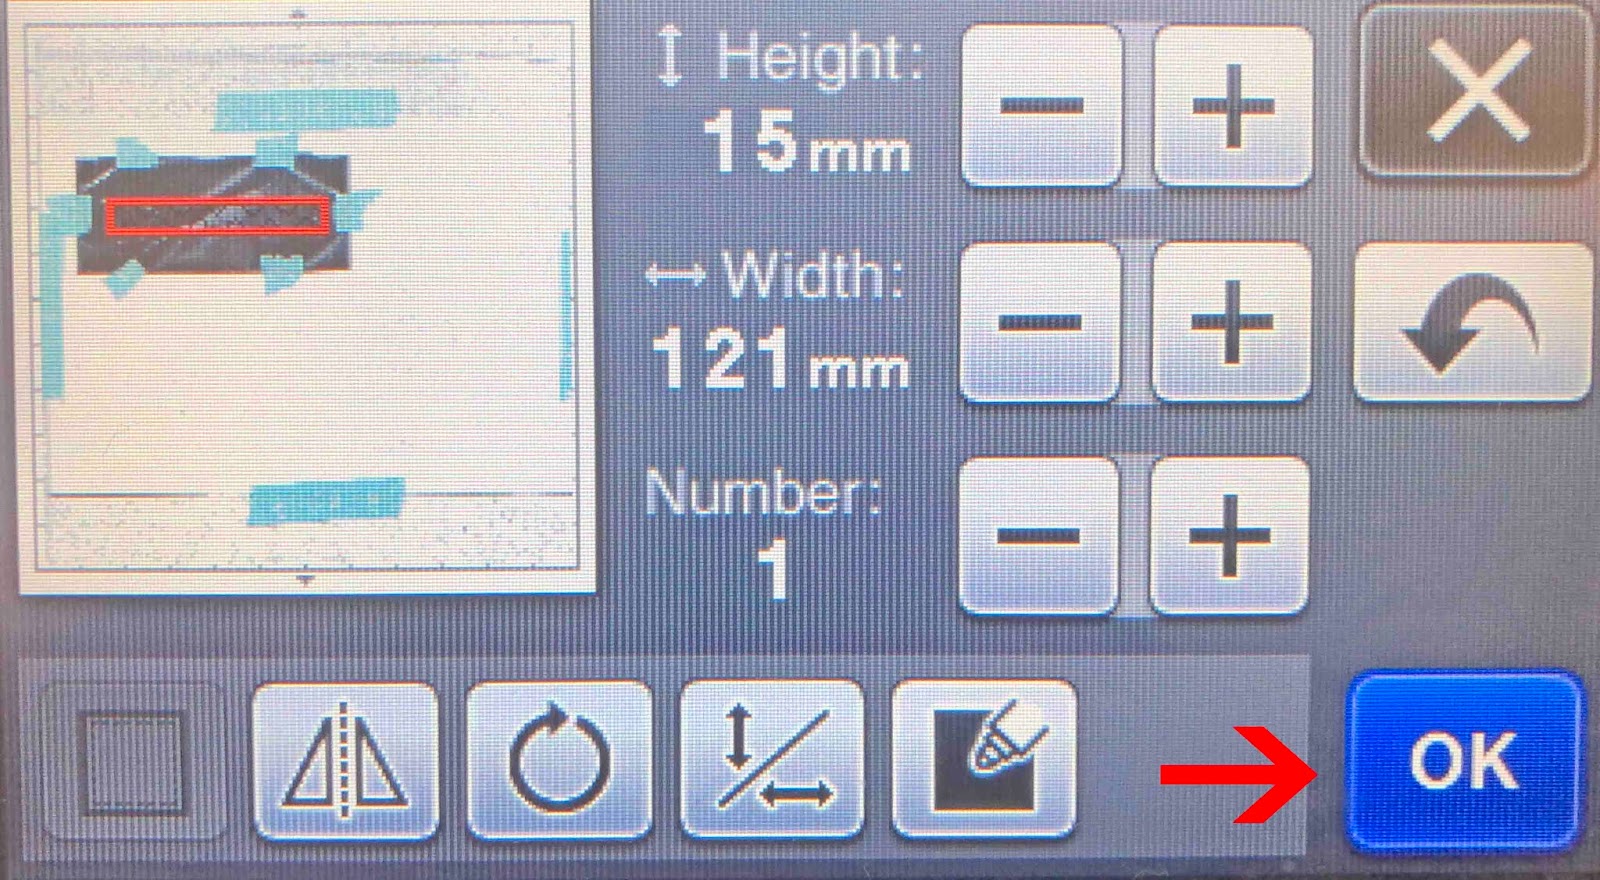
9- Tap OK again.
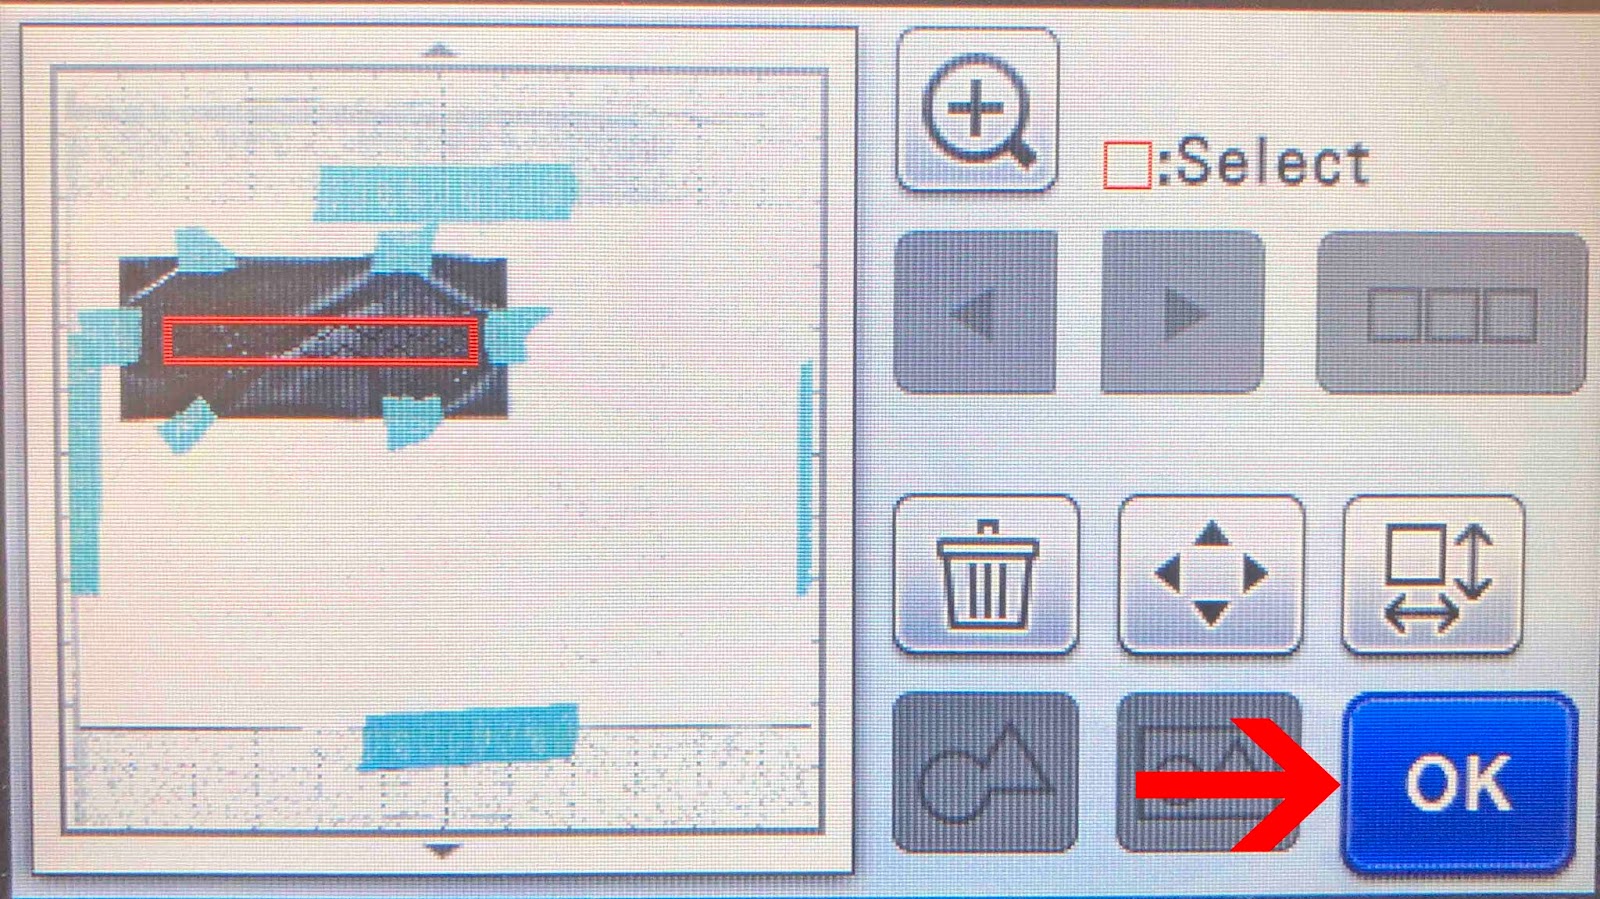
10- Tap OK.
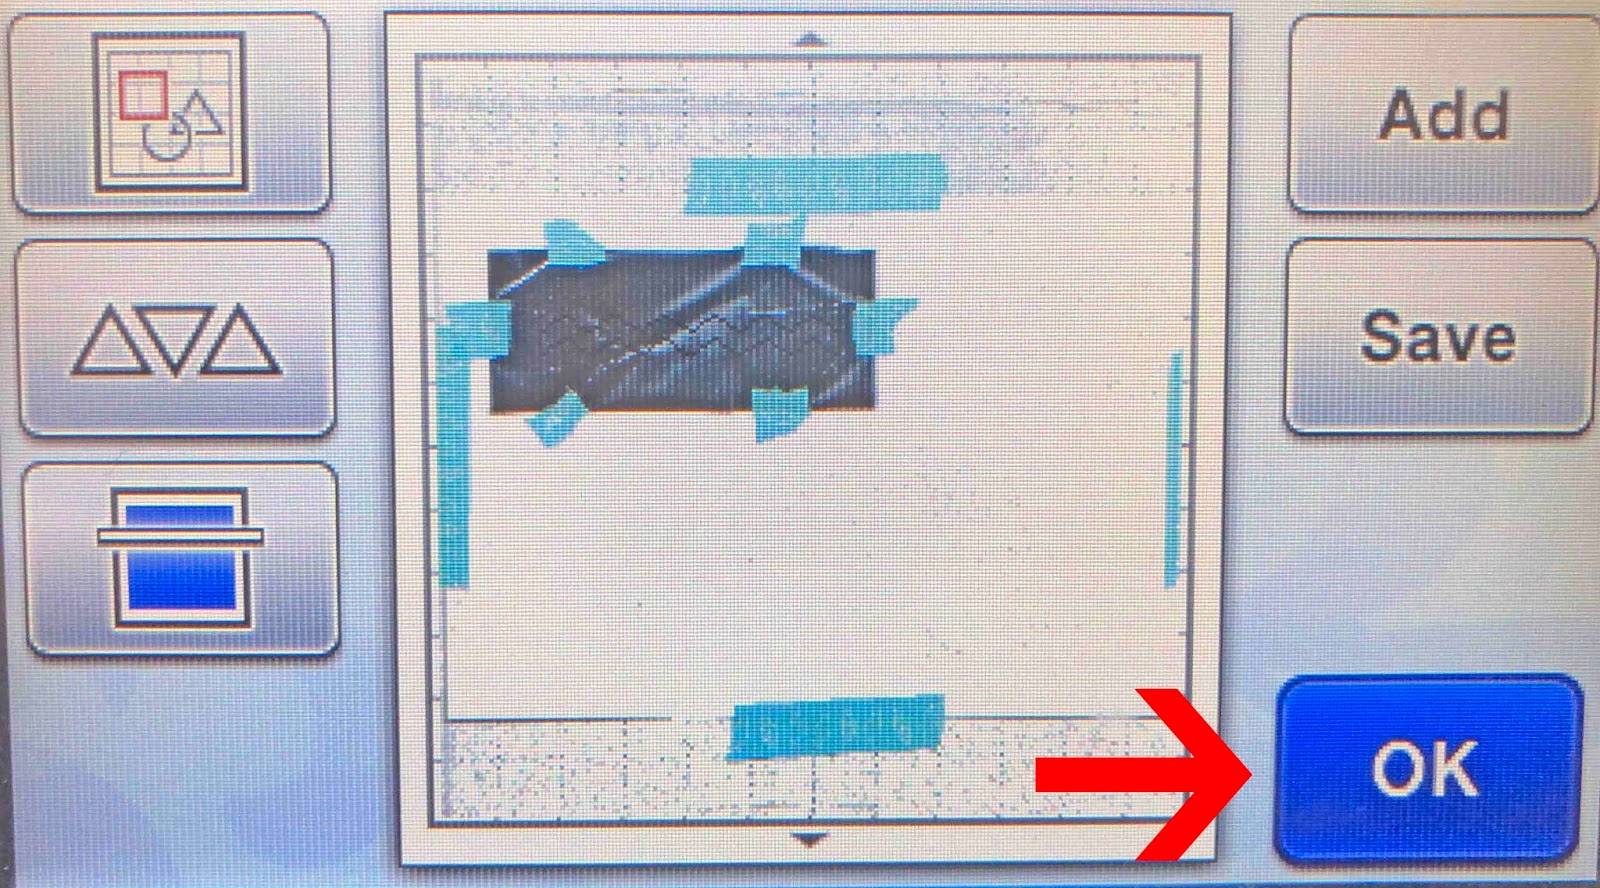
11- Click on the draw icon.
12- Click on the green start button.
13- Your machine will start.
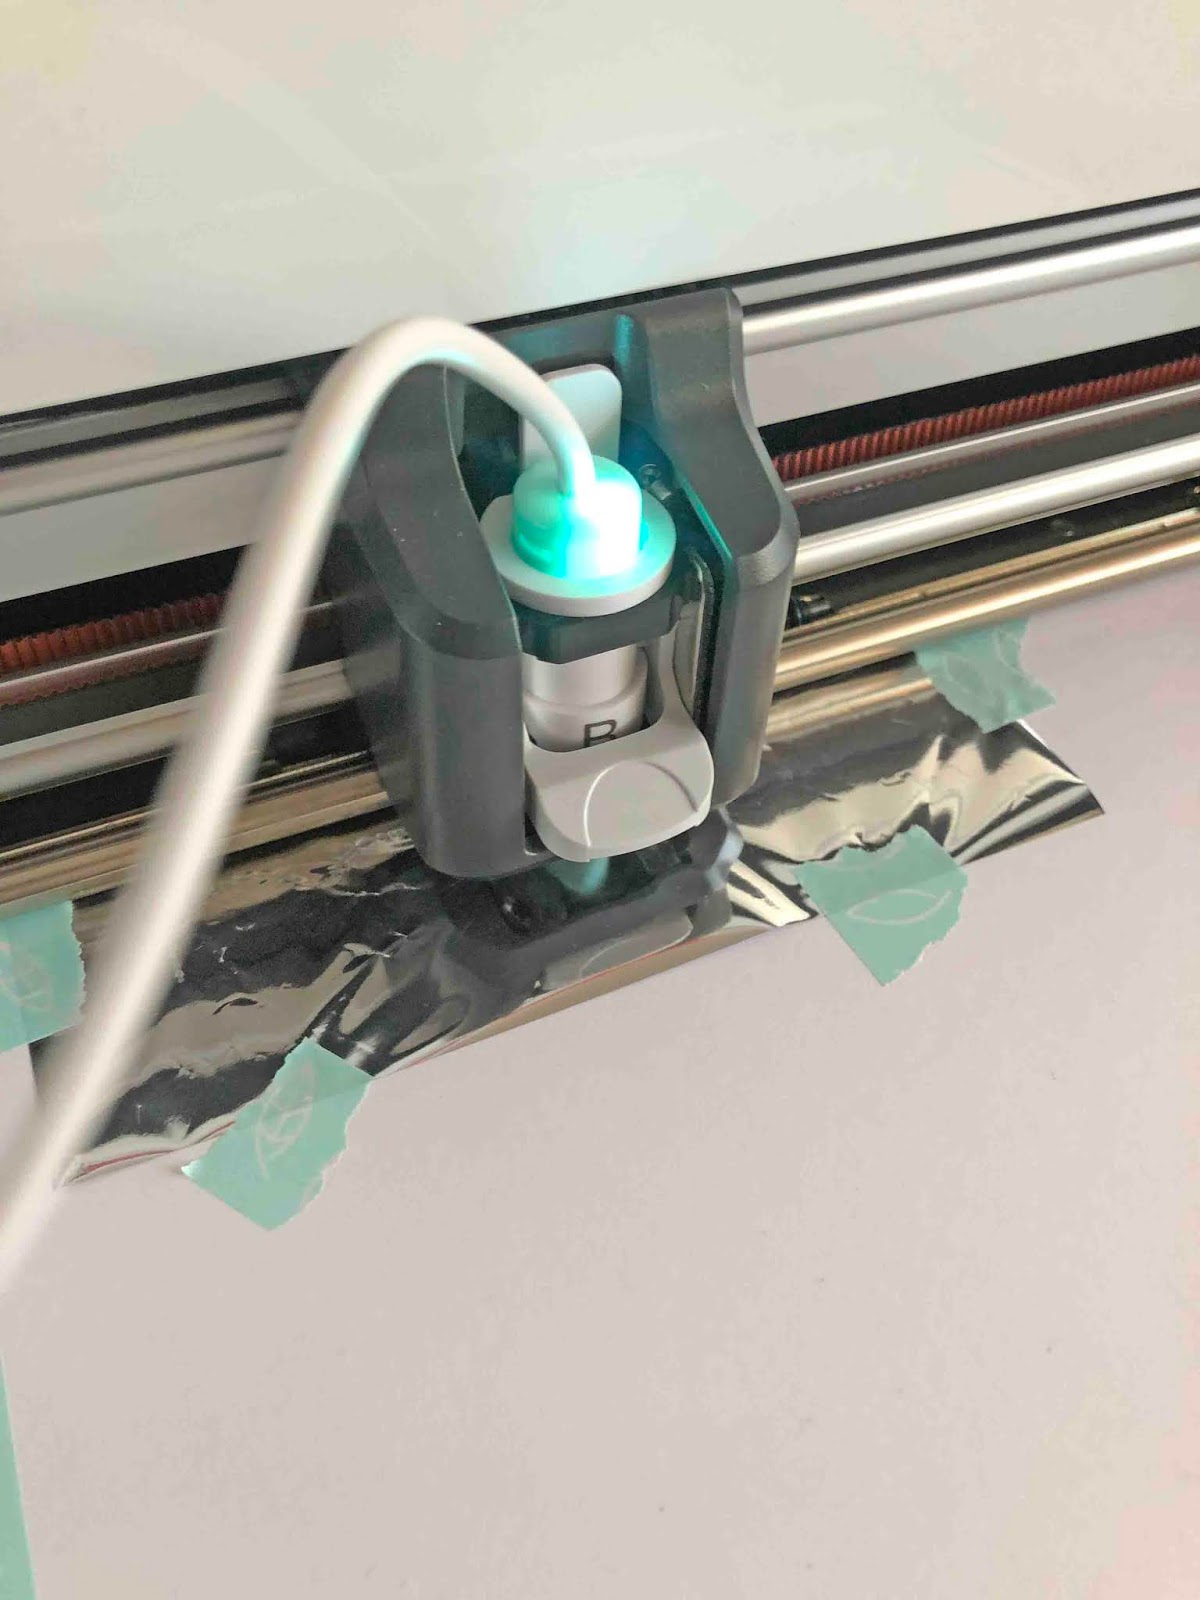
14- Your design will now be foiled.
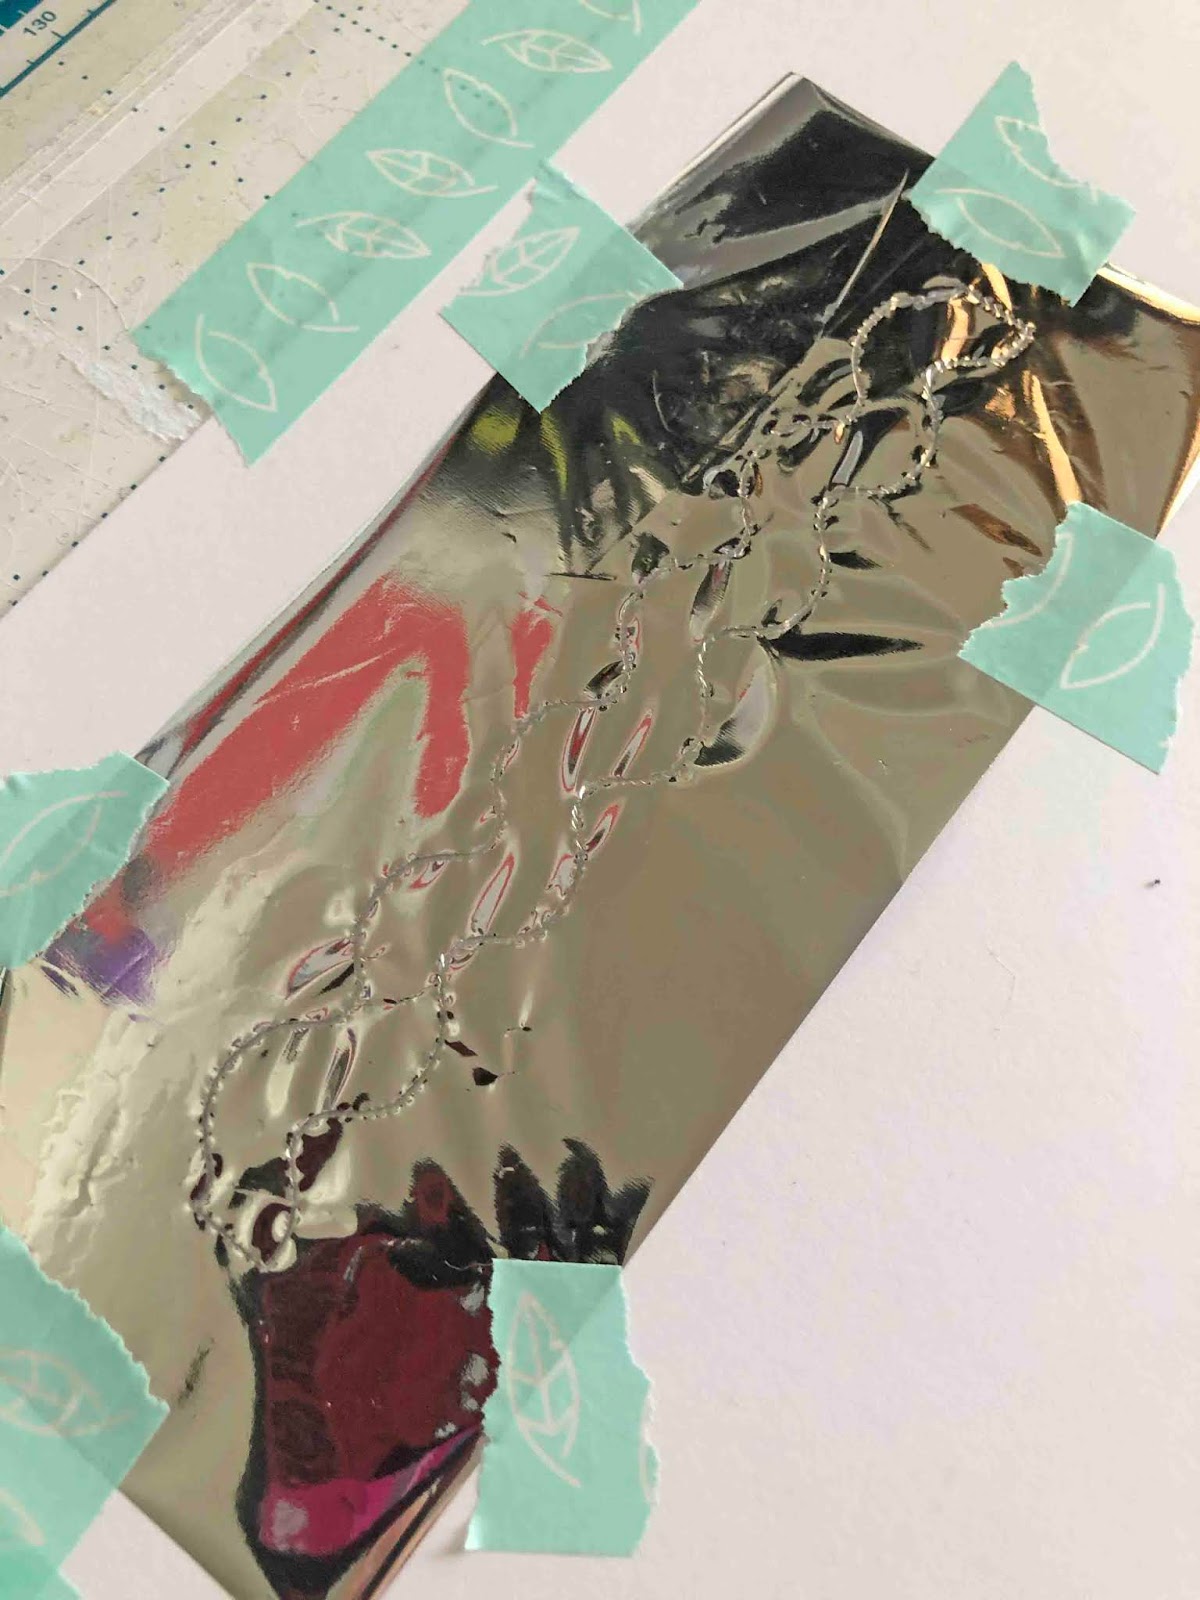
15- Peel off the foil. Your design will be finished.
Related Tutorials
Scan N Cut Tutorials
Creating a foiled candle with brother scan n cut machine using the foil quill
Scan N Cut Tutorials
Foiled tattoo using the brother scan n cut and the foil quill
Scan N Cut Tutorials
Installing the Foil quill for the first time In Brother scan and cut machine
Scan N Cut Tutorials
How to Fill text in Brother scan and cut canvas workspace with the foil quill
Scan N Cut Tutorials