By Design Bundles
Scan N Cut Tutorials2 min
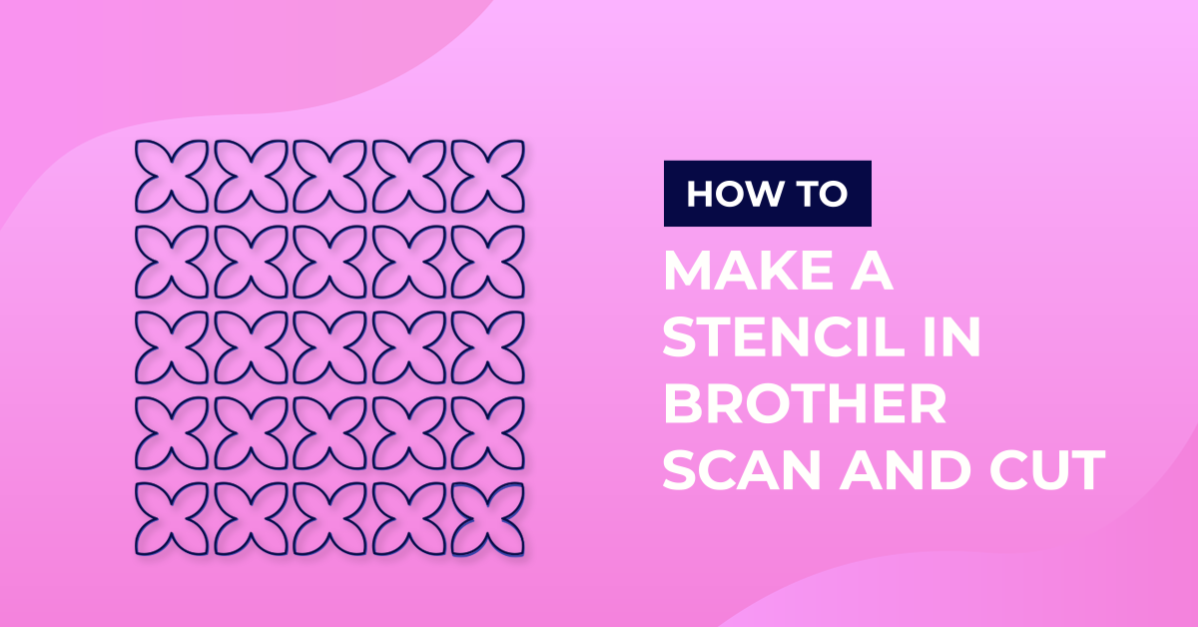
How to make a simple and detailed stencil stencil in brother scan and cut canvas workspace
1- Open scan and cut canvas workspace. Click on the shape tool.
2- Select your shape.
3- Resize the shape to the size you need for your stencil.
4- Select the shape, right click and duplicate.
5-With both shapes selected, go to the align tool and align middle .
6- Next with both selected, adjust the distribute space tool to the gap you need. and click on the icon.
7- Repeat the duplication until you have enough shapes. Align them to create a rectangle.
8- With all the shapes selected, right click and select group.
9- Click the shape tool and create a new square.
10- Resize the square to fit over the aligned shapes.
11- Select both the grouped shapes and rectangle. Go to align and align centre and middle.
12- With them both selected, right click and group.

2- Select your shape.

3- Resize the shape to the size you need for your stencil.

4- Select the shape, right click and duplicate.

5-With both shapes selected, go to the align tool and align middle .

6- Next with both selected, adjust the distribute space tool to the gap you need. and click on the icon.

7- Repeat the duplication until you have enough shapes. Align them to create a rectangle.

8- With all the shapes selected, right click and select group.

9- Click the shape tool and create a new square.

10- Resize the square to fit over the aligned shapes.

11- Select both the grouped shapes and rectangle. Go to align and align centre and middle.

12- With them both selected, right click and group.

Related Tutorials
Scan N Cut Tutorials
How to make a image larger than your cutting mat in Brother Scan N Cut canvas workspace
Learn how to cut designs larger than your cutting mat in Brother Scan N Cut canvas.
Scan N Cut Tutorials
How to create a font into a stencil font in Brother scan and cut canvas workspace
Scan N Cut Tutorials
How to make a pop up insert for a card in brother scan and cut canvas workspace
Scan N Cut Tutorials
How to create curved text in brother scan and cut canvas workspace
Learn how to curve text in Brother Scan N Cut
Scan N Cut Tutorials