By Design Bundles
How to Create a Personalized Trinket Box in Silhouette Alta
1- Open Silhouette Studio Software (free edition). Click on your library if you have your shape saved. Alternately import your shape.

2- Select your shape.

3- Right click and ungroup the hearts.

4- Select the heart you want to use.

5- Type your text.

6- Select the font you want to use. If you'd like, you can try using an elegant script font from Font Bundles.

7- Select the text, right-click and ungroup.

8- Adjust the letters so they overlap. Select the letters and then right-click and select weld.

9- Select both the text and the heart, right-click, and group.

10- Go to File > Save As > Save to Hard Drive and save your design.

11- Open the Silhouette Alta software. Click on the open file icon.

12- Find your studio file and click Open.

13- A new window will appear. Click on Jewelry Box.

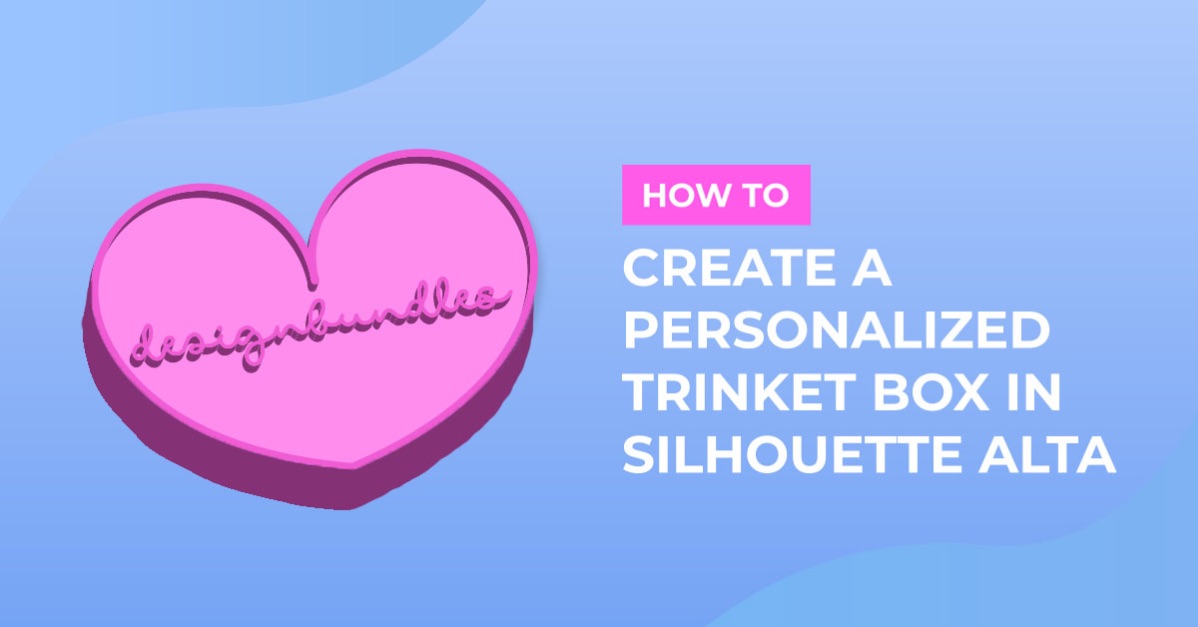
14- Your trinket box is created with an embossed personalized name.

15- You can move the lid from the base. Once you have the boxat the size you need, click 3D print.

16 - Adjust the print settings to your needs and then click on print. You can print the lid and base separately and even in different colors if you like.

17-Print each part separately. The box is shown in the following image.

18- The lid is shown in the following image.

19- Then remove each piece off your mat, and they should fit perfectly together.