By Design Bundles
How to Make a Knockout Design in Affinity Designer
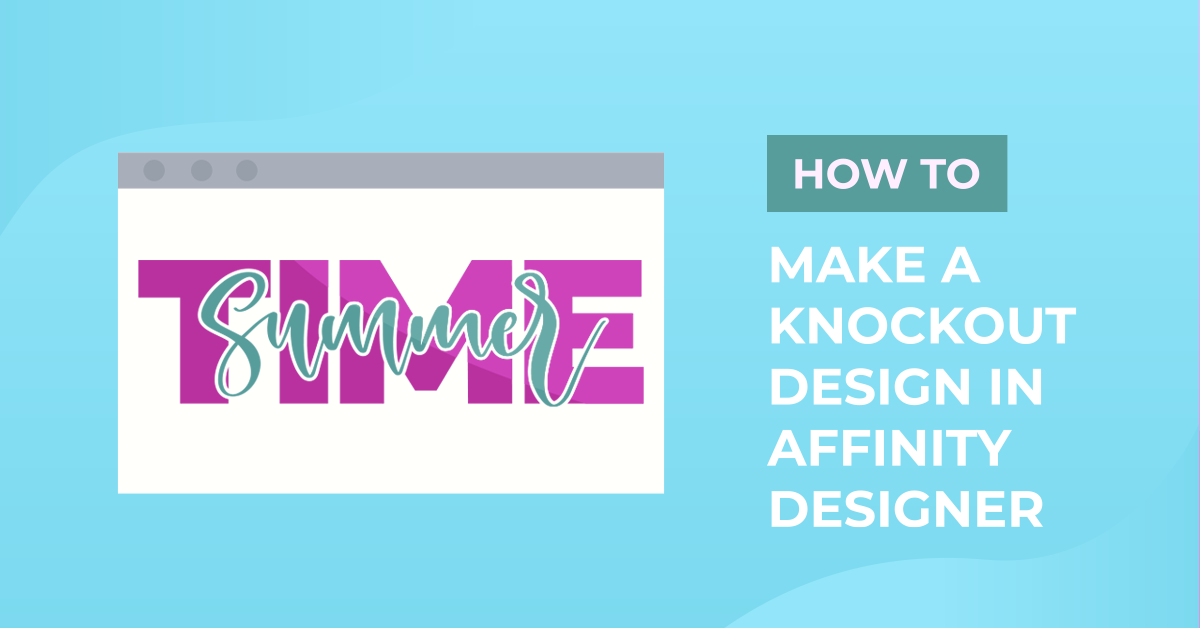
In this tutorial, you will be doing a knockout design with two fonts. It lets you cut out an outline of the text you chose to put in front through the one in the back.
We are using the Heart You font for the front and The Mezirane font for the background.
Step 1: Add the background text
Create a New Document and use the Artistic Text Tool to type your text.

First, type the one that you want to use as the background. Choose your font and size it appropriately.

Choose Center as the Align Horizontally and Vertically options in the Align panel, making sure that Align to Spread is your choice.

Once you are happy with your text, select it and go to Layers > Convert to Curves or click the button on the top menu to flatten it.

Lock (Command/Control + L) the layer so you won’t risk messing up with this text letter. Go to Layer > Lock or click on the small padlock on the top right corner of the layers panel.

Step 2: Add the front text
Now, type the one that will be used on top. As before, choose your font and size it appropriately.

If the font you chose has alternate glyphs you can you can change those now.

Change the Fill color of the front text to a contrasting one (we used red).

Step 3: Position your front text
Position the front text centered and on top of the background text. Make sure the Snapping function is selected in the top menu and move it around until it snaps in the appropriate place.

Resize it if needed so you get some of the side portions outside the background text edges.

Once you are done, flatten this text too and Ungroup it by clicking on the button in the top menu.


Step 4: Merge your front text
We need to have the whole word as one path so, if you notice some of the letters as individual overlapping paths you’ll need to merge them together using Add from the Geometry panel in the top menu.


Step 5: Add a Stroke
Duplicate the front text (Command/Control + J) and lock the top layer.

Select the second text layer, change the Fill and Stroke color to white and increase the Stroke size to about 10 pt. This will depend on the size of your design and/or font.

Hide the top layer by unchecking it in the Layers panel and making sure that you have the white text selected go to Layer > Expand Stroke.

This will create another layer, select them both and merge them together using Add from the Geometry panel in the top menu.

Step 6: Clean up the knockout text
If you notice some random nodes on top of your letters, use the Node Tool (A) to select them and delete them.


If you want, you can turn on the top (red) text and save your design like this.
Step 7: Subtract the front text through the back text
If you are using the text for vinyl cutting or something similar and want to avoid layering the white outline underneath the word, you can cut out that outline through the background text (in our case, we will be cutting the outline through the word Bundles).
To do so, unlock the background text layer, ungroup it (Shift + Command/Control + G).

Select all the letters and merge them together using Add from the Geometry panel in the top menu.

Now, select the background text and white outline text layers and in the Geometry panel choose Subtract instead.


Finally, turn on the top text layer.

If you liked this tutorial, check out some of our other tutorials such as How to make a gradient and How to use the vector tool in Affinity Designer.