By Design Bundles
How to Create a Logo in Canva
Your logo is the beginning of your visual brand, both in person and online. It is a part of your brand identity that helps people recognize your products and services.
Ideally, logos should be created in industry-standard vector graphic editing software like Adobe Illustrator or Affinity Designer. But not everyone can afford them. Though there are similar free tools like Inkspace and Vectr, these programs are not very beginner-friendly and have a steep learning curve.
With Canva, designing a logo doesn’t have to be intimidating anymore. With its drag and drop feature, anyone can create their logo without any design training.
In this tutorial, we will be discussing how to DIY your own logo in Canva using some purchased elements from Design Bundles and Font Bundles. There are several types of logos, and what we will be creating today is a mock Design Bundles logo using a combination of wordmark and brand mark.

Step 1 - Create a New Document
Create a new logo document by scrolling through the different Canva templates. We're going to choose a Logo template. There are lots of premade logos in Canva, but we won't be using any of those. We want to create one from scratch. Click the Create blank button in the middle of the Logo thumbnail.

Your design space will appear in a new window.
The default logo size in Canva is 500 x 500 px. If you need a larger variation, you can always resize. Click the Resize button at the top, type in your preferred dimensions, and click Resize.

Step 2- Add Logo Elements
We’re first going to create our wordmark. A wordmark logo, also called “logotypes,” is pretty straightforward. It simply includes the name of the company or organization. Because of its simplicity, typography and spacing are very crucial. Whatever your font choice is, it has to be legible.
There are many fonts from Font Bundles that are great for typography logos.
We will be using this serif font called Creative Vintage by Blessed Print. We believe its clean, chunky shapes and accurate kerning are perfect for a logo.
Step 1 - Add and Edit Text
You can add text by clicking the text button. Then click Add a heading or simply type "T" to quickly add a text box.
With the sample text selected/highlighted, start typing your own text. It will automatically change the sample text. We typed "Design." You can make the text bigger by dragging out the corners to enlarge it.
Change font
To change the font, click on the down arrow next to the font name. Scroll through the options and pick the font you want. We will use the pre-uploaded creative Vintage font. This font has two style variations. We're going to select "Creative Vintage Regular."

Change Font Color
We will also change our text color to light blue. Click the Text color button and select the blue tile from the left panel to apply the color change.

Add Glyphs
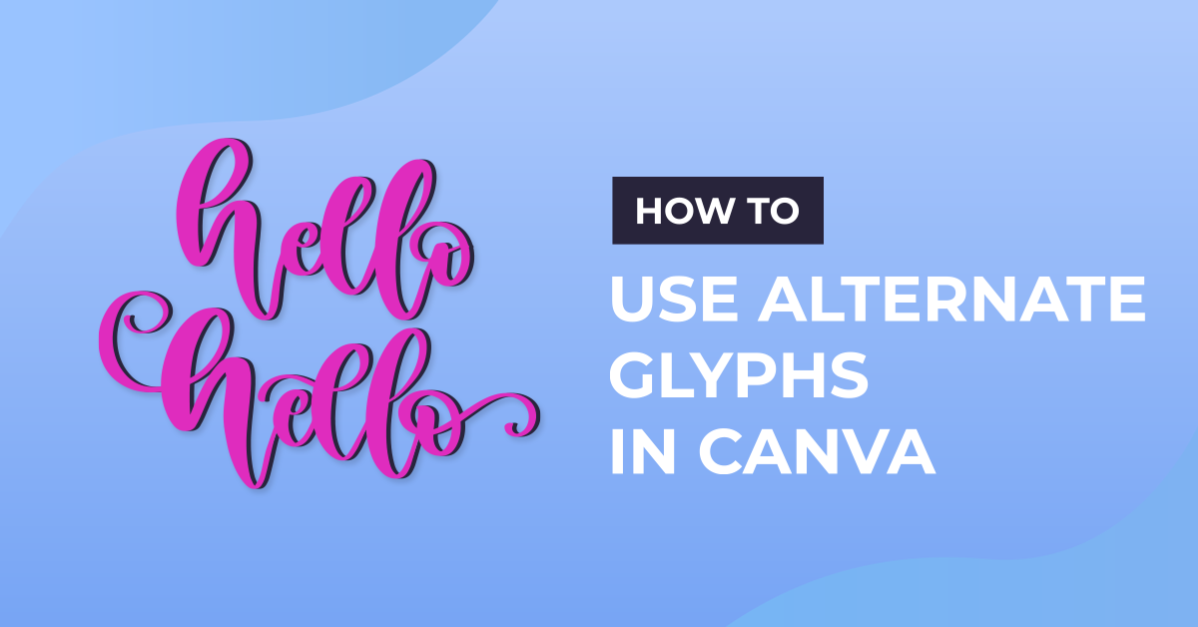
To add an extra flair to our typography, We're going to add glyphs to some of the letters. We added glyphs to the letter D and g. For a complete guide on this, you can check out our tutorial on how to use alternate glyphs in Canva.

Add a Shadow Effect
To make our text pop and not look too flat, we will also add a shadow effect. Select/click the text, then click Effects, and choose Shadow.
You can finetune each setting according to your liking by dragging the control sliders to the left or right. Offset can increase or decrease the shadow's distance from the text. Direction can change the direction of the shadow from the text. Blur can sharpen or blur your shadow, while transparency changes the opacity of the shadow. We can also change the shadow's color by clicking on the color tile below and choosing the preferred color. We changed the shadow to black.

Add Your Second Text
Follow the same process above in adding and editing text. This time we typed in"Bundles". We used the same font, changed the font color to black, added glyphs to letters B and n, and added a white shadow so the text will pop on a colored background. Then we placed it under the word "Design" slightly indented.

Step 2 - Add Brand Mark
Now it’s time to add our brand mark or the graphic symbol to our logo. The symbol should be identifiable and should make a direct connection to your brand. Since Design Bundles is a marketplace for design resources, we will use this pen tool cursor icon which is a part of this art and craft icon set from Design Bundles.
Upload Graphic Symbol/Icon
Click the Uploads tab from the side panel, choose Upload Media, and locate the file from your computer. Then click the graphic symbol/icon you'd like to use in your logo. The selected element will now appear in the uploads panel. Click the pen tool cursor icon to add to your design.

Flip Icon
Click Flip > Flip horizontal.

Rotate Icon
Click and hold the rotating arrows handle ↻ and rotate the icon clockwise to -180°

Finalize Icon Placement
Finally, we will place our symbol (pen tool cursor icon) next to our brand name (Design Bundles). You can scale the symbol accordingly to make sure it's properly aligned with the wordmark.

Step 3- Download Logo
Click the Download icon in the upper-right of the menu bar. Then click on the down arrow under File type to scroll through the different file types. Make sure that you select PNG and Transparent background is checked. Click Download.

Take a look at the finished logo design in the following image.

And now, with your logo created, your business is ready to show the world its unique brand mark!
If you found this tutorial helpful, you may also like our tutorials on creating an email signature in Canva, designing a digital calendar, and using Canva templates.