By Design Bundles
Create a Silhouette Text Card in Cricut Design Space 3
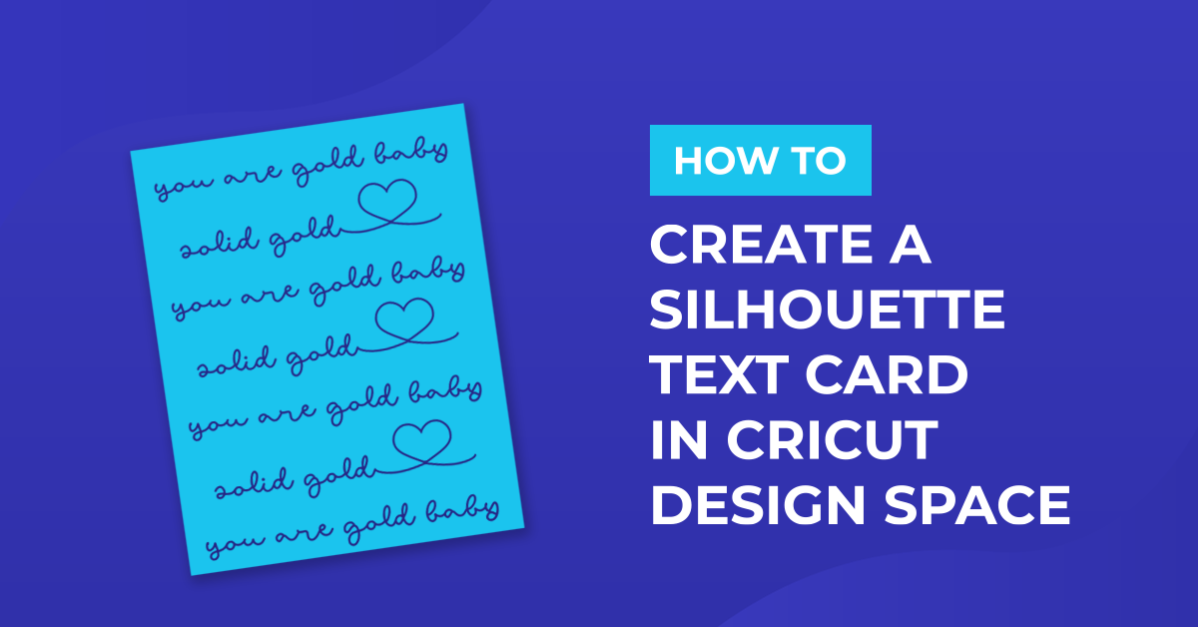
In this tutorial we will teach you how to create a silhouette text cutout card in Cricut Design Space. Before getting started, make sure you've opened Design Space and have started a new project.
Step 1: Create Your Design
Make sure every word and shape is touching each other at some point so it will weld correctly. We are using the fontLovely Melissafor this project. Once finished select everything and click Weld.

Step 2: Create a Card Base
Now you have a solid silhouette design to use for the card. Next we need to create a card base to cut the silhouette design from. Click on the Shapes icon.
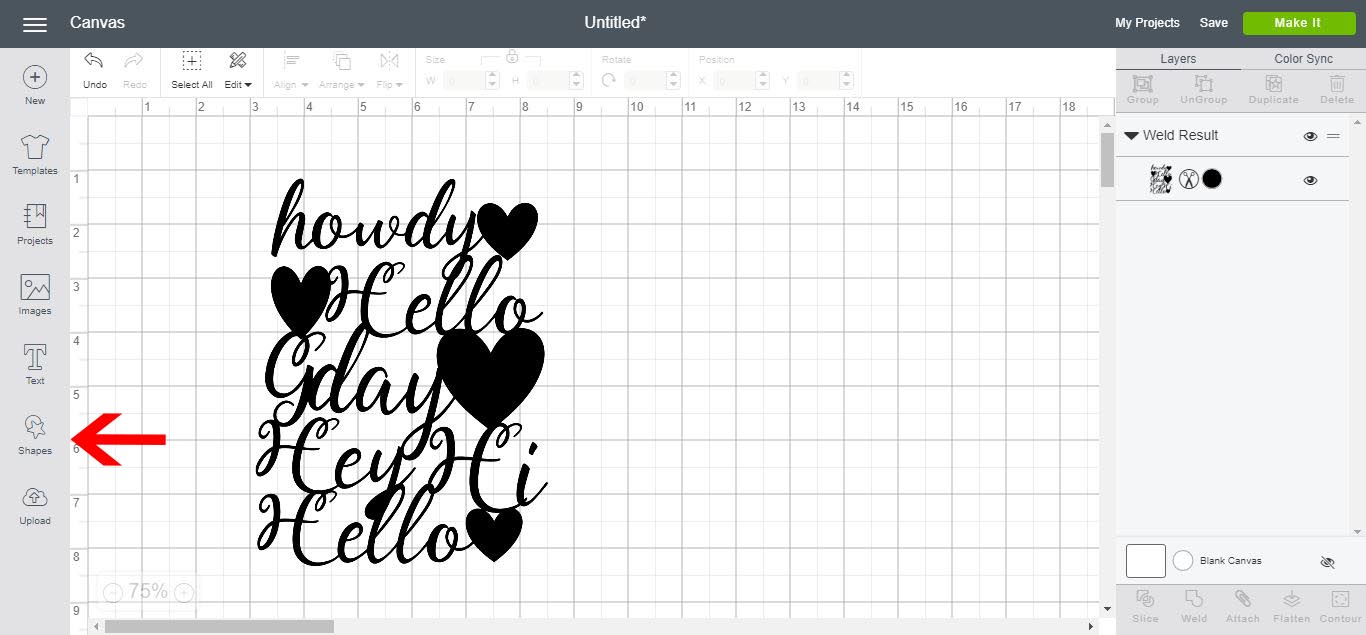
Create a shape to suit your card needs. I am making a 5x7 card so my rectangle is 10 x 7 inches.
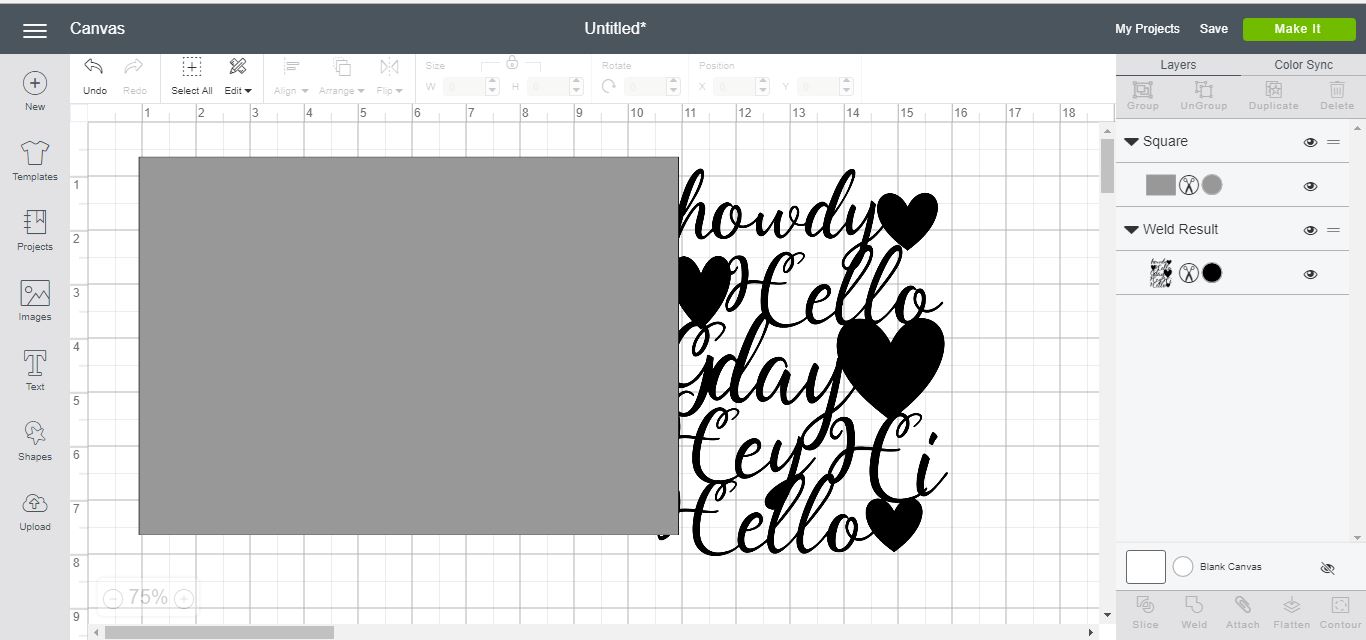
Step 3: Insert a Score Line
Click on the shape icon again and then click on the score line option.

Resize the Score Line
Resize the score line to the same height as your card. Select both the score line and the card base shape and then go to align and align center to make sure the score line is in the middle of your card.
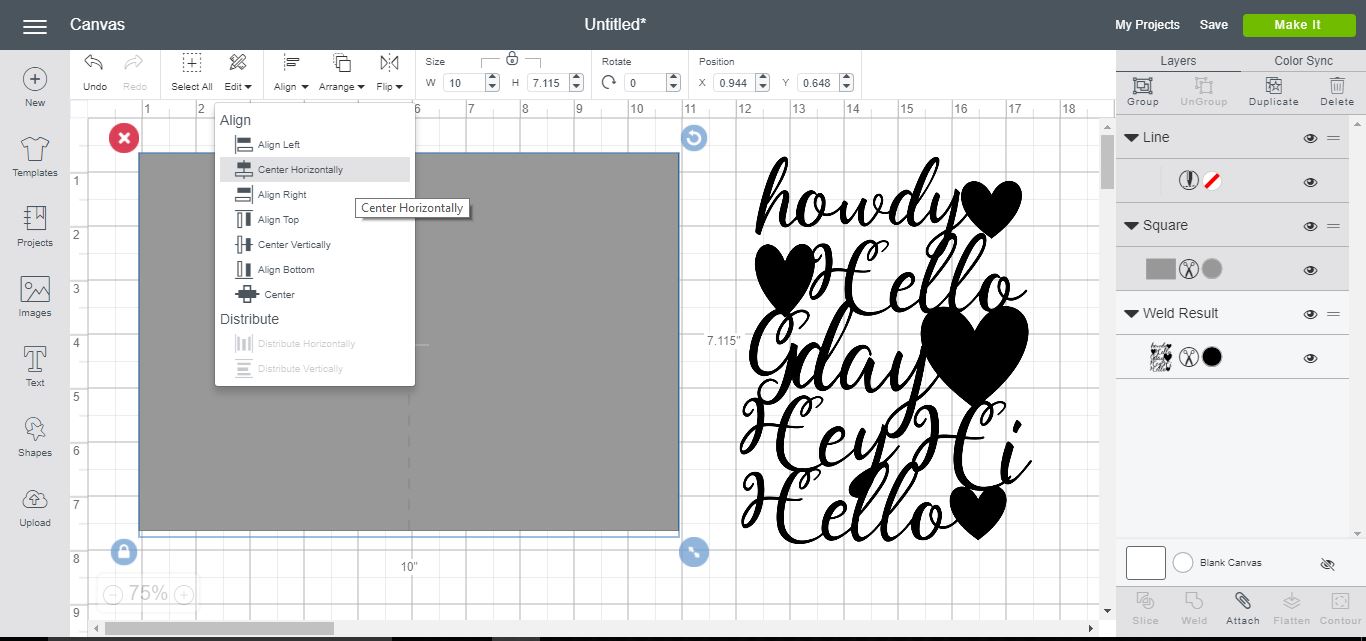
Step 4: Rearrange Your Layers
Place your silhouette image over the right side of the card and move to ensure that it is even around all edges.

Step 5: Create a Second Rectangle
Click on the shape icon.
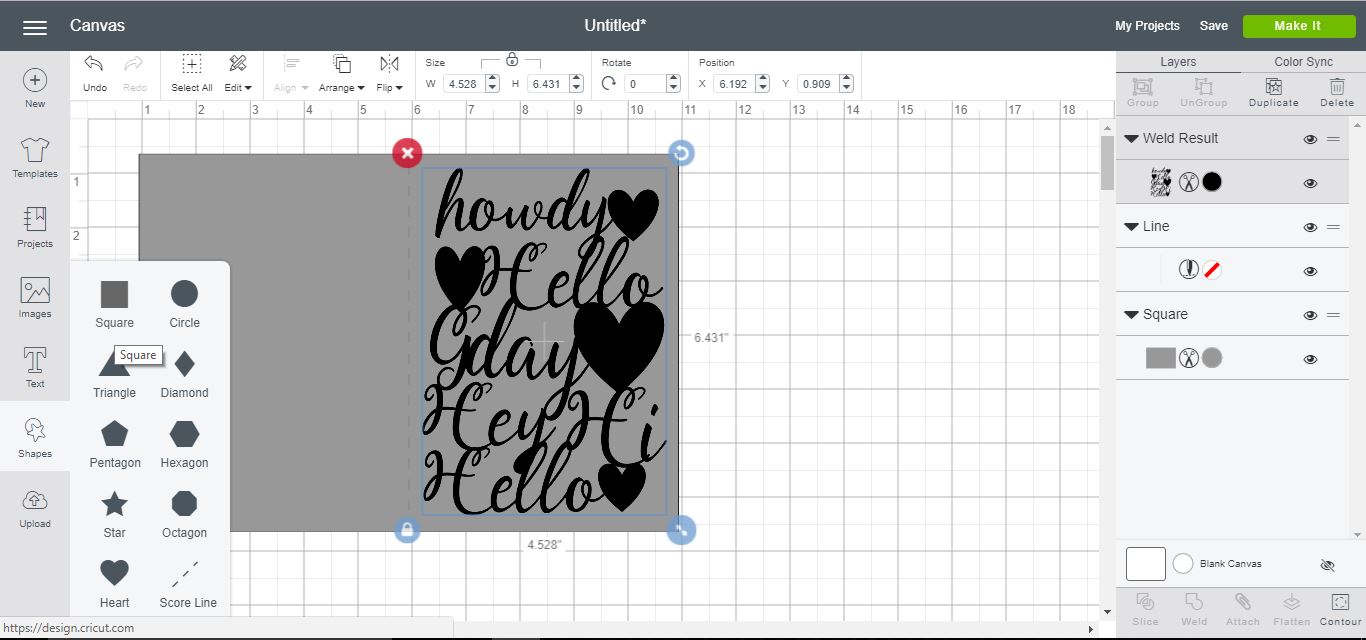
Create another shape to cover your image. Make sure it covers your silhouette image except for a tiny bit of the edges.
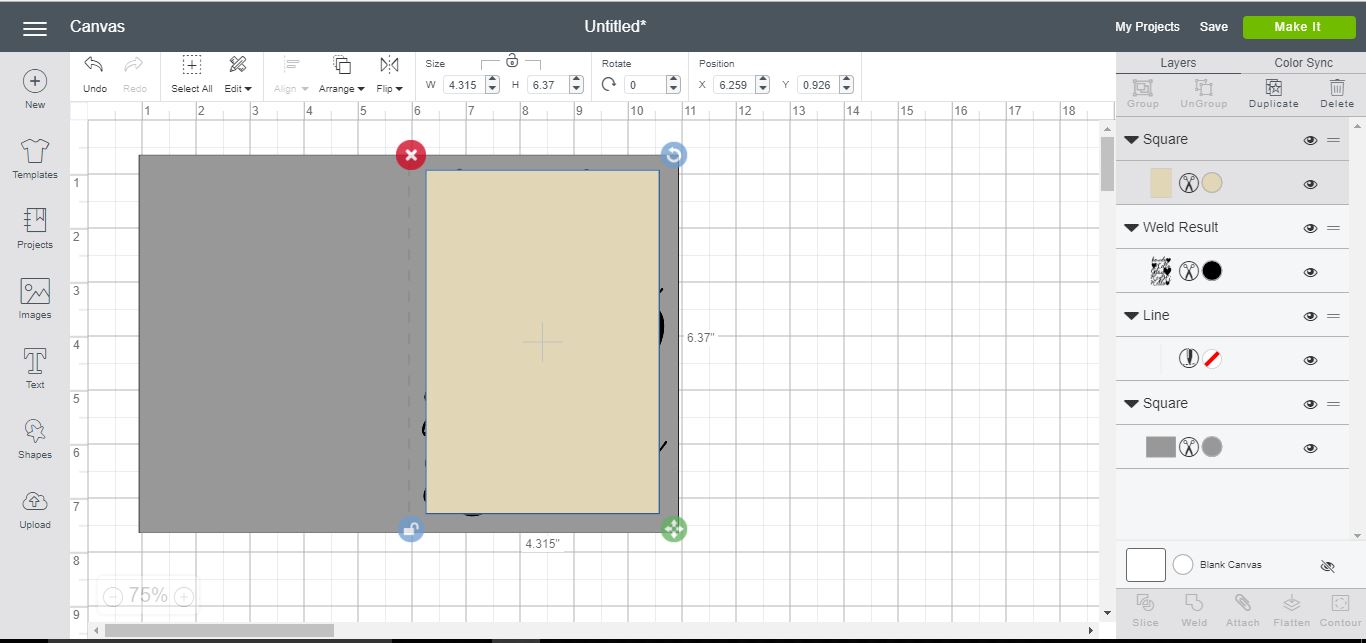
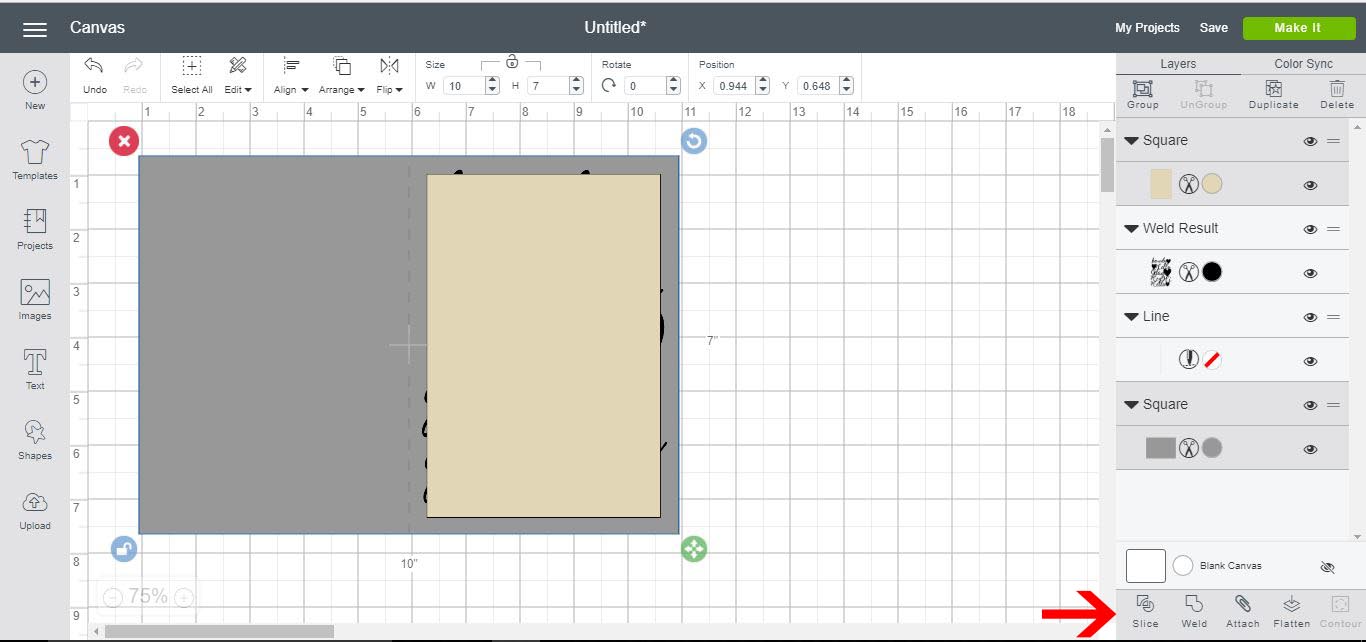
Step 6: Slice Your Design
Select the card shape and the new shape you just made, ensuring you do not select the silhouette image. Then click on Slice.
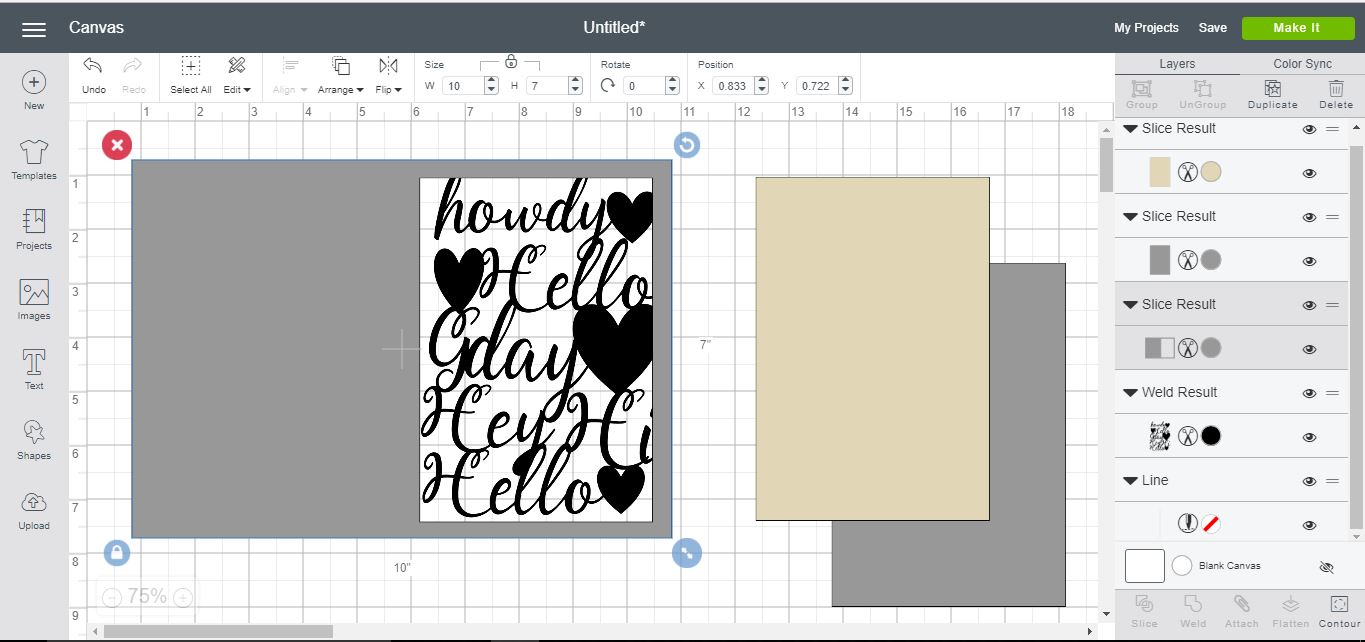
Remove Slice Result
Remove the 2 shapes that have been created. This will create an opening in your card.
Step 7: Weld Your Design
Move the silhouette text over the card ensuing that the edges are overlapping the card aperture. Once they are in the right place select both and click on Weld.
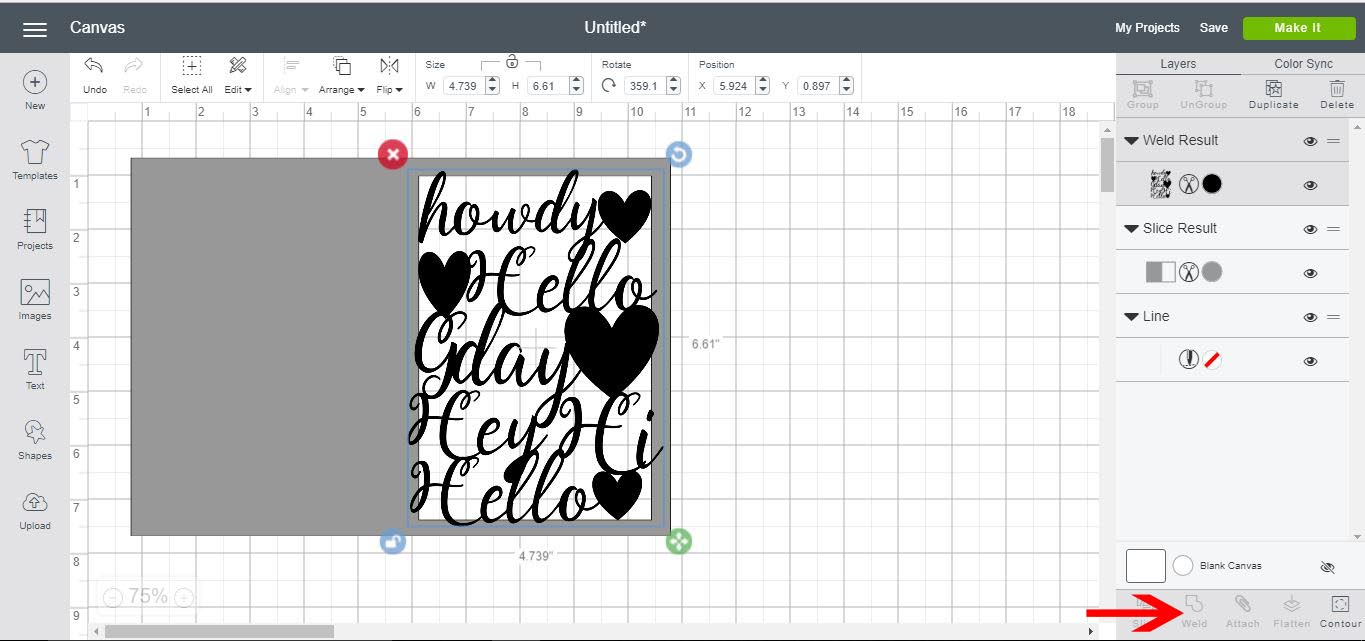
Step 8: Attach Your Design
Your silhouette will now weld with the card to create the silhouette card. Next select both the score line and the card and click Attach.

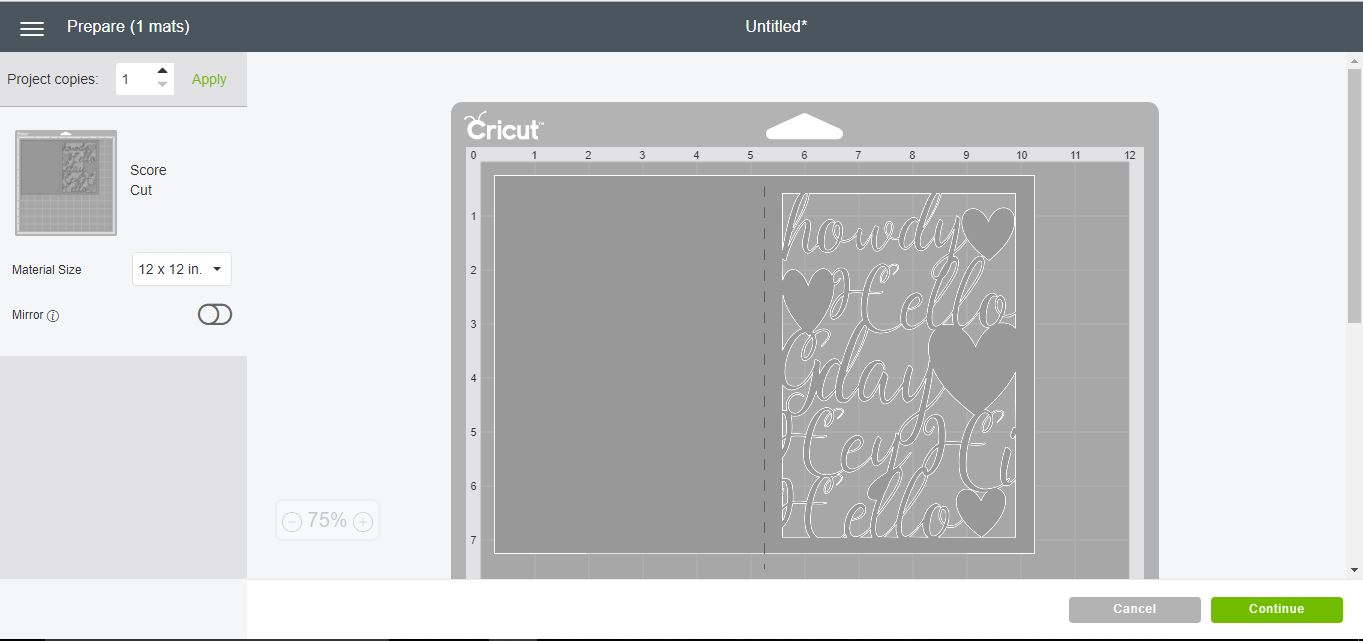
Your score line will now stay in place when you cut your card. Once happy click on make it.
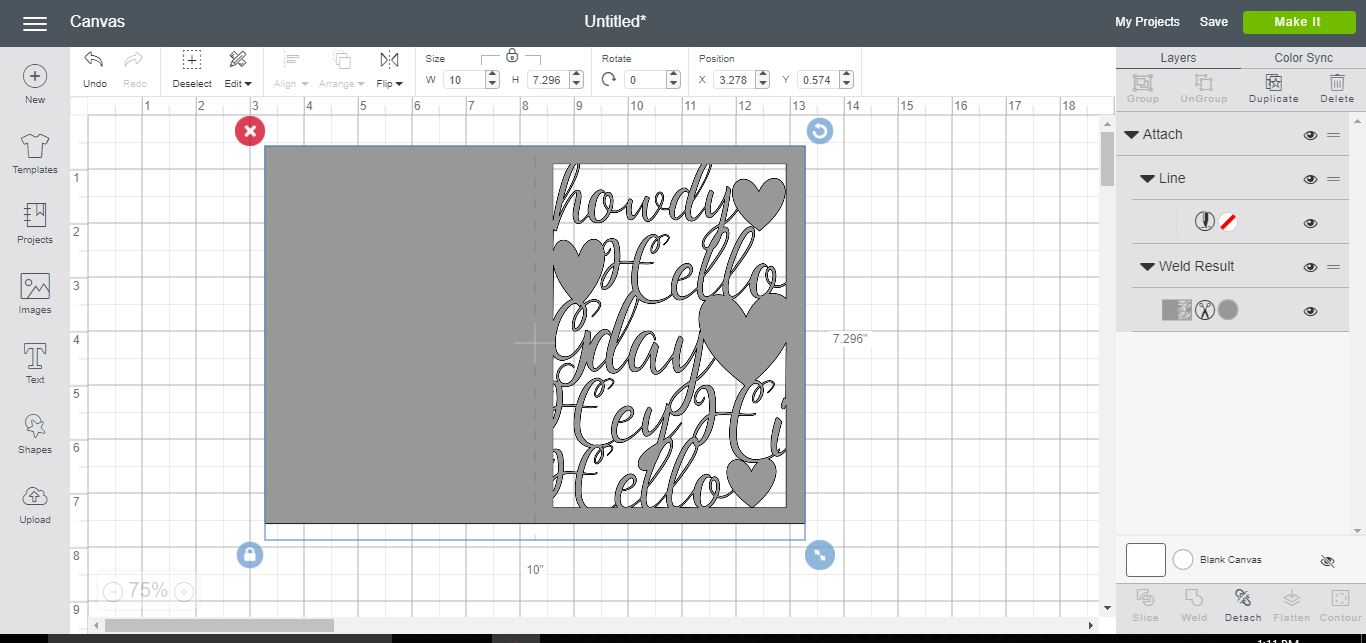
You can see that the card will cut the aperture with the silhouette attached in one part.
We hope you enjoyed this tutorial on how to create a silhouette text card in Cricut Design Space!