By Christine Hattingh
How to Draw a Lion
In today’s beginner drawing guide we are going to show you how to easily draw a lion. With their cat-like features and fluffy manes, we love drawing them. Create cute sublimated baby clothes or wildlife stickers with your animal clipart. Combine your lion art with other elements and create a whole safari theme, perfect for birthday party décor.

For our drawing tutorial, we are using Procreate and these versatile Procreate brushes. You will need sketching, lining, and color mediums for this tutorial. You can use any art medium or digital tool to create your lion illustration. This can be pastels, pencils, poster paint, Procreate, or Photoshop.
Keep your creativity going by drawing more animals. Check out these step-by-step tutorials on how to draw a crab or draw a cow.
Step 1 - Create Sketches of Your Lion Head
Let us begin by creating rough lion sketches. In this step, we are going to create our head shape and add details to the face.
To make your sketches, use a removable medium or one that is light in color.
Sketch the Head and Ears
Create the head shape by roughly sketching a circle. Then, at the top of the head on the left and right sides, add small half circles for the ears.

Add the Lion Mane
Add the mane around the head and ears. We created our mane in a circular shape with a scalloped style line.

Add the Nose and Mouth
From the inner edges of your lion’s ears, draw a curved line towards the center of the head for a forehead. At the end, draw a small triangle with rounded corners for the nose and add two curved lines at the bottom for the mouth. See our example image below.

Add the Eyes and Whiskers
Above the nose, on both sides of the forehead, draw a small oval for the eyes. Then, close to the edges on the left and right side, below the eyes, add three lines to make the whiskers.

Step 2 - Create the Body of your Lion
For the second step, we are going to create the body, legs, and tail. Continue using the sketching medium you used to sketch the head.
Add the Body
Below the head and mane, sketch a small rectangular shape for your lion’s body. Our body is half the height and width of the head.

Add the Legs
On the right side of the body add the two front legs. We drew our front legs as long rounded shapes with a gap between them. Then, we drew the back leg on the bottom left side of the body. See our image below.

Add the Tail
For your last few sketches, draw a long curved rectangle at the rear of your lion for its tail. Add a tail end using the same style that you used to draw mane. Then, draw small circles at the bottom of the front legs and one on the back leg.

Step 3 - Outline your Rough Lion Sketches
To make your lion outlines, use a medium that is dark and permanent. This can be anything from a black lining medium to markers or pens.
Outline the Head
Outline the outer sketch line of the head and ears to create a single shape. Make sure to not line the sketches where the ears and head connect.

Outline the remaining facial details and mane of your lion’s head. Add a small half circle in each ear as we did below.

Outline the Body
Begin by outlining the legs first. Trace the sketch line around each leg including the small circles we added at the ends. This will create a small bend on the two front legs to create paws.

Trace the remaining rough sketches of the body and tail. When you are done creating your outlines, erase or remove the remaining sketch lines that you did not trace.

Step 4 - Add Color to Your Lion
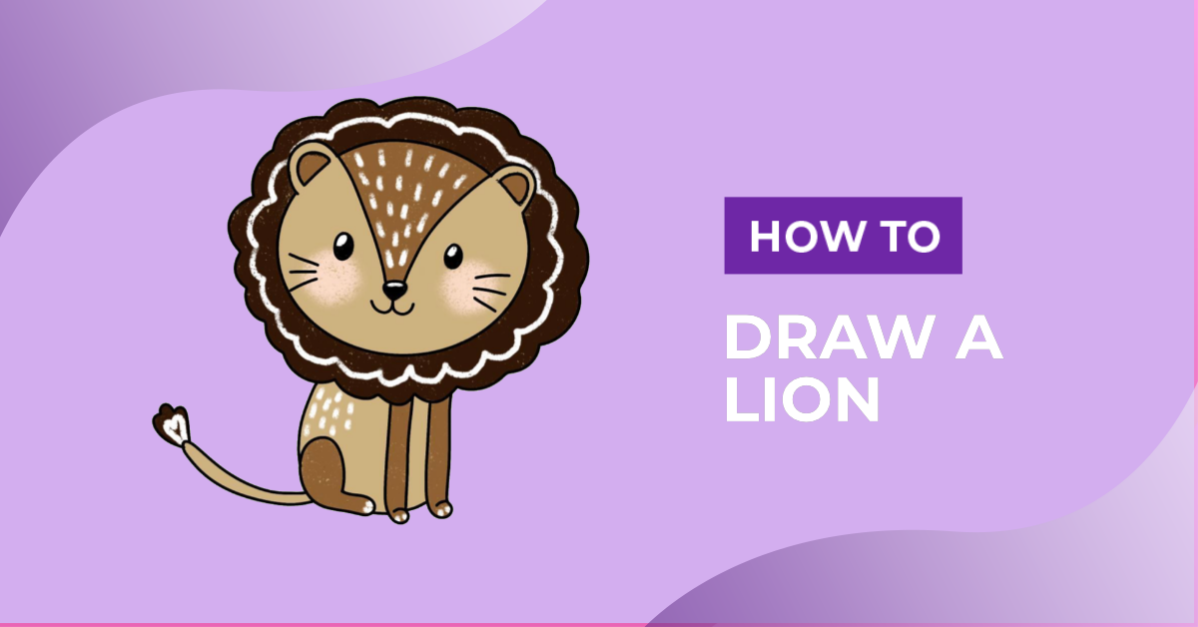
In the fourth and final step, add color to your lion and extra details to finish your animal drawing. For your lion color palette, use different shades of brown for the head, body, and mane. With white, add patterns and detailing to your lion’s mane, forehead, and body.

Your lion clipart looks great! You can create a pride of lions with male and females, including cubs.
We have a great idea for you! Why not create a mandala in DesignScape to use as a design for your mane? If you’re not a Plus Member yet, check out the FREE 30-day Gold Membership trial today!