By Design Bundles
Chalkboard in Illustrator
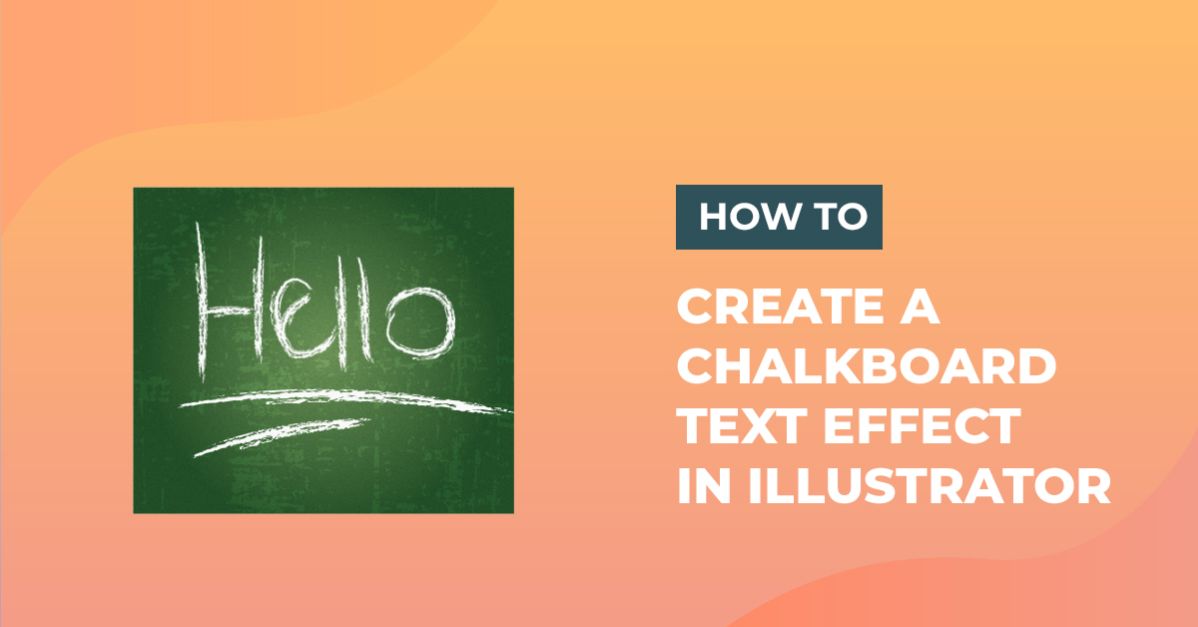
Learn how to make a chalkboard background and text effect in Illustrator.
For this tutorial, we will use some Free Vector Grunge Textures.
1 - In Illustrator, create a “New Document”.

2 - Select the “Rectangle Tool” (M) and make a rectangle that covers all your document. Fill it with a “Radial Gradient” using two shades of green, one lighter and one darker. (we used # 7d9a63 and # 31512d).


3 - In the “Appearance Panel” click the “Add New Fill” button on the bottom-left and use a medium gray as “Fill” color.


4 - Click on the “Effects Menu” at the bottom of the “Appearance Panel”, choose Texture > Grain and apply the following values:


5 - Making sure you have your “Gray Fill” selected, click on the little arrow to its left to display its settings and click on “Opacity” to open the “Transparency Panel”. Change the “Blending Mode” to “Multiply” and lower the “Opacity” to 40%.

6 - Open the “Free Vector Grunge Texture” file you chose, “Copy” (Command/Control + C) and “Paste” (Command/Control +V) it on top of your document. Resize the vector to make it fit and open the “Transparency Panel” to change the “Blending Mode” to “Overlay” and lower the “Opacity” to 20%.


7 - In the “Brushes Panel” click the “New Brush” button at the bottom. Choose “Bristle Brush”, click “OK” and use the following values in the “Options” Window.


8 - Choose the “Paintbrush Tool” (B) from the “Toolbar”, make sure your newly created brush is selected and that White is your “Stroke” color and paint some messy lines on top of your document to make it look like its chalk stained.


9 - Lock the Layer by clicking on the left side of its thumbnail to invoke the small padlock, then, create a “New Layer” by clicking on the small button at the bottom of the “Layers Panel”.


10 - On the “Brushes Panel” click on the “Menu” icon on the top-right and go to Open Brush Library > Artistic > Artistic_CharcoalPencil. Check out the brushes from “Panel Window” that you opened and choose the one you prefer to draw some shapes or letter on your “Chalkboard”. Lower the “Opacity” of your paths a bit.


11 - Select the “Type Tool” (T), type some text and choose “None” as “Fill” color.


12 - Then, go to the “Appearance Panel”, click on the “New Stroke” button at the bottom and use one of the “Artistic Brushes” to create the outline of your text. Add a “New Fill”, use white, change the “Blending Mode” to “Overlay” and lower the “Opacity” to 40%.


13 - Your Artwork should look similar to this.

1 - In Illustrator, create a “New Document”.
2 - Select the “Rectangle Tool” (M) and make a rectangle that covers all your document. Fill it with a “Radial Gradient” using two shades of green, one lighter and one darker. (we used # 7d9a63 and # 31512d).
3 - In the “Appearance Panel” click the “Add New Fill” button on the bottom-left and use a medium gray as “Fill” color.
4 - Click on the “Effects Menu” at the bottom of the “Appearance Panel”, choose Texture > Grain and apply the following values:
5 - Making sure you have your “Gray Fill” selected, click on the little arrow to its left to display its settings and click on “Opacity” to open the “Transparency Panel”. Change the “Blending Mode” to “Multiply” and lower the “Opacity” to 40%.
6 - Open the “Free Vector Grunge Texture” file you chose, “Copy” (Command/Control + C) and “Paste” (Command/Control +V) it on top of your document. Resize the vector to make it fit and open the “Transparency Panel” to change the “Blending Mode” to “Overlay” and lower the “Opacity” to 20%.
7 - In the “Brushes Panel” click the “New Brush” button at the bottom. Choose “Bristle Brush”, click “OK” and use the following values in the “Options” Window.
8 - Choose the “Paintbrush Tool” (B) from the “Toolbar”, make sure your newly created brush is selected and that White is your “Stroke” color and paint some messy lines on top of your document to make it look like its chalk stained.
9 - Lock the Layer by clicking on the left side of its thumbnail to invoke the small padlock, then, create a “New Layer” by clicking on the small button at the bottom of the “Layers Panel”.
10 - On the “Brushes Panel” click on the “Menu” icon on the top-right and go to Open Brush Library > Artistic > Artistic_CharcoalPencil. Check out the brushes from “Panel Window” that you opened and choose the one you prefer to draw some shapes or letter on your “Chalkboard”. Lower the “Opacity” of your paths a bit.
11 - Select the “Type Tool” (T), type some text and choose “None” as “Fill” color.
12 - Then, go to the “Appearance Panel”, click on the “New Stroke” button at the bottom and use one of the “Artistic Brushes” to create the outline of your text. Add a “New Fill”, use white, change the “Blending Mode” to “Overlay” and lower the “Opacity” to 40%.
13 - Your Artwork should look similar to this.
by @lornacane
Related Tutorials
Illustrator Tutorials
How to Make a Wavy Line in Illustrator
In this tutorial learn a super quick and easy way to draw a wavy line in Adobe Illustrator.
Illustrator Tutorials
How to Create SVGs in Adobe Illustrator
In this tutorial, learn how to create and save a SVG in Adobe Illustrator.
Illustrator Tutorials
How to resize an image without losing quality in Adobe Illustrator
Learn how to resize an image without losing quality in Ai.
Illustrator Tutorials
How to Create a Transparent Gradient in Illustrator
Learn how to create a transparent gradient in Adobe Illustrator with this step by step tutorial.
Illustrator Tutorials
How to Add Texture in Illustrator
In this tutorial we will show you how to add texture in Adobe Illustrator by using layer masks.
Illustrator Tutorials
Wood Texture in Illustrator
Learn how to make a wood texture in Illustrator with this tutorial.