By Design Bundles
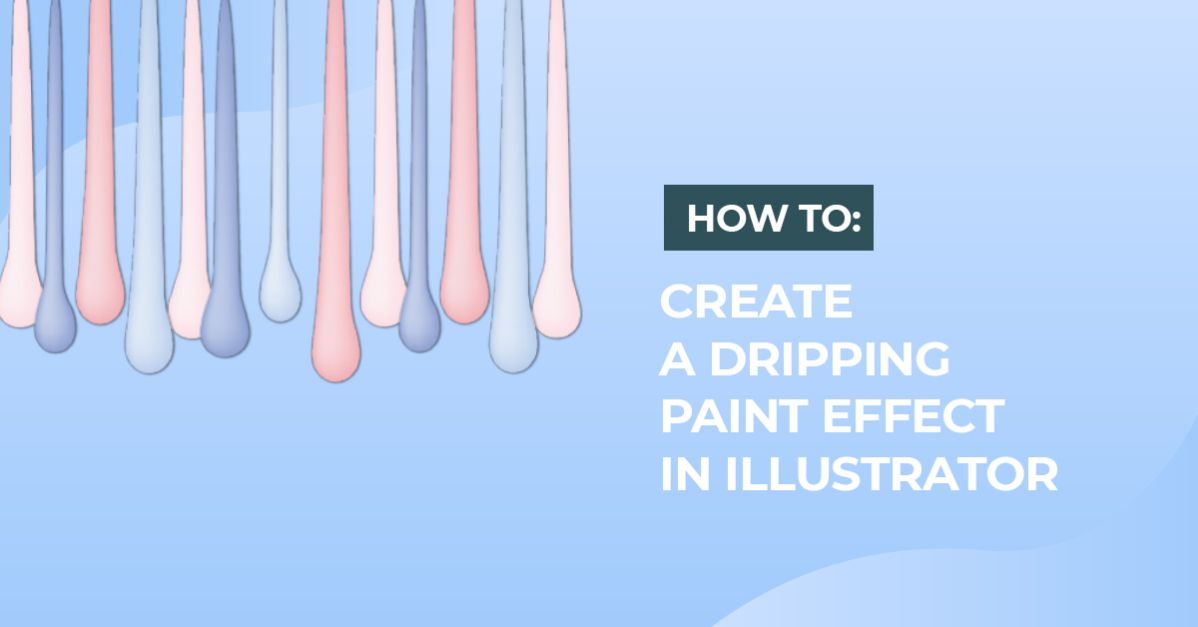
Dripping Paint in Illustrator
1 - In Illustrator, create a “New Document”.

2 - Select the “Rectangle Tool” (M), draw a rectangle that covers all your document and fill it with a “Gradient”. Ours is a “Linear” Gradient from White to 20% Black with a -90° Angle.


3 - Lock your layer by clicking on the left side of its thumbnail in the “Layers Panel” and bringing out the small padlock icon and then create a “New Layer” by clicking on the button the bottom of the Pane.


4 - Select the “Ellipse Tool” (L) and while holding the “Shift” draw a small circle, “Fill” it with the color of your choice and give it No “Stroke”.


5 - Select the “Direct Selection Tool” (A) and click on the top “Anchor Point” of your circle. Pull it all the way up until you reach the outside of your document. Use the “Shift” key while pulling to move in a straight line.

6 - Select the “Add Anchor Point Tool” (+) and click on the sides of your Path to add “Anchor Points” at about one third of your Path’s “Height”, then use the “Direct Selection Tool” (A) to select each one and move them towards the center of the shape to slim it and make a drop. You can adjust the handles to smooth out the curve.


7 - Select The “Mesh Tool” (U) and click on a spot near the top-center of your drop (the more rounded portion”. Go to the “Colors Panel” and move the levers to get a lighter color and give your drop a “Highlight” effect.


8 - Go to the “Appearance Panel”, click the “Effects” drop-down menu and navigate to Stylize > Drop Shadow. Use the following values:


9 - Hold the “Alt/Option” and “Shift” keys and drag your shape to one side to duplicate it. Then, making sure your duplicate is selected, click on the “Recolor Artwork” button on the top menu, go to the “Edit” Tab, make sure the “Link Harmony Colors” is selected and move the dot in the “Color Wheel” to select another color.


10 - Change the shape of your Paths a bit to make them different from each other.

11 - You can select several “Drops” and duplicate them. Then you can use the “Reflect Tool” (O) to reflect them and change the design more. Change the colors and position of some “Drops” then “Duplicate” them as many times as needed to cover your page.


12 - Once you have covered the length of your document, select all your “Paint Drops” and “Group” them together (Command/Control + G). Draw a rectangle shape with no “Fill” and “Stroke” on top of your document, then select both and go to Object > Clipping Mask > Make (Command/Control + 7).


13 - Check out your Artwork.

Don't that look awesome? You can use your design for backgrounds and borders to give a unique look.