By Kia Lor
How to Create a Kawaii Milk in Illustrator
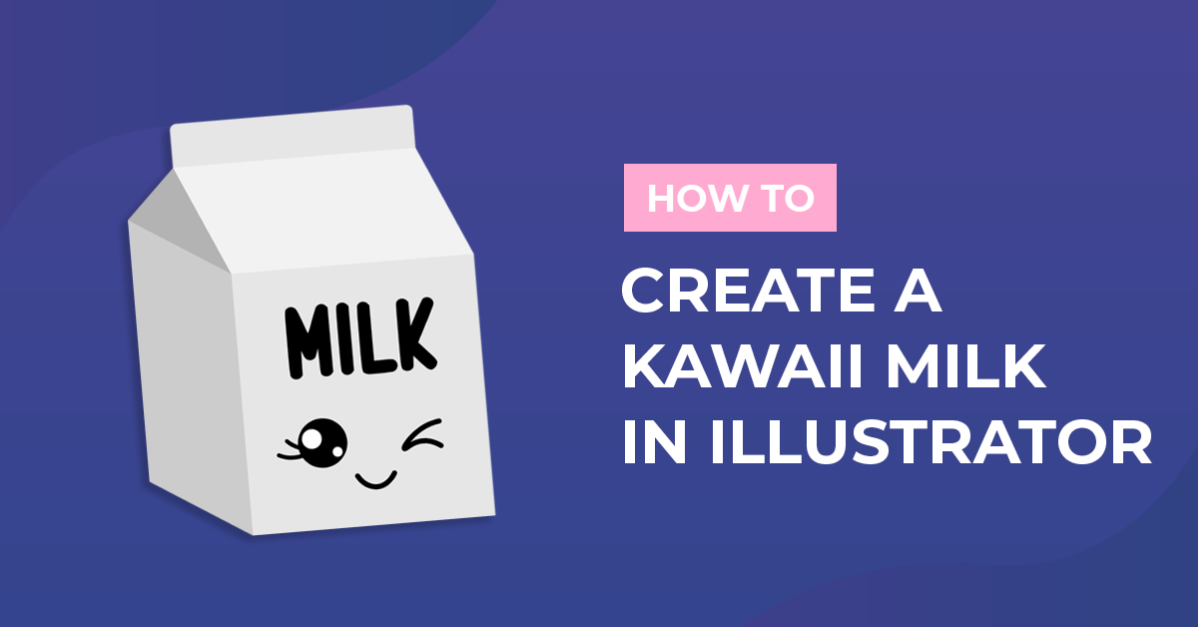
Who doesn’t like cute things?! In this tutorial, we’ll show you how to create a kawaii milk in Illustrator. It’s so easy that anyone can do it. Once your design is complete, you can use it to make stickers (like the one shown below), apply it to a shirt or bag using sublimation or HTV, make a card with it, and so much more!

We also have some premade kawaii milk designs if you’d like to take that route instead of creating your own.
Step 1- Prepare Your New Document
Reset Fill and Stroke Colors
Click the Default Fill and Stroke icon to reset the fill and stroke colors.

Enable Smart Guides
Click on View > Smart Guides.

Step 2 - Make Milk Carton Shape
Front Facing Side
Select the Rectangle Tool (M). Then click + drag on the canvas to make a rectangle for the front-facing side of the milk carton.

Right Facing Side
Duplicate the rectangle and place it to the right of the first rectangle with their sides touching. You can do this by holding down Alt + Shift, then click + dragging the first rectangle to the right until the side edges are touching/overlapping. We have a guide on how to quickly duplicate objects in Illustrator if you'd like to read up more on that.

Click the Direct Selection Tool (A) in the left toolbar and select the two anchor points on the right side of the new rectangle. Then click on one of those anchor points and drag the selected anchor points up and to the left to create the right side of the milk carton.

Top Angled Front Side
Now duplicate the first rectangle again, but place it at the top of the first rectangle. With the Direct Selection Tool (A), select the top two anchor points of the new rectangle and move the points down and to the right until the right anchor point lines up with the center of the right facing side. See the following image for a better understanding.

Top Flap
Duplicate the first rectangle again, but this time, place the new rectangle at the top touching the top angled front side. Then make the new rectangle shorter using the Selection Tool (V).

Inner Fold Area
To create the triangular inner fold area, select the Polygon Tool and click on the canvas.

Enter 3 for the Sides option in the Polygon dialog and click OK.

Then with the Direct Selection Tool (A), click + move each point of the triangle to fit the shape in between the other shapes of the milk carton. The bottom of the triangle should be touching the right facing side.

Step 3 - Edit Milk Carton Colors
Now we’ll select each shape and change its fill color. You can make the kawaii milk any color you want, but if you'd like to follow how we did it, the top angled front side is the lightest shade, while the inner fold area is the darkest. The top flap and the front side are the same color and are also of the second lightest shade. Lastly, the right facing side will be the third lightest shade. The colors/shades are shown in the image below.

Step 4 - Add a Kawaii Face to the Milk Carton
Follow our tutorial on how to make kawaii faces in Illustrator to create a kawaii face for your milk carton. You can put it anywhere on the front facing side. We chose to place it towards the bottom.

Step 5 - Add ‘Milk’ Text (Optional)
Select the Type Tool (T) and click outside of the milk carton shapes to type ‘MILK.’ Select the text with the Selection Tool (V), and edit the font/text settings in either the Control panel at the top or the Character panel (Window > Type > Character).

Then click + drag the text onto the milk carton and adjust the size using the handles on the bounding box. Hold Shift while scaling to keep the proportions of the text. Your kawaii milk is complete! 
This tutorial was so fun! We hope you enjoyed following along and continue making kawaii designs.