By Design Bundles
How to Make a Split Monogram in Illustrator
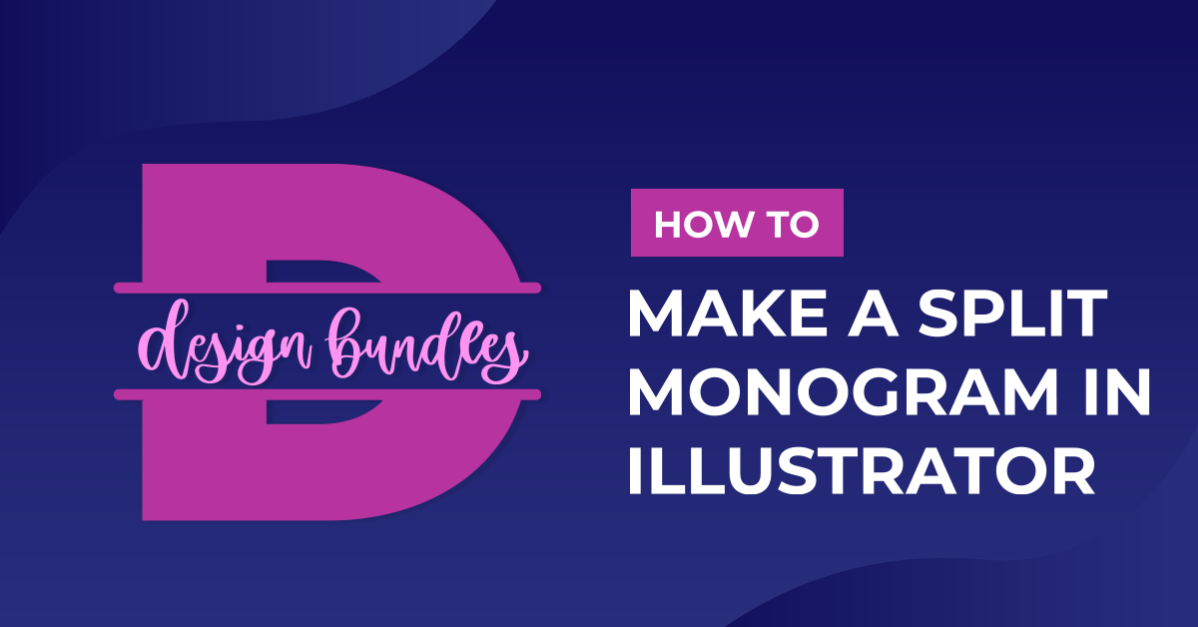
In this tutorial you will learn how to design the groundwork of a split monogram in Illustrator. Split monograms can incorporate many different design elements that represent various styles and personalities. This makes them great for creating personalized projects for friends and family.
In this tutorial we are going to make a split monogram in Illustrator, by using a Wild Mango font and the shape builder tool.
Step 1 - Create your main letter
Create your new document, then select the Type Tool from your left toolbar and click into your artboard. This will put text into a text box. You can then use the Character panel that appears to select your font. I am using the Wild Mango font, but there are tons of other great modern serif fonts available.

Choose your font and type the main letter that you want to split for the monogram. Some fonts will also offer additional glyphs that you might like to use. You can find these by selecting Type > Glyphs.

To replace the letter with a glyph, highlight the letter on the artboard and select a glyph. I am going to use the ‘D’ with the additional curly serif.
When you are happy with this letter, select it, then select Type > Create Outlines. This will convert your text to a shape.

Step 2 - Type text for center of the split monogram
Use the Type tool again to create your text for the center of the split monogram. I will change the color using the appearance panel that shows on your right toolbar.
This will make it easier to see for the next step. Now, position your text in the center of your letter. You can rescale by holding shift and selecting one of the corner nodes and dragging.

Step 3 - Split letter using the shape builder tool
Next, use the Pen tool from the left toolbar to draw a vertical line across the top and bottom of your text. Hold shift to create a straight line.
Be sure to check that you have a stroke color selected from your Stroke panel in the left toolbar. You can click the arrows next to the Fill and Stroke panel to change to the Stroke color.

Now, select your main letter and the 2 lines you have just drawn. Then select the Shape Builder Tool from your left toolbar. As you hover your cursor over the middle section you want to delete, you will notice it turns grey.
Hold down Option on your keyboard when you are in this area, a minus symbol will appear next to your cursor.

When you click, it will remove the unwanted area between the two lines you have drawn.

Step 4 - Outline and unite your design
You have now created your split monogram. To finish the design, outline all of your text by selecting it and then selecting Type > Create Outlines. Next, outline your two lines by selecting them and selecting Object > Path > Outline Stroke.

Highlight your whole design and open your Pathfinder panel by selecting Window > Pathfinder.

Then select Unite, this will unite all your elements to form one shape. We have an excellent and detailed tutorial on the Pathfinder tool for you to follow.

You can now use the Fill menu to change it to your desired color.


If you liked this tutorial make sure to check out our other tutorials like how to create SVGs in Illustrator, and how to make wavy text in Illustrator.