By Design Bundles
Label and Badge Templates in Illustrator
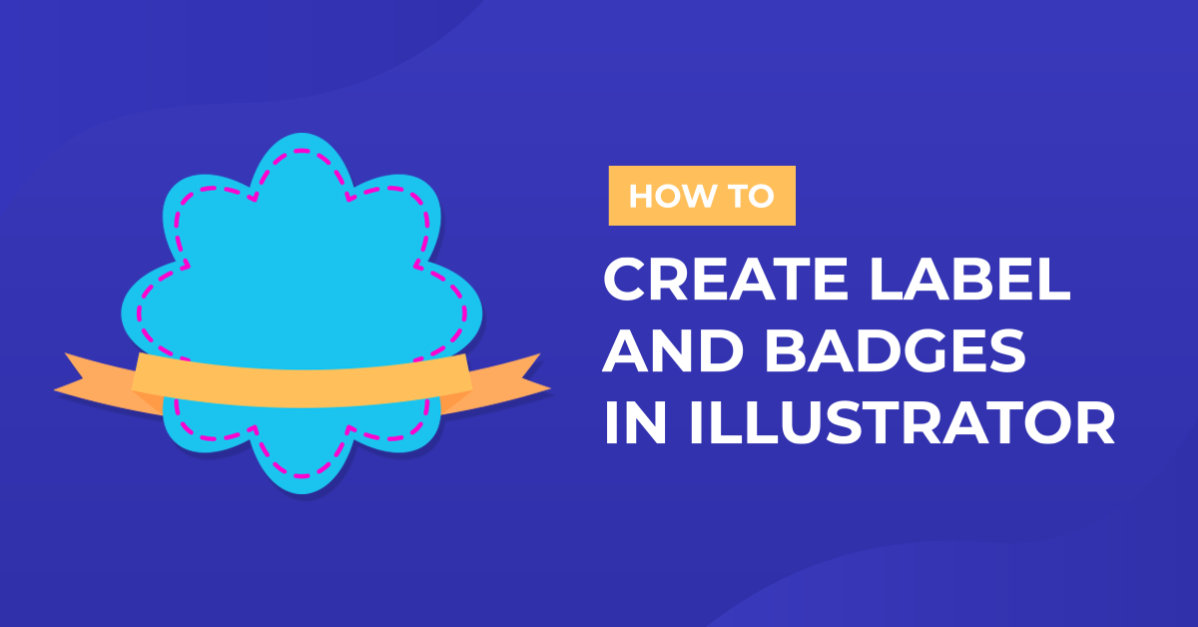
1 - In Illustrator, create a “New Document” or open the one used for the Banner, Label Templates in Illustrator tutorial.Select the “Polygon Tool”, click inside your canvas, and create a 5 px (Radius) “Polygon” with 20 Sides. Fill it with the color of your choice (we used Orange from the “Swatches Panel”).


2 - With it still selected, head to the “Pathfinder Panel”, click on the “Effects” button at the bottom of the Panel and choose Distort & Transform > Pucker & Bloat. Use a 10% value and click “OK”.


3 - Click on the “Add New Stroke” button at the bottom of the “Appearance Panel” and add a 1 px White “Stroke” around the “Polygon”. In the “Stroke Panel”, check the “Dashed Line” box and add a 4 px “Dash”.


4 - Then, still in the “Pathfinder Panel” and with the ”Stroke” selected, click on the “Effects” button at the bottom of the Panel and choose Path > Offset Path. Use a 10% value and click “OK”. Use an “Offset” of -0.2 cm, “Round Joins” and a “Miter Limit” of 4.


5 - Now, select the “Ellipse Tool” (L), click inside you Canvas and create a 5 cm (Width) by 5 cm (Height) “Circle”. Fill it with the color of your choice (we used a Medium Green from the “Swatches Panel”).


6 - Select the “Ellipse Tool” (L) again, click inside you Canvas and create a 7.5 cm (Width) by 7.5 cm (Height) “Circle”. Fill it with the same color you used for the first “Polygon” (Orange).


7 - Place the “Circle” centered on top of the “Polygon” and give it a 2 px “Stroke”, use a Medium Green to color it and In the “Stroke Panel”, check the “Dashed Line” box and add a 4 px “Dash”.


8 - Select your first “Circle” (the Medium Green colored one) and head to the “Appearance Panel”. Click on the “Effects” button at the bottom of the Panel and choose Distort & Transform > Zig Zag. Make the “Size” 0.15 cm, check the “Absolute” radio button, use 10 “Ridges per Segment” and “Corner Points”.


9 - You can mix and match the different “Banners”, “Badges” and “Ribbons” to your liking.