By Design Bundles
Transparent Sphere in Illustrator
1 - In Illustrator, create a “New Document”.

2 - If your “Page Rulers” are not active, go to View > Rulers > Show Rulers (Command/Control + R) to bring them out. Select the “Rectangle Tool” and create a rectangle that covers the entire “Canvas”.


3 -Fill the Rectangle with a “Linear Gradient” from White to Black, with a -90° “Angle”. Change the Black fill to 50% K. Lock it by going to Object > Lock > Selection (Command/Control + “).


4 - Use the “Ellipse Tool” (E), click inside the “Canvas” and create a 10 cm by 10 cm “Circular” shape.


5 - Center it using the “Horizontal and Vertical Align Center” options on your Top Menu and make sure that “Align to Artboard” is selected. Or use the same options in the “Align Panel”.

6 - Change the “Fill” to White and the “Opacity” to 20%. You can do this in the Top Menu or in the “Transparency Panel”.


7 - With the “Circle” still selected use the “Mesh Tool” (U) to add some “Mesh Points” at about 5 mm inside the “Anchor Points” placed on the “Left” and “Right” sides of the circle.


8 - Now, add some “Mesh Points” at about 5 mm inside the “Anchor Points” placed on the “Top” and “Bottom” sides of the circle. Finish up by adding one more “Mesh Point” at about 1 cm from the “Left” and from the “Top” and one at the same distance, but from the “Bottom” and “Right”.


9 - Use the “Direct Selection Tool” (A) to select some “Anchor Points” from the first inner circle (Left, top, right and bottom) and a couple from the second inner circle (Top-Right and Bottom-Left). Use the “Shift” key” to do this, then change their “Fill” color to Black (100% K).


10 - Show the contents of the “Layer” by clicking the small arrow on the left side of its Thumbnail and “Duplicate” the “Mesh” by dragging it to the “Create New Layer” button at the bottom of the “Layers Panel”. Rotate the “Duplicate” about 45°.


11 - Select the original “Mesh” Layer (it should be between the “Duplicate” and the “Rectangle” and change the “Opacity” to 30%.

12 - Select one of the Top-Left “Mesh Points” of the first inner circle using the “Direct Selection Tool” (A) and change the “Fill” to a “Medium Blue” (we used#0f89aa). Use the same color in one of the Top-Right, and Bottom “Mesh Points”.


13 - Now, select some “Mesh Points” in the Top - Left second inner circle and fill them with some Violet (we used #cfa3d1).


14 - Use the “Ellipse Tool” (E), click inside the “Canvas” and create a 10 cm by 10 cm “Circular” shape. Fill it with White.


15 - Create a “Duplicate” by holding the “Shift” and “Option/Alt” keys while dragging it down. You should leave a gap of around 8 mm from the top of the original circle to the top of the duplicate.

16 - “Select both circles, head to the “Pathfinder Panel” and choose “Minus Front” to get rid of the overlapping parts. You should end up with a “Crescent Moon” shape on top.


17 - Fill the shape with a Dark Blue (we used one from the “Swatches Panel”). Resize it to fit inside proportionally by holding the “Shift” key while doing it and place it inside the “Sphere” leaving a couple of millimeters from the Top.


18 - With the shape still selected, head to the “Appearance Panel”, click on the “Effects” Menu at the bottom and navigate to Blur > Gaussian Blur. Use an 8 Pixels “Radius” and click “OK”. Then, lower the “Opacity” to 16 %.


19 - Use the “Ellipse Tool” (E), to create an “Oval” shape on the Top - Left side of the “Sphere”. Fill it with White and “Rotate” it about 45 ° to the left so it looks like a light reflection. Use the “Direct Selection Tool” (A) to modify the “Oval” top and bottom “Anchor Points” and make the reflection look more realistic.


20 - Go to Effects > Apply Gaussian Blur (Shift + Command/Control + E) to apply the last filter used. Do this two times. Click “Apply New Effect” in the “Pop Up Window” and change the “Opacity” to 70%.


21 - Create a “Duplicate” by holding the “Shift” and “Option/Alt” keys while dragging it diagonally down and right and “Rotate” the duplicate to make it “Specular”. Reduce its size to about half the size and its “Opacity” to 48%.


22 - Create another “Mesh” Duplicate, drag it down so the Top side touches the Bottom of the “Sphere”. Then, deform it to create an “Oval” Reflection.

23 - With the “Oval” Shadow path still selected, head to the “Transparency Panel”, click on the “Make Mask” button. Then, select the “Mask” Thumbnail, create a “Rectangular” Shape covering the “Shadow” and Fill it with a “Linear Gradient” from Black to White @ a 90° Angle. This should make the lower portion of the “Shadow” fade away.


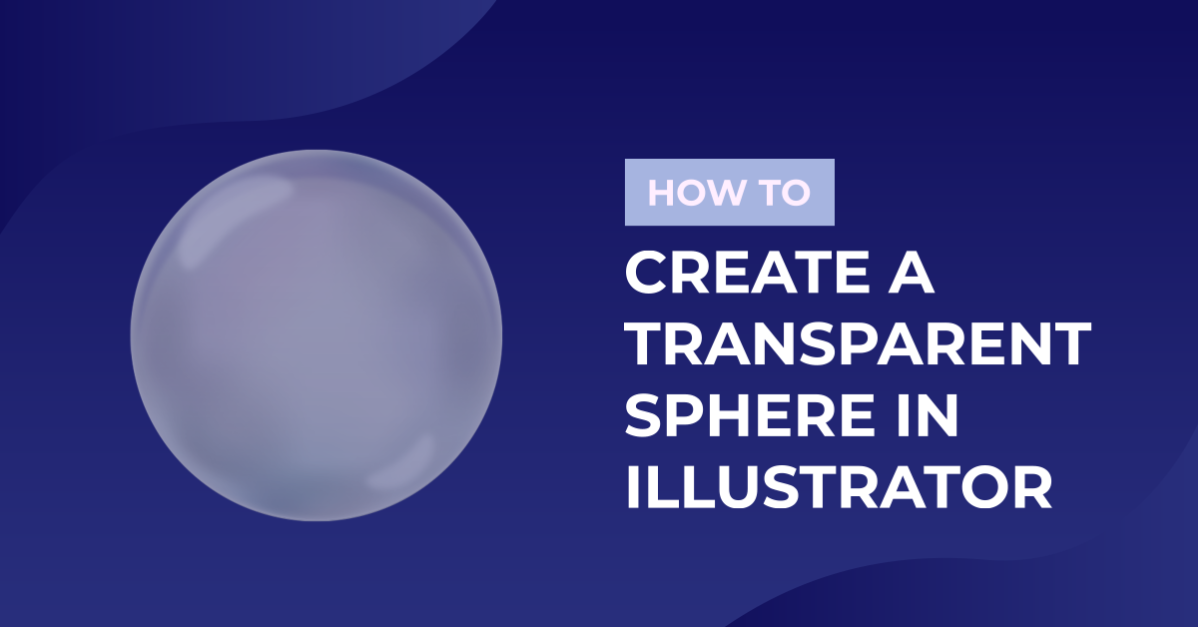
24 - Check out your Artwork!

Great job on creating a transparent sphere in Illustrator.