By Design Bundles
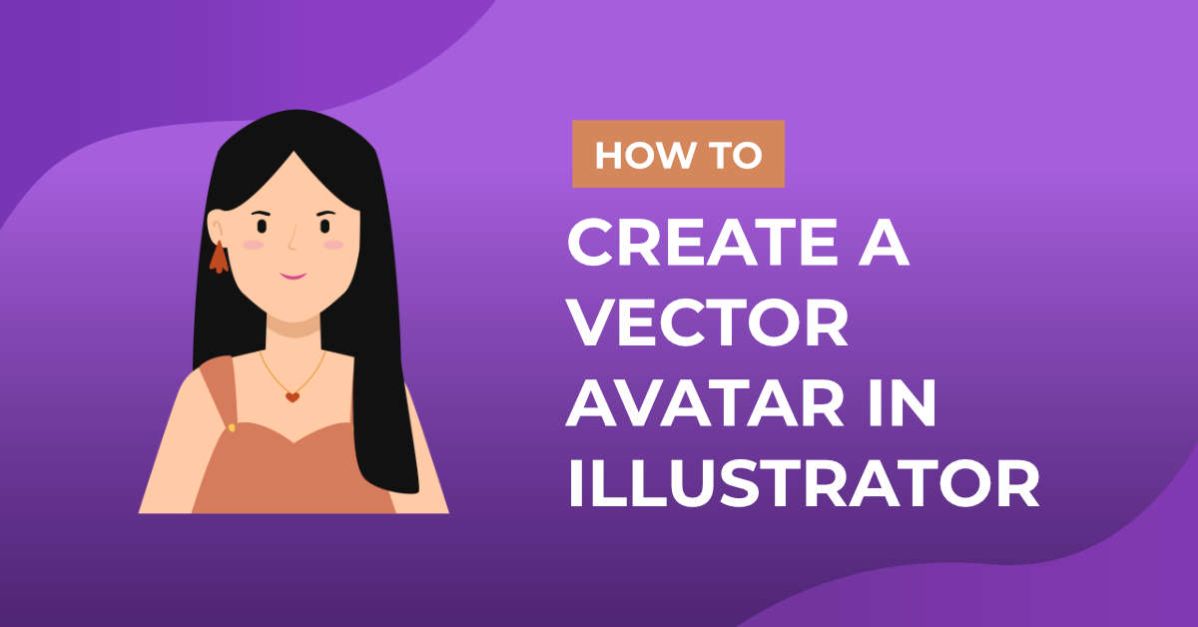
Vector Avatar in Illustrator
For this tutorial, you will need an image or portrait to work with.
1 - In Illustrator, create a “New Document”.

2 - Go to File > Place and navigate to where the image you wish to use is stored. Select it and click “Place”. Resize it if needed.


3 - Lock this Layer by clicking to the left of its thumbnail and bringing out the small Padlock icon. Then, “Create New Layer” by clicking on the button at the bottom of the “Layers Panel”.


4 - Select the “Pen Tool” (P), choose a contrasting color for the “Stroke” and no “Fill”. Start creating outlines of the different parts of your image. Leave some overlapping space where two different Paths meet so you won’t end up with white empty portions.


5 - Keep going and create Paths of all the details too (eyes, eyebrows, nostrils, etc.).You can also use the “Ellipse Tool” (O) to create the eyes.


6 - Select the “Eyedropper Tool” (I). In the “Layers Panel” click on the small arrow to the right of your “Thumbnail” to show all the different “Paths”, then click right next to the small circle on the right. A colored square should appear to show you that that “Path” is selected. Then, with the “Eyedropper Tool”, click inside the “Path” to “Fill” it with a color from your image.


7 - If you want to change the position of one of your Paths forward or backwards, just right-click on top of it and choose Arrange > Send Backward (or “Bring Forward”, etc.).


8 - Use the “Direct Selection Tool” (A) to fix the parts of your Paths that need it.


9 - You can “Turn Off” some of your Paths, click on the small eye icon to the left of its “Thumbnail”. Keep filling your Paths and re-arranging them until you are pleased with the results.


10 - You can also use the “Swap Fill and Stroke” (Shift + X) function to “Hide” the Fill on a Path to be able to trace what’s underneath.


11 - Use the “Gradient Tool” (G) to fill some Piths with “Linear Gradients” to give your image a bit more depth. You can also create a “Reference Color Palette” to use in your Gradients.


12 -Check out your work.

by @lornacane