By Design Bundles
How to resize an image in Inkscape
There are a few ways you can resize an image in Inkscape. When opening an image, it may initially be too big for your current project or canvas. The size of an image can also affect how fast or slow the software responds. In this tutorial we will go through three ways of resizing an image in Inkscape.
For our tutorial, we will be using this funny camping svg but we have a wide selection of camping designs to choose from.
Let us begin by opening Inkscape and importing our SVG design. You can also resize a JPG and PNG file if you choose. With PNG and JPG files you may get the “JPEG Bitmap image import” window. If so, leave all settings as is and click Ok.
Use the Transform Panel to Resize
If you are using a SVG, it may open as ungrouped elements. In order to scale all the items together, you will need to group the objects in Inkscape. This will prevent accidentally missing any small items when scaling.
The Transform Panel offers options to Move, Scale, Rotate etc under one panel. To access this panel you need to go to Object > Transform. The panel will open on the right side of the screen.

Select Scale then click on the drop down menu next to Width to change the scale to percentage. Next, before adjusting Width and Height, make sure Scale Proportionally is ticked. This will scale both when one is edited.
Now, go ahead and adjust the Width. The Height will adjust along with it. We changed our size to 80%.
The option “Apply to each object separately” can be ticked if you want certain objects adjusted. We left this un-ticked so the object as a whole was scaled.

Resize an Image Using the Top Toolbar
The second way to resize an image in Inkscape is to use the top toolbar. The toolbar contains various options, one of which contains the Width and Height. As we did before, we changed the scale but this time to mm. Then we clicked on the little lock between the W and H boxes to keep the aspect ratio.
Next, we typed in our size in the W (Width) box. The H (Height) box was automatically adjusted according to the information in the W box.

You will notice that, unlike with the Transform Panel, the design was resized to the corner of the document.
Adjust image with sizing handles
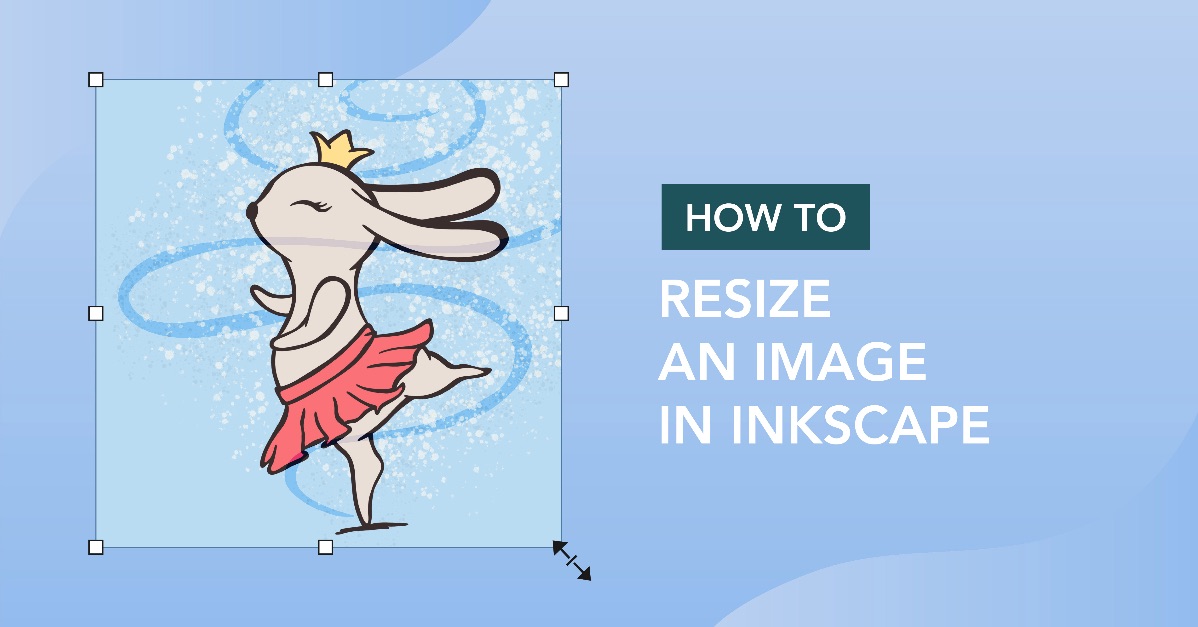
When you click on the object to select, small arrows will appear along the sides and corners. These are the sizing handles. When you click + drag one in or out, the design will be adjusted depending on which handle you move.
To resize proportionally, hold the Shift button while clicking + dragging in the right bottom corner handle.

You can now edit your design, whether it’s adding some color or editing the nodes. If needed, you can also crop the image to remove unwanted areas.
We hope you enjoyed this tutorial on how to resize an image in Inkscape.