By Saqib Ahmad
How to Turn Your Artwork Into DTF or UV DTF Print Part 2
Our long-awaited UV DTF transfers have finally arrived! This post is part two of our two-part series on how to turn your own artwork into beautiful UV DTF prints for custom tumblers and mugs, just in time for the holiday season.
How to Turn Your Artwork Into DTF or UV DTF Prints Part 1
If you missed part one, make sure to check it out first. In that tutorial, we covered how to digitize your artwork, check the resolution and size, and prepare it for UV DTF printing using Craft Designer and DTFPrinter.com. Today, we’ll complete the project by applying our UV DTF transfer to tumblers, a simple, creative, and meaningful DIY gift idea.
A Quick Recap of Part One
Last week, we took adorable cat drawing and turned it into a digital file. Using Craft Designer, we removed the background, added name and age, and exported the artwork as a high-resolution PNG. Then, we uploaded it to DTFPrinter.com, placed our order, and waited for the printed transfers to arrive.
Now they’re here, time to bring this artwork to life!
What UV DTF Transfers Look Like
If you’re new to UV DTF, here’s what to expect. Your prints will arrive as a gang sheet, a clear transfer film with your designs printed on one side. The design layer is glossy, slightly raised, and incredibly durable once applied.
A common question is whether the color appears on both sides of the film. The answer is no, the ink is printed only on one side, so you’ll apply it facing outward. The back is clear.
Some crafters notice the raised texture of UV DTF and wonder if they can apply it to the inside of a glass instead. That won’t work because the design isn’t double-sided. For best results, always apply UV DTF transfers to the outside of your tumbler or mug.
Choosing the Right Blank
For this project, we’re using a Libbey glass can cup, a popular choice for crafters. You can find these online in bulk.
Here’s an important tip:
Avoid sublimation blanks when using UV DTF.
Sublimation-ready blanks are coated with a polymer layer designed specifically for sublimation inks. That coating makes the surface slick, which prevents UV DTF adhesives from bonding properly. As a result, your transfer might peel or not last as long.
For the best adhesion, use regular tumblers, mugs, or glass cans without any special coating. They’re often more affordable too!
Applying the UV DTF Transfer
1 Cut your design:
Trim your UV DTF transfer close to the edge of your artwork.
2- Prepare your workspace:
If you have a tumbler cradle, it can help keep your cup steady. It’s not required, but it makes alignment easier.
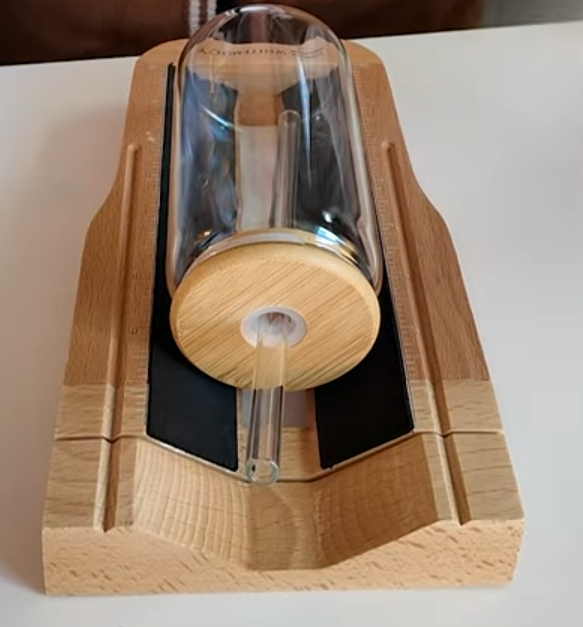
3- Peel the backing film:
Carefully separate the backing layer from your design. If you don’t have long fingernails, use a weeding tool to lift a corner.
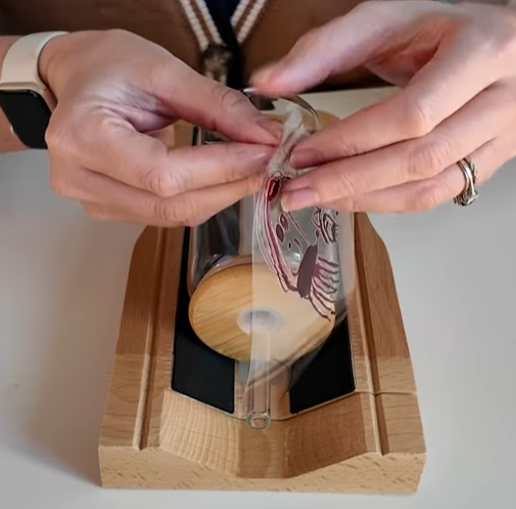
4- Position the transfer:
Line up your design on the tumbler exactly where you want it. Remember, once it touches the surface, it’s stuck!
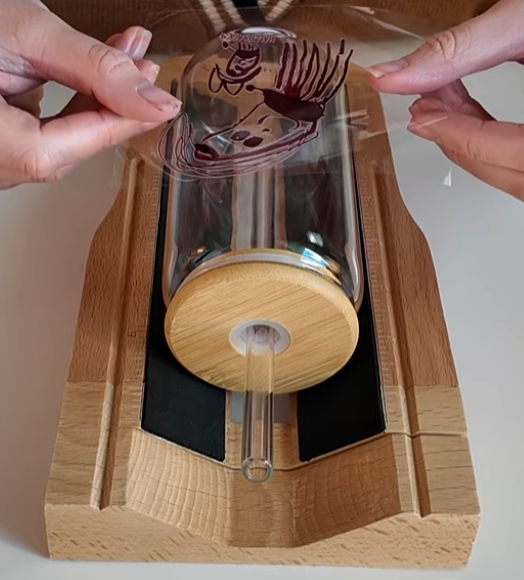
5- Smooth it down:
Use your fingers or a scraper to press the transfer firmly onto the cup, working out any air bubbles.
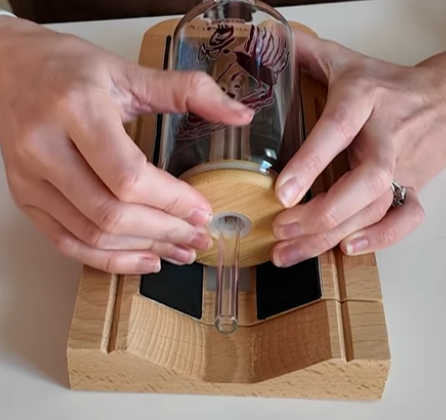
6- Peel the top film:
Slowly peel back the clear top layer at a flat angle. Pulling upward can tear the design, so keep the angle low and steady.
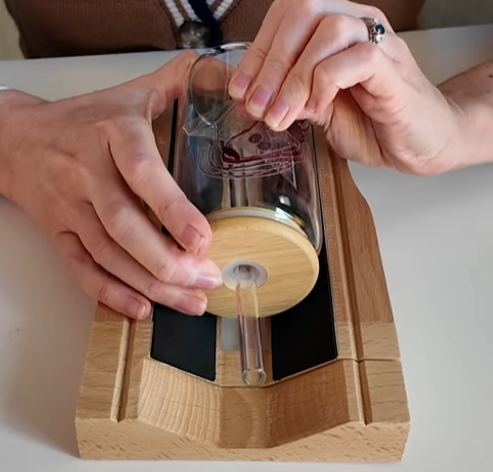
The film will resist slightly, that’s normal. The adhesive is strong to ensure a lasting bond.
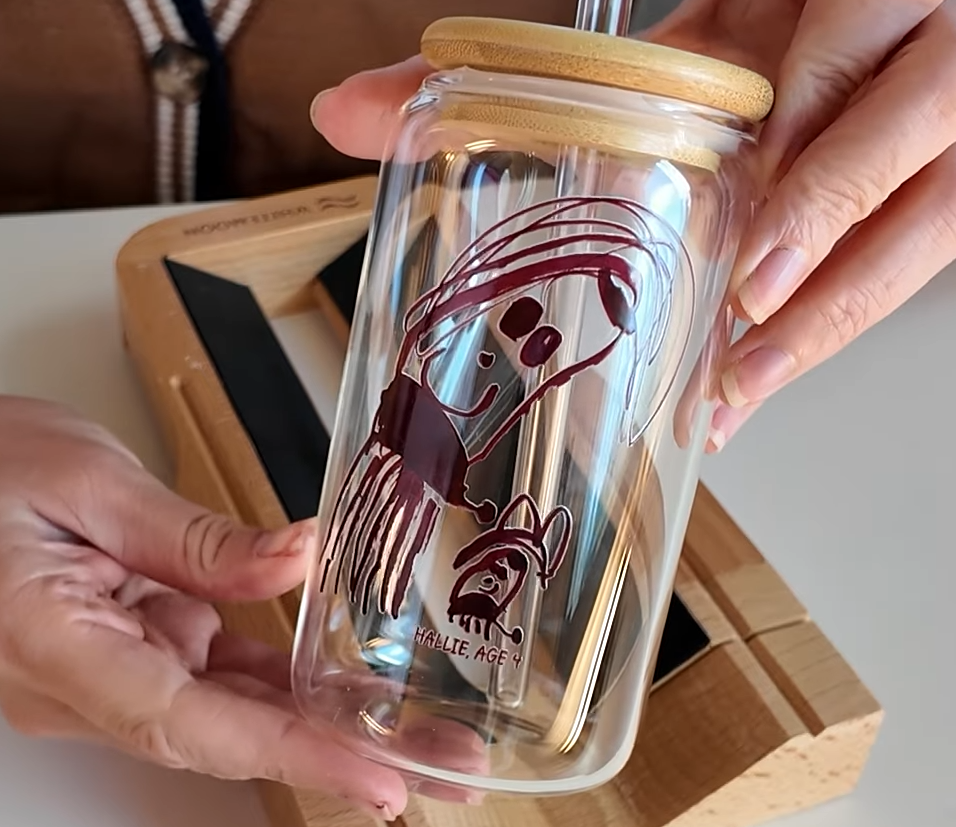
And that’s it! You’ll have a beautifully applied UV DTF design that’s waterproof, scratch-resistant, and ready to gift or display.
Tips for Success
- Avoid dust or oils on your surface before applying. Wipe your tumbler / Libbey Glass clean with rubbing alcohol.
- Take your time aligning the design before pressing it down. UV DTF is strong — once it’s on, it won’t move.
- Work in good lighting to easily spot bubbles or misalignment.
- Flat angle peeling is key, gentle, steady motion ensures a perfect finish.
The Finished Results
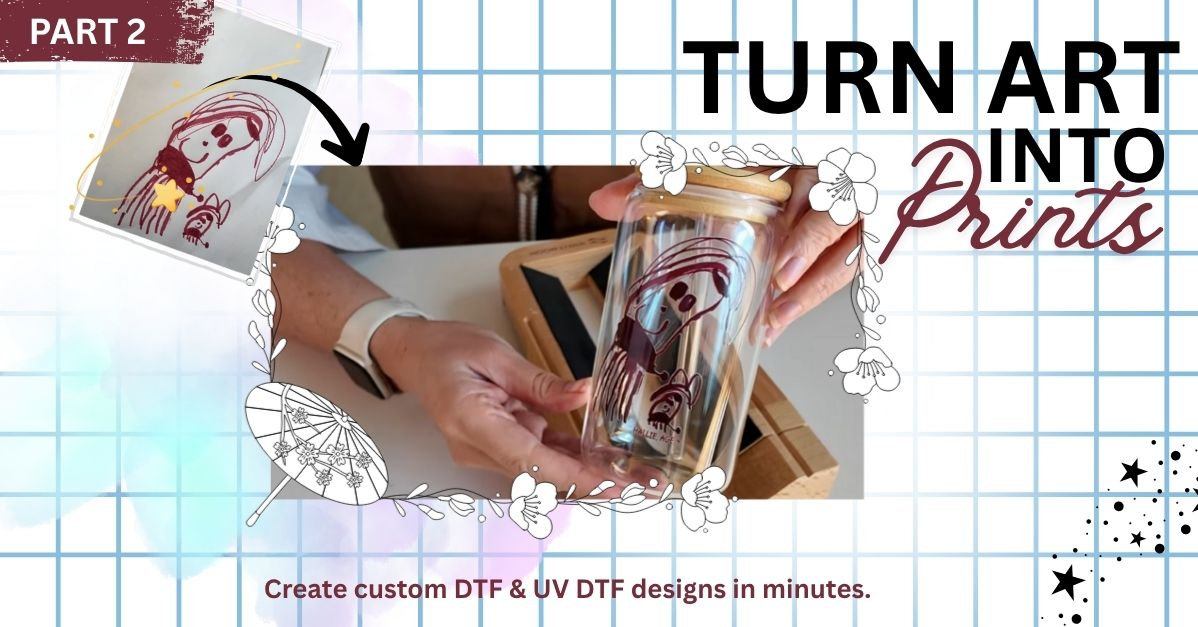
The results were absolutely adorable. The colors are vibrant, the texture gives it a premium feel, and best of all, it’s dishwasher-safe and long-lasting.
A perfect keepsakes and make meaningful gifts for family and friends. With UV DTF, you can easily turn any artwork, even a child’s doodle, into a beautiful, durable creation.
🎥 Watch the Full Tutorial Video...
Final Thoughts
This two-part series showed how easy it is to go from paper drawing to finished UV DTF tumbler. With tools like Craft Designer and DTFPrinter.com, anyone can create professional-quality designs without complicated software or equipment.
If you haven’t yet, check out Part One for the full digitizing process, and then follow this guide to apply your UV DTF transfers with confidence.
Whether you’re making gifts for loved ones or adding new products to your craft business, UV DTF is a fast, fun, and creative way to make your art shine.
Stay tuned for more tutorials, crafting tips, and design ideas, and don’t forget to share your results. We’d love to see what you create!