By Design Bundles
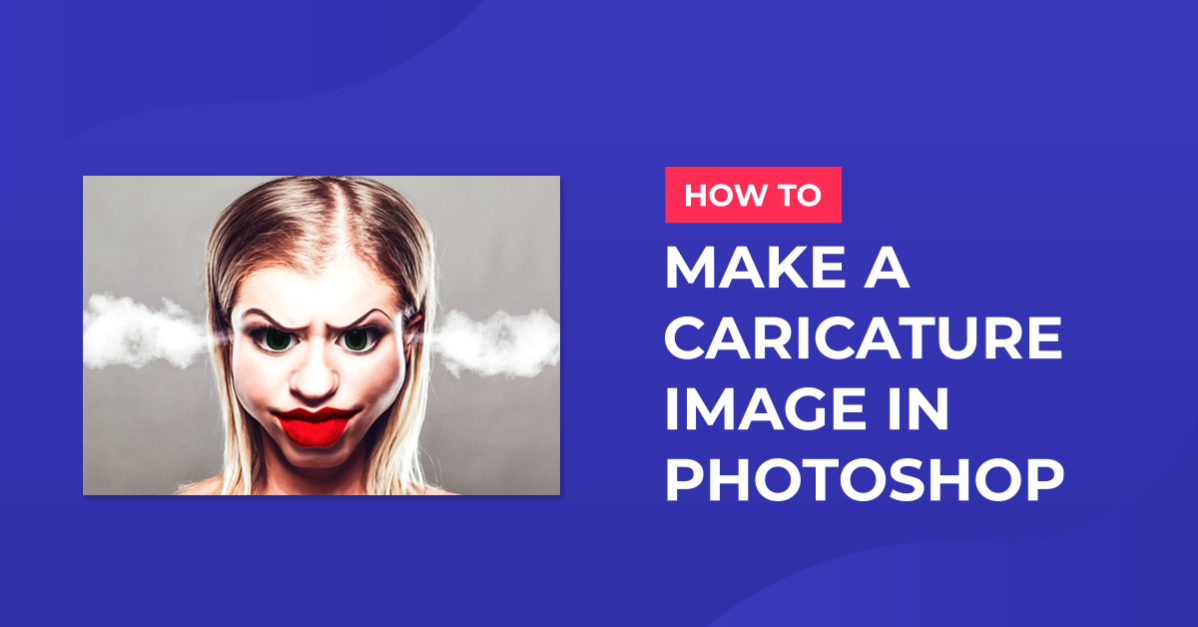
Caricature Image in Photoshop
For this tutorial, we will use the image of a person with a neutral background.
1 - In Photoshop, open the image you chose to work with and “Duplicate” it (Command/Control + J).


2 - Go to Filter > Camera Raw Filter (Shift + Command/Control + A), zoom in a bit to see the detail and play around with the settings until your image is more highly contrasted without losing detail and has more cartoonish colors. Once you are happy, click “OK”.


3 - Use the “Quick Selection Tool” (W) and making sure the “Add to Selection” is your option, select your subject. It doesn’t need to be perfect.

4 - Click the “Select and Mask” button in the upper Menu. Clean your edges a bit and choose “New Layer with Layer Mask” as “Output”.


5 - Name your “Layers” and duplicate your “Head” Layer.

6 - Go to Edit > Transform > Warp and modify the head to make it bigger at the top. Once you are done hit “Enter” or click the “Checkmark” on the top Menu.


7 - Select the “Polygonal Lasso Tool” (L) and make a selection around the lips. “Copy” (Command/Control + C) and “Paste” your selection. Use “Free Transform” (Command/Control + T) to deform and make the mouth bigger.


8 - Use the “Eraser Tool” (E) with a “Soft” brush to erase the portions of your Layer that are not needed and leave just the mouth.


9 - Go to Edit > Transform > Warp and finish shaping the mouth and lips so they look more realistic. Once you are done hit “Enter” or click the “Checkmark” on the top Menu.

10 - Once you are happy right-click on top of your “Mouth” Layer thumbnail and choose “Merge Down”. Select “Preserve” from the Pop-Up window to preserve the “Mask”.


11 - Go to Filter > Liquify (Shift + Command/Control + X) and use the “Bloat Tool” (B) to transform your subject. Use small clicks, and remember that you have only one “Undo” (Command/Control + Z). You can use the “Reconstruct Tool” (R) if you mess really bad, but you will lose a lot of your progress.


12 - Use the “Forward Wrap Tool” (W) to refine your subject’s features. You can switch back and forth between “Tools” and paly around until you are happy with the results, then click “OK”.


13 - Now, we need to fix the “Mask” since the image has changed. Make sure the “Mask” thumbnail is selected, then choose a “Big” and “Soft” Brush to bring out the portions of your subject that are covered. Make sure “White” is the “Foreground” color.


14 - Select the “Smudge Tool”, choose the 100 px “Rough Round Bristle” Brush from the “Brush Preset Picker”, use a “Strength” of 22% and paint around the face and features to “Smooth” some of the detail.


15 - Use the “Polygonal Lasso Tool” (L) to select the lips, click on the “Select and Mask” button on the top Menu and refine your selection. Use “Selection” as your “Output To” choice.


16 - Go to Image > Adjustments > Hue/Saturation (Command/Control + U), make sure the “Colorize” box is checked and play around with the settings to make the color of your lips pop. You can “Hide” your selection using “Command/Control + H”.


17 - Then go to Image > Adjustments > Vibrance and make some adjustments here too. You can “Deselect” the lips now (Command/Control + D).


18 - Select the “Blur Tool” around the place where your selection was to “Smooth” out any lines or imperfections.

19 - Repeat “Steps” 15 to 18 with the eyes too. Then, use the “Burn Tool” inside on the pupils to make them look more realistic.


20 - Go to Filter > Filter Gallery > Artistic, choose “Dry Brush” and use the following values:


21 - In the “Adjustments Panel” add a New “Vibrance Adjustment Layer” and adjust the “Vibrance” and “Saturation” values in the “Properties Panel”.


22 - Check out your work.

by @lornacane