By Design Bundles
How to Use the Spot Healing Brush in Photoshop
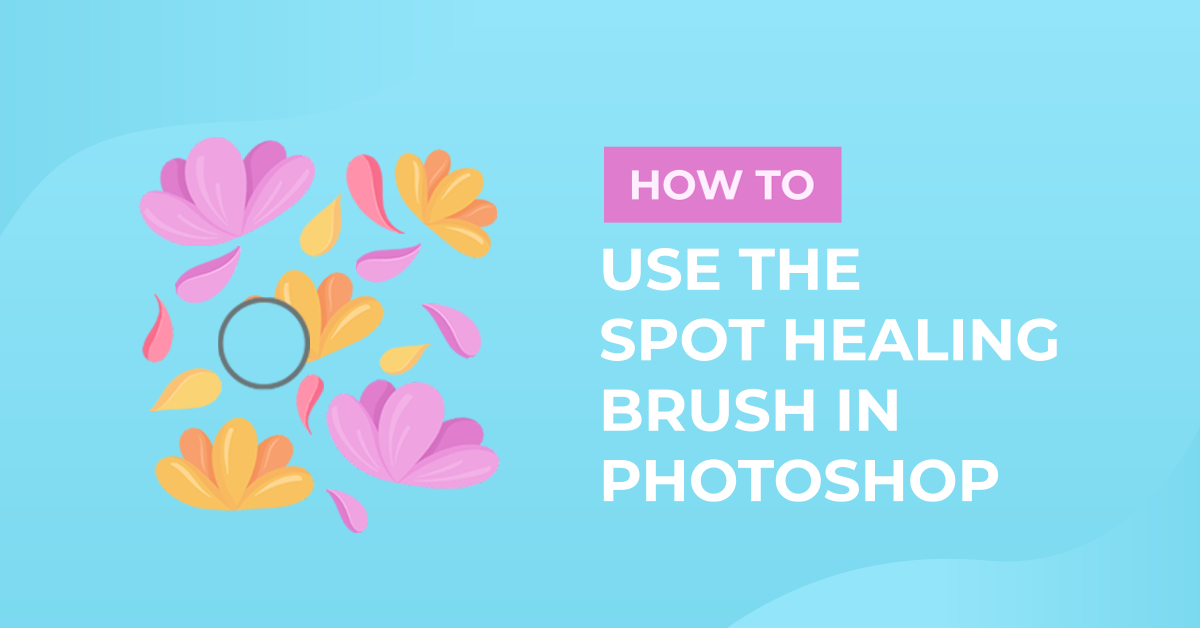
The Spot Healing Brush tool can be used as a fast way to remove blemishes and imperfections from your images. The Spot Healing Brush works similarly to the Healing Brush by painting with sampled pixels from an image or pattern matching texture, lighting, transparency, and the shading of the sampled pixels to the ones being healed.
But, unlike the Healing Brush, the Spot Healing Brush doesn’t need a sample spot since it automatically samples from around the retouched area.
If you want to retouch a large area or to have more control over the source sampling, it is better to use the Healing Brush instead.
For this tutorial, we will use a Stock Photo from Design Bundles.
1. Select the Spot Healing Brush
Select the Spot Healing Brush tool. 

You may need to click either the Healing Brush tool, Patch tool, Red Eye tool, Content-Aware Move tool, or the three small dots at the bottom of the Toolbox to show the hidden tools and make your selection.
2. Adjust the Brush Settings
Choose a brush size in the options bar. It should be slightly larger than the area you want to fix works so that you can cover the entire area with one click.


If using a pressure-sensitive tablet, you can choose an option from the Size menu to vary the size of the Spot Healing Brush for the stroke. Choose Pen Pressure for the variation on the pen pressure. Choose Stylus Wheel for the variation on the position of the pen thumbwheel. Or choose Off if you don’t want to vary the size.

3. The Mode Menu
In the Mode menu in the options bar, you can specify the Blending mode. Use Replace to preserve noise, film grain, and texture at the edges of the stroke when you are using a soft-edged brush.

4. The Type Options
Now, choose a Type option in the options bar:
Content-Aware
Content-Aware compares nearby content to seamlessly fill the selection, maintaining key details such as shadows and object edges as realistically as possible.
Create Texture
Create Texture uses pixels in the selection to create a texture. If it doesn’t work you can try dragging through the area one more time.
Proximity Match
Proximity Match uses pixels around the edge of the selection to find an area to use as a patch.

5. Select Sample Layers
If you have more than one layer, select Sample All Layers in the options bar to sample data from all visible layers. Or leave it unchecked to sample only from the active layer.

6. Apply the Spot Healing Tool
Click the area you want to fix, or click and drag to smooth over imperfections in a larger area.


Check the final result. You may need to repeat for a smoother finish.

You can also check out how to use other handy tools for retouching like the patch tool, the clone stamp, and the healing brush tooltools among others.