By Design Bundles
Long Shadow Effect on Text in Photoshop
1- Open Photoshop.
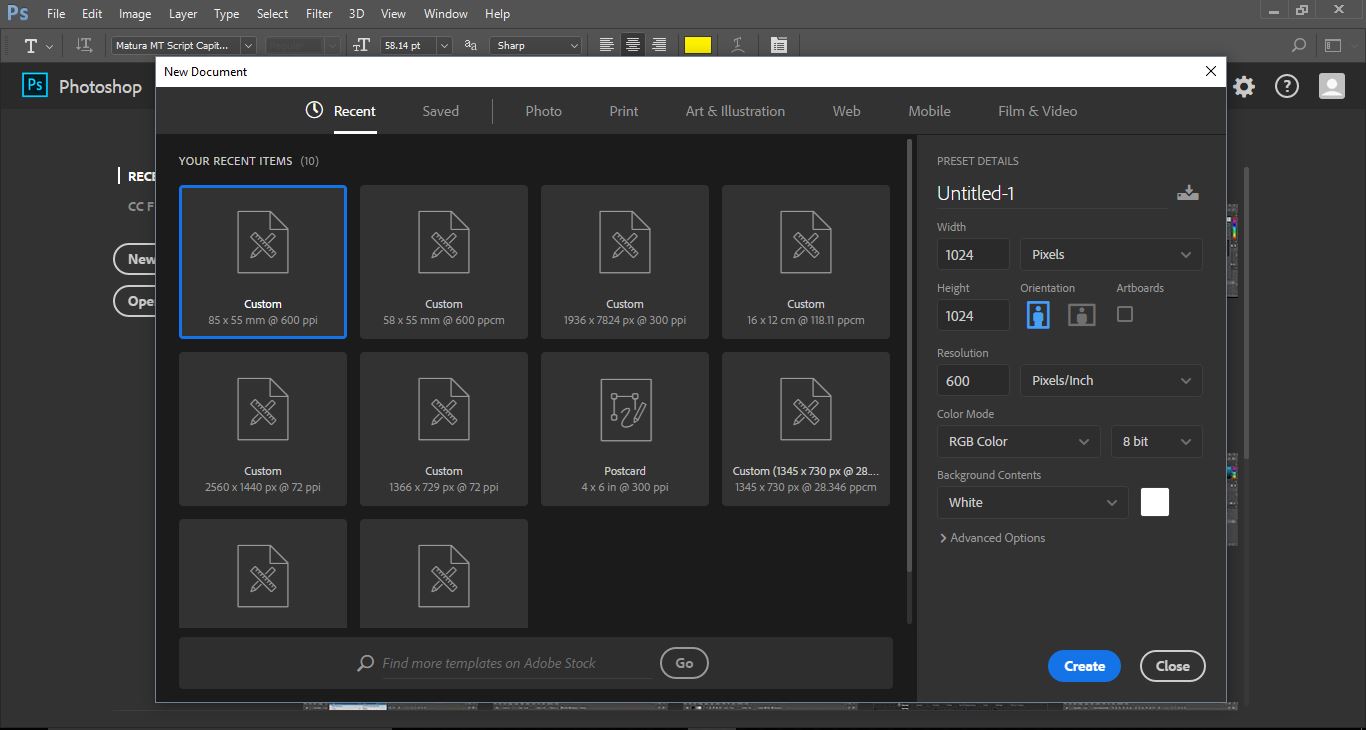
2- Create a new document.
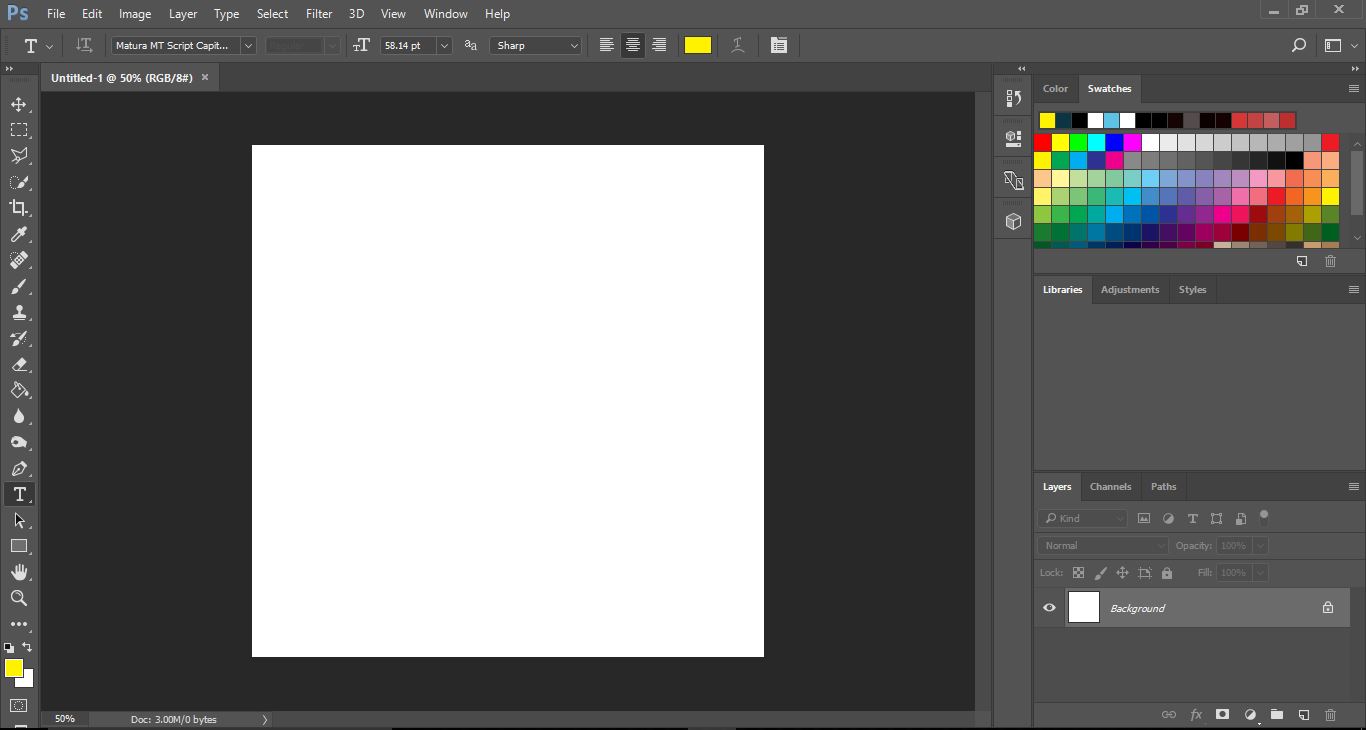
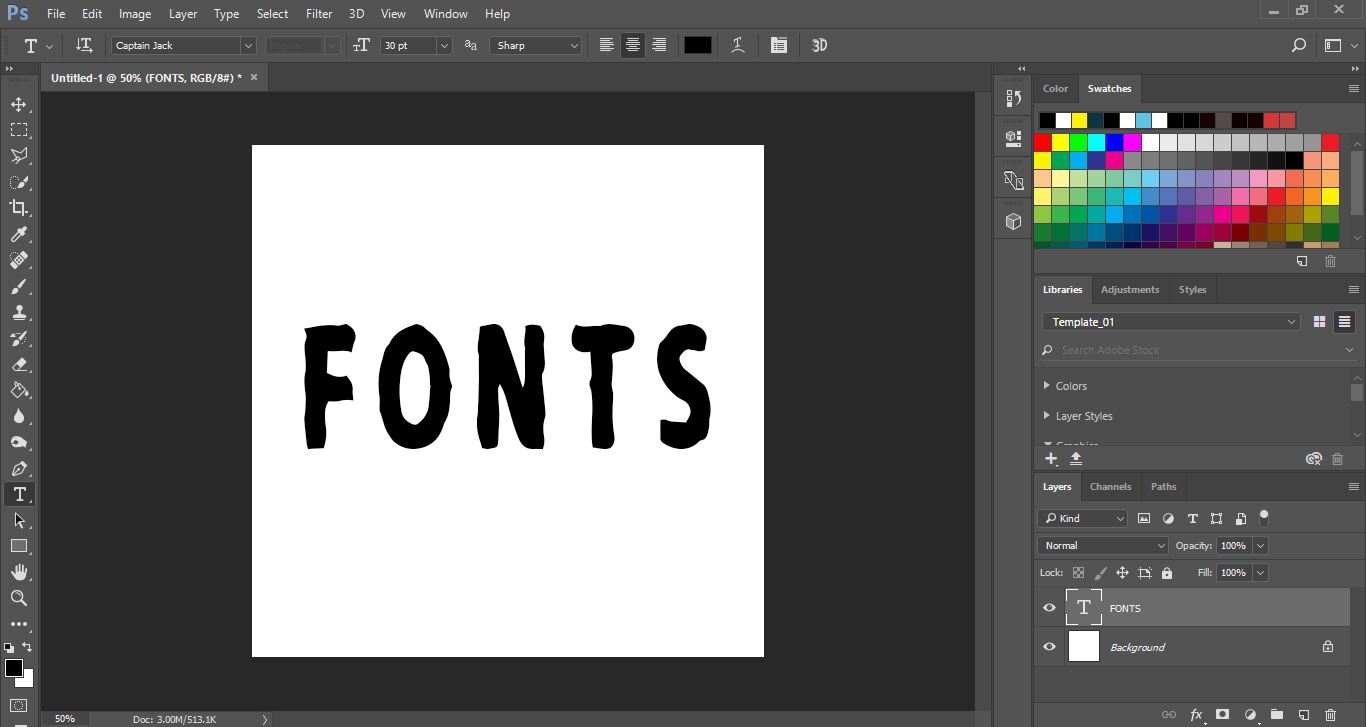
3- Select your text tool and type your text. Select the font you would like.
4- Select the shape tool and draw a rectangle around your text.This effect is a good way to create icons.
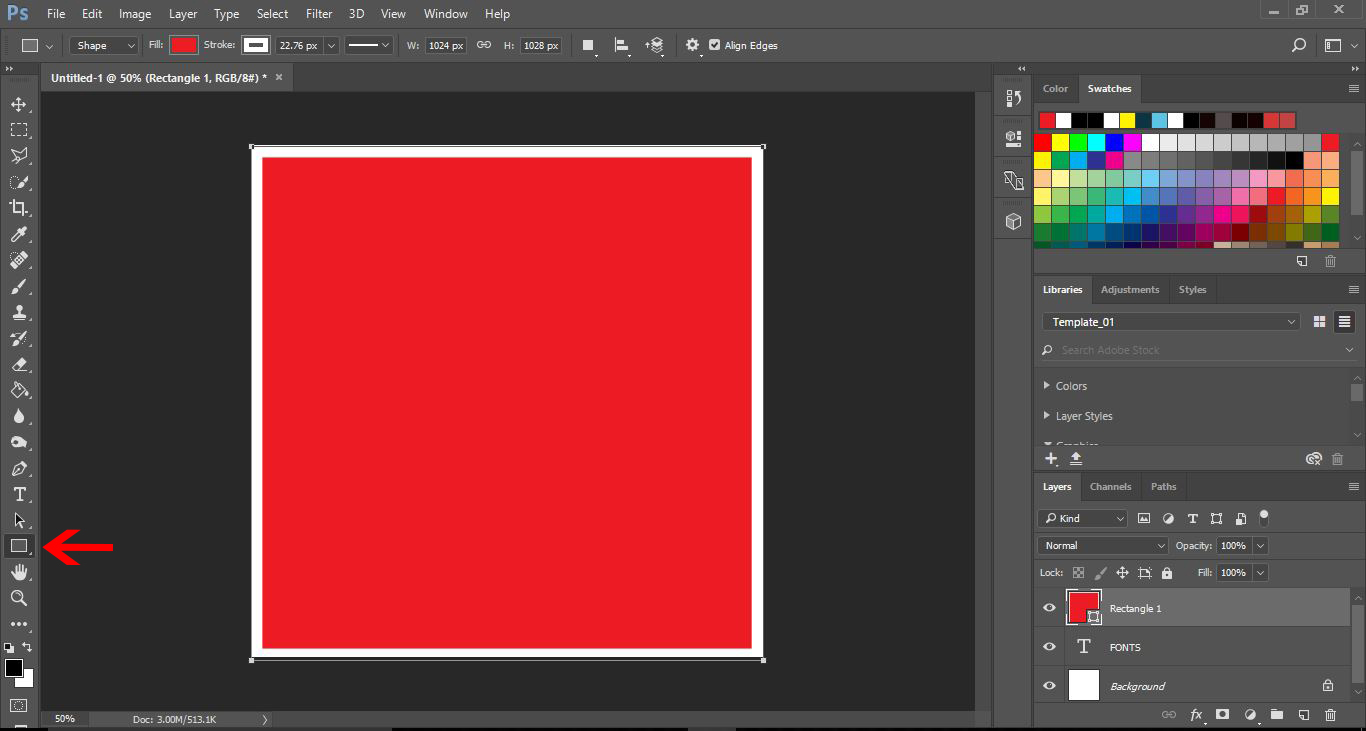
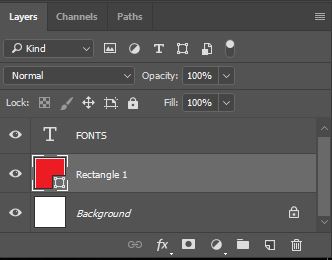
5- In the Layers panel, click and drag the rectangle layer below the text layer.
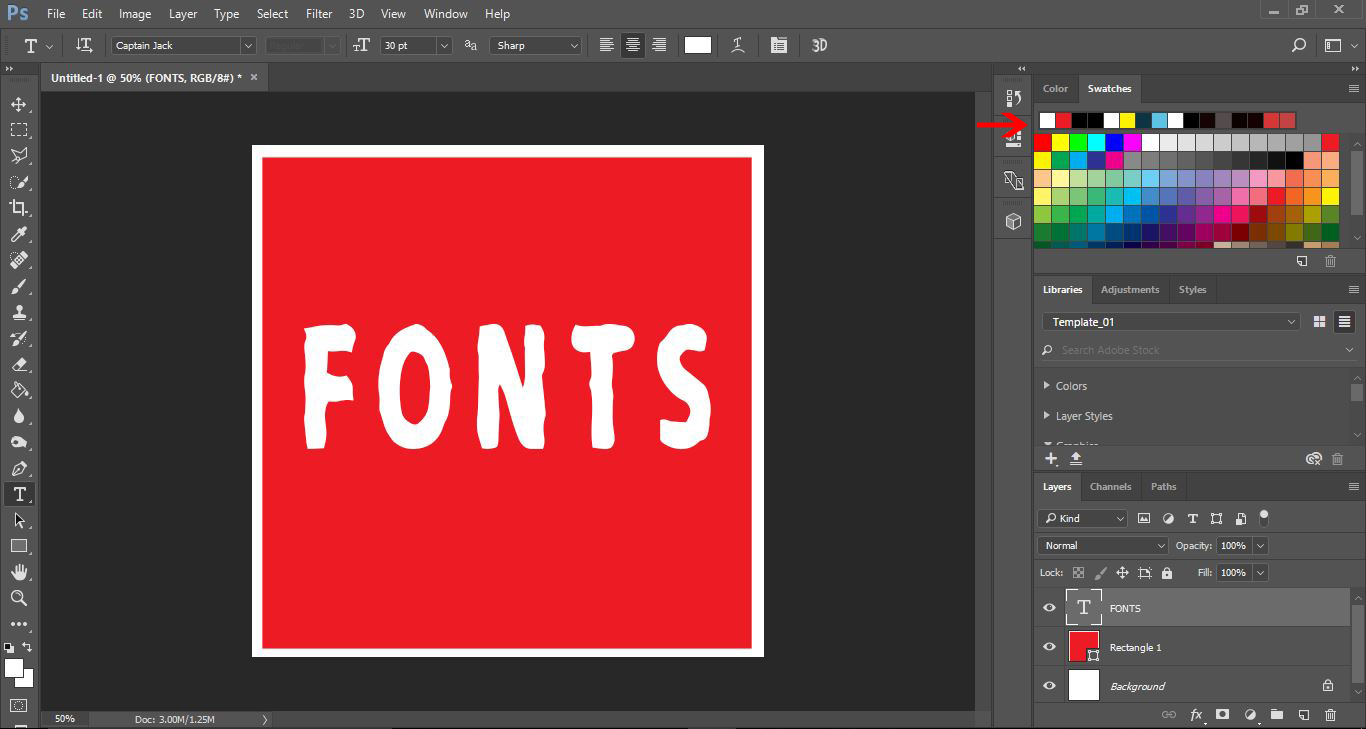
6-Select your text and double-click to adjust the text color.
7- Ctrl+ click the text layer's thumbnail in the Layers panel. This will make the selection of your text with marching ants.

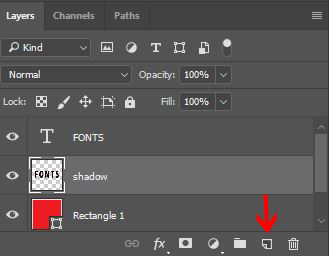
8- Click on the rectangle layer and add a new layer. It will appear above the rectangle layer.
Fill with black by selecting the black on the color picker in the left toolbar and press Alt+ Backspace on your keyboard at the same time. You will see in the new layer the text appears in black. Name the layer 'shadow.'
9- Select the move tool. Ensure the shadow layer is selected, and hold the Atl+ Ctrl keys at the same time. While holding down the keys, use the down and right arrows on your keyboard to create your shadow. Repeat the right and down arrow movement while still holding the Ctrl+ Alt keys until you get the long shadow you require.
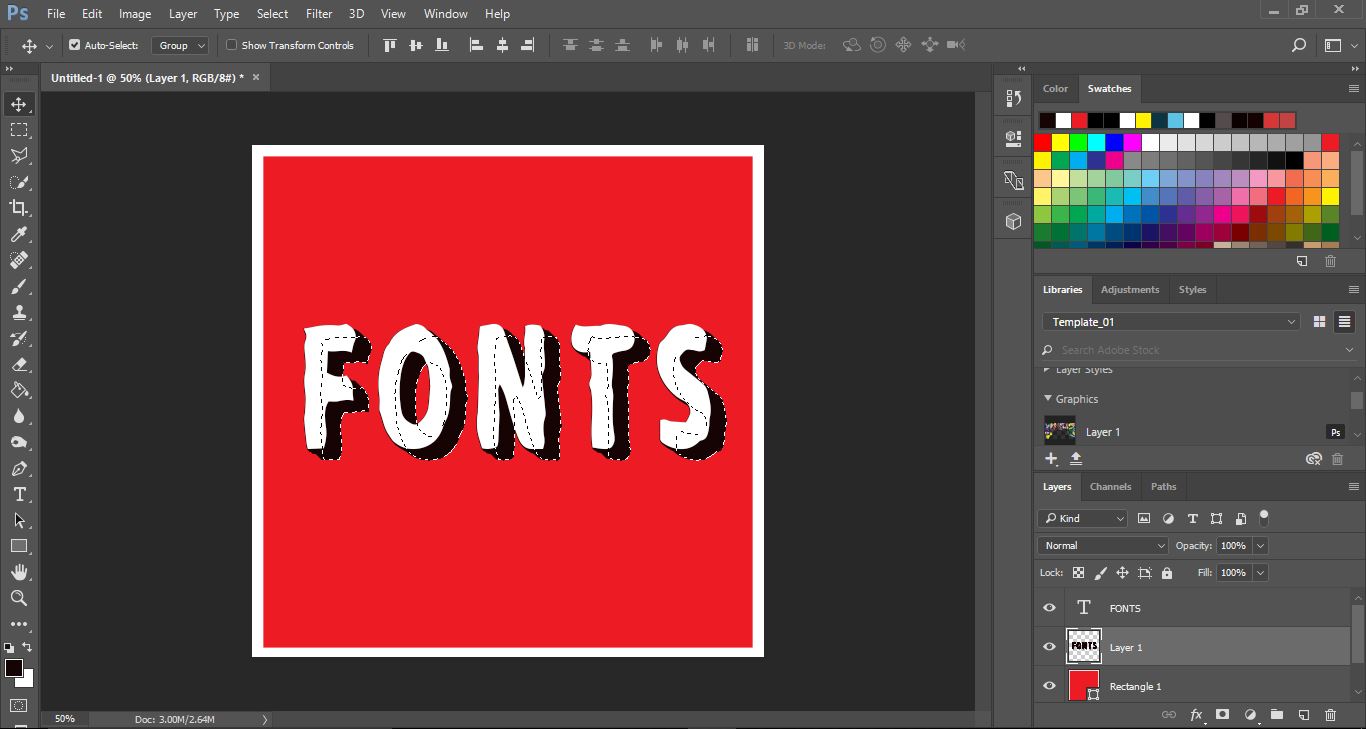
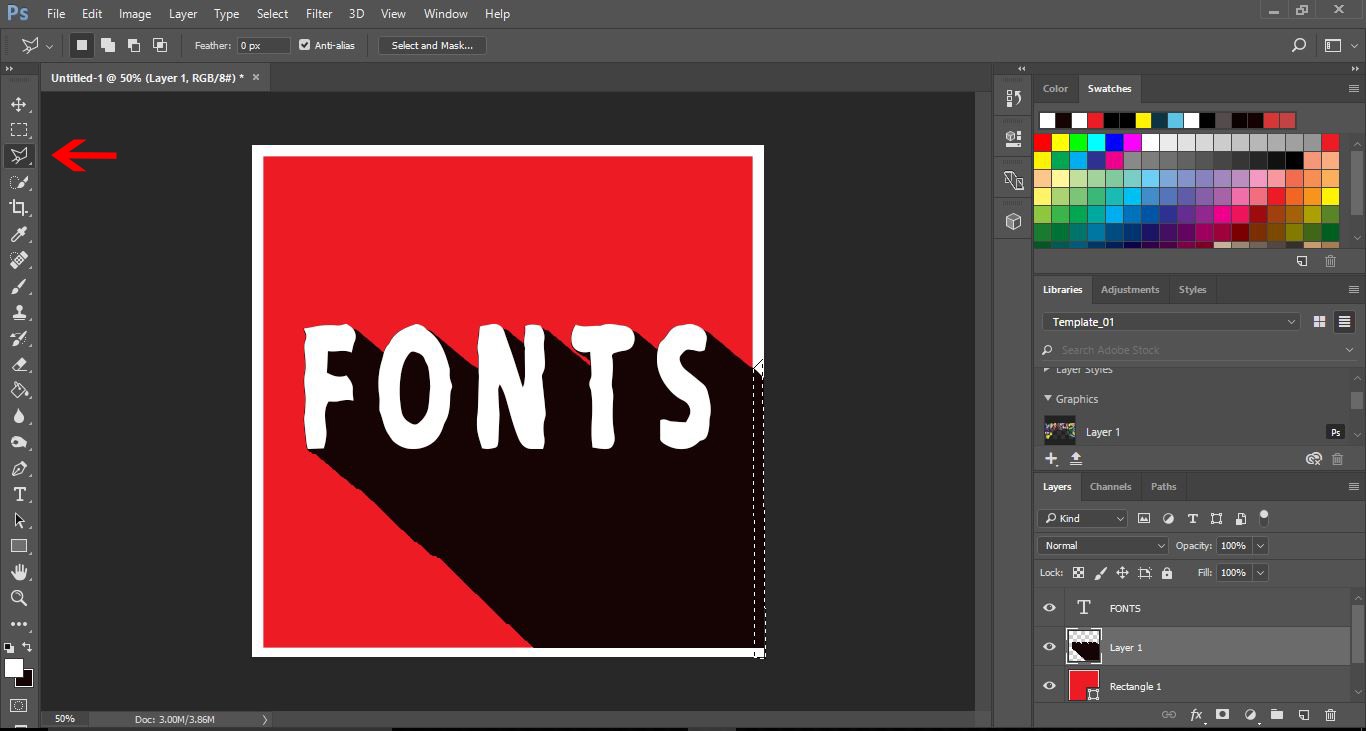
10- Press Ctrl+ D to unselect the text. Select the polygonal tool and draw around the areas that the black has gone over and fill with the color you need it to be.
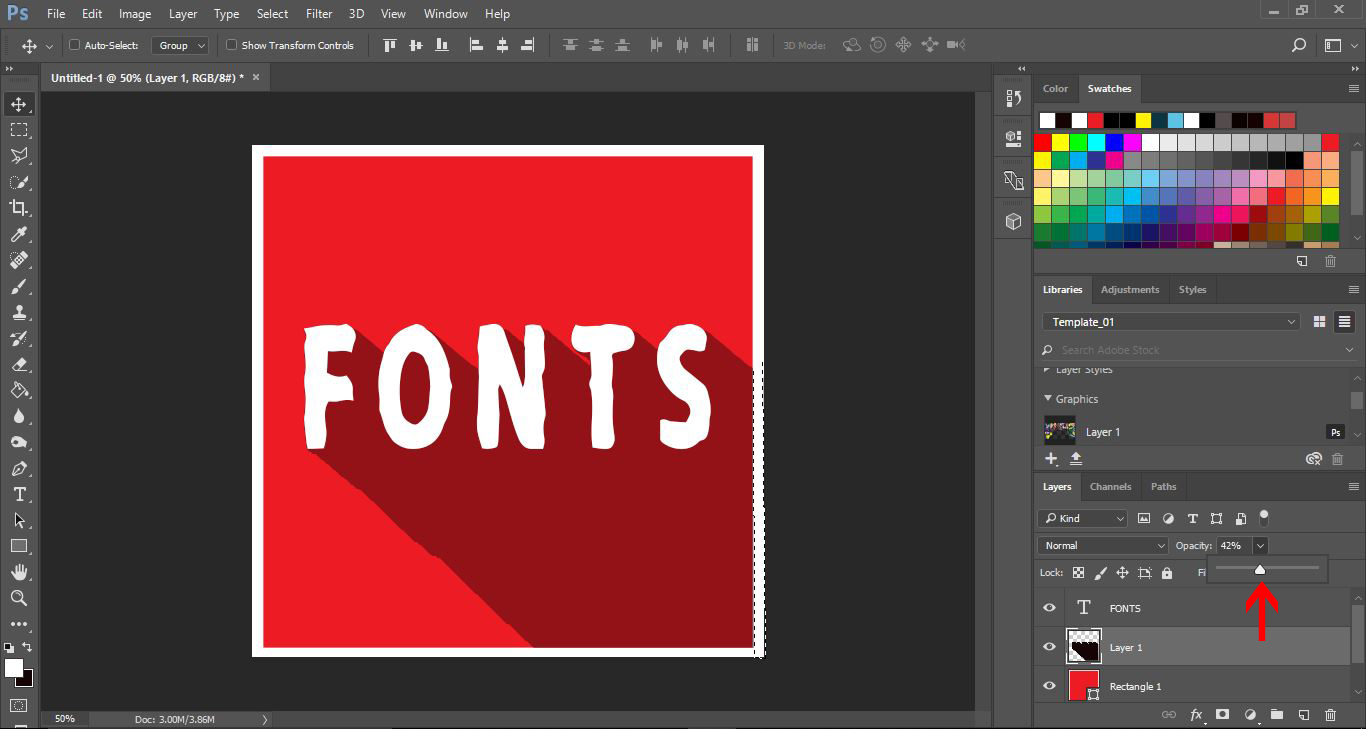
11- With the shadow layer still selected, adjust the opacity. This will give your long shadow a deeper color effect than the original background color.
12- You can also change the long shadow by double-clicking on the shadow layer to bring up the Layer Style panel.
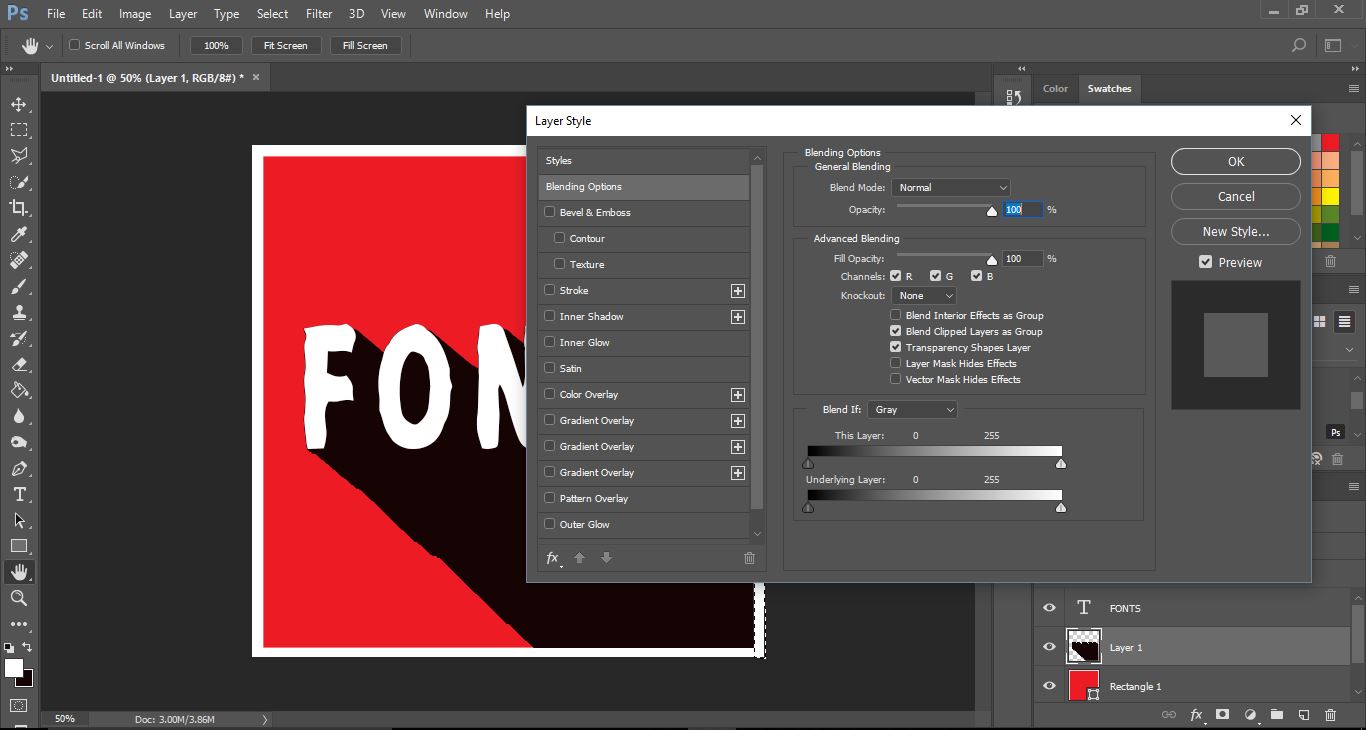
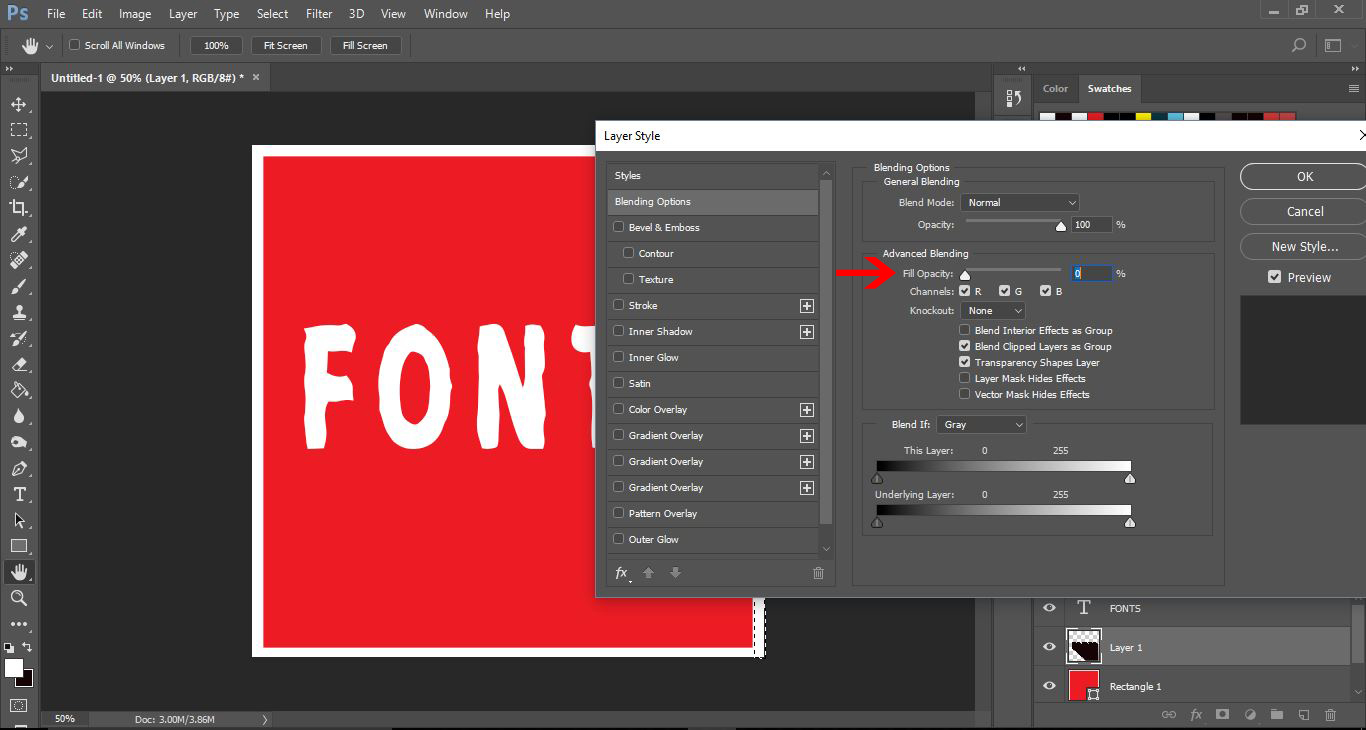
13-You can adjust the Fill Opacity which will remove the color of the long shadow so you can refill it with a gradient.
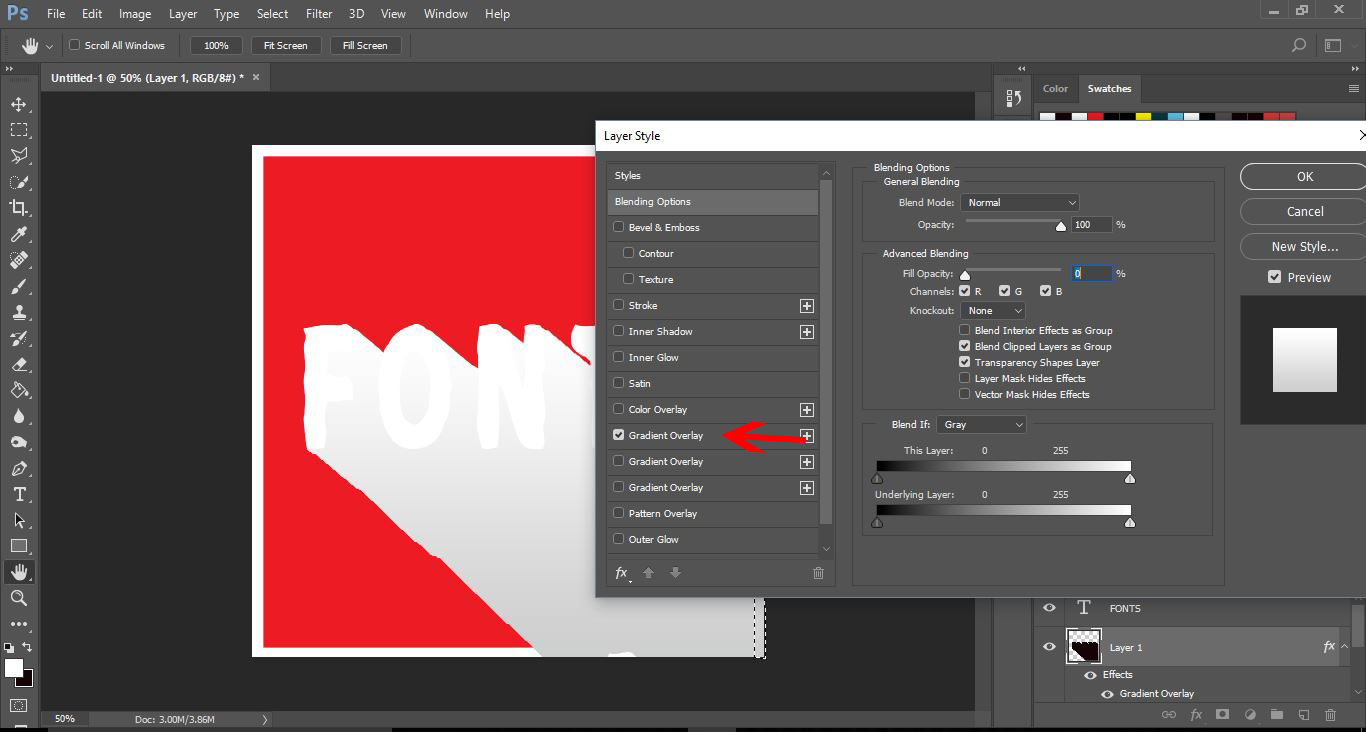
14- Select Gradient Overlay.
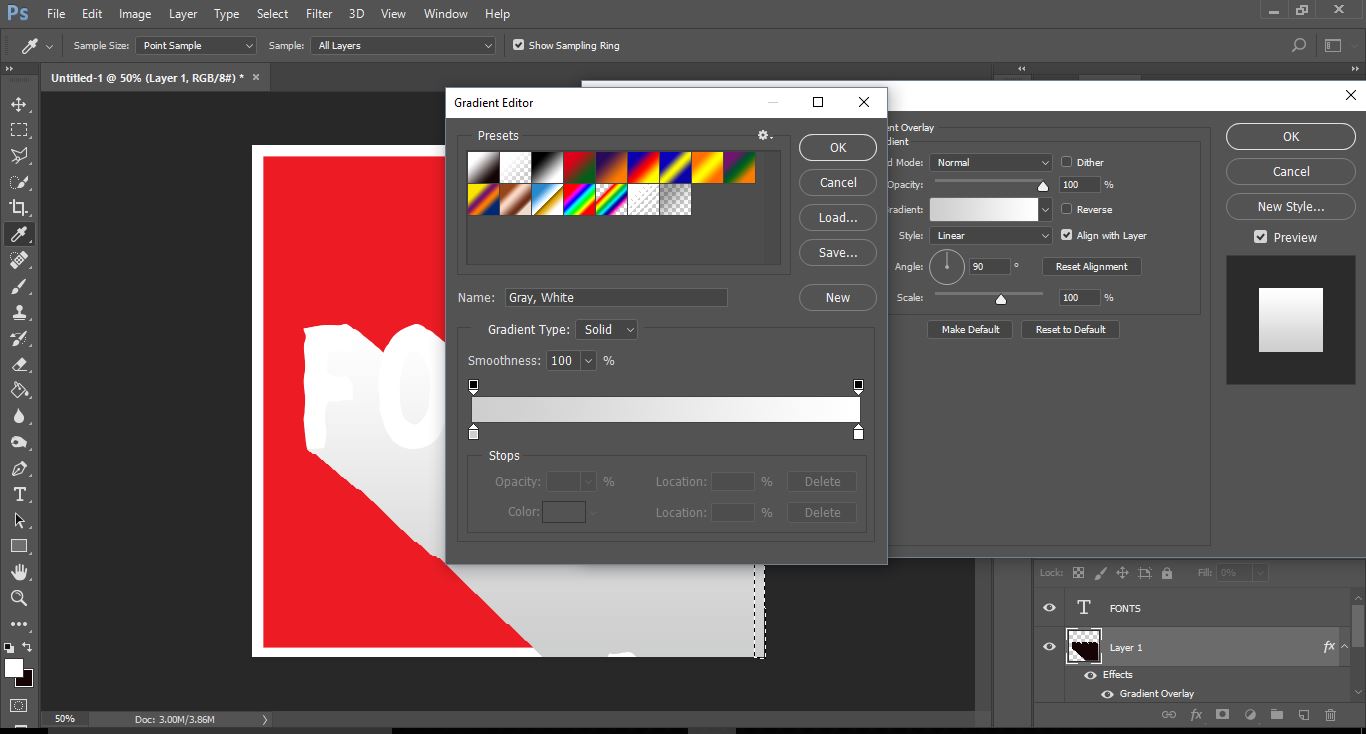
15- Select the Gradient Editor option and select the left stop. Next change the opacity to 0%
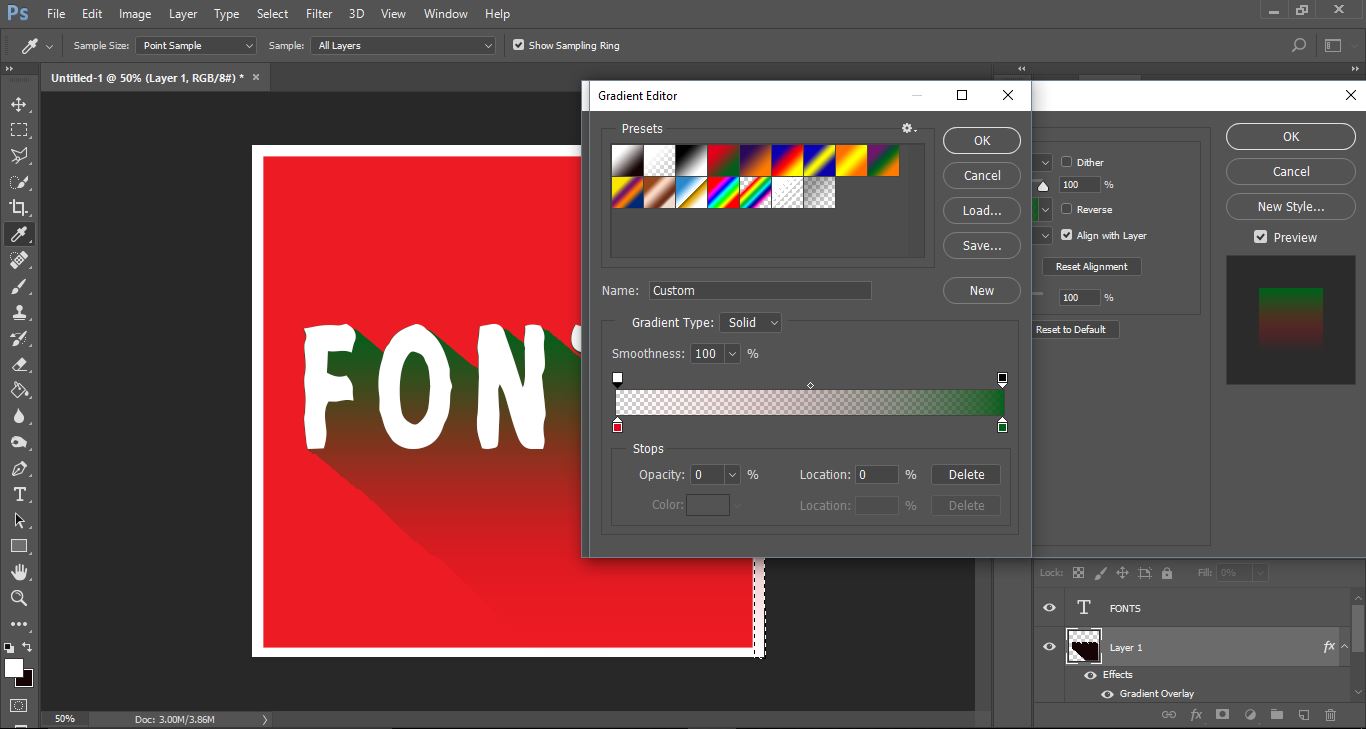
16- You can now add a gradient fill and click ok.
The font used is called Captain Jack by SmartDesigns.