By Design Bundles
Photoshop Tutorials5 min
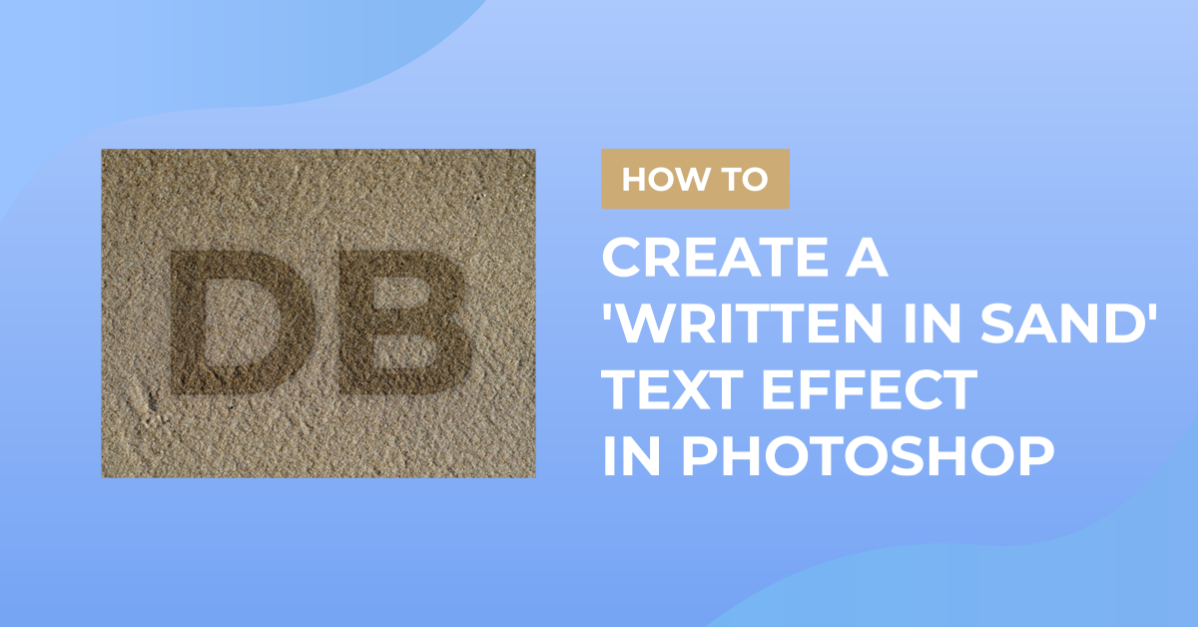
Text on Sand in Photoshop
For this Tutorial, we will use the image of sand and “Norquay” Font from Font Bundles.
1 - In Photoshop open the image you chose as “Background”.

2 - Select the “Type Tool” (T), choose your font (we used Norquay) or draw some with a hard brush. Use black as “Fill” color.

3 - Change the “Bending Mode” of your text layer to “Soft Light”.

4 - Double-click on your text and apply the following “Layer Styles”:
Bevel & Emboss: (Gloss Contour: Cone - Inverted)

Texture: (Spiky Brush)


Inner Shadow:

5 - Select the “Brush Tool” (B) and in the “Brush Panel” use the following values:

Brush Tip Shape:

Shape Dynamics:

Scattering:

Texture: (Use the same texture used in “Step 4”)

6 - Click on your text thumbnail while holding the Command/Control key to create a selection.

7 - Go to the “Paths Panel” and click on the “Make Work Path from Selection” button at the bottom of the panel.

8 - Select the “Work path”, go back to the “Layers Panel” and create a “New layer” by clicking on the button at the bottom of the panel.


9 - Change your “Foreground” color to a medium shade of beige (we used #584632). Or use your “Eyedropper Tool” (I) to choose one from your image.

10 - Using the “Path Selection Tool” (A) right-click on top of your text (make sure the “Work Path” is still selected), choose “Stroke Path” and use “Brush” as “Tool” in the next window.


11 - Double-click on your new layer and apply the following “Layer Styles”:
Bevel & Emboss:

12 - Change the “Blending Mode” to “Screen” and the “Opacity” to 75%.

13 - Check out your text.

1 - In Photoshop open the image you chose as “Background”.
2 - Select the “Type Tool” (T), choose your font (we used Norquay) or draw some with a hard brush. Use black as “Fill” color.
3 - Change the “Bending Mode” of your text layer to “Soft Light”.
4 - Double-click on your text and apply the following “Layer Styles”:
Bevel & Emboss: (Gloss Contour: Cone - Inverted)
Texture: (Spiky Brush)
Inner Shadow:
5 - Select the “Brush Tool” (B) and in the “Brush Panel” use the following values:
Brush Tip Shape:
Shape Dynamics:
Scattering:
Texture: (Use the same texture used in “Step 4”)
6 - Click on your text thumbnail while holding the Command/Control key to create a selection.
7 - Go to the “Paths Panel” and click on the “Make Work Path from Selection” button at the bottom of the panel.
8 - Select the “Work path”, go back to the “Layers Panel” and create a “New layer” by clicking on the button at the bottom of the panel.
9 - Change your “Foreground” color to a medium shade of beige (we used #584632). Or use your “Eyedropper Tool” (I) to choose one from your image.
10 - Using the “Path Selection Tool” (A) right-click on top of your text (make sure the “Work Path” is still selected), choose “Stroke Path” and use “Brush” as “Tool” in the next window.
11 - Double-click on your new layer and apply the following “Layer Styles”:
Bevel & Emboss:
12 - Change the “Blending Mode” to “Screen” and the “Opacity” to 75%.
13 - Check out your text.
by @lornacane
Related Tutorials
Photoshop Tutorials
Text on Milk Bottle Photoshop
Photoshop Tutorials
Long Shadow Effect on Text in Photoshop
Photoshop Tutorials
Balloon Text in Photoshop
Photoshop Tutorials
Neon Text Effect in Photoshop
Photoshop Tutorials
How to Use Text Effects in Photoshop
With Photoshop Text Effects, you can create text with impact in just a few steps.
Photoshop Tutorials
Easy See through Cut Out Text in Photoshop
Create a see-through cut out text design in Photoshop with these easy to follow steps.