By Design Bundles
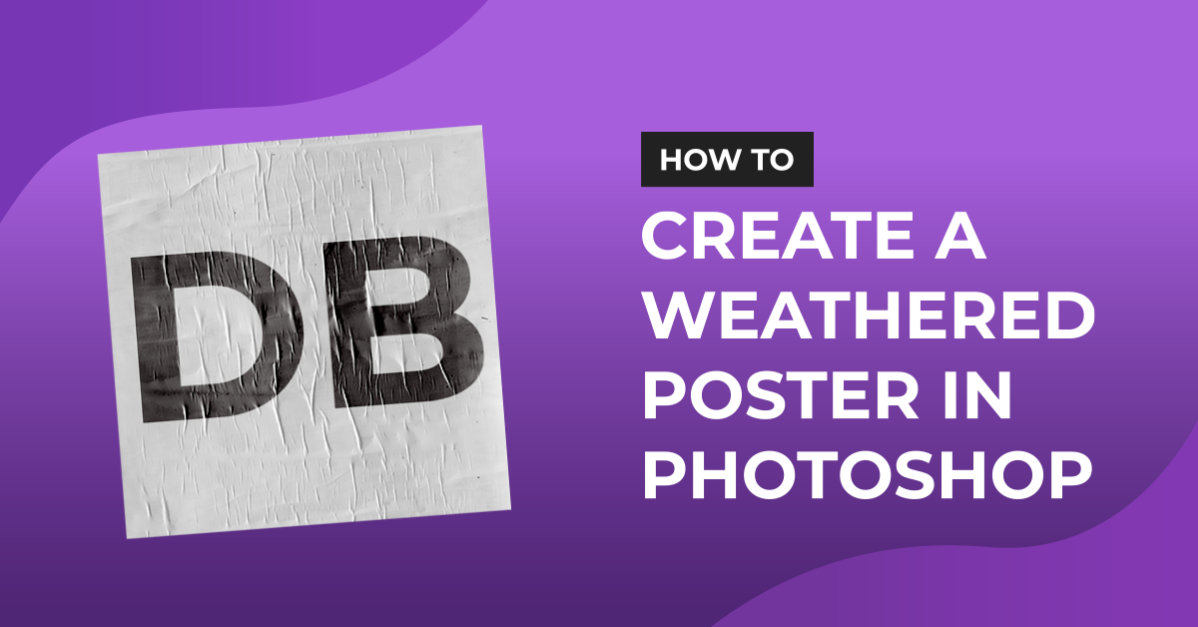
Weathered Poster in Photoshop
For this tutorial you will need a “Background” Image of a Wall, one of a blanc Poster and some “Grunge” Photoshop Brushes.
1 - In Photoshop, open the image you chose as “Background”.

2 - Open the image of the “Poster” you want to add and drag it onto your original file. Rotate it if needed.


3 - Resize it to fit your document and click “Enter” or the small “Check box” on the Top Menu. Name your Layer “Poster”.


4 - Select the “Type Tool” (T) choose a Bold Font (we used “Myriad Pro Bold”) and type your text. Use Black as “Fill” color and change the “Tracking” if needed. We decided to elongate our text, so we used “Free Transform” (Command/Control + T) to pull the upper and lower handles.


5 - Click on top of the “Poster” Layer Thumbnail while holding the “Command/Control” key to make a selection. Make sure your “Text” Layer is selected and create a “Layer Mask” by clicking on the small button at the bottom of the “Layers Panel”. Change the “Blending Mode” to “Color Burn” and the “Opacity” to 90%.


6 - Hold the Shift + Command/Control + Alt/Option + E keys to create a “Composite Layer”, then, with the “Composite” Thumbnail selected, click on top of the “Text” Layer Thumbnail while holding the “Command/Control” key to make a selection of the text. Go to Select > Inverse (Shift + Command/Control + I) and hit “Delete” to erase the background and just keep the text. Name it “Top Text”.


7 - Duplicate the “Poster” Layer (Command/Control + J) and name it “Displacement”.


8 - Go to Filter > Blur > Gaussian Blur… and use a “Radius” of 2 Pixels.


9 - Go to Layer > Duplicate Layer... choose “New” in the “Destination” Tab and name it “Displacement Map”. Click “OK” on the Pop-Up window.


10 - Go to File > Save As... (Shift + Command/Control + S) and save it as a “Photoshop” .psd formatted file.


11 - Hide the “Text” and “Displacement” Layers by clicking the small eye icon to the left of their thumbnails. Or delete them if you want.

12 - Select the “Top Text” Layer and go to Filter > Distort > Displace, use a “Horizontal and Vertical Scale” value of 5, check the “Stretch to Fit” and “Repeat Edge Pixels” buttons and click “OK”. Navigate to where you saved your “Displacement Map.psd” file and select it.


13 - Drag the “Poster” Layer and place it under the “Top Text” one, select them both (Shift key) and “Group” them together by clicking the small Folder icon at the bottom of the “Layers Panel”. Name the folder “Poster”.


14 - Use “Free Transform” (Command/Control + T) and rotate the folder slightly. Create a “Layer Mask” by clicking on the small button at the bottom of the “Layers Panel”.


15 - Double-click on the “Poster” Folder Thumbnail and apply the following “Layer Styles”:
Drop Shadow: (click the “Reset to Default” button to use those settings)

16 - Duplicate your “Poster” Layer (Command/Control + J), select the original one and change its “Blending Mode” to “Vivid Light”. Then, change the duplicate’s “Fill” to 70%.


17 - Open the “Brushes Panel” on the Top Menu, click on small Gear icon on the Top-Right to open the dropdown menu, choose “Load Brushes…” and navigate to where you saved the “Grunge Brushes” to load them.


18 - Make sure you selected the “Poster” Folder Mask and use the “Brush Tool” (B), with one of the loaded “Grunge Brushes” and Black as “Foreground” color to cut out some portions of the Poster. Switch between brushes and sizes to create the idea of torn paper. If you make a mistake you can “Undo” (Command/Control + Z) or use White to erase it.


19 - Select the “Poster” Layer Duplicate and bring out the “Levels Panel” (Command/Control + L), change the “White Point” value to 225 and the “Gray Point” value to 0.80, (you may use other values depending on your images).

20 - Your image should be similar to this.

by @lornacane