By Design Bundles
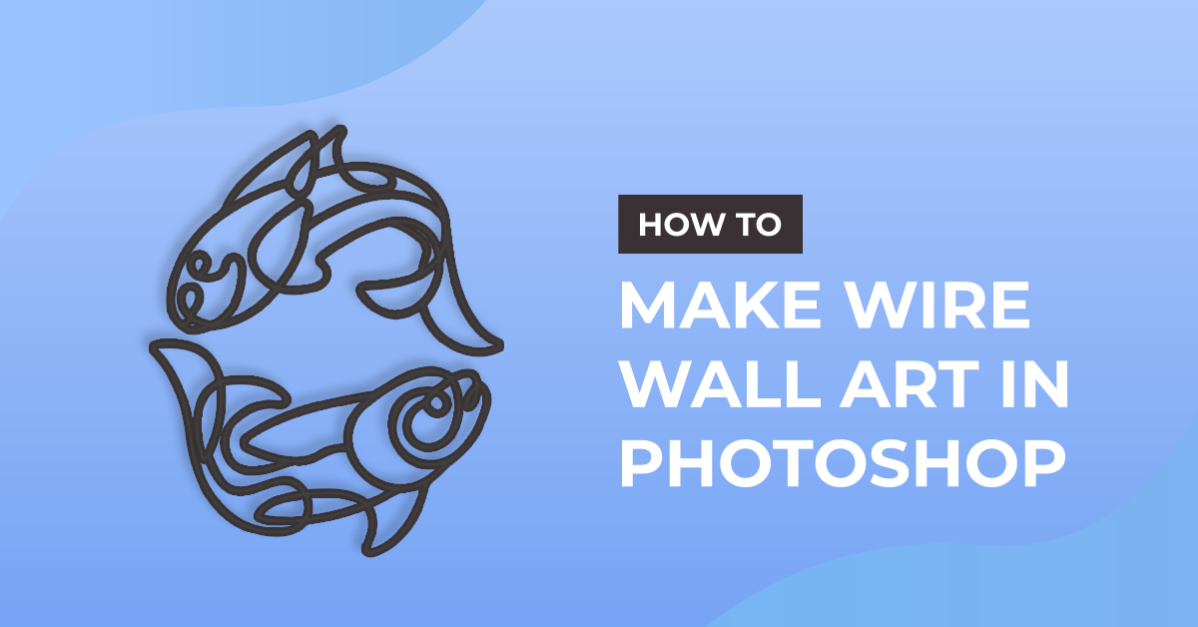
Wire Wall Art in Photoshop
For this tutorial, you will need some outlined vectors or png files of a subject you want to use as the wall art. We are using a free Zodiac sign bundle.
1 - In Photoshop, open the image you chose as “Background”.

2 Then, open the one you want to use as “Wall Art” making sure it has a “Transparent” Background.

3 - Right-click on top of its Thumbnail and choose “Convert to Smart Object”.

4 - Use “Free Transform” (Command/Control + T) to resize the image if needed. Click on the small Check Mark on the Top Menu or hit “Enter” to “Commit” the changes.

5 - “Duplicate” the layer by dragging its Thumbnail to the “Create New Layer” button at the bottom of the “Layers Panel” and name it “Base”.


6 - Select the duplicate, right-click on top of its Thumbnail and choose “Rasterize Layer”.

7 - Go to Image > Mode > RGB Color, choose “Don’t Merge” and “Don’t Rasterize” when prompted.


8 - Go to Filter > Filter Gallery > Sketch > Torn Edges and use the following values (22, 15 1). Then, go to Filter > Filter Gallery > Sketch > Stamp and use the following values (25, 8).


9 - Go to Filter > Blur > Gaussian Blur and use a “Radius” of 1 Pixel.


10 - Go to Filter > Sharpen > Unsharp Mask and use the following values (100, 50 , 0).


11 - Go to Select > Load Selection... Use the default settings.


12 - Create a “New Layer” (Shift + Command/Control + N), name it “Wires” and make sure it is on top of everything.


13 - With your selection still active and the “Wires” Layer selected, head to the “Paths” Panel and click the “Create Path” button at the bottom of the Panel. Double-click on the “Work Path” Thumbnail and name it “Wires”.


14 - Select the “Brush Tool” (B) and use a 12 px 100 % “Hardness” brush.


15 - With the “Selection Tool” right-click on top of the “Path” and choose “Stroke Path” use “Brush” as “Tool” and click “OK”. Don’t forget to “Deselect” the Path.


16 - Select the “Wires” Layer and create “Layer Mask” by clicking on the small button at the bottom of the “Layers Panel”.


17 - Double-click on top of its Thumbnail and apply the following “Layer Styles”:
Bevel & Emboss:

Drop Shadow:

18 - Go to Layer > Layer Style > Global Light and use a 125° “Angle” and a 70° “Altitude”.


19 - You can “Delete” the “Base” Layer if you want.

20 - Create a “New Solid Color Fill Layer” on top of everything by clicking on the small Black and White icon at the bottom of the “Layers Panel” and use a Dark Grey (#373737) as “Fill” color.


21 - Right-click on top of the “Fill Layer” Thumbnail and choose “Create Clipping Mask”.


22 - Select the top two layers (Color and Wires) and “Group” them together by clicking on the small “Folder” icon at the bottom of the “Layers Panel”. Name the Group “Wire”.


23 - Bring the “Wire” Group into the “Background” Document.


24 - Resize and/or Rotate it if needed using “Free Transform” (Command/Control + T). Click on the small Check Mark on the Top Menu or hit “Enter” to “Commit” the changes.

25 - Check out your Artwork!

by @lornacane