By Design Bundles
How to Add a New Cutting Material to Silhouette Studio
1- Open silhouette Studio.
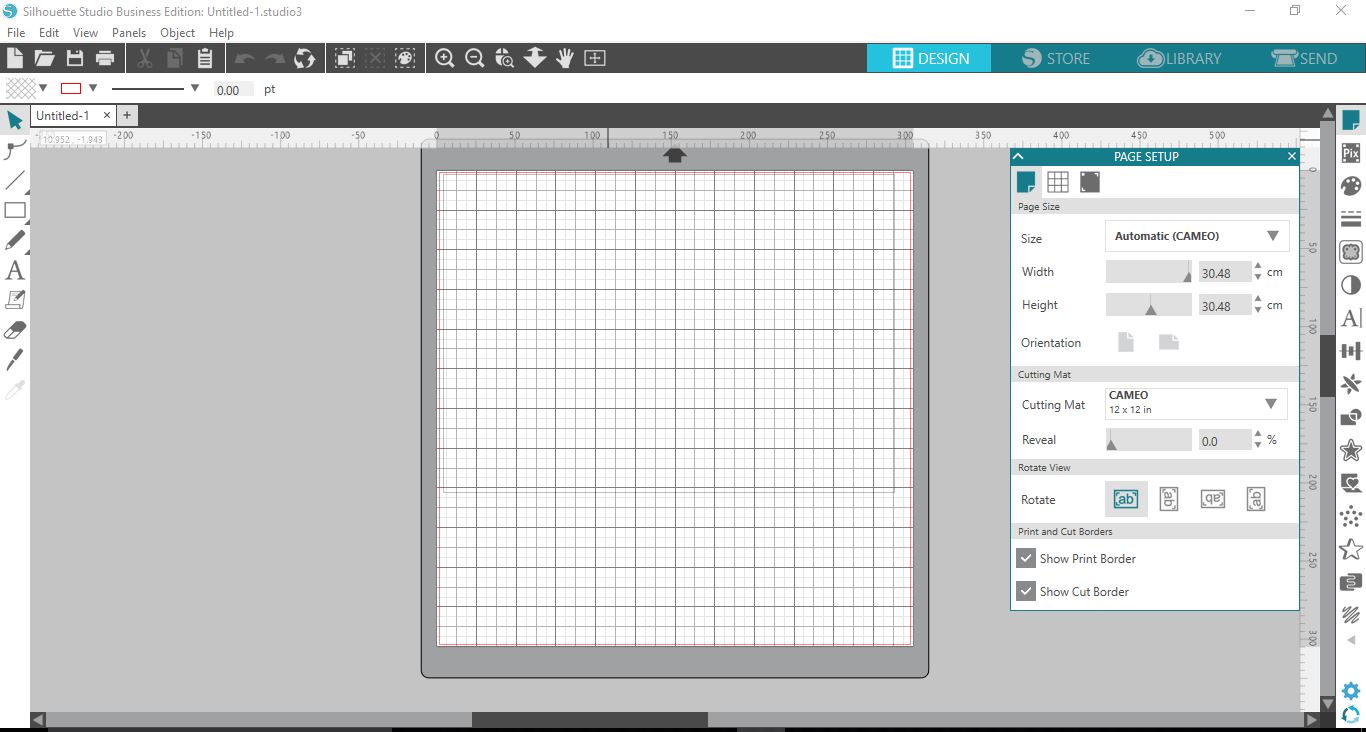
2- Create a design, then click on Send as you would normally do to cut your design.
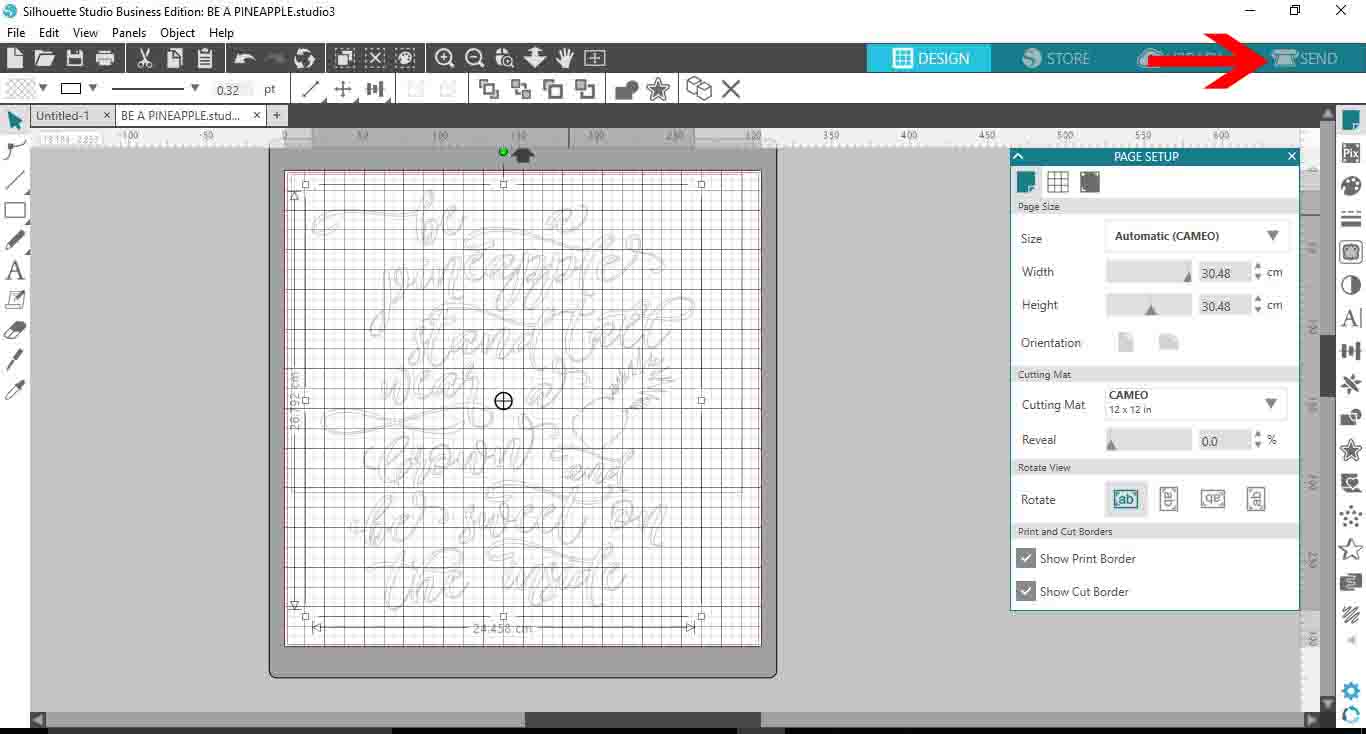
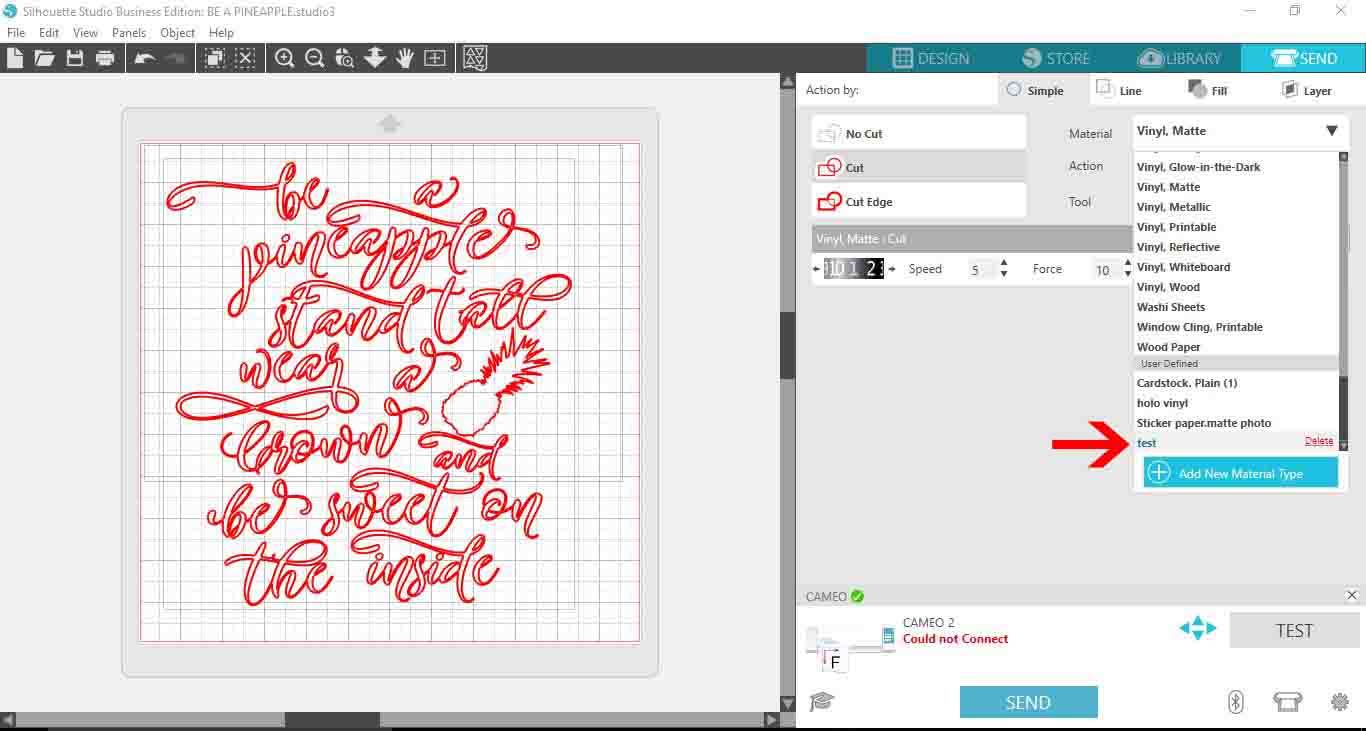
3- In the material drop down menu, there is an 'add new material' option. click on it.
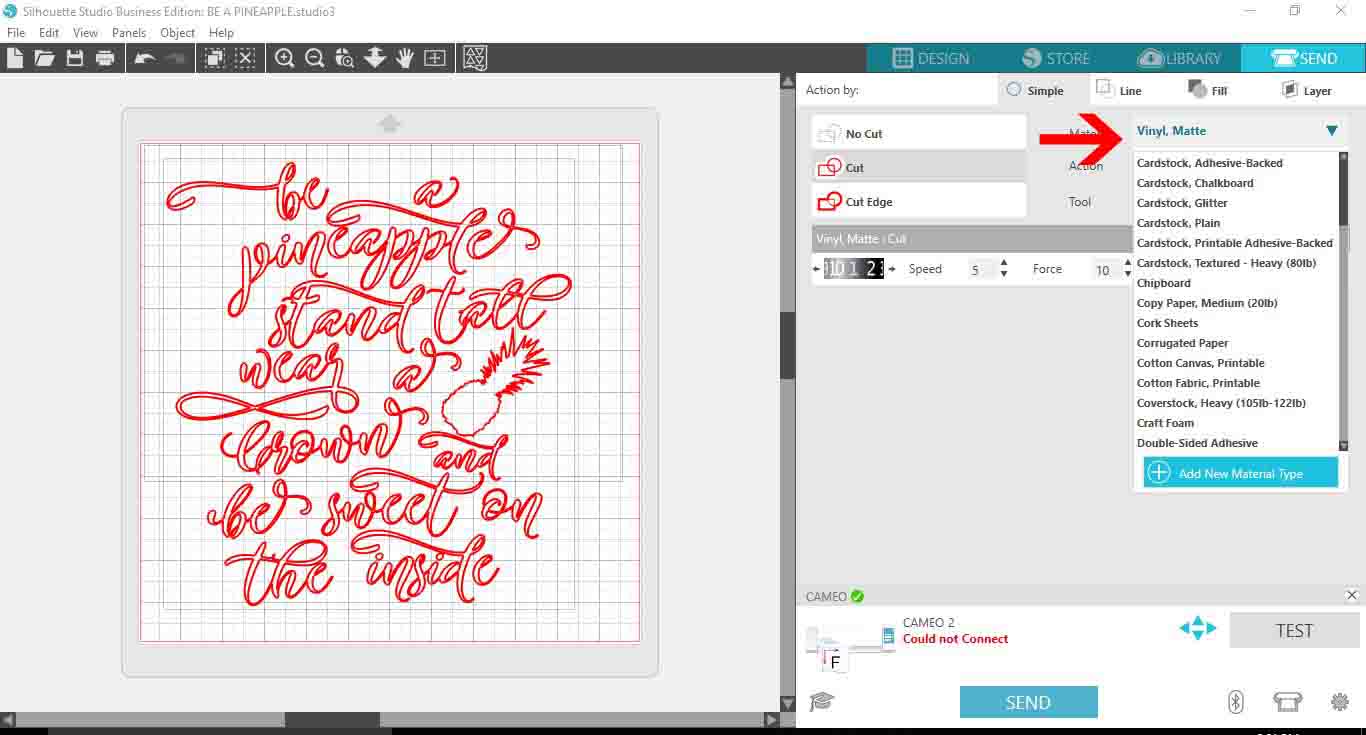
4- A new part of a window will appear and this will give you the option to change the material settings. you can change the depth(1), the speed(2), the force(3), and how many passes you would like it to do(4).
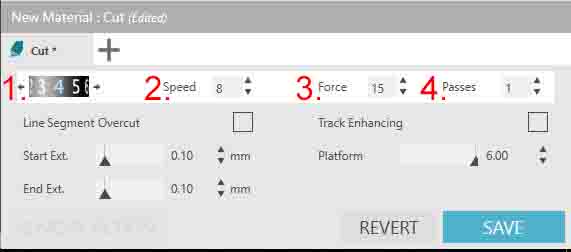
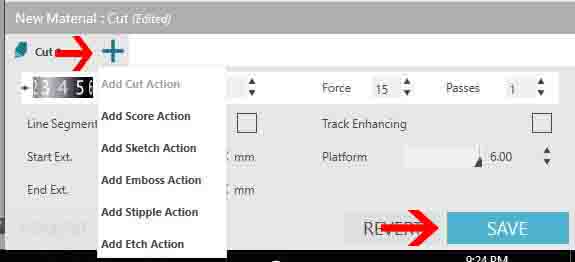
5- If you click on the+ icon a new drop down option will appear, so you can add different types of cuts like scoring or embossing(if you have a curio).
Finally when you are happy with your settings, click save.
6- If you scroll down in the material setting above the cut settings, you can find a user defined option and your new material will be found there. Double click on it and rename to what you would like to call your new material.
Click on the X when finished.
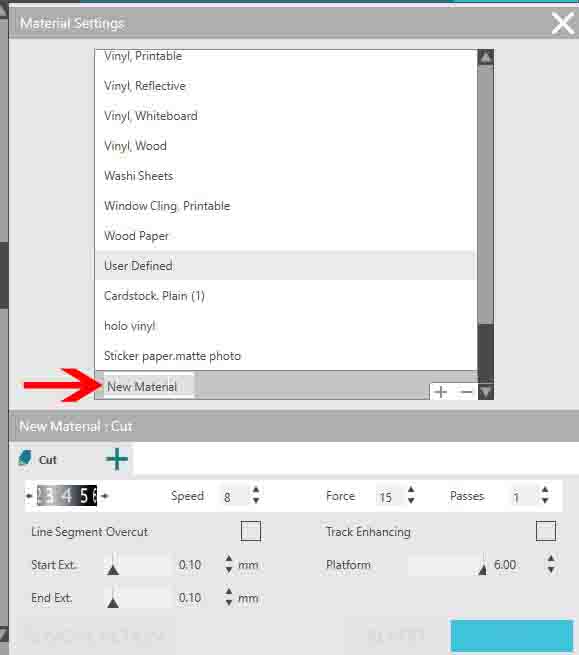
7- Now when you go back to the material drop down box your new material will be found at the bottom of the drop down list for you to use.