By Design Bundles
Silhouette Tutorials5 min
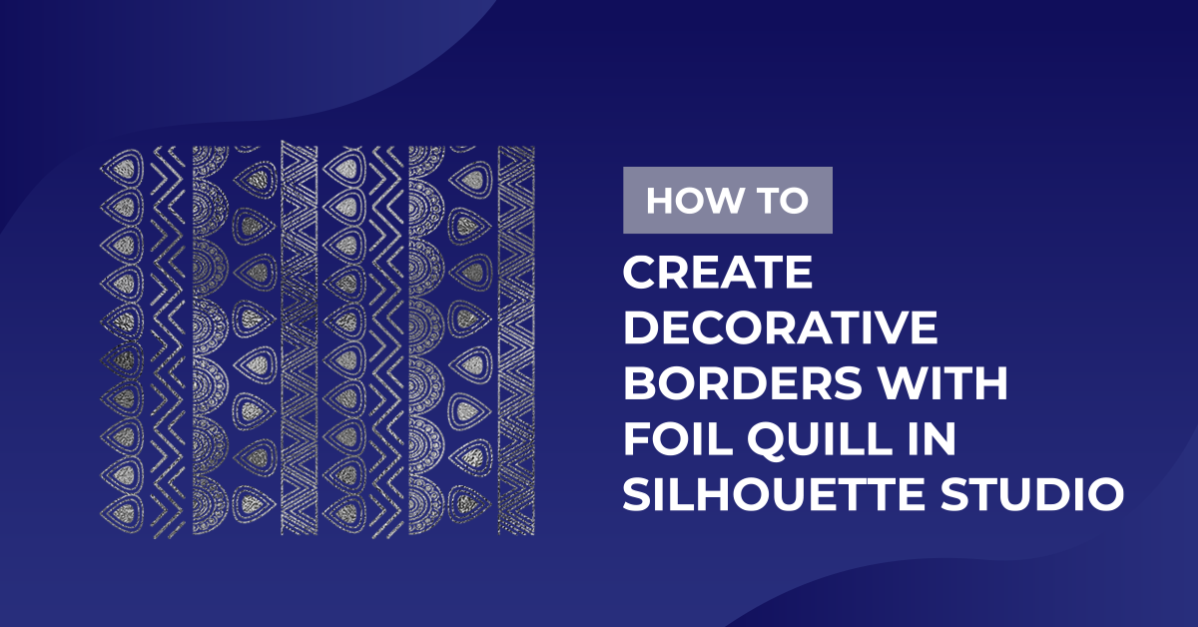
How to create decorative borders with the foil quill in Silhouette studio
1- Open silhouette studio. First you need to find a design you would like to use as a border. you can download one from a purchased file or use a file you already own. I am going to use one I already have so I will go to my library.
2- Select your border.
3- Your design will appear on your design space.
4- If there are more parts of the design you do not need, right click and ungroup.
5- Delete any parts of the design you don't need.
6- Click the shape tool and select the rectangle tool.
7- Create a rectangle to use as the edge of the card.
8- Line up the border and the rectangle. we will need to weld them together. Click weld.
9- Select the welded object.
10- Right click and release compound path.
11- To make the border more decorative we are using the internal and external offset tool. Click on the offset tool and then select part of the border. Select internal offset. Adjust the offset to give an even space.
12- Re select the design and this time use the external offset.
13- Repeat the offset above on all parts of the border.
14- Once you are happy,select all. Right click and group.
15- Select the edge. change the line color so if you are using a cameo 3 you can foil and cut with both housing.
16-Select each color and choose if your cutting or foiling. Make sure you put the appropriate tool in the correct holder on your machine.
17- Foil the edge.
18- Now you can cut the card and edge to finish your decorative edge.

2- Select your border.

3- Your design will appear on your design space.

4- If there are more parts of the design you do not need, right click and ungroup.

5- Delete any parts of the design you don't need.

6- Click the shape tool and select the rectangle tool.

7- Create a rectangle to use as the edge of the card.

8- Line up the border and the rectangle. we will need to weld them together. Click weld.

9- Select the welded object.

10- Right click and release compound path.

11- To make the border more decorative we are using the internal and external offset tool. Click on the offset tool and then select part of the border. Select internal offset. Adjust the offset to give an even space.

12- Re select the design and this time use the external offset.

13- Repeat the offset above on all parts of the border.

14- Once you are happy,select all. Right click and group.

15- Select the edge. change the line color so if you are using a cameo 3 you can foil and cut with both housing.

16-Select each color and choose if your cutting or foiling. Make sure you put the appropriate tool in the correct holder on your machine.

17- Foil the edge.

18- Now you can cut the card and edge to finish your decorative edge.

Related Tutorials
Cricut Tutorials
Creating decorative borders in Cricut Design Space using the foil quill
Learn how to to make unique borders for cards or other craft projects!
Silhouette Tutorials
How to fill text with the foil quill in silhouette studio free edition
In 4 easy steps learn two ways to fill text with the Foil Quill in Silhouette Studio Free Edition.
Silhouette Tutorials
How to draw your first line with the foil quill in silhouette studio
Discover how to draw your first line using the Foil Quill in Silhouette Studio, 2 easy steps!
Silhouette Tutorials
Foiling leather using the foil quill and silhouette studio
Scan N Cut Tutorials
Create a decorative border using the foil quill in Brother scan and cut canvas workspace
Silhouette Tutorials