By Design Bundles
How to Use the Foil Quill on Acetate in Silhouette Studio
In today’s cool tutorial we will show you how to use the Foil Quill on acetate in Silhouette Studio. You can create the most beautiful foiled designs for your projects such as invites and much more. Follow this quick guide as we show you how to do this.
You can foil almost any design. For this tutorial we are using a split mandala SVG that is specifically designed for the Foil Quill. If you want to use another SVG, have a look at the awesome Single Line Designs that we have available.
Once you have purchased your design, be sure to download and unzip the file to your system if needed.
Step 1 - Open your Foil Quill Design
Open Silhouette Studio and at the top toolbar, click on the second folder icon from the left. This will open a new window where you can select your design.
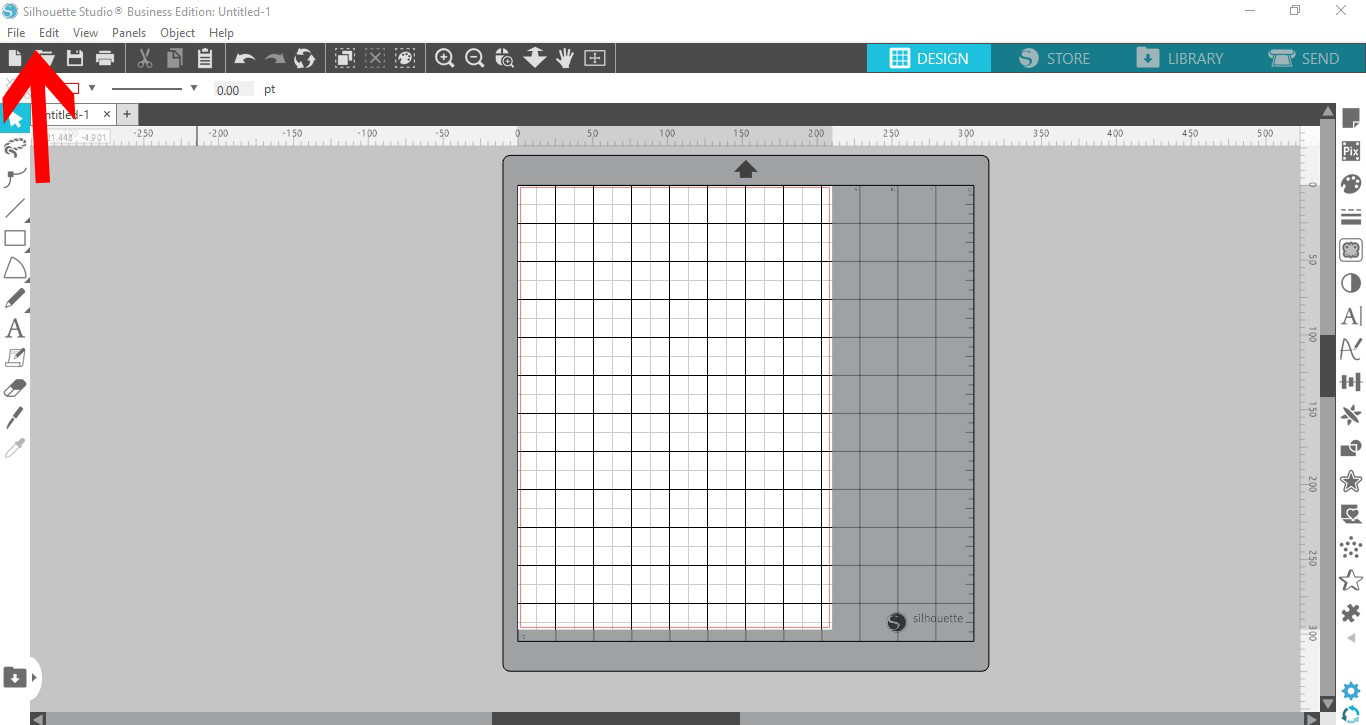
You can also open the design by going to File > Open.

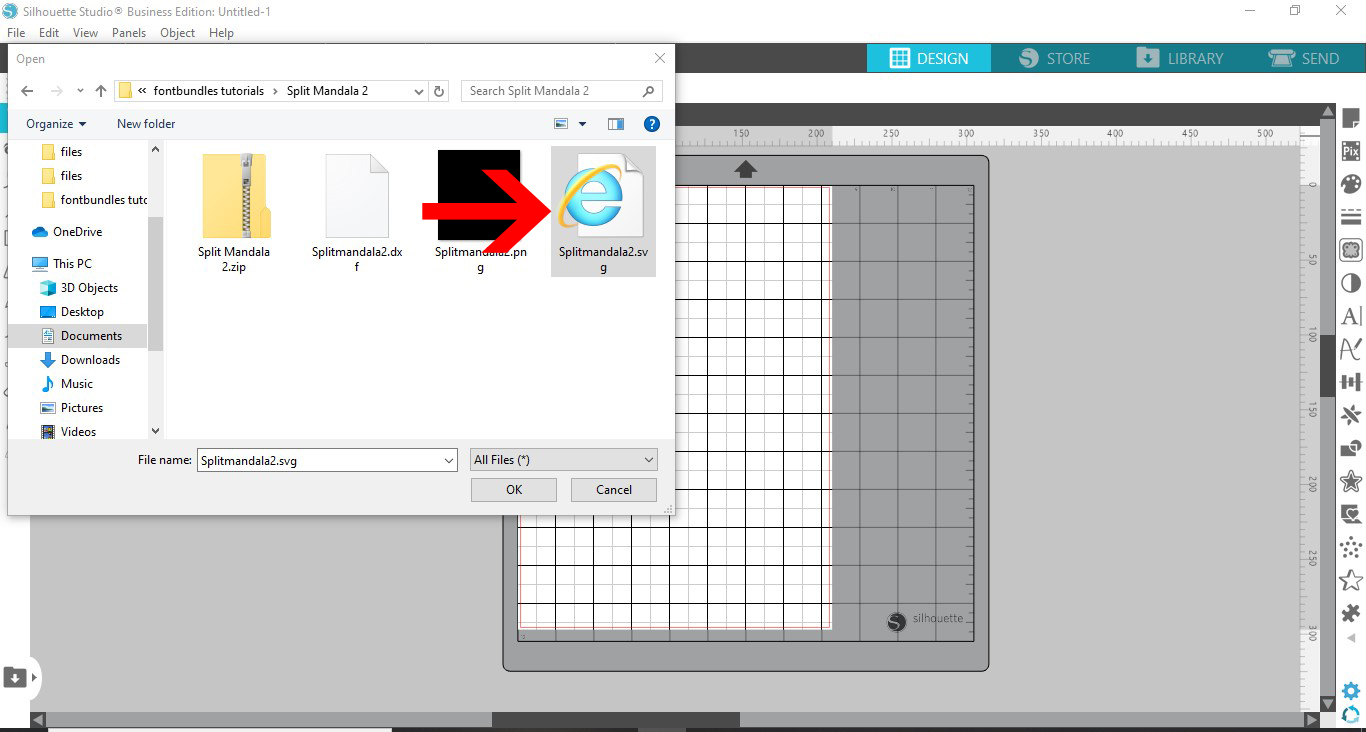
Locate where your file is stored, then click on the SVG design to open.
Step 2 - Edit the Design
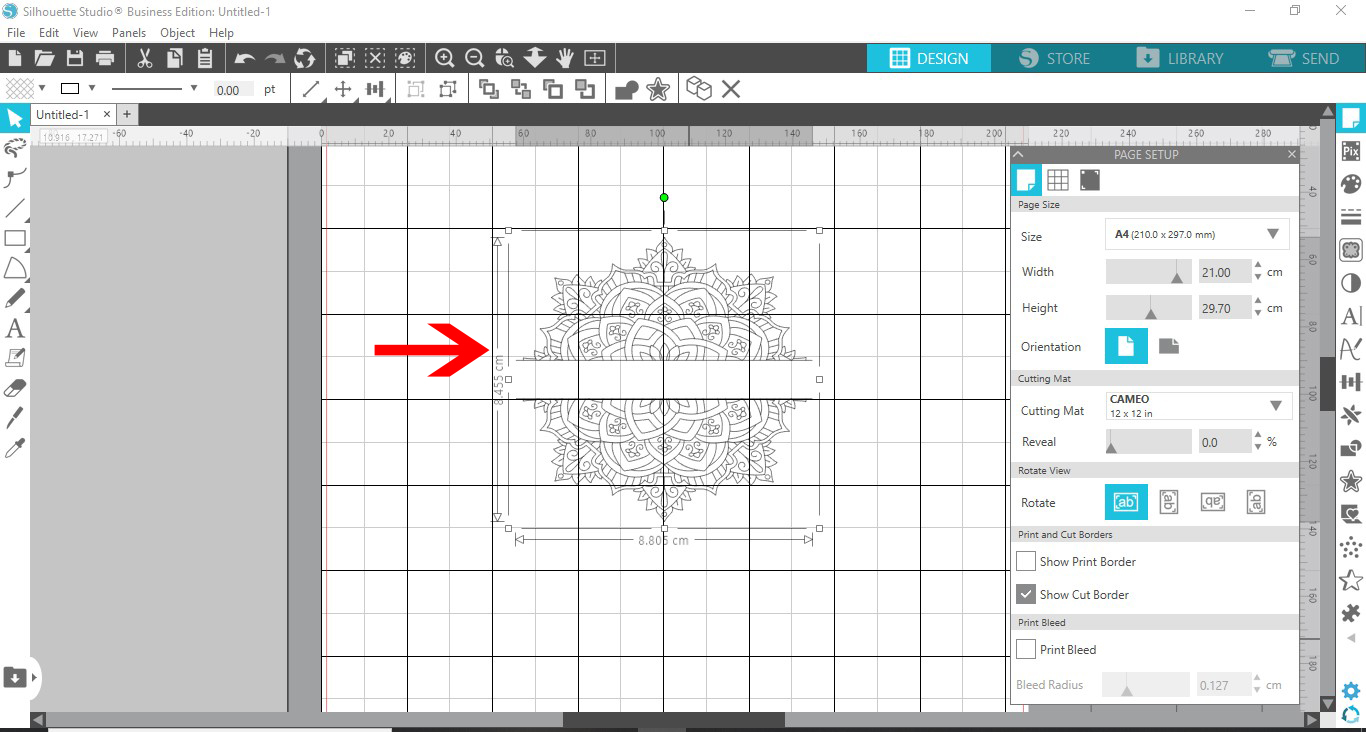
You can resize the design by using the Move Tool on the left side toolbar that looks like an arrow. Click + drag one of the corner nodes in or out to resize.
Edit the split mandala further if needed such as adding your text to complete the design. There is no need to add a color fill, which would only affect the line design. The foil will provide the color.
Step 3 - Select the Media Settings
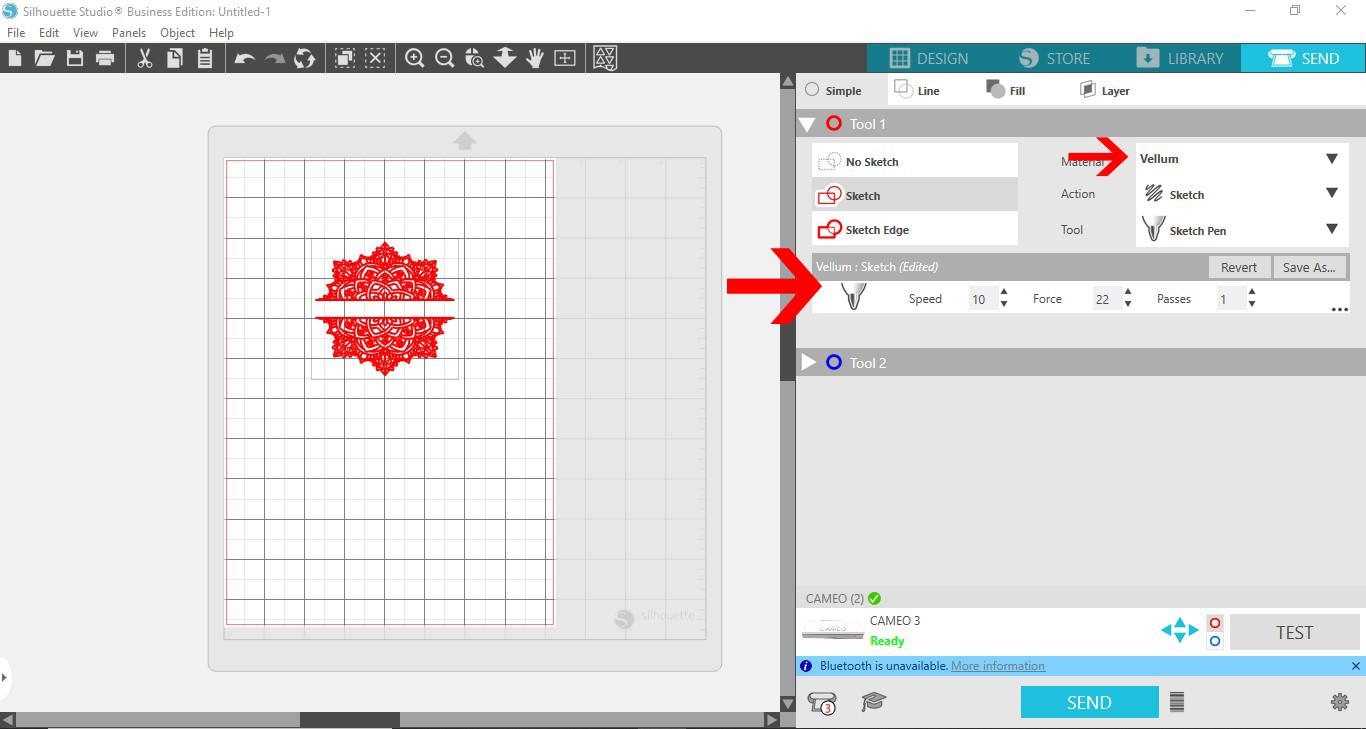
When you are ready to foil, click on the Send button top right. Under the Material drop down menu, select Vellum. We used the following media settings.
Speed: 10
Force: 22
Pass: 1
Make sure that Action is set to Sketch and the Pen Tool is selected. Click on your design then click on Sketch just above the tool settings.
These are the settings that worked best for our machine. However, you may need to experiment with yours if the result is not satisfactory.
Make sure that your Foil Quill has had enough time to heat up, usually about 5 minutes. Be careful when placing the Foil Quill in the tool holder as it will be very hot.
Now, click Send at the bottom of the screen to start the foiling process.
Once the machine has completed the foiling process, unplug your Foil Quill and carefully remove it. Place on a heat resistance surface to cool down.
Remove the mat and peel back the foil to reveal the beautiful mandala design.
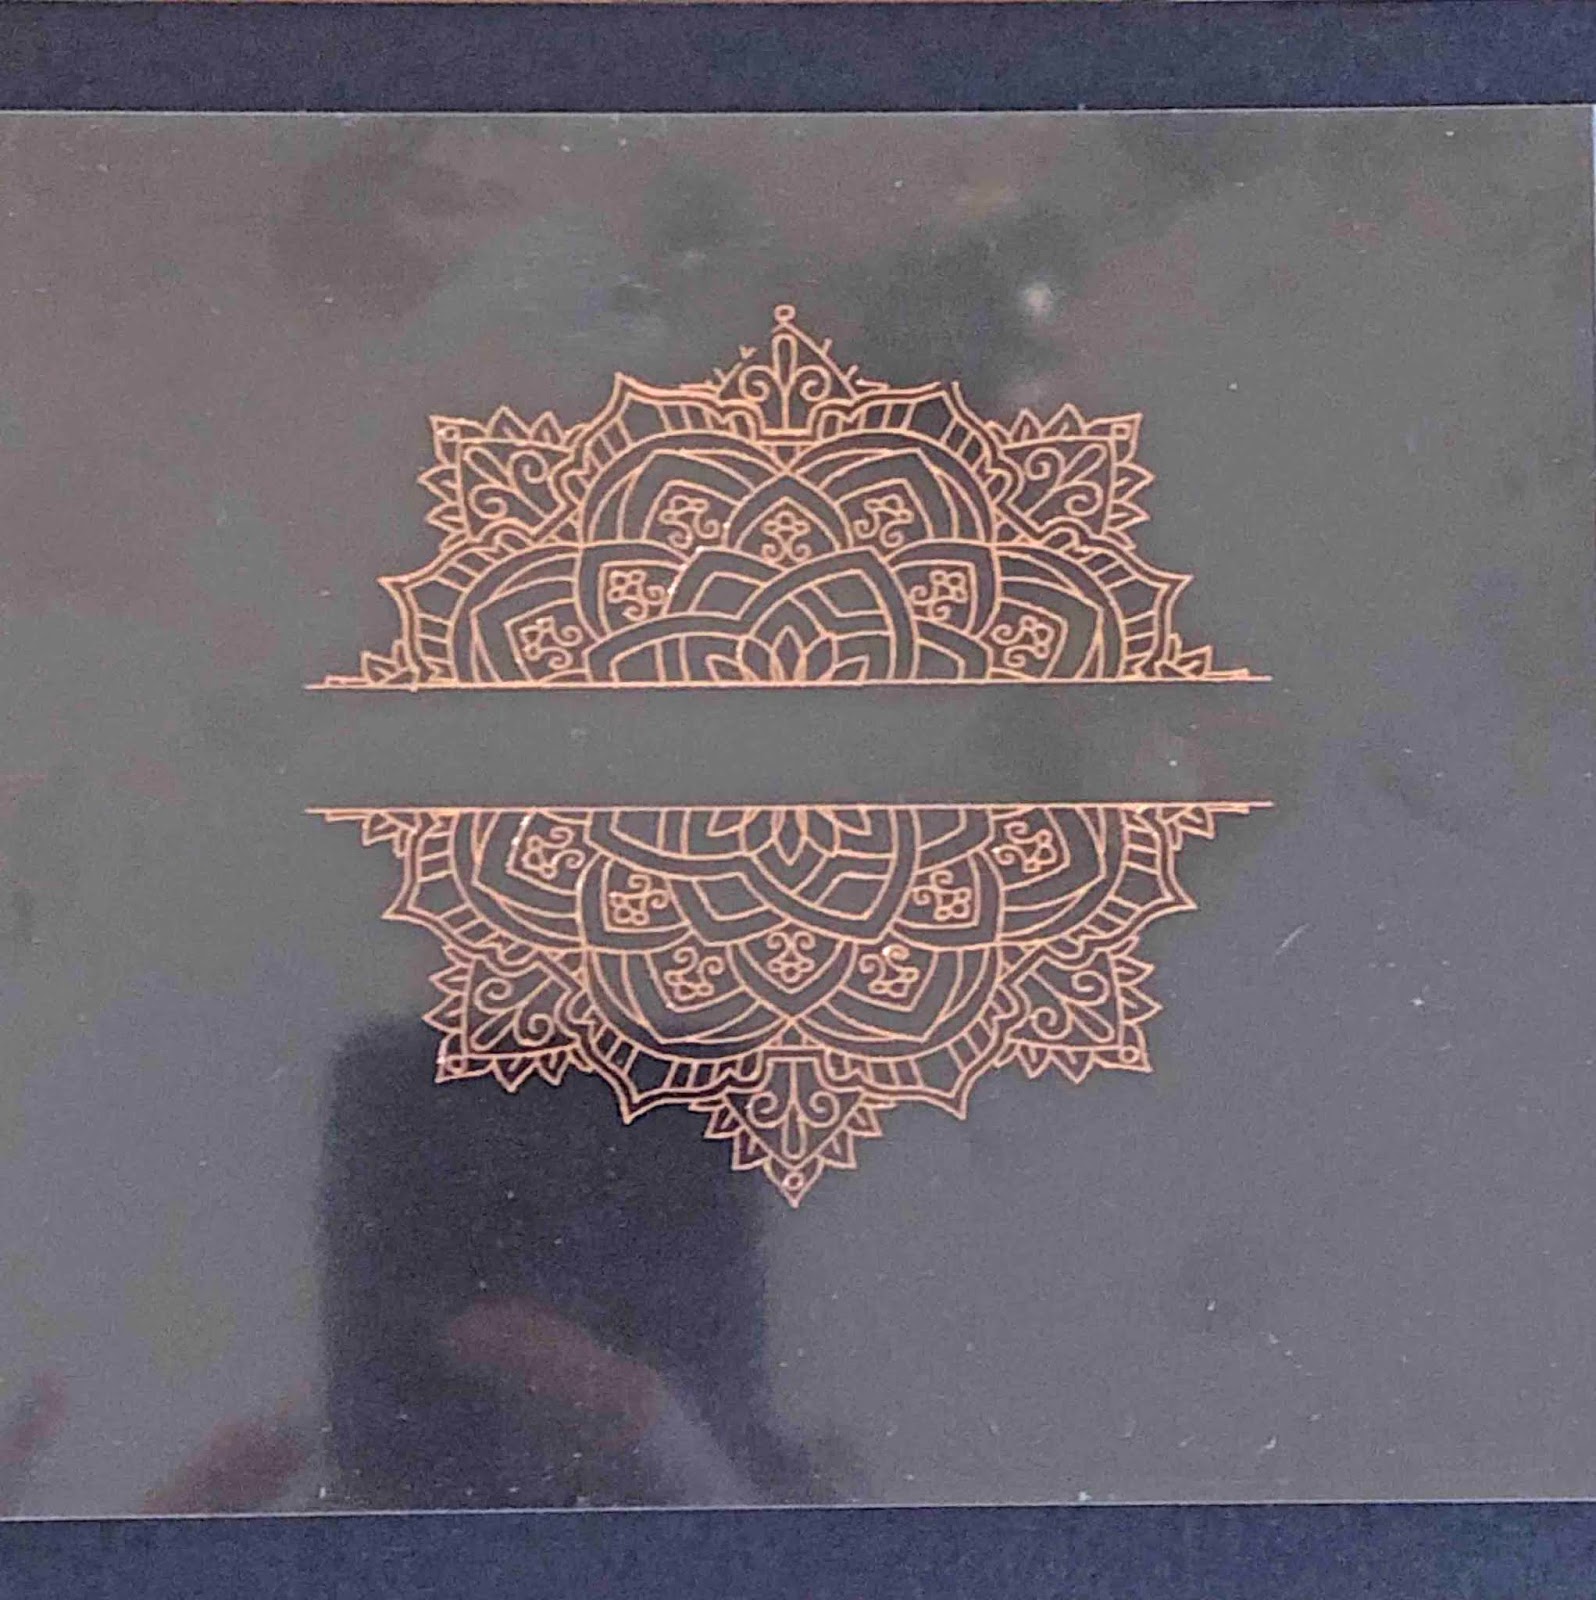
The foil should adhere well to the acetate and not rub off. Don’t you just love the foiled detail?
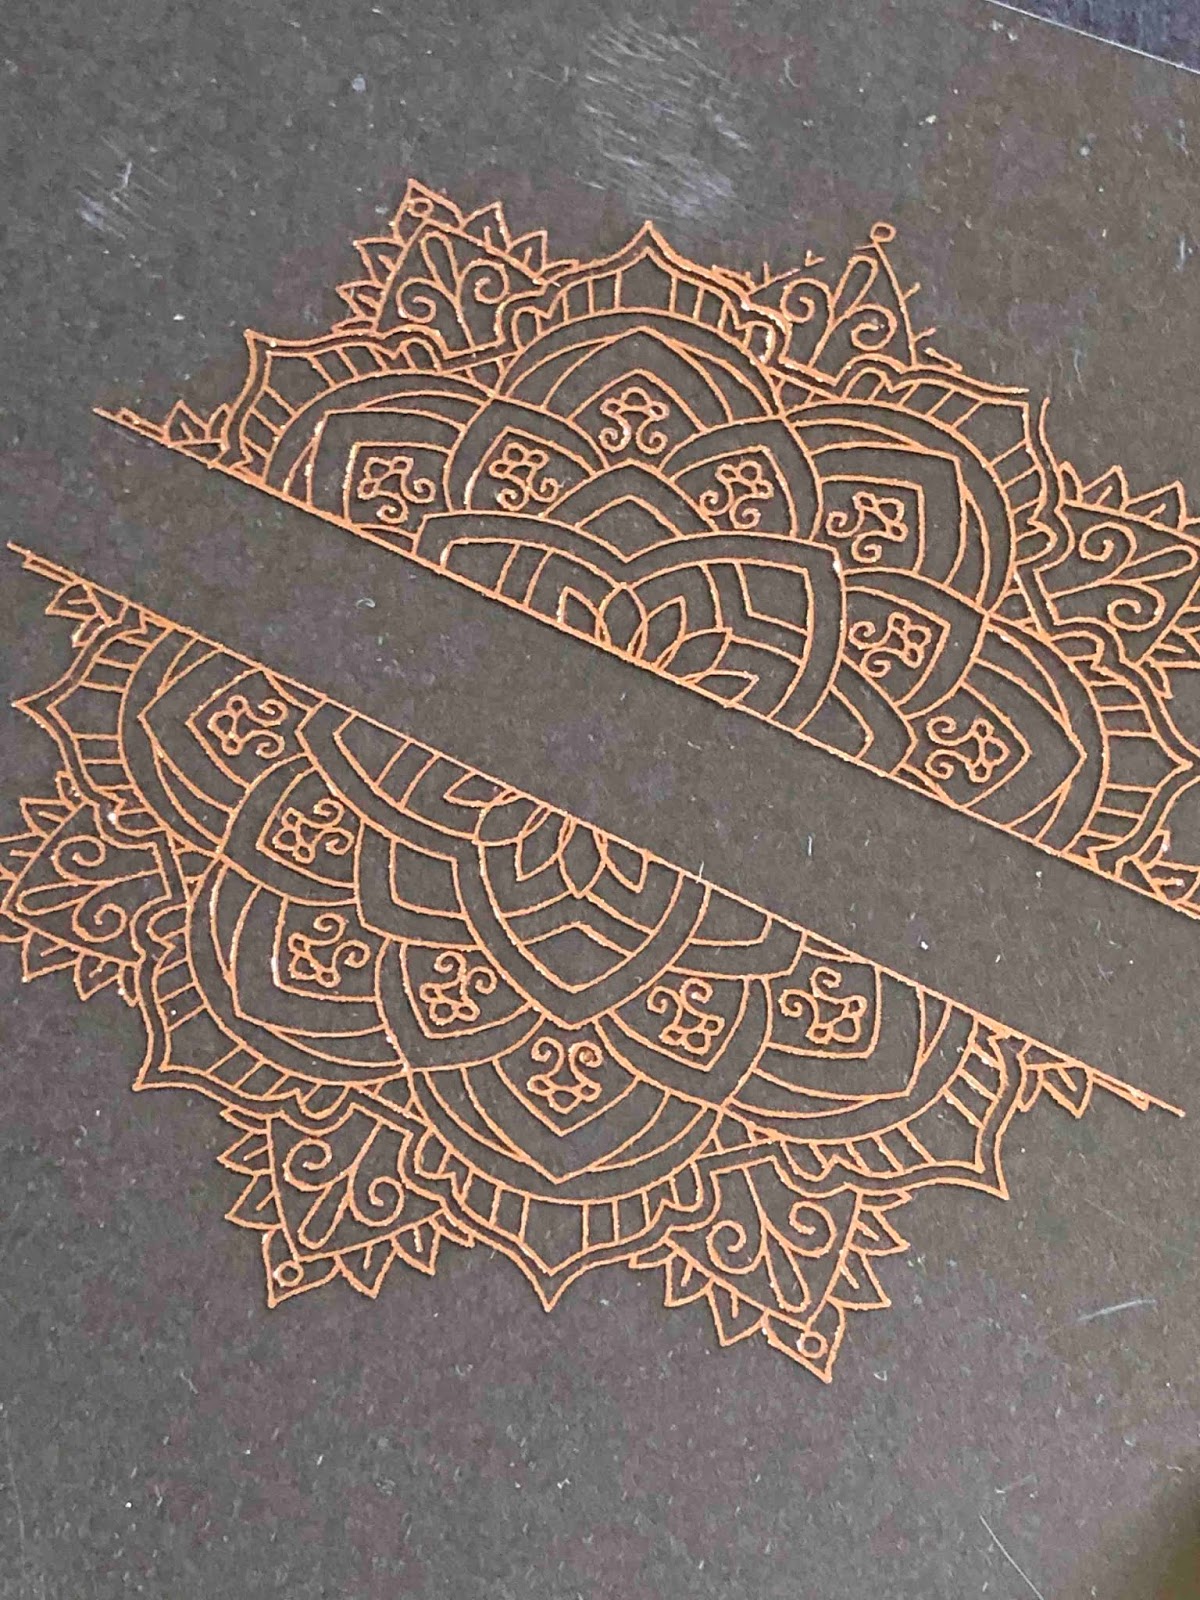
That is how fun and easy it is to use the foil quill on acetate in Silhouette Studio. You can make lovely and unique wedding invites, place this in a frame or add to a card project. With the variety of foil colors available, all you need is a gorgeous design.