By Design Bundles
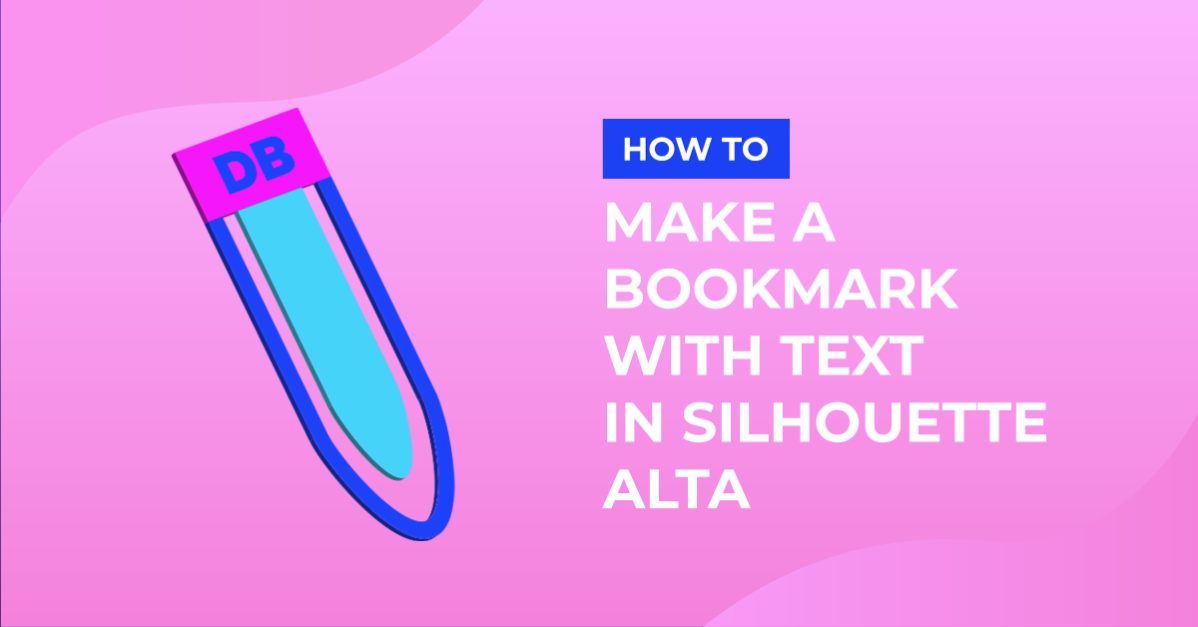
How to use Fonts to Make a Bookmark in Silhouette Alta 3D software
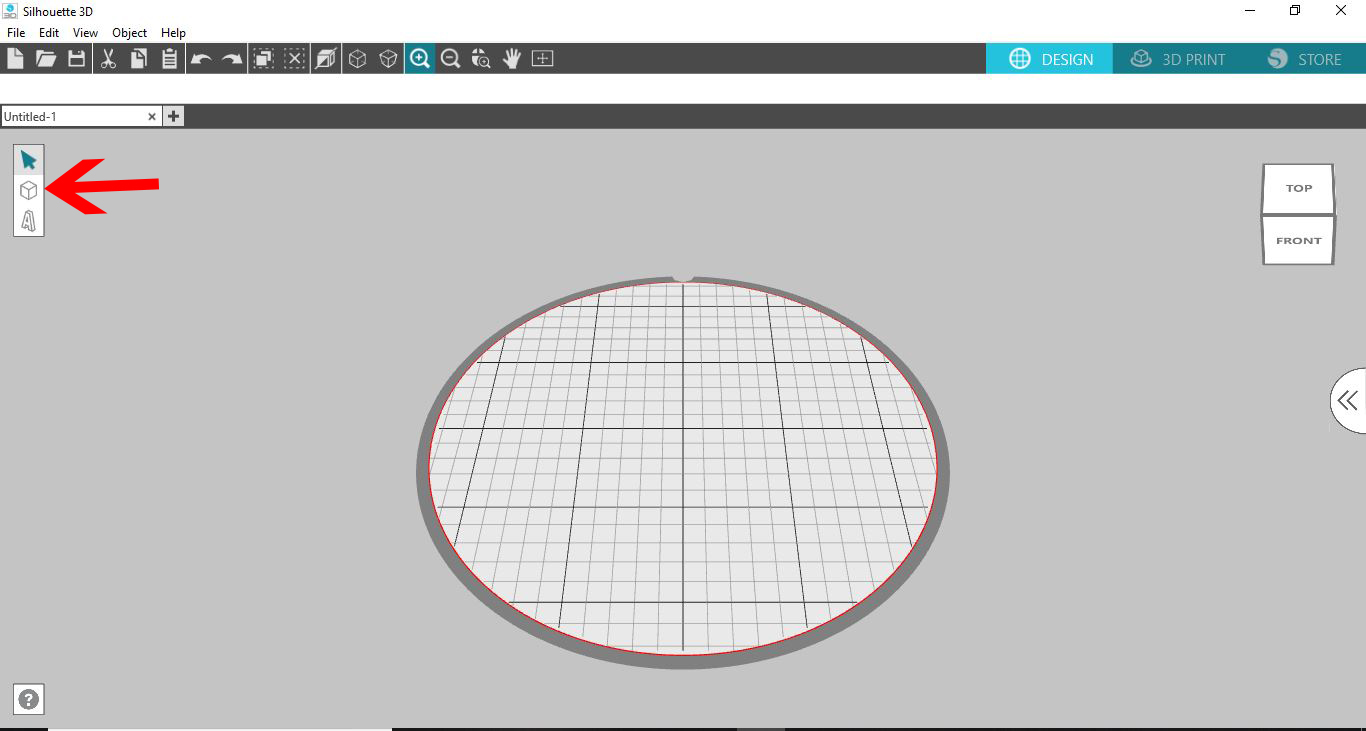
1- Open the Silhouette Alta 3d software. Click on the shapes icon.
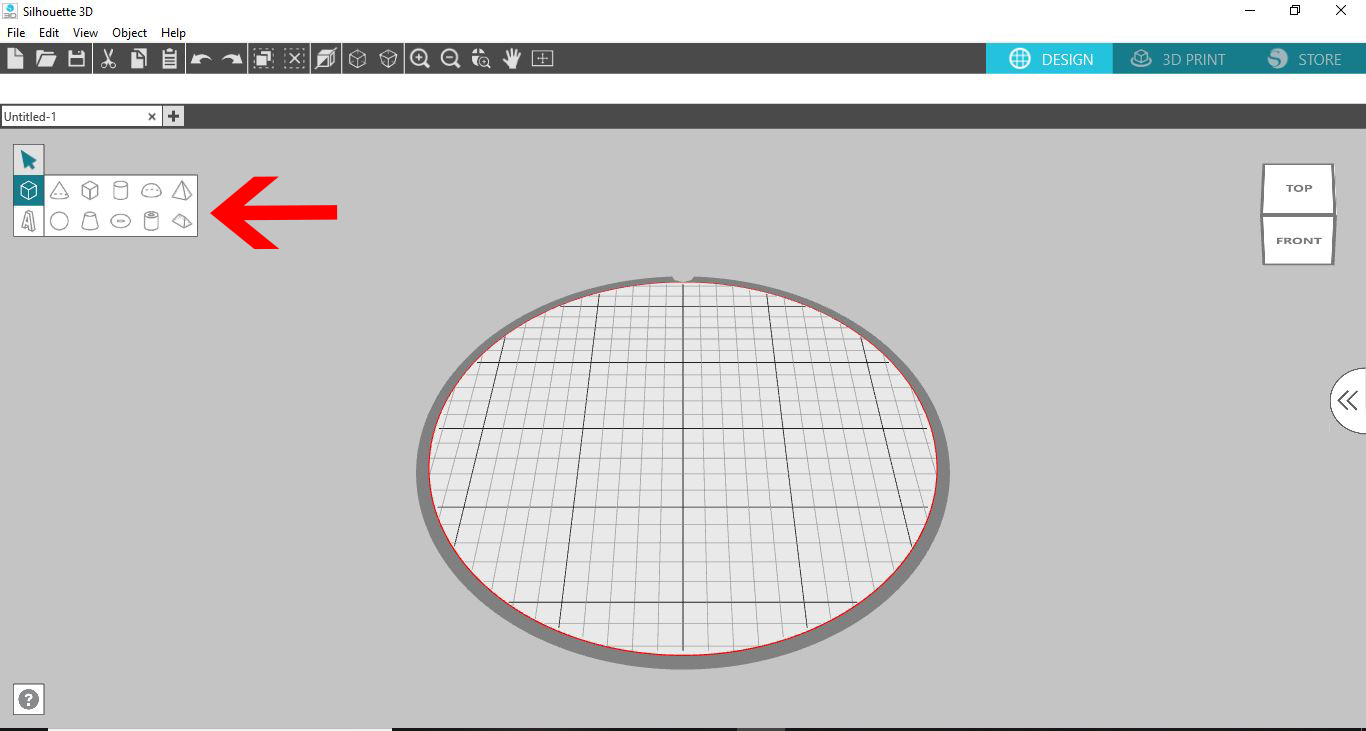
2- Select your first shape.
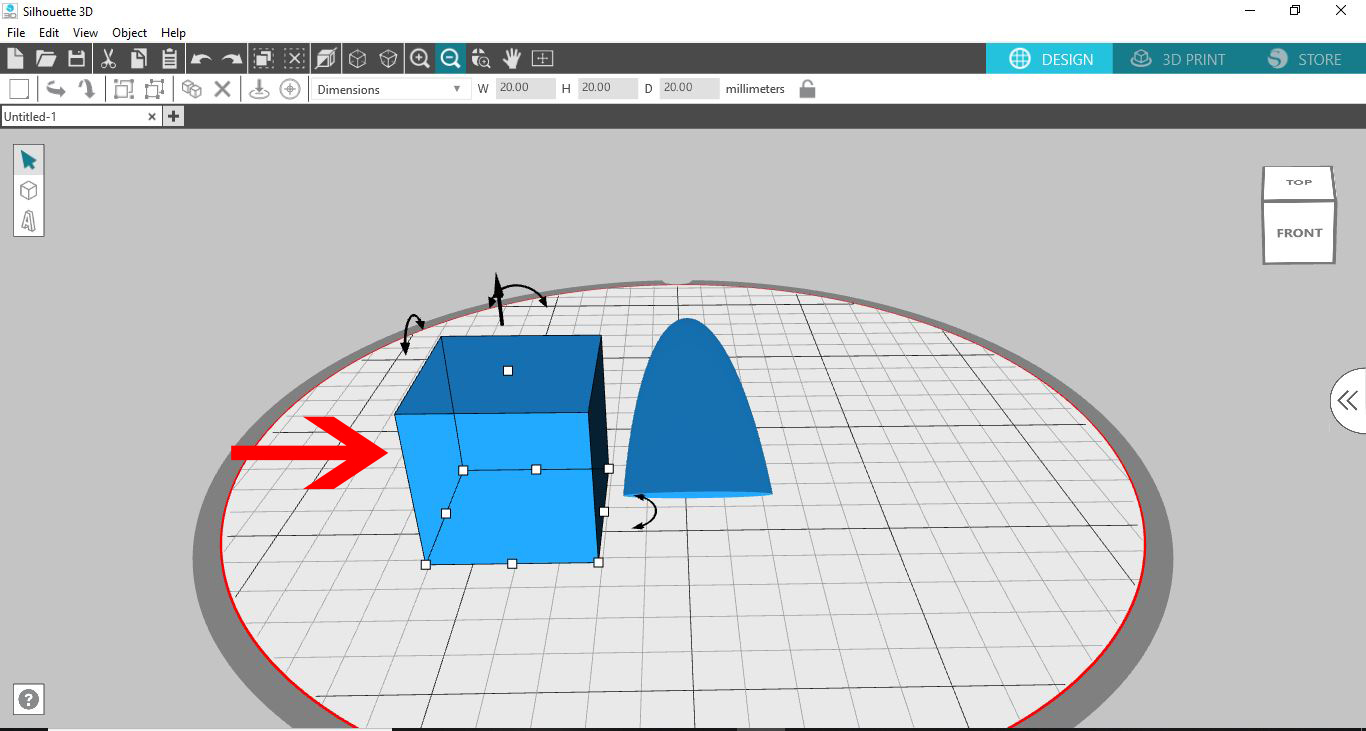
3- Click on your dome. Adjust the size and make the dome flat.

4- Adjust the thickness of the shape to only 1 mm thick.

5- Lengthen the shape to make the clip part of the bookmark. Next select the shape tool again.

6- Create a cube.
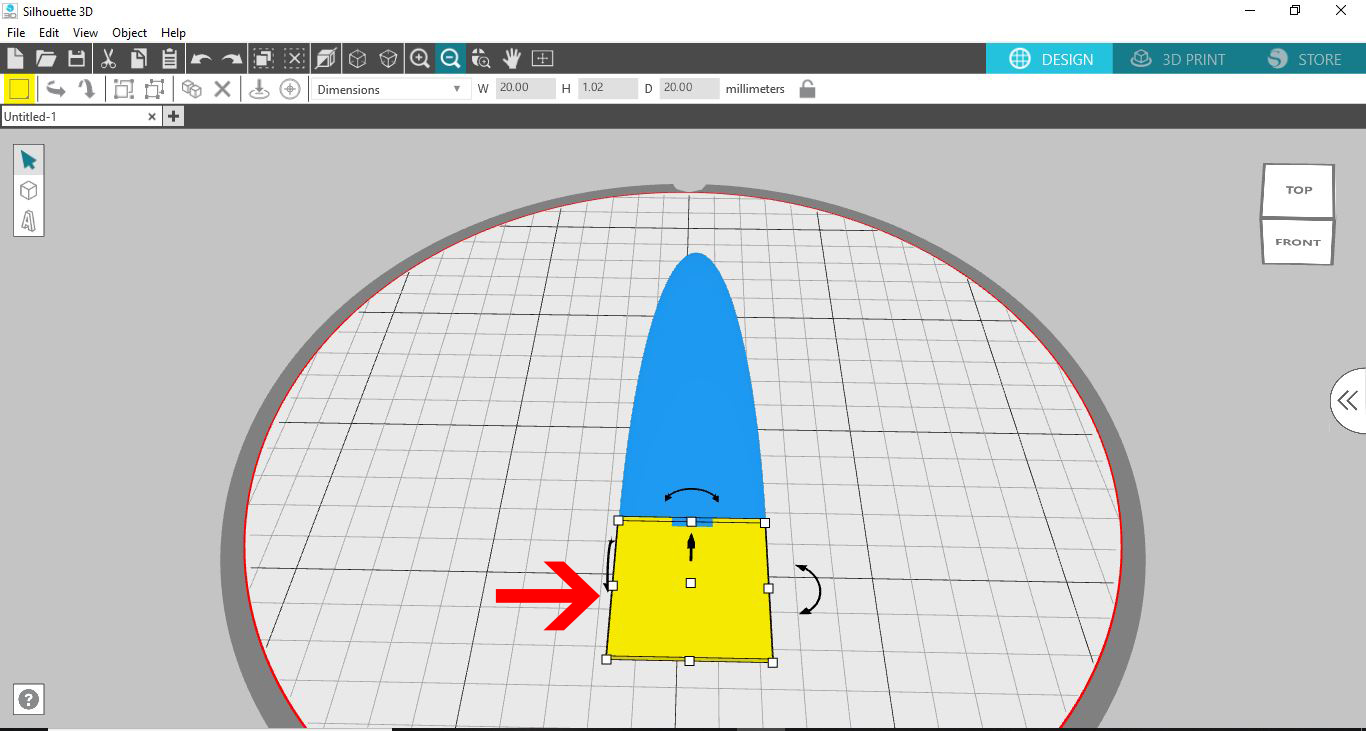
7- Flatten the cube to 1mm and then resize ot the same width as the other shape (blue shape) over lap slightly.
8- Create another cube.

9- Resize again to 1 mm thick and a lot thinner.
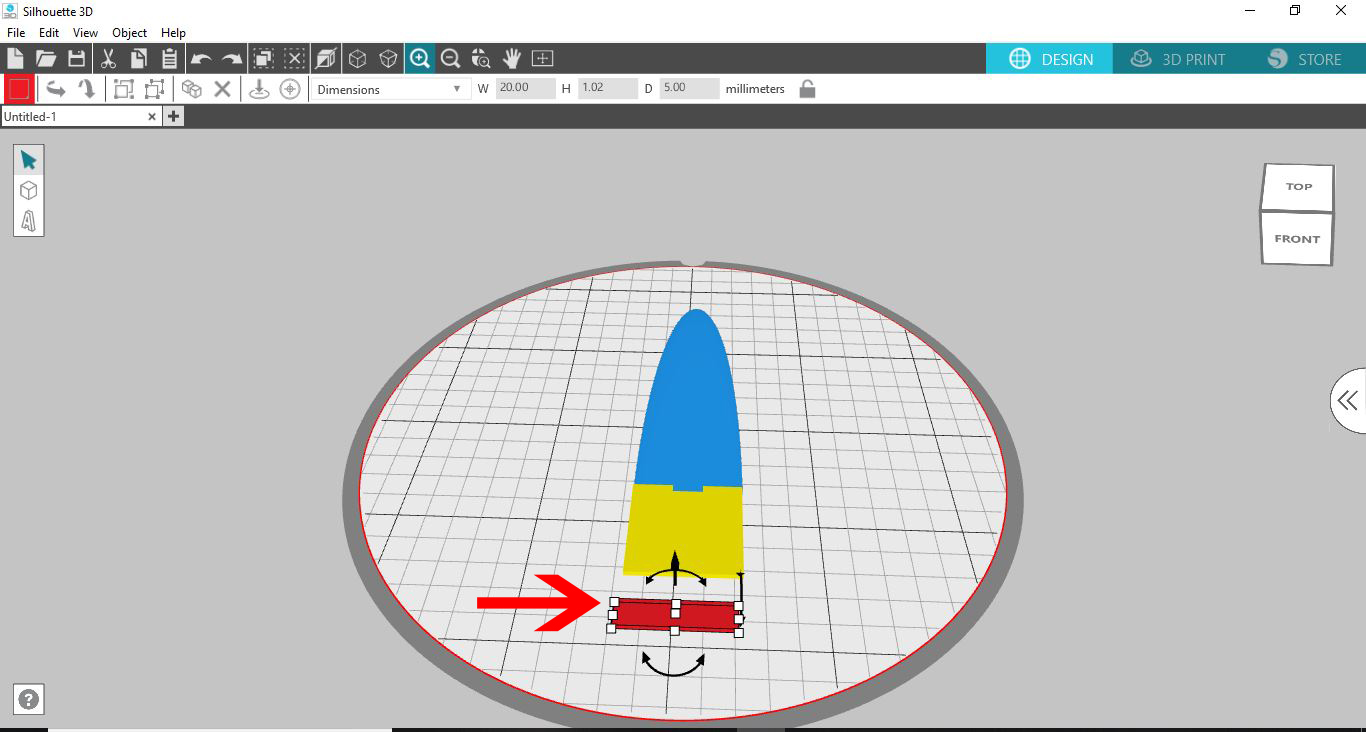
10- Right click and duplicate your shape (red rectangle) several times.
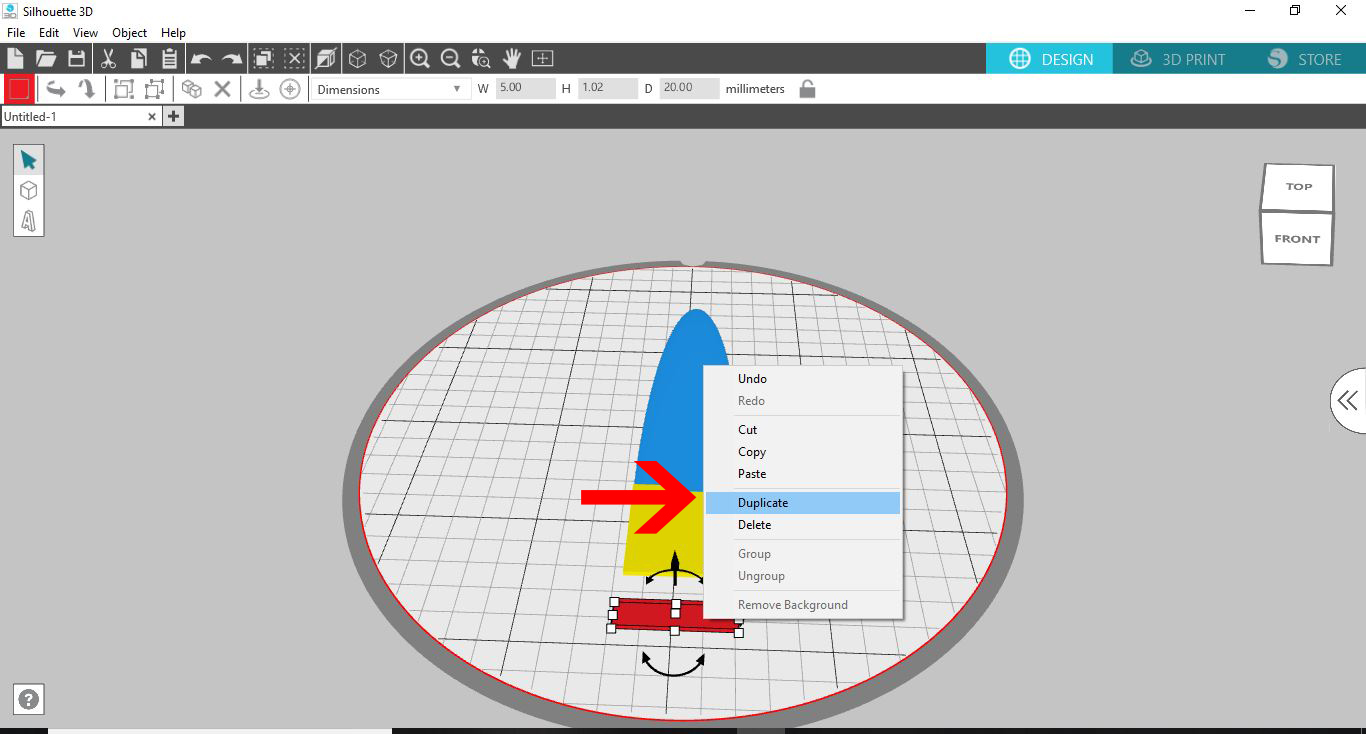
11- Place around the yellow and blue shapes.
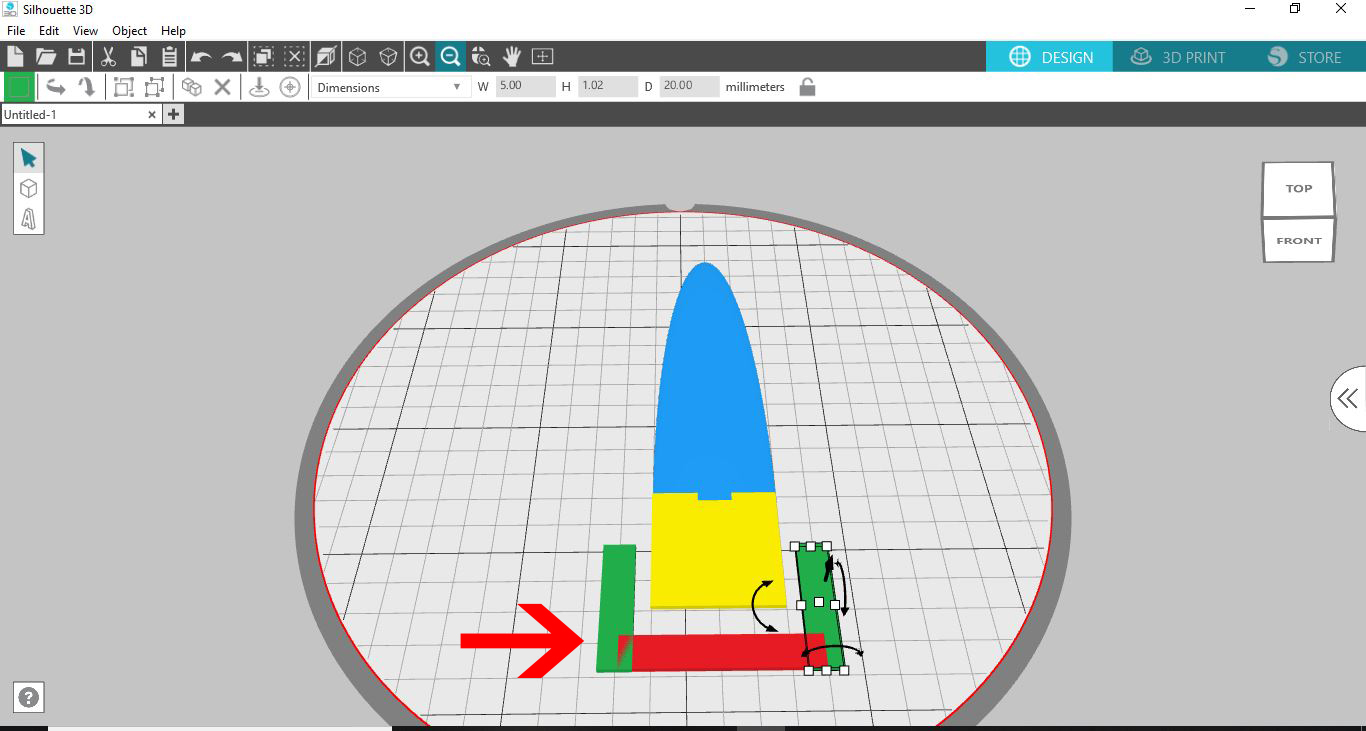
12- lengthen the green rectangles and duplicate the red rectangles again to add to the end of the green rectangles. Lastly duplicate the blue shape and adjust size to cape and join all the shapes together. Basically you are making a large paper clip type bookmark.
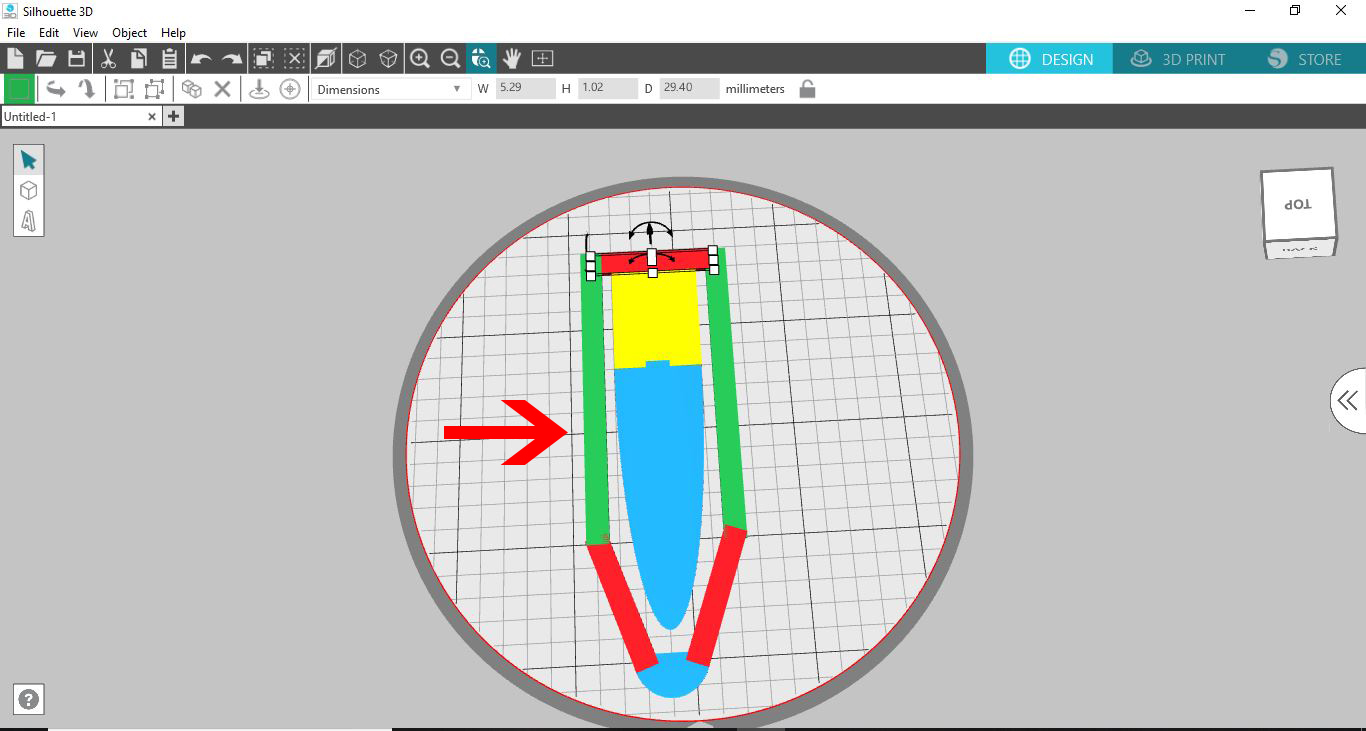
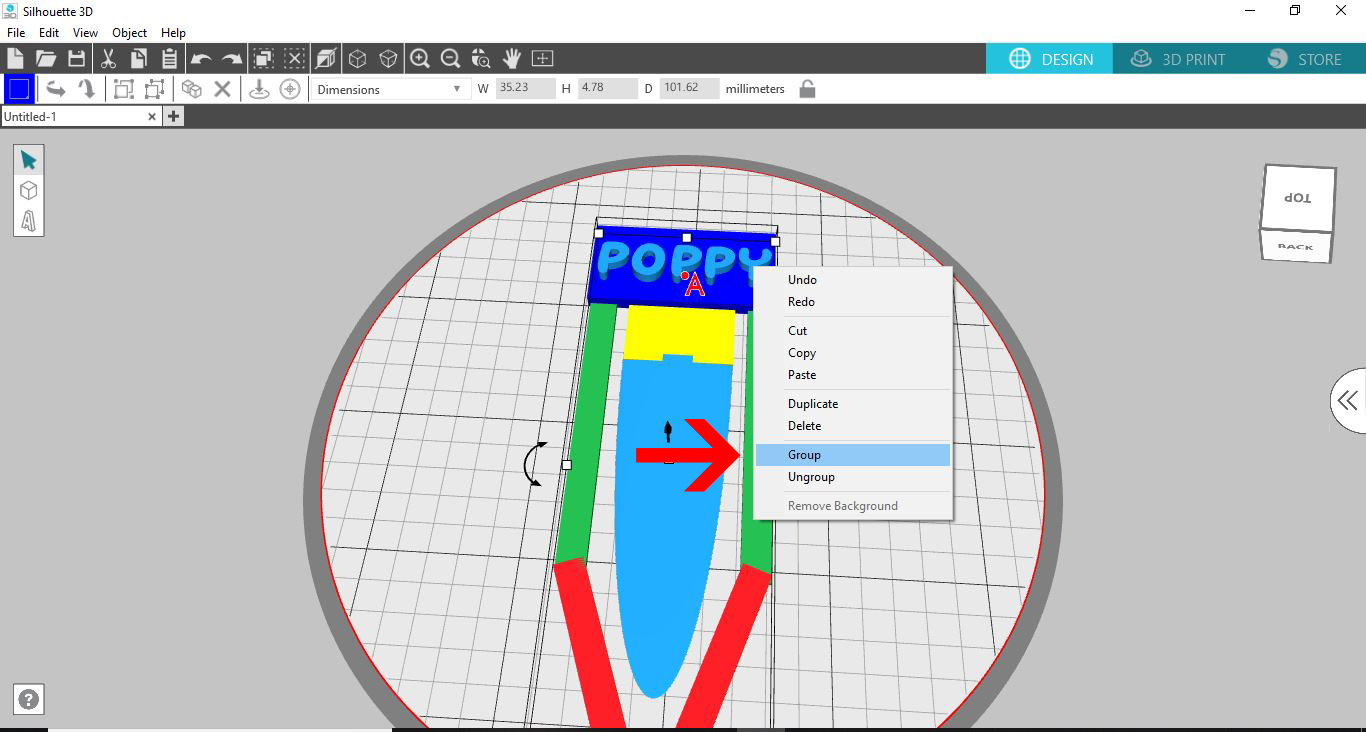
13- Click the select all icon, then right click and group your shapes. For any design to print as a single item you need to group your shapes. this is similar to welding shapes in silhouette studio.
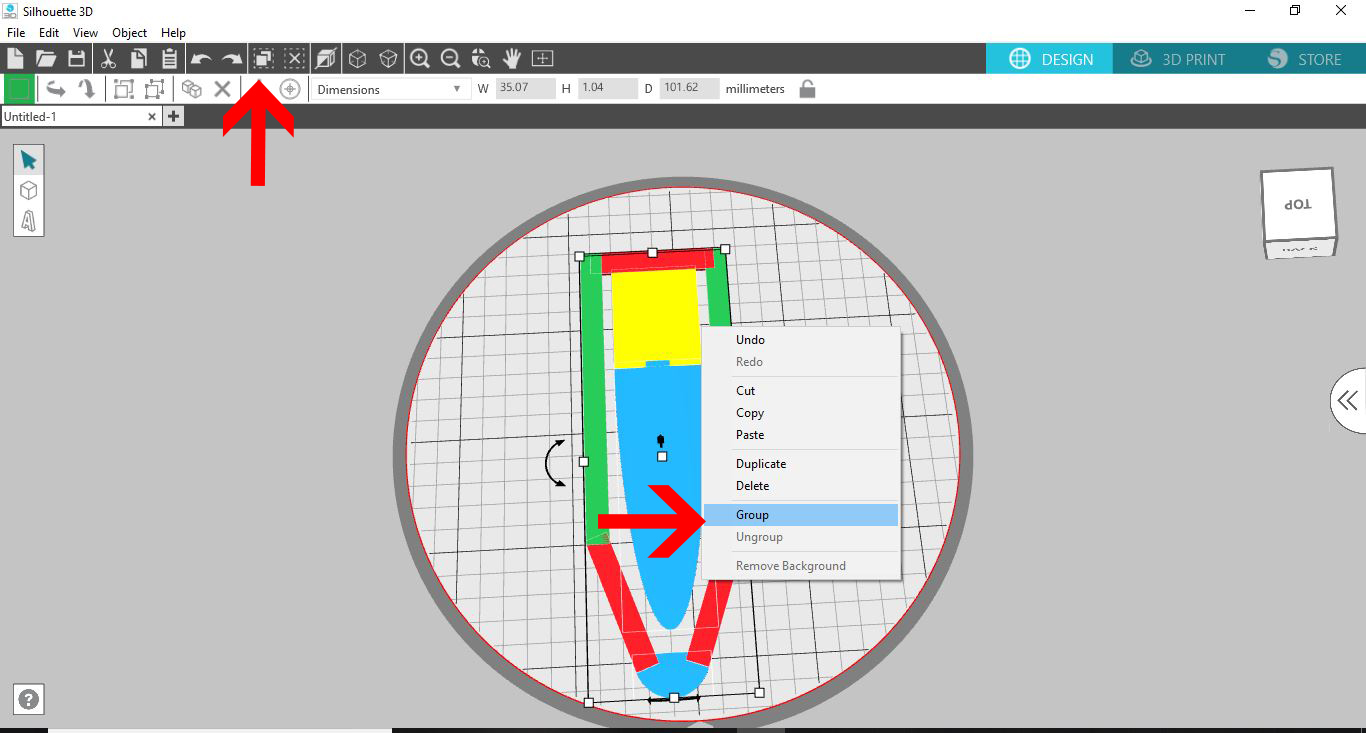
14- Click the shape icon again and create another cube.
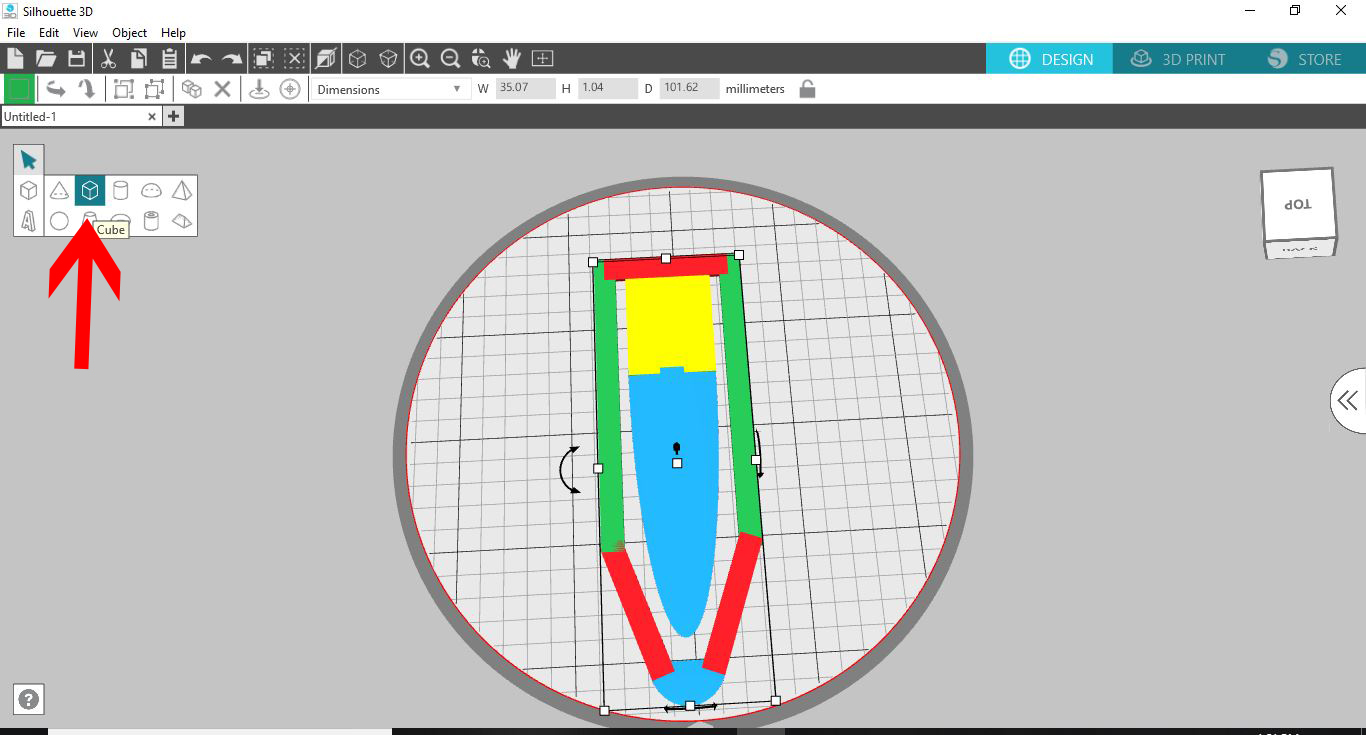
15- adjust the size of the cube (navy) and create it slightly thicker than the design you currently have.
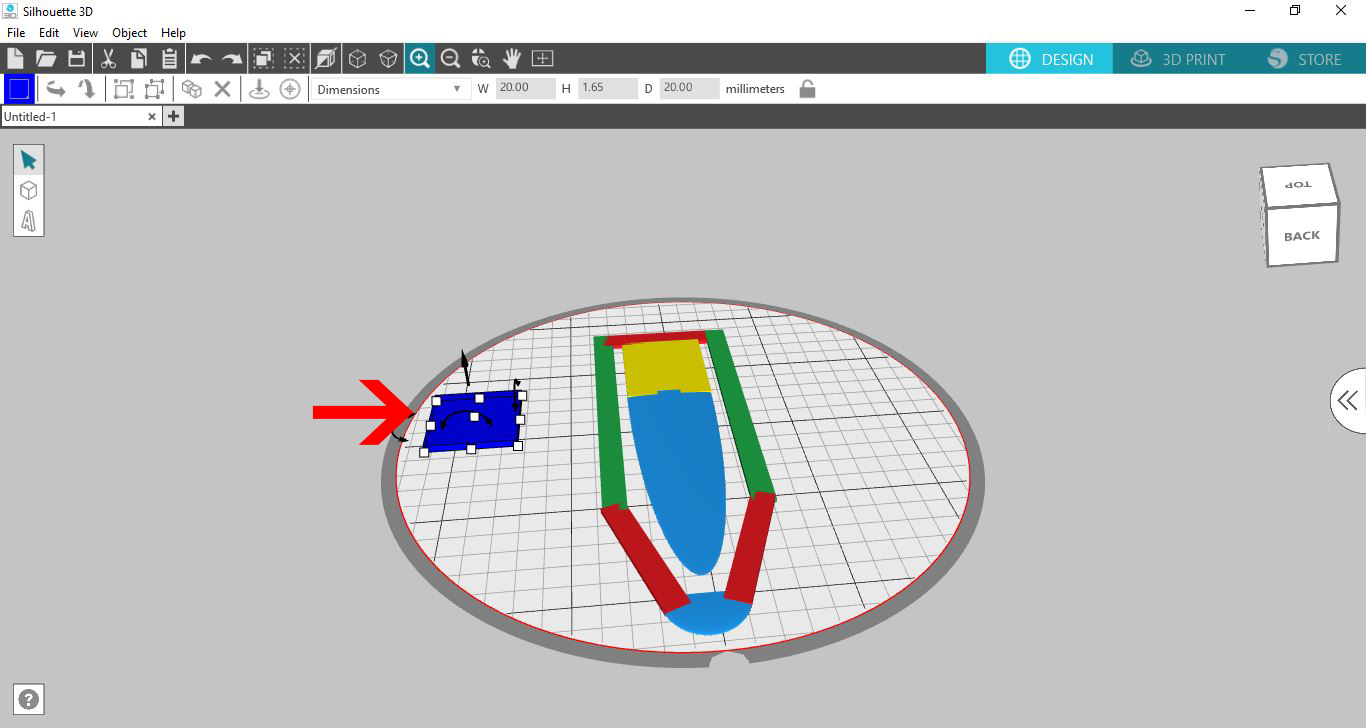
16- Place at the top of your bookmark. this will be the base plate for your text.
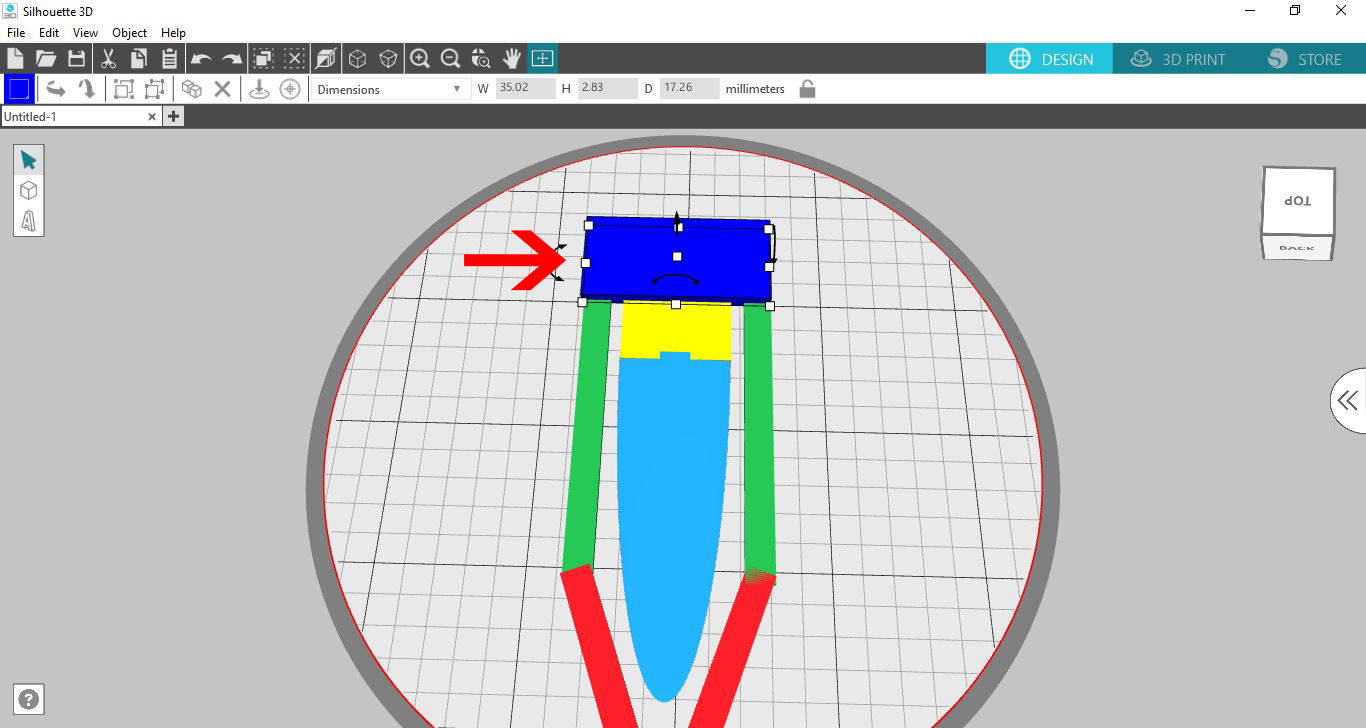
17- Click the text icon.
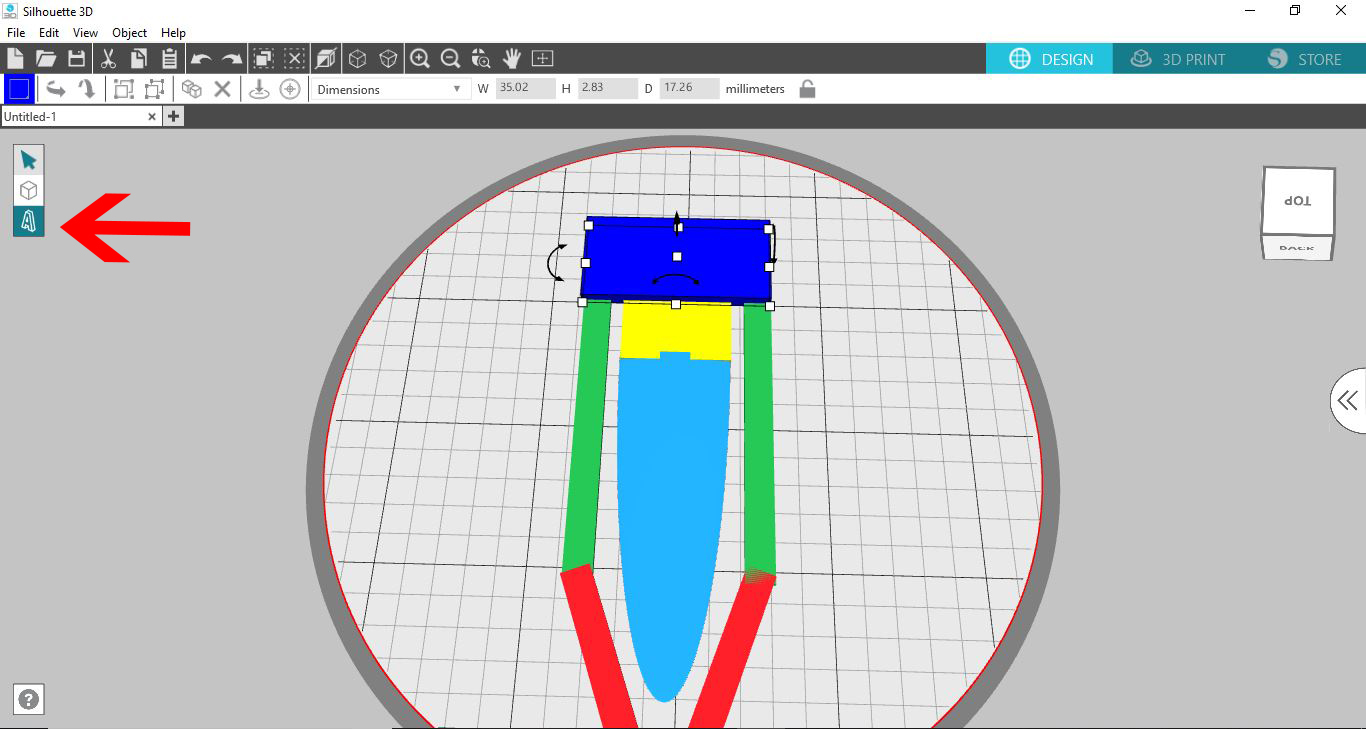
18- Type your text.

19- Adjust the size of the text, and the font. I am using Cheesy Grits font from fontbundles.net Place the text on the navy shape. Make sure your text is thicker than the navy shape so it will be seen when printed.
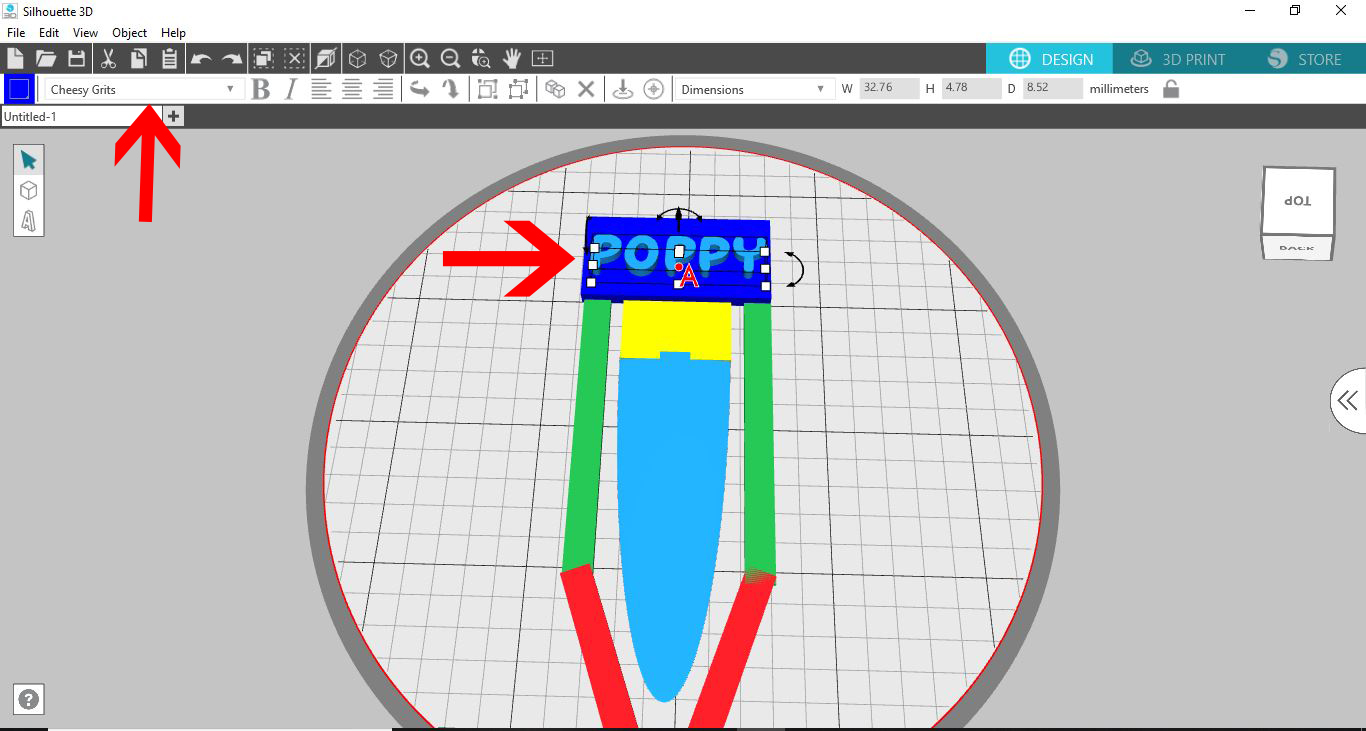
20- Again click on the select all icon and then right click and group everything together.
21-Click on 3D print and then adjust settings and print your design.
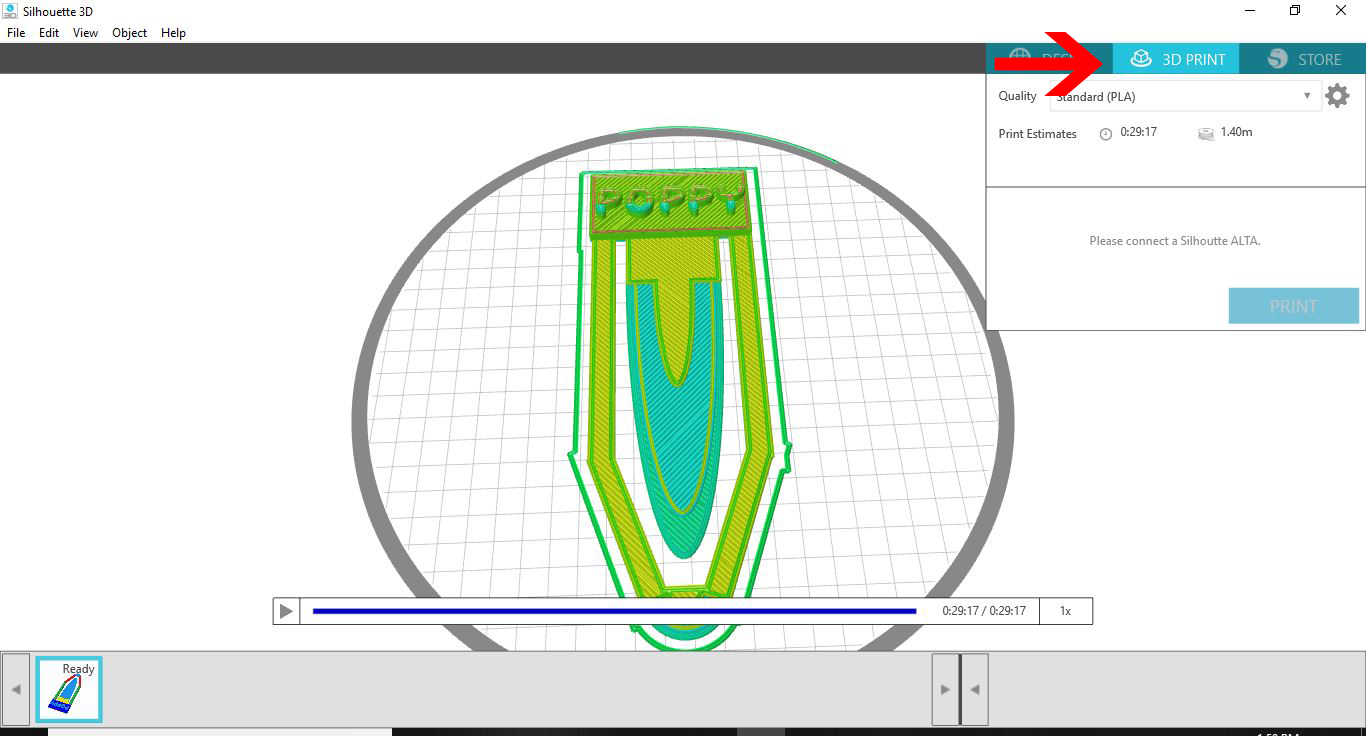
22- Your bookmark is now printed.