By Christine Hattingh
How to Draw a Bear
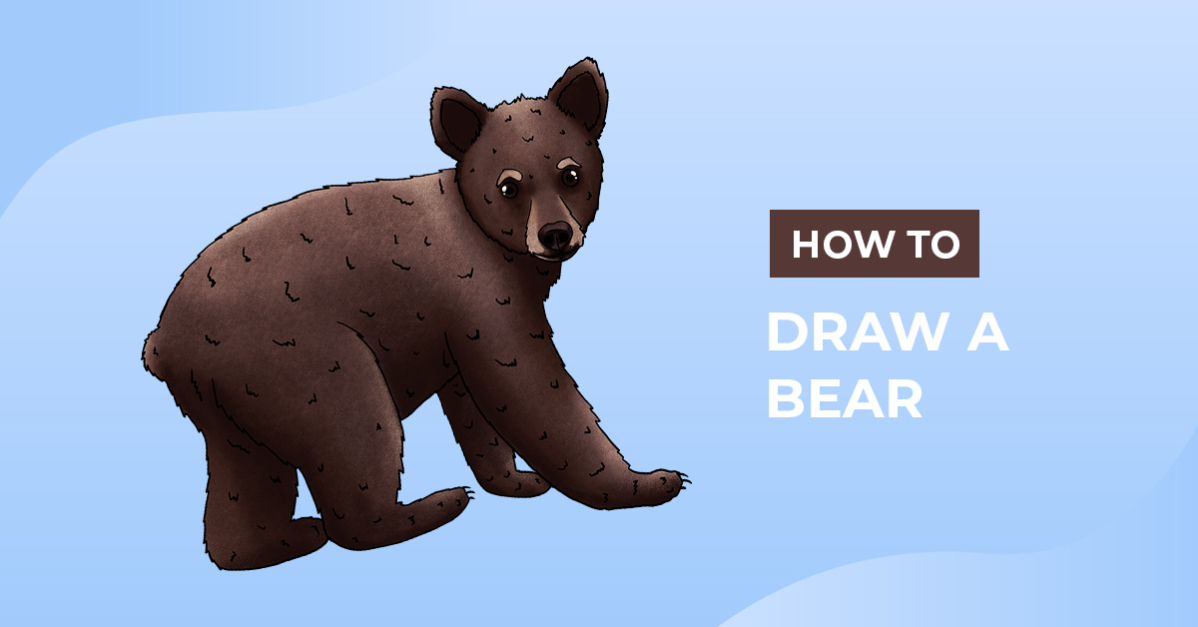
Today we are showing you step-by-step how to draw a bear! Bears are large, powerful animals that are fluffy, and with our drawing guide, you'll illustrate one. Use your drawing to create animal clipart, sublimate on mugs, or combine with camping illustrations for a kid-friendly theme.

Create your bear artwork using any medium you have on hand. Mix and match paint and markers, or start your favorite digital program, Procreate.
Combine your drawing with other elements to create a themed digital collection. We have a great selection of camping clipart, or you can create your elements by drawing a tent.
Step 1 - Sketch the Bear Base Shape
With an erasable tool, start drawing the foundation shape of your bear. If you do not have a sketching medium, such as a pencil, use a light-colored medium that can be covered up.
Shape the Head
Draw a circle with a smaller one overlapping the bottom for the base shape of the bear's head.

Draw the Body
On the right side of the head, draw a large long oval shape as we did in our example sketch below. Ensure your oval narrows toward the head and is rounded on the other side for the rear of your animal.

Add Legs
Sketch the front and hind legs in front view (see our red sketches). Then draw the legs that are in the back view. The hind legs are thicker and more muscular than the front legs, and the front is thinner and less muscular.

Add Ears and a Tail
Draw two small triangles on either side of the bear's head for the ears. On the rear, draw a small half-circle for the tail.

Step 2 - Add the Details
Next, add details to the bear's head and create a fur texture. Keep using the same medium from step one.
Head details
In the small circle on the head, draw your bear's nose and mouth line. The nose should be in the center with two small circles for the nostrils and a line below it for the mouth.
Draw two small circles for the eyes, a smaller ear line inside the ears, and any additional details you would like on the face.

Fur Texture
Add fur texture to the bear to make it look more realistic and fluffy. Draw jagged lines all over the bear's body, starting at the top of the head and working your way down to the paws.

Step 3 - Make the Bear Sketch Permanent
Once you have added your detail sketches, switch to a permanent medium like an inking brush or black pen. We are going to carefully trace over the rough sketches to create a defined line art style bear outline.
Outline the Bear
Begin tracing the head and face details. Make sure to skip your base shape and only line the fur texture.

Continue outlining the body, tail, and legs. Looking at our image below, we skipped some of the bottom sketches of the body and extended the front view leg lines into the body.

Add Details
Finish off your bear clipart by adding any additional details you want. You can add smaller fur texture lines in the body, claws, or other elements.

Step 4 - Color your Bear Illustration
All your bear drawing needs now is color, and then you are done! Use any color blending method to apply multiple shades of brown. Add highlighted and shadowed areas on your animal clipart to make your artwork unique.

You just illustrated a paw-sitively cute bear in 4 easy-to-follow steps! Experiment with different poses, colors, and textures for your digital library. Great job following along with our animal drawing exercise. Check out our other FREE drawing tutorials to learn how to draw more animals.