By Design Bundles
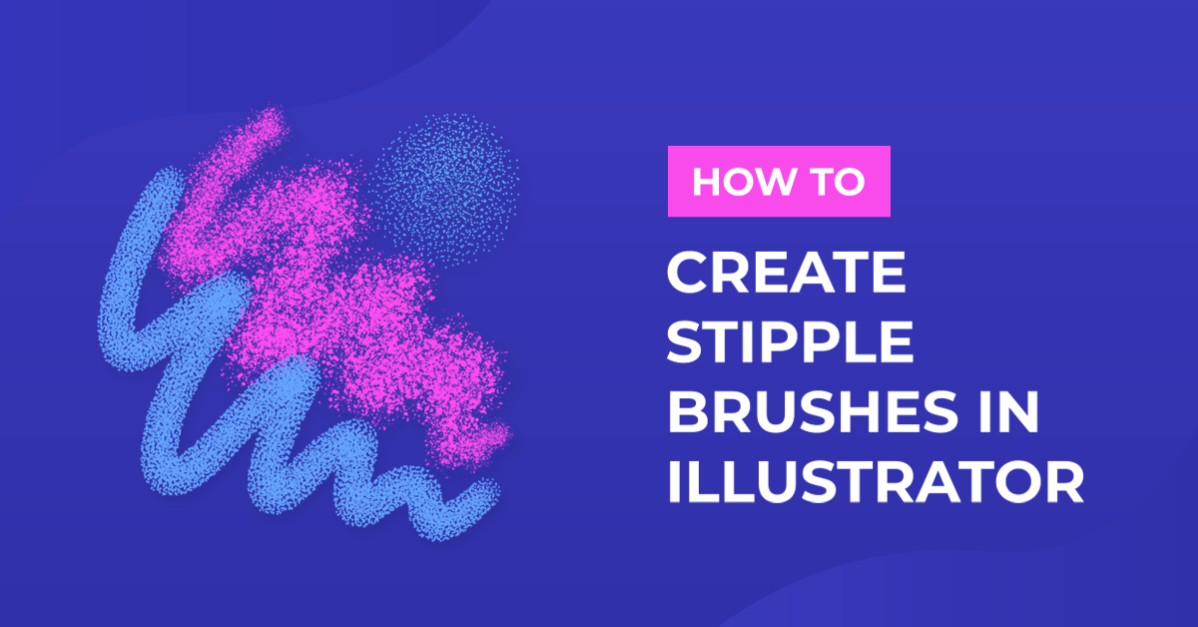
Create Stipple Brushes in Illustrator
Today we will learn how to create a basic set of stipple brushes in Illustrator. Stippling is the process of adding small dots to create a texture or shading. These brushes are great for adding depth to vector art designs. The technique can also be used to create other types of brushes as well.
Step 1 - Add an Ellipse for Stipple pattern
We will start by using the Ellipse tool (L) to begin creating our base. Click inside the canvas to create a small circle of about 3 px in diameter and fill it with black.

Then, select it and go to Object > Lock > Selection (Command/Control + 2) to lock it in place.
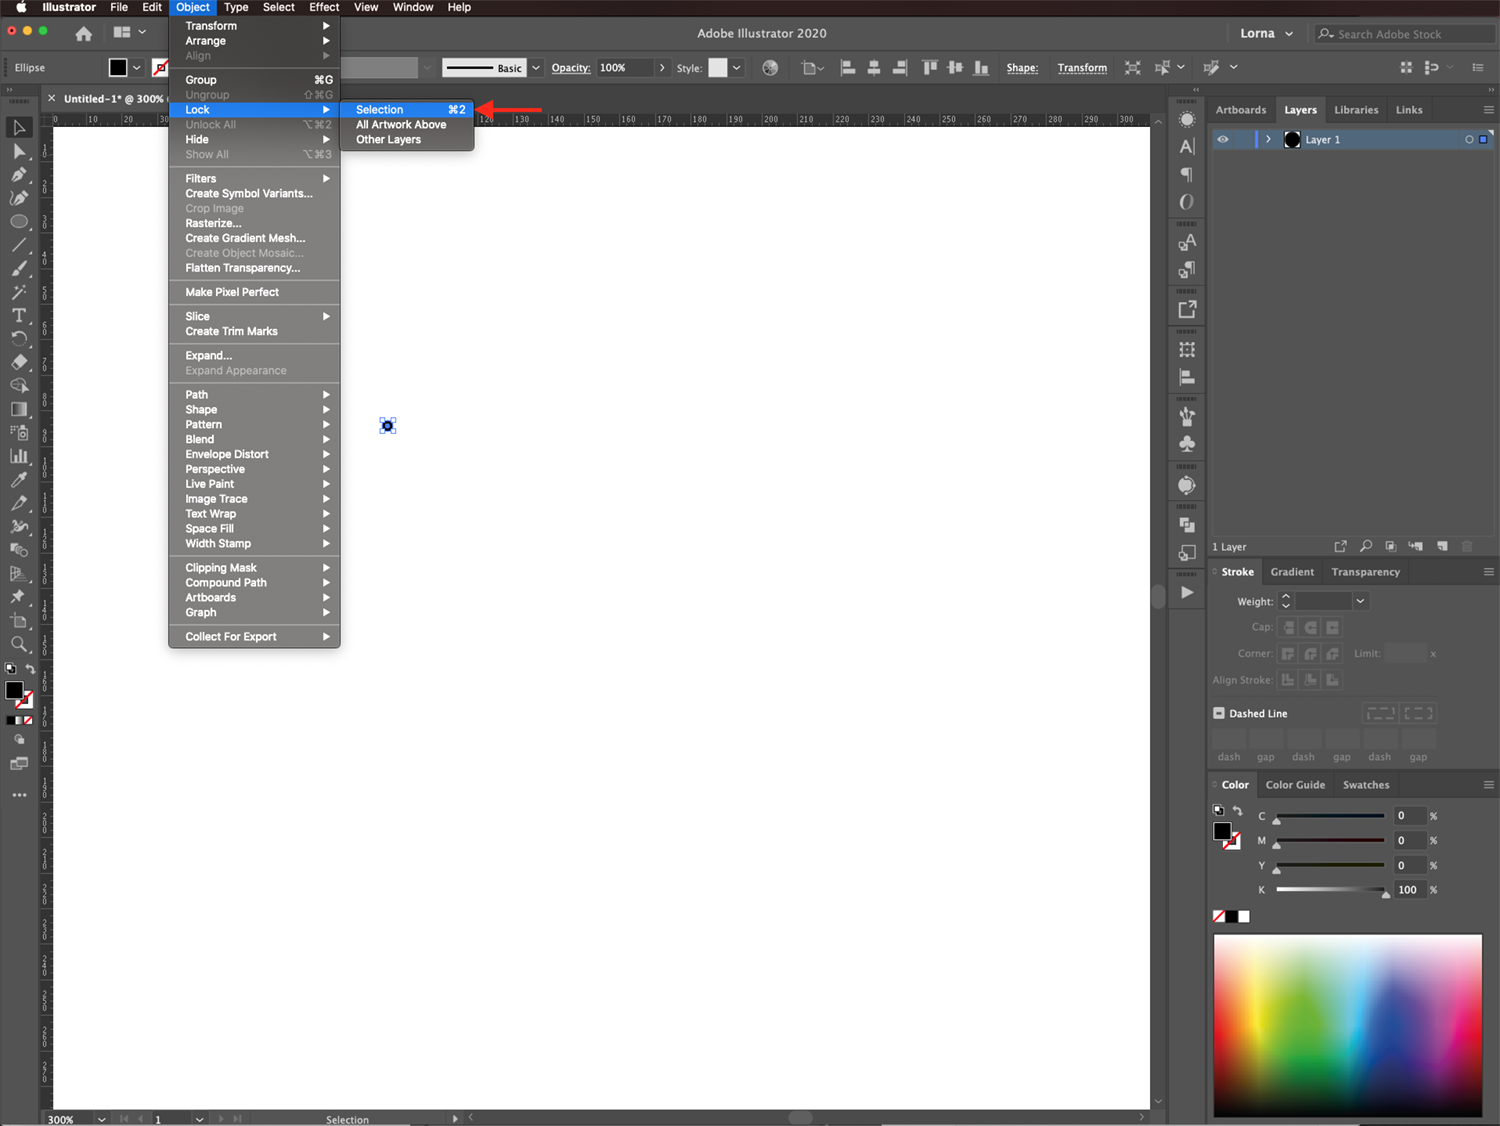
To create the base of the Stipple brush, select the Blob Brush tool (Shift + B). Now double-click on top of it in the Toolbar, then change the Size to 1 pt.
Use theBlob Brush to draw some circular shapes of different sizes radiating from the original circle.

Step 2 - Create a Stipple Pattern
We will be grouping the shapes we created to make the Stipple Pattern. Right-click on top of all the shapes and choose Group.
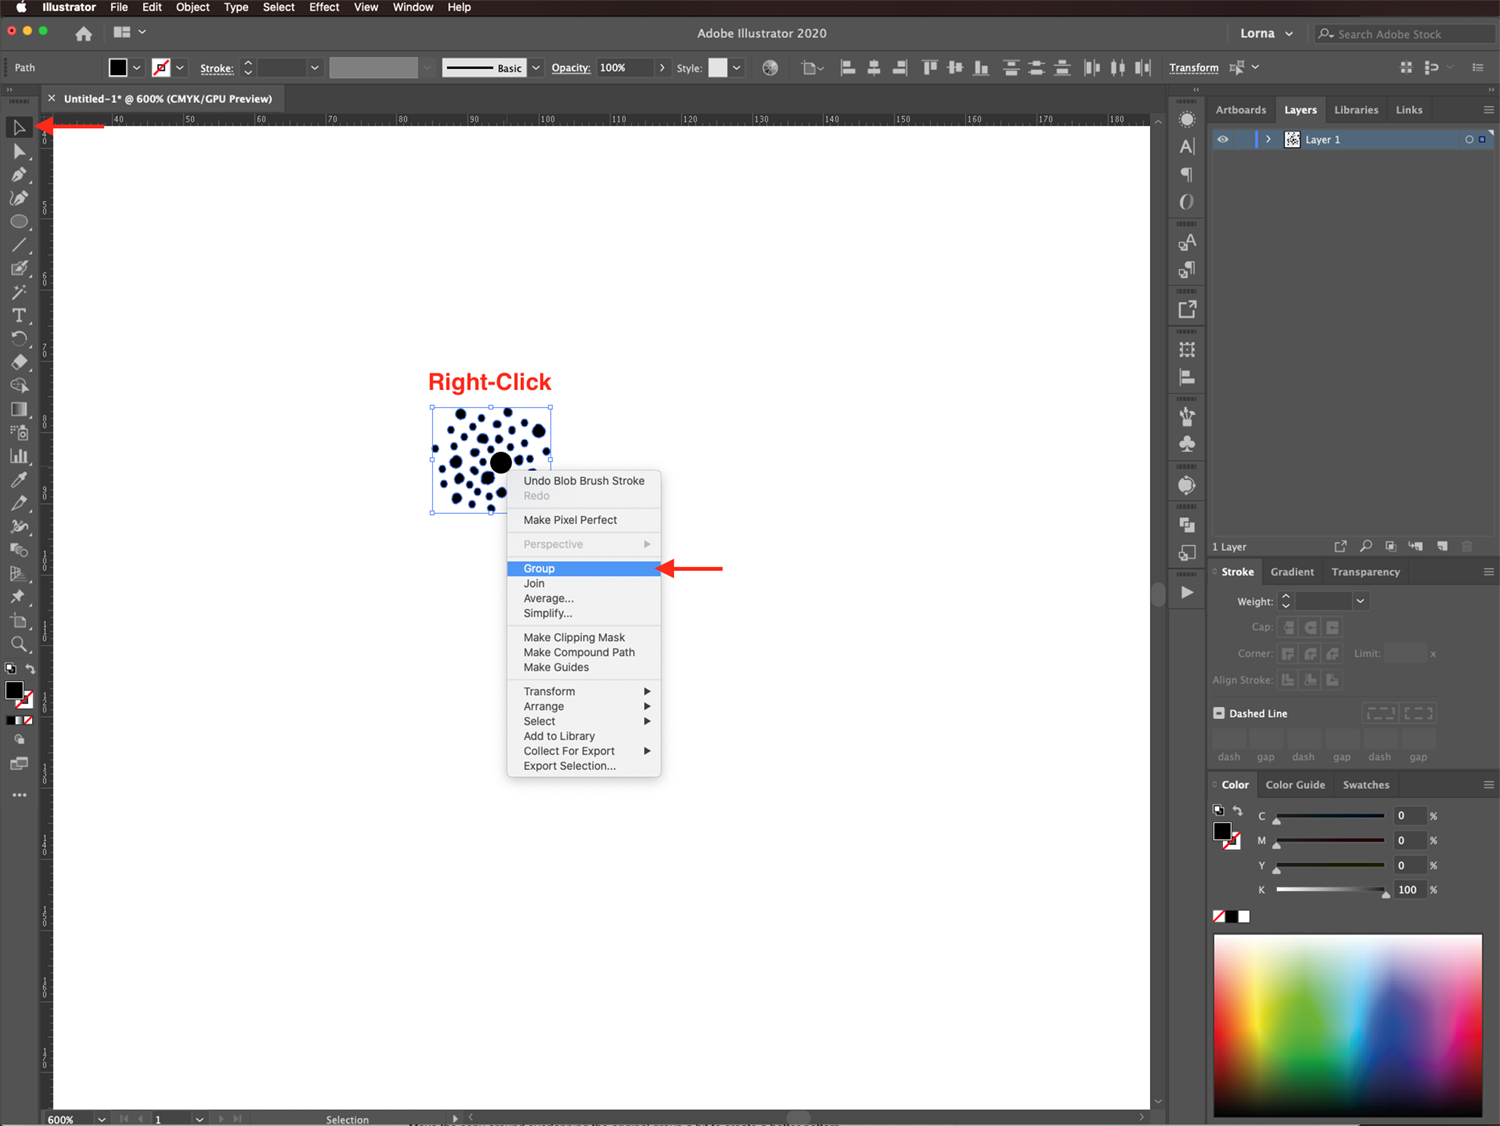
Then Copy (Command/Control + C) and Paste (Command/Control + V) the shapes. Move the copy around so that it is overlapping the original group.
You can alsoRotate the duplicate/s to get some variations. Keep going until you are happy with the results and have a uniform shape.
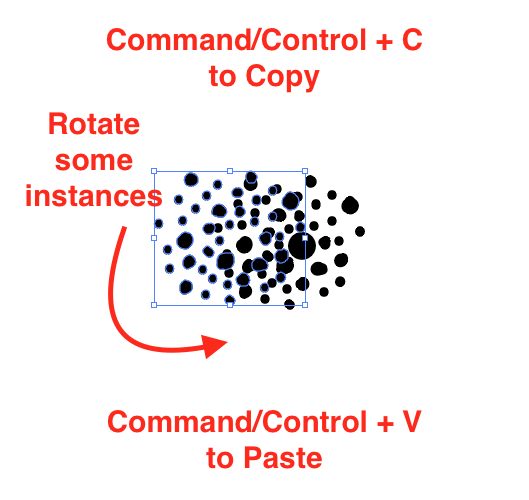
Repeat this as many times as you want. Don’t forget to group them (Command/Control + G) together once in a while. This will give better control when selecting them.
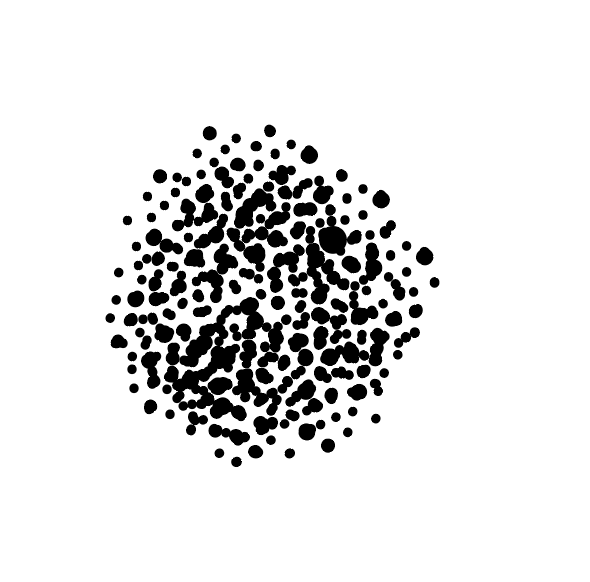
Once you are done, unlock the circle (Object > Unlock All). Then, select everything again and group it together.
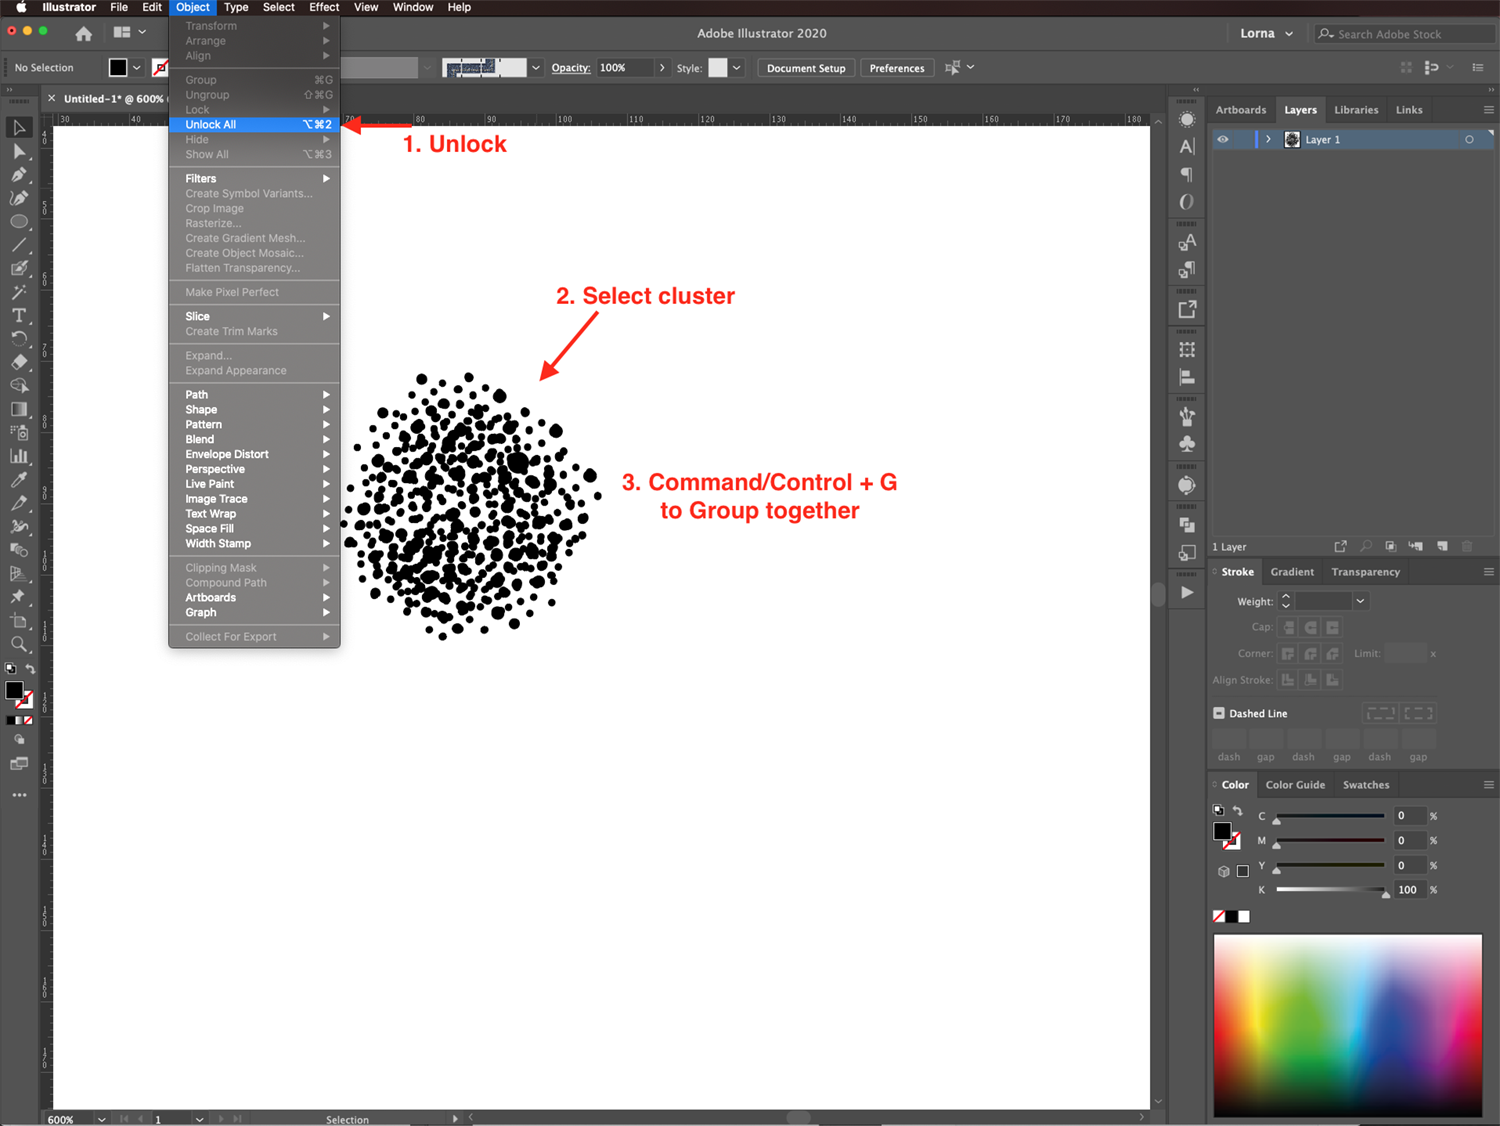
Step 3 - Duplicate the Stipple Pattern
Duplicate the first stipple pattern and move one copy aside. Leave this copy as is to create a brush.
With the duplicate selected, repeat the actions done in Step 2. Do this as many times as needed to create a denser version of the first pattern.

Create several clusters that vary in density and size so you have different Stipple Brushes. You can use the image below as a visual guide.

Step 4 - Use patterns for Stipple Brushes
Once done, we can now create our Stipple Brushes. Select one of the Clusters. In the Brushes panel click on the top-right Menu and choose New Brush.
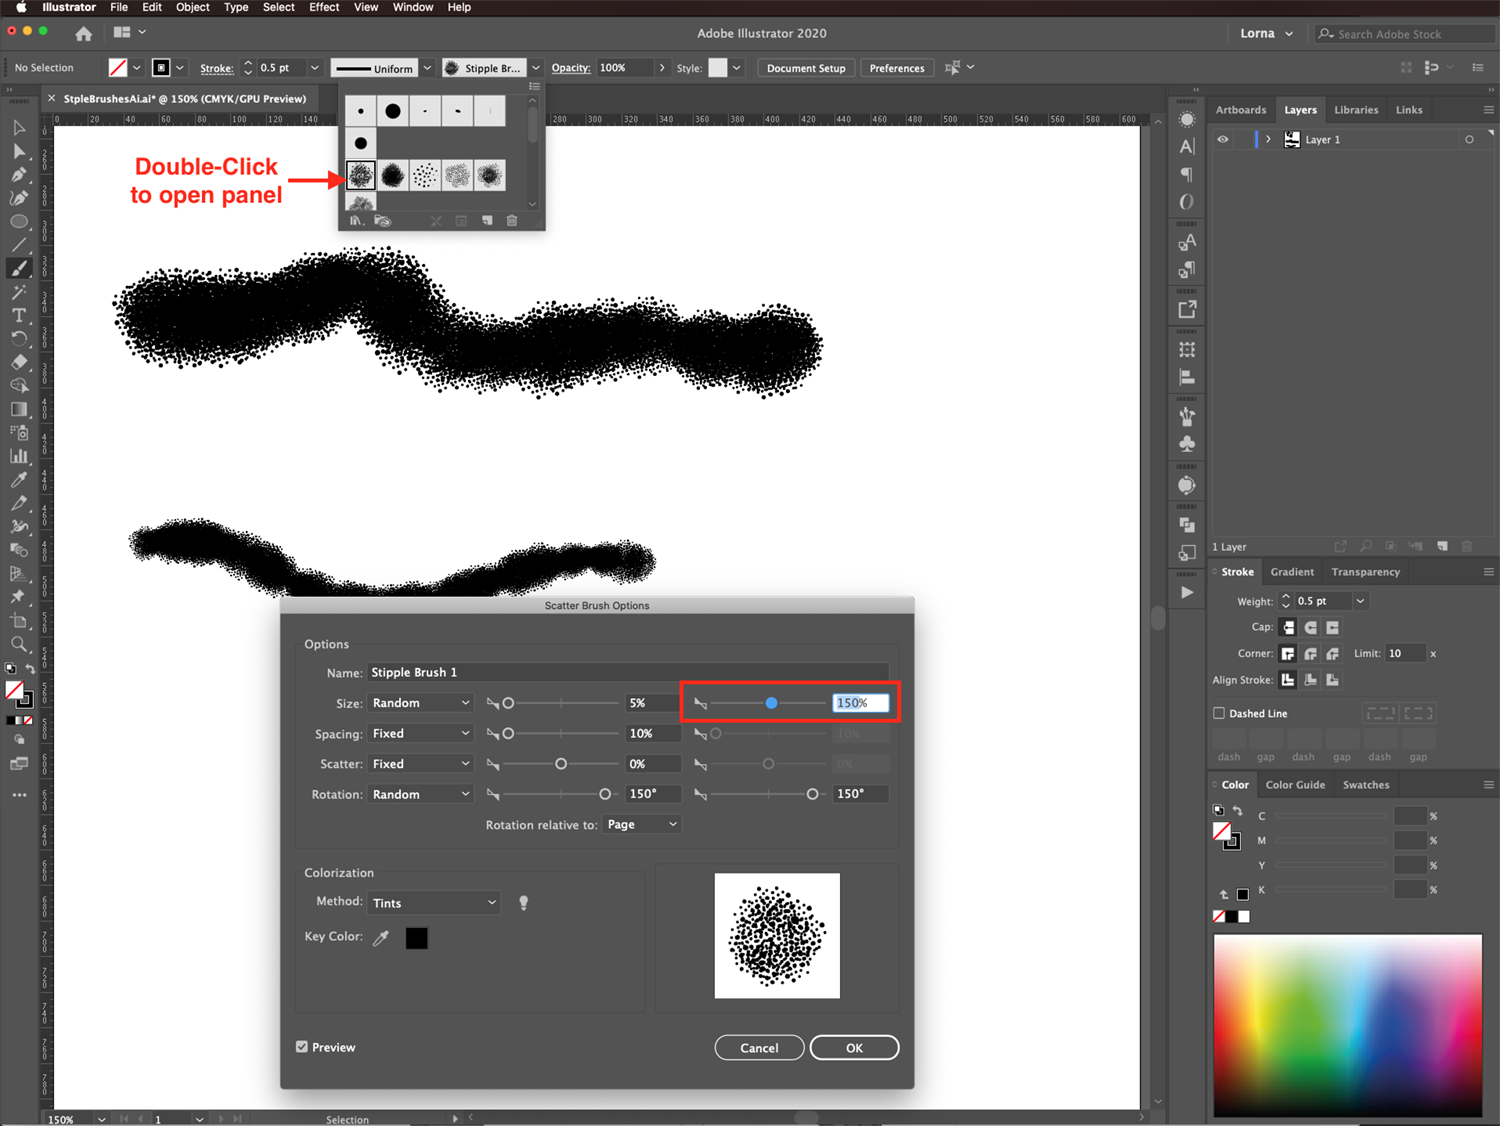
Make it aScatter Brush and use the following values:
- Size: Random from 5% and 200%
- Spacing: Fixed 10%
- Scatter: Fixed 0%
- Rotation: Random 150% and 150%
- Method: Tints
Don’t forget to give your brush a name, then click Ok. You have now created your first Stipple Brush.

Repeat with the rest of the Clusters to create more brushes.
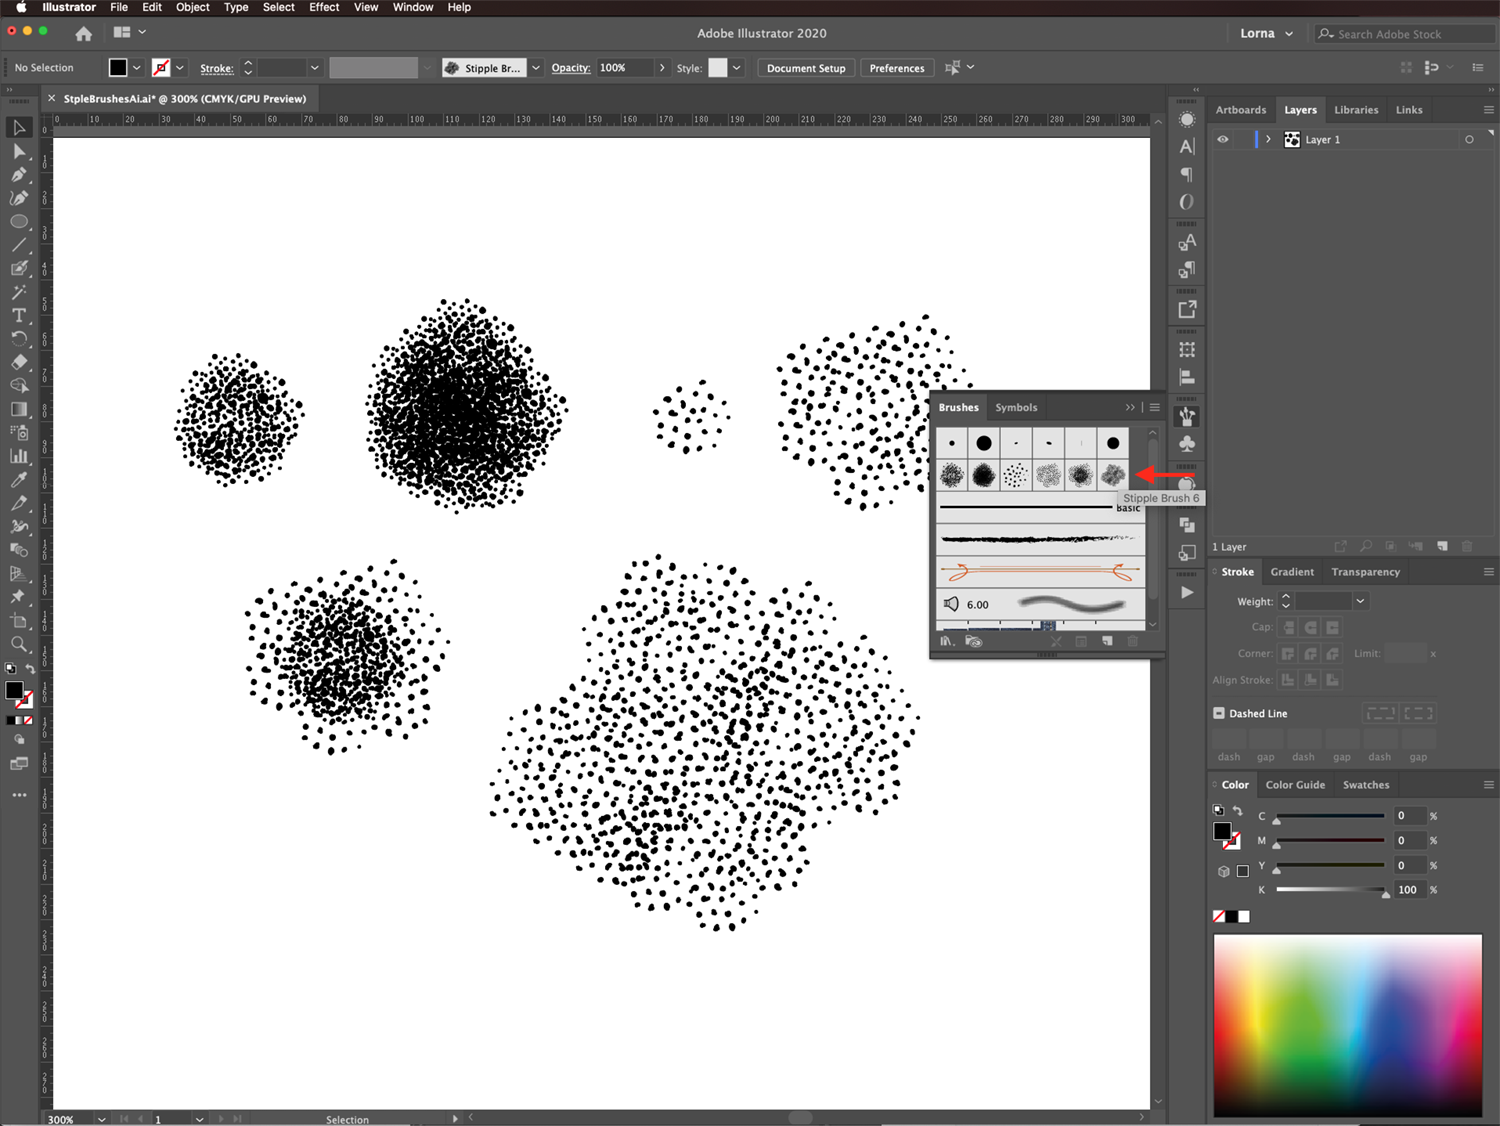
Step 5 - Test Your Stipple Brushes
Now that you have created your brushes, let’s test them out to see how they look. To test your Stipple Brushes, use the Brush tool (B).

If need be, you can resize them a bit and change the Stroke Weight.
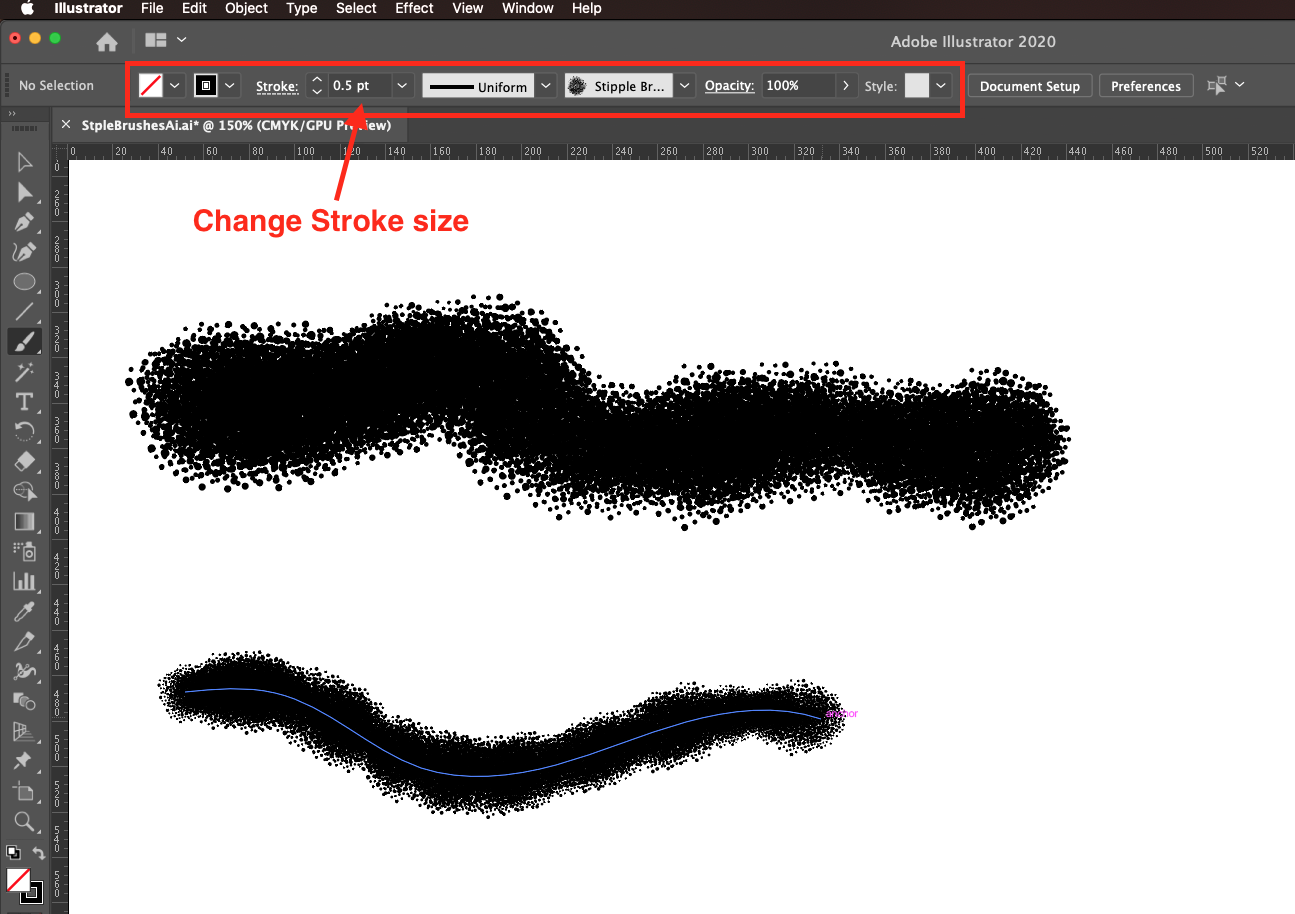
To adjust the brush settings, double-click the thumbnail to open the Options window. Change the values where needed, for example, we reduced the Size second value to 150%.
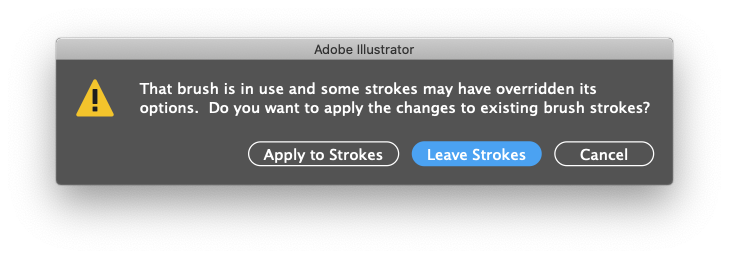
You may get a pop up window asking you to apply the changes to existing strokes or to leave them as they are. We chose to leave the strokes as they are.
Finally, you can delete the clusters if you want, but remember to Save your Stipple brushes for future use. Do this by clicking on the three lines or burger menu top right corner in the brushes panel. Now select Save Brush Library.

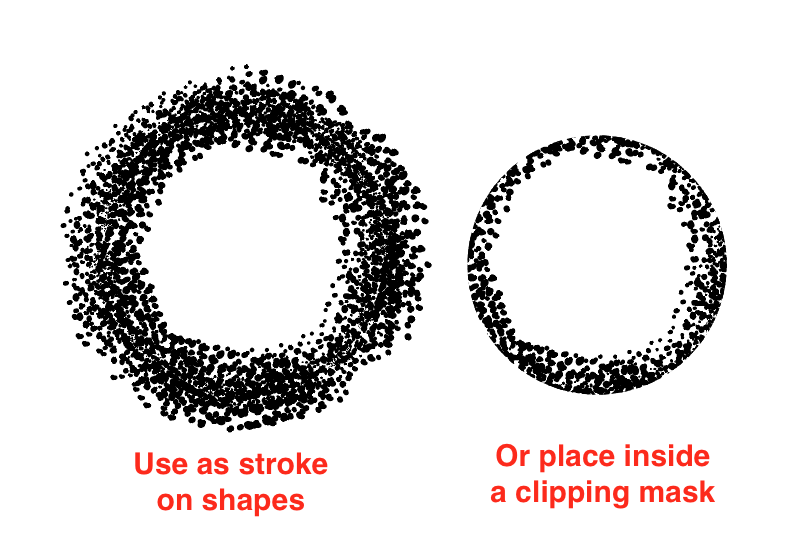
You can use the brushes around shapes by choosing them as the Stroke fill. They can also be used inside a Clipping Mask to create shading.
We hope you have enjoyed creating a Stipple Brush in Illustrator. Next up, have a look at our other awesome tutorials like how to make an awareness ribbon and how to use the Character Panel in Adobe Illustrator.